follow ft86club on our blog, twitter or facebook.
FT86CLUB
Ft86Club
Speed By Design
Register Garage Community Calendar Today's Posts Search

Go Back   Toyota GR86, 86, FR-S and Subaru BRZ Forum & Owners Community - FT86CLUB > Technical Topics > DIY (Do-It-Yourself) Guides

DIY (Do-It-Yourself) Guides For all DIYs.

Register and become an FT86Club.com member. You will see fewer ads

User Tag List

Reply
 
Thread Tools Search this Thread
Old 11-02-2012, 09:20 PM   #15
Xerail
Member
 
Xerail's Avatar
 
Join Date: Oct 2012
Drives: Ultramarine FR-S
Location: Melissa, TX
Posts: 37
Thanks: 0
Thanked 3 Times in 3 Posts
Mentioned: 1 Post(s)
Tagged: 0 Thread(s)
I'm gonna go flat black for the badge's
Xerail is offline   Reply With Quote
Old 04-10-2013, 11:54 AM   #16
L3P47
Senior Member
 
L3P47's Avatar
 
Join Date: Dec 2012
Drives: Firestorm FR-S
Location: Dalton, Georgia
Posts: 861
Thanks: 183
Thanked 280 Times in 197 Posts
Mentioned: 6 Post(s)
Tagged: 0 Thread(s)
Garage
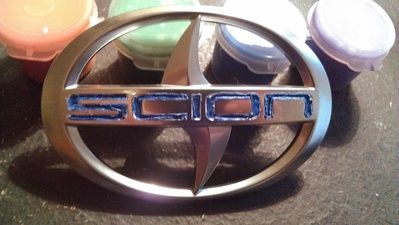
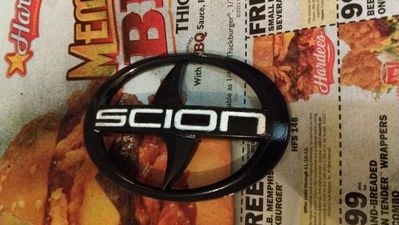
Thanks for the write up. Will be doing this to mine this week except with red lettering.
__________________
Chattanooga Scikotics MFIC
Red Robin Build
L3P47 is offline   Reply With Quote
Old 06-28-2013, 07:12 PM   #17
coachzizi
Member
 
Join Date: Feb 2013
Drives: 2013 scion FRS
Location: alhambra,ca
Posts: 34
Thanks: 3
Thanked 1 Time in 1 Post
Mentioned: 0 Post(s)
Tagged: 0 Thread(s)
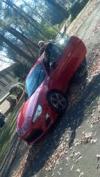
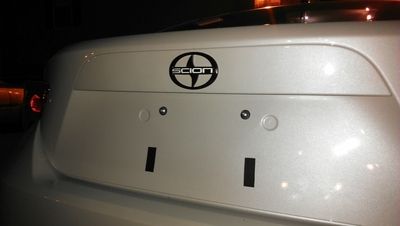
that looks nice on your whiteout frs, but im looking around for a matte graphite badge for my raven FRS but i cant seem to find one around anywhere. Any one know where i can find one or go about to DIY to make my badge matte graphite? saw on eon a xB and thought it would look nice on my FRS
coachzizi is offline   Reply With Quote
Old 07-05-2013, 11:32 AM   #18
Chinadian
Senior Member
 
Chinadian's Avatar
 
Join Date: Sep 2012
Drives: FRS Whiteout
Location: Canada
Posts: 105
Thanks: 55
Thanked 4 Times in 2 Posts
Mentioned: 1 Post(s)
Tagged: 0 Thread(s)
Looks great! I am planning to do this too

Did u do it for the front badge as well?

Thoughts about just spraying the entire badge black first, then adding lettering paint ontop of the black? Any foreseeable issues?

Quote:
Originally Posted by ipothas View Post
I've been dying to start modifications on this car, but I decided to stick with a few simple and cheap cosmetic changes first.

I would love to have Toyota badges, but seeing as a set of two costs around $60, I decided to paint my stockies

To remove your emblems, follow this DIY.
http://www.ft86club.com/forums/showthread.php?t=7296


Anyways, here it goes.

Materials Needed
Scion Emblem (in this example, I'm doing the rear emblem.)
Acrylic paint (I went with plain white to redo the black lettering.)
Painter's tape
3M Double Sided automotive tape
All Surface primer
Your choice of plastic bonding paint. I went with a glossy black finish.
Clear coat. Trust me, don't pass up on this. Will protect your paint job and give your handy work that "professional" look.

Everything in the list can be purchased at any Wal-Mart or Auto parts store.

1. After removing the emblems, I used a small brush to paint the black SCION lettering white. In this step you don't have to be too careful to stay within the lines since you will be masking the lettering and spraying the rest of the emblem.

Basically, I coated the brush about halfway with paint. Wiped off the excess, and began blotting the paint on. The first coat works best if you "dot" the color on rather than "brush" it.


2. After your first "blot" coat dries, apply a second coat. This time, you can fill in all the little black bits showing through and make the paint job much smoother. After 2 coats I was satisfied with my results, but you may want to do more. Mine looks pretty good here, so I moved onto the next step.


3. After the lettering dries, it's time to mask them off. I took painters tape and laid it over the lettering. I then to a razor blade and cut out the depressions of the lettering. Be sure to cover the ENTIRE letter, and leave enough room to cover the edging.


This step is the most important if you are looking for quality white letters. You have to be meticulous in the position of the tape, and think about where the white color will end, and the black will begin. IDK if someone has a better way of doing this...if so, let me know

4. Once the emblem is masked, you can apply the primer. I went with 3 coats just to be safe.


5. After the primer dries, apply your gloss. 2 coats should be fine.


After your gloss dries, CAREFULLY remove the tape. Make sure the paint is ABSOLUTELY dry. I used a small knife to pry up the corners of the tape, then peeled it off slowly with my fingers. At this point you want to go back and touch up any of the white lettering you aren't satisfied with.

6. Apply your clear coat. 1-2 coats depending on preference.


I know this pic looks rough. This is before I went back and touched up a few spots.

7. Re-attach your emblems using the 3m double sided tape. Easy to do considering the rear emblem has 2 holes to position the badge correctly.


Sorry about the light, I was too anxious to put the badge back on to wait until tomorrow morning. May be silly, but I personally enjoy the way it looks. Particularly on the Whiteout

Enjoy! If you decide to use this DIY post some pics up of your results
Chinadian is offline   Reply With Quote
Old 09-23-2013, 07:53 PM   #19
Stormtrooper FRS
Junior Member
 
Join Date: Sep 2013
Drives: White out FR-S
Location: Orange County
Posts: 4
Thanks: 0
Thanked 0 Times in 0 Posts
Mentioned: 0 Post(s)
Tagged: 0 Thread(s)
Is the removal of the gloss dip the same as usual.
Stormtrooper FRS is offline   Reply With Quote
Old 10-08-2014, 07:24 AM   #20
Leight1104
Member
 
Leight1104's Avatar
 
Join Date: Sep 2014
Drives: 15 asphalt FRS
Location: nm/nwa
Posts: 33
Thanks: 6
Thanked 1 Time in 1 Post
Mentioned: 0 Post(s)
Tagged: 0 Thread(s)
Garage
I too am wondering about the front badge. I read that the pins break upon removal is that true? And I haven't seen the date you posted this but how's it holding up? Thanks bro
Leight1104 is offline   Reply With Quote
Old 10-08-2014, 08:18 PM   #21
kodyo
Senior Member
 
Join Date: Jan 2013
Drives: Scion FR-S
Location: Los Angeles
Posts: 686
Thanks: 597
Thanked 257 Times in 174 Posts
Mentioned: 6 Post(s)
Tagged: 0 Thread(s)
Quote:
Originally Posted by Leight1104 View Post
I too am wondering about the front badge. I read that the pins break upon removal is that true? And I haven't seen the date you posted this but how's it holding up? Thanks bro
Yes, they will break.

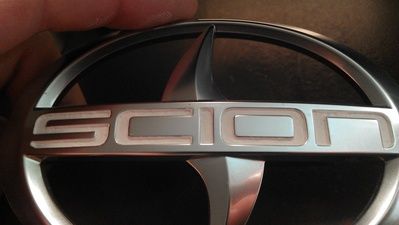
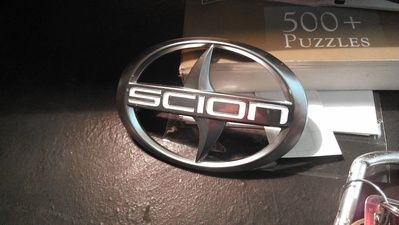
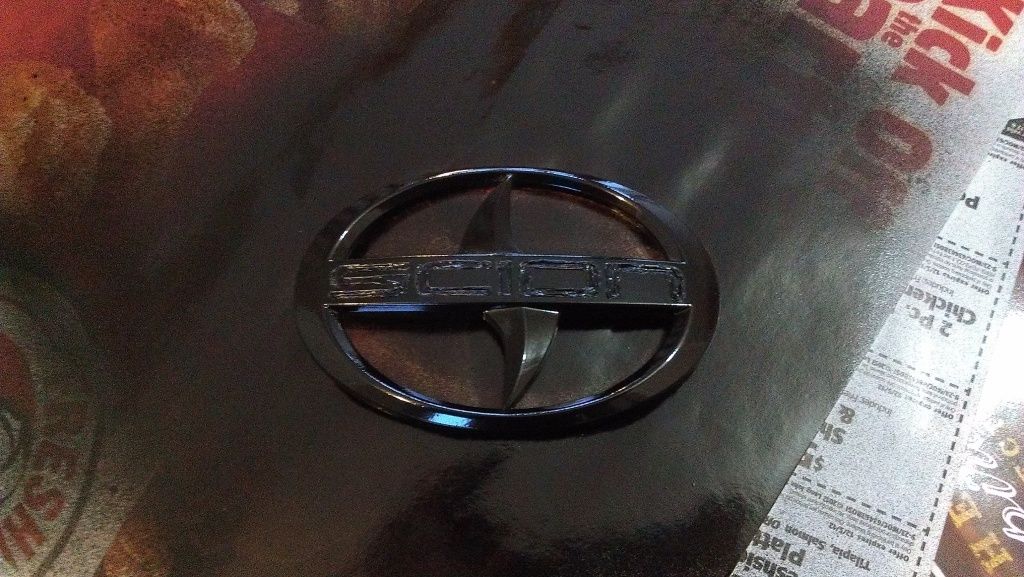
My experience with painting the front emblem has been that it gets chipped easily even after scuffing up the emblem and using a dedicated paint (e.g. Krylon Fusion). Front of the car takes a beating.

I ended up replacing with chrome emblems. Sides are still the krylon black ones and have held up near perfectly.
kodyo is offline   Reply With Quote
Old 10-09-2014, 07:59 PM   #22
vividracing
 
vividracing's Avatar
 
Join Date: May 2012
Drives: 2013 Scion FR-S
Location: Gilbert, Arizona
Posts: 2,593
Thanks: 491
Thanked 1,065 Times in 617 Posts
Mentioned: 49 Post(s)
Tagged: 3 Thread(s)
looks great!
vividracing is offline   Reply With Quote
 
Reply


Posting Rules
You may not post new threads
You may not post replies
You may not post attachments
You may not edit your posts

BB code is On
Smilies are On
[IMG] code is On
HTML code is Off

Forum Jump

Similar Threads
Thread Thread Starter Forum Replies Last Post
Painting calipers GTA wbradley CANADA 50 05-08-2013 03:42 AM
WTB: Stock Scion front & rear emblems JoeBoxer Exterior Parts (Aero, Lighting, Etc.) 9 10-01-2012 11:52 PM
Helmet painting? Mitch Tracking / Autocross / HPDE / Drifting 1 09-02-2012 04:44 PM
Painting the Emblems bigbroimc Cosmetic Modification (Interior/Exterior/Lighting) 11 08-31-2012 11:00 PM
Who has toyota emblems****in stock right meow!**** NeedsmoreCowbell Scion FR-S / Toyota 86 GT86 General Forum 0 07-16-2012 07:45 PM


All times are GMT -4. The time now is 11:33 PM.


Powered by vBulletin® Version 3.8.11
Copyright ©2000 - 2026, vBulletin Solutions Inc.
User Alert System provided by Advanced User Tagging v3.3.0 (Lite) - vBulletin Mods & Addons Copyright © 2026 DragonByte Technologies Ltd.

Garage vBulletin Plugins by Drive Thru Online, Inc.