


|
||||||
| Cosmetic Modification (Interior/Exterior/Lighting) Discussions about cosmetic mods. |
 |
|
|
Thread Tools | Search this Thread |
 09-29-2016, 11:56 AM
|
#1 |
|
Senior Member

Join Date: Apr 2013
Drives: 2014 BRZ
Location: Louisiana
Posts: 178
Thanks: 31
Thanked 122 Times in 67 Posts
Mentioned: 0 Post(s)
Tagged: 0 Thread(s)
|
My Audio upgrade build: Stock HUD, Focal, Rainbow
Decided it was time to upgrade the stock audio system. Was getting tired of the distortion at the necessary higher levels when driving with the windows down.
Little bit of a break down of my game plan -Factory head unit -Bypass factory amp -Hijack factory amp signal inpur for aftermarket amp -Upgraded factory location speakers -Little bit of sound deadening on the doors -OEM looking as possible So equipment wise i had a bit of a hickup on my order. It was in the wee hours of the morning when i made the purchase, and i had looked at so many compomnet sets, i accidently orderd a 2 way sytem that had dual 6.5" drivers, vs a 3 way 6.5'',4'', tweeter setup i wanted. So instead of returnign the product then waiting for the new stuff to arrive i decided to just order a set of 4'' mids and start work on getting everything else in order, as i got the mids 2 day air'ed. The gear in question is -Rainbow CSX465.20 -Focal 4'' A3 mids -Focal Solid2 2 channel amp Started out by laying everything out and making sure i wasnt missing anything. been a while sincei had done an audio install so took me a bit to get sorted with everything. 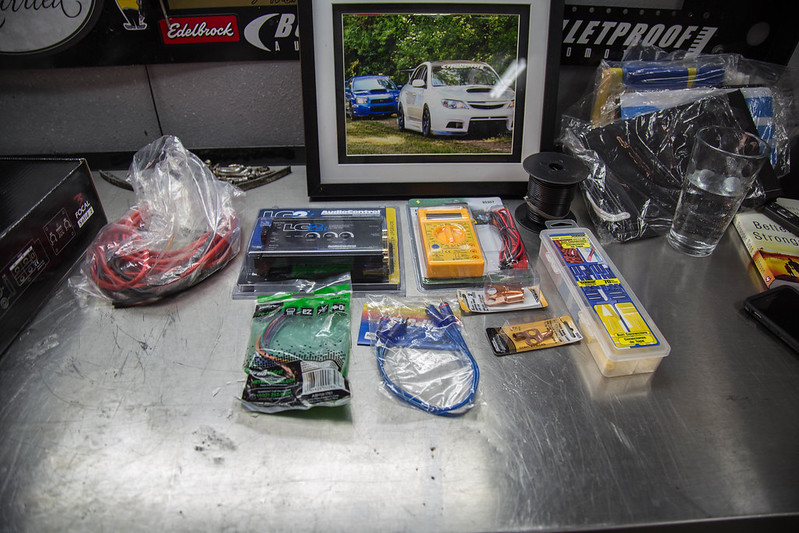 untitled (1 of 24)-2 by lawrx, on Flickr untitled (1 of 24)-2 by lawrx, on Flickr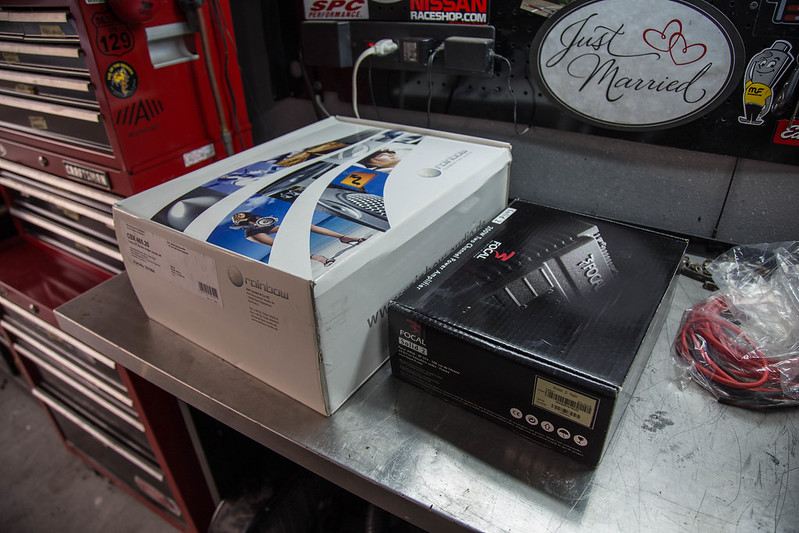 untitled (2 of 24)-2 by lawrx, on Flickr untitled (2 of 24)-2 by lawrx, on Flickr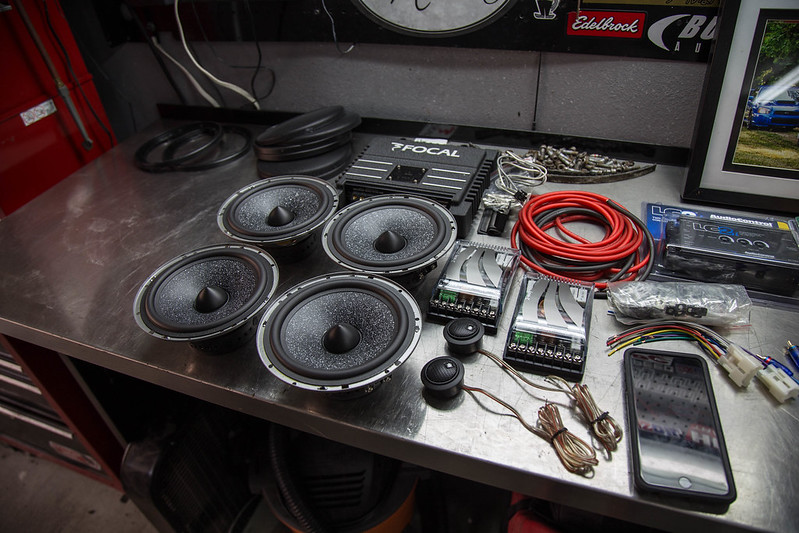 untitled (3 of 24)-2 by lawrx, on Flickr untitled (3 of 24)-2 by lawrx, on Flickr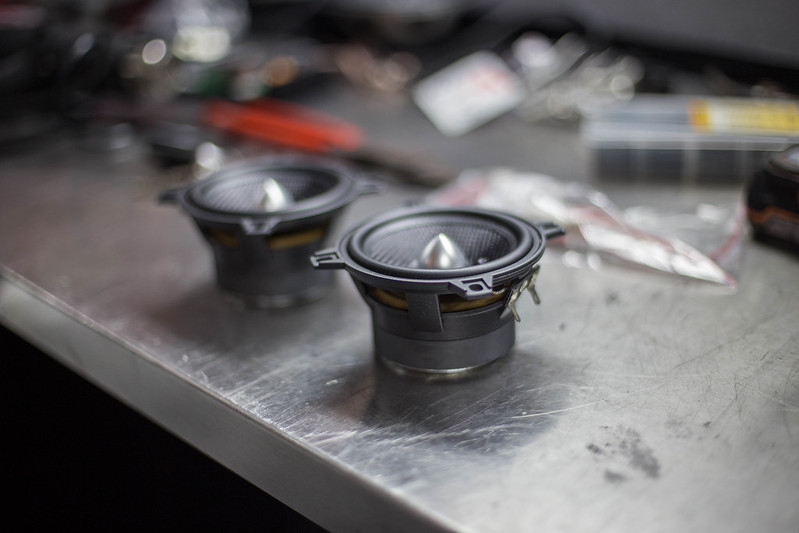 untitled (9 of 24)-2 by lawrx, on Flickr untitled (9 of 24)-2 by lawrx, on FlickrOnce i had confirmed i had everything i need (minus my ordering mishap) i started to runt the power wire. Normally using the factory amp wiring youd use its power source as well, however i was going to be running with a bit more power than that size wire could handle, so i ran my own. PS. a level makes a great extended hood prop when the factory one gets in the way while working. ALso not show is a used a bit of goop like stuff we have at work to seal the small slit in the boot, and i also wrapped the red power wire in some loom so as it is inconspicuous. 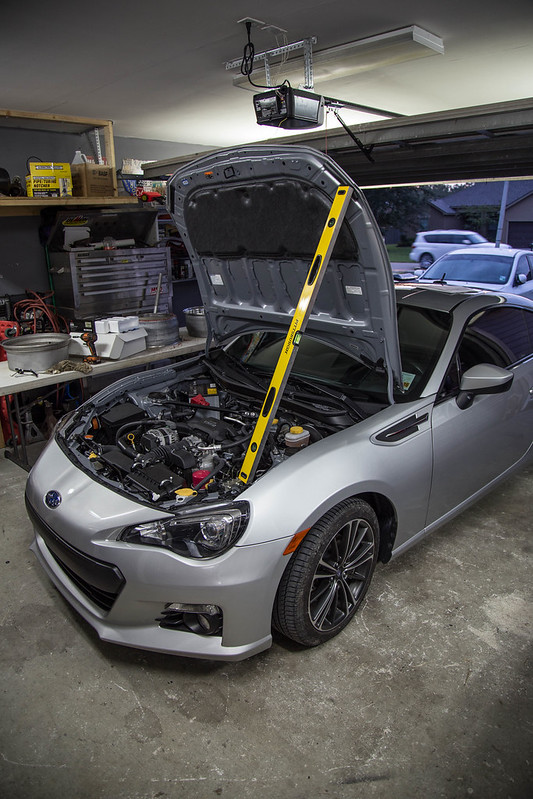 untitled (4 of 24)-2 by lawrx, on Flickr untitled (4 of 24)-2 by lawrx, on Flickr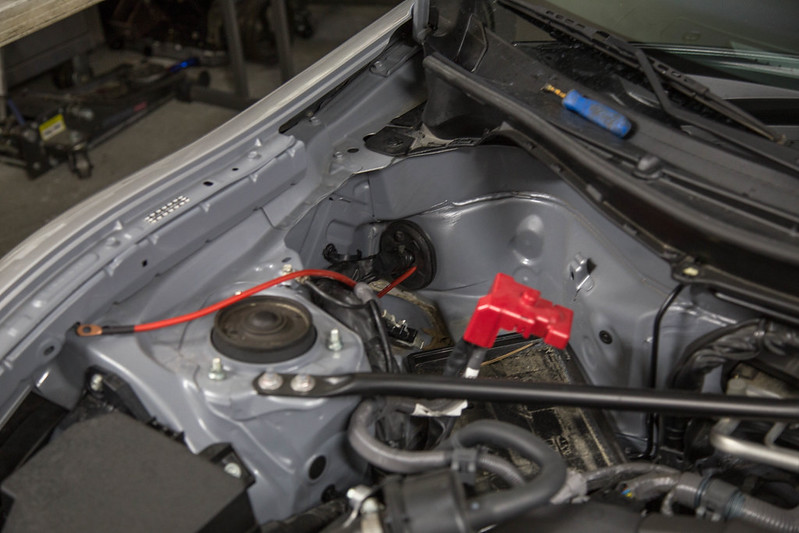 untitled (5 of 24)-2 by lawrx, on Flickr untitled (5 of 24)-2 by lawrx, on Flickr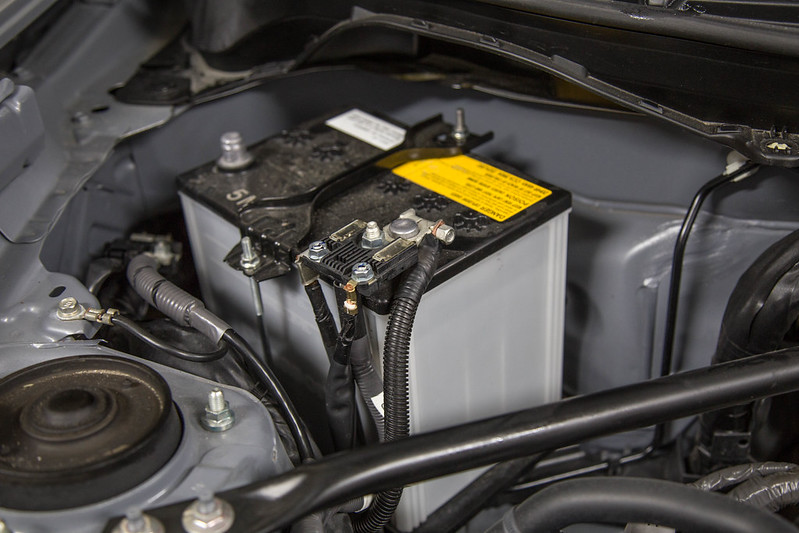 untitled (6 of 24)-2 by lawrx, on Flickr untitled (6 of 24)-2 by lawrx, on Flickr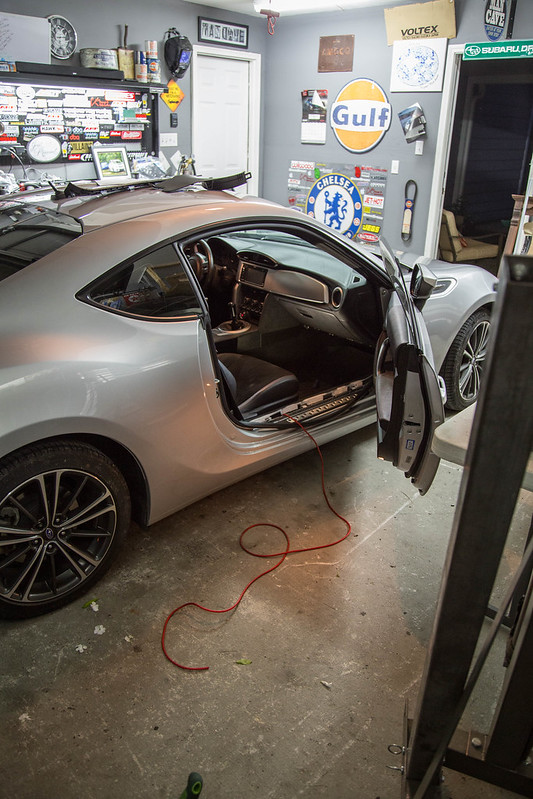 untitled (7 of 24)-2 by lawrx, on Flickr untitled (7 of 24)-2 by lawrx, on FlickrOnce the power wire was ran i focused on mamp mounting location. Again i wanted it hidden and out of sight, as factory as possible. So i took a hint from the factory moutign and mounted it opposite the factory amp just behind the rear seat. Only issue was there is a foam piece. Nothing a saw cant fix! 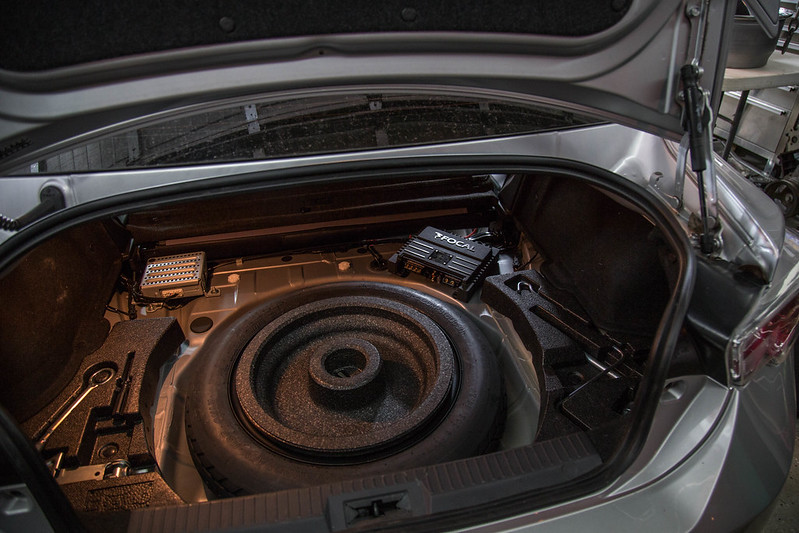 untitled (8 of 24)-2 by lawrx, on Flickr untitled (8 of 24)-2 by lawrx, on Flickr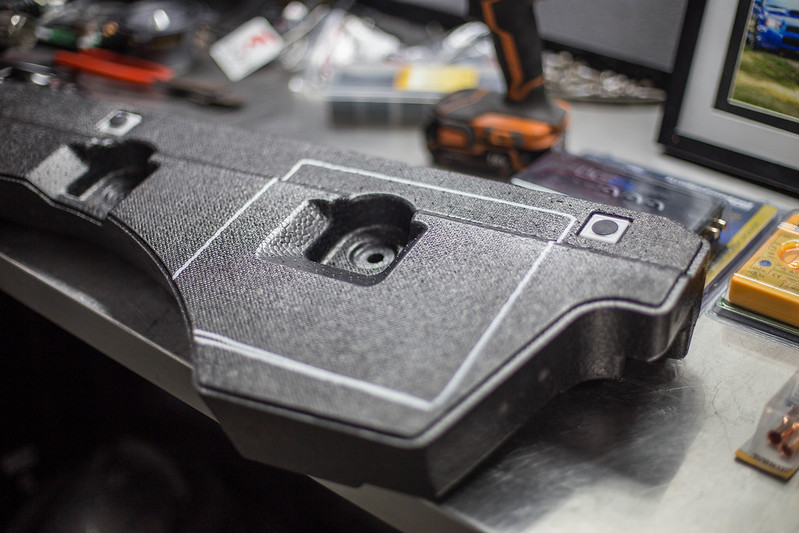 untitled (10 of 24)-2 by lawrx, on Flickr untitled (10 of 24)-2 by lawrx, on Flickr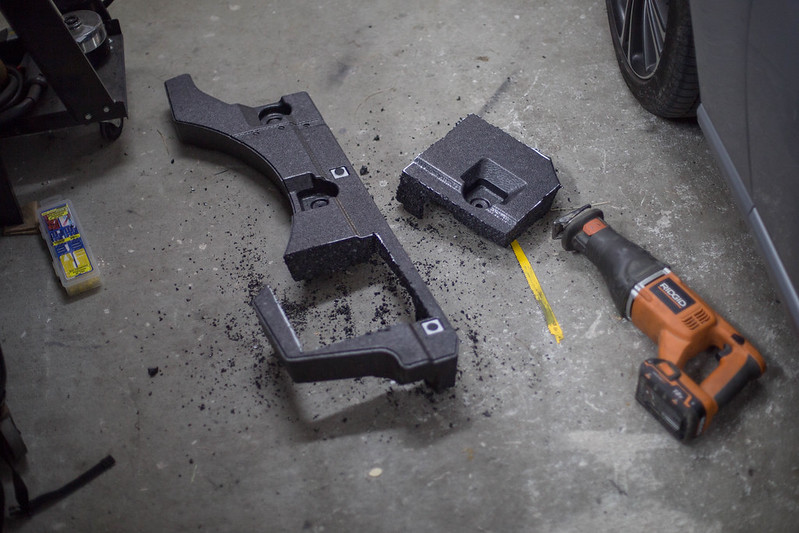 untitled (11 of 24)-2 by lawrx, on Flickr untitled (11 of 24)-2 by lawrx, on Flickr untitled (12 of 24)-2 by lawrx, on Flickr untitled (12 of 24)-2 by lawrx, on Flickr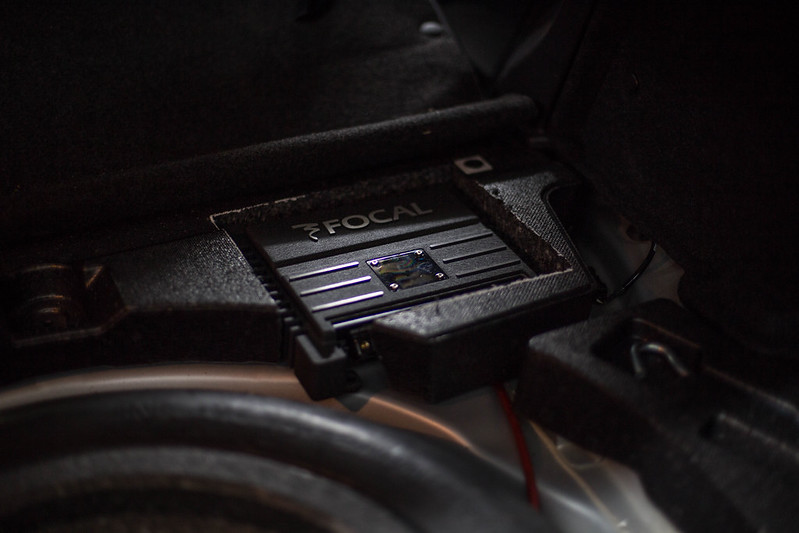 untitled (13 of 24)-2 by lawrx, on Flickr untitled (13 of 24)-2 by lawrx, on FlickrAfter getting the mounting position of the amp figured out, it was time to start building the harness it would receive its signal from. I used the How to on using the OEM amp wiring and it worked quite nicely. 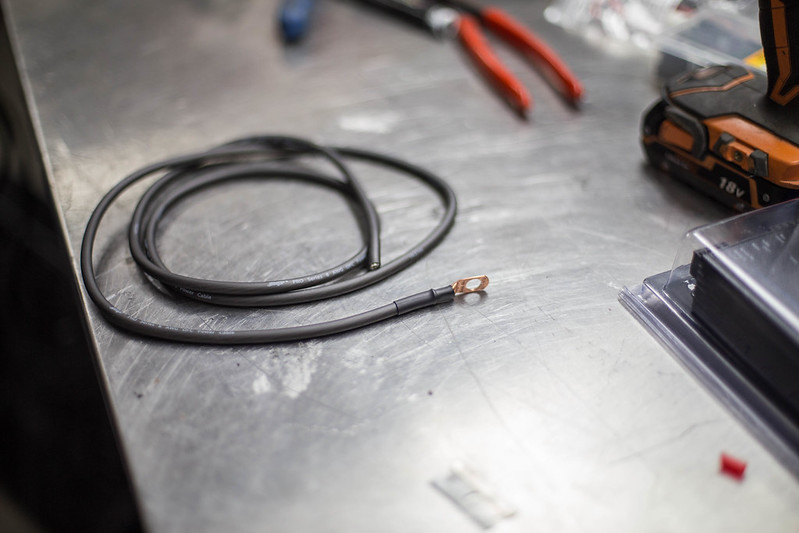 untitled (14 of 24)-2 by lawrx, on Flickr untitled (14 of 24)-2 by lawrx, on Flickr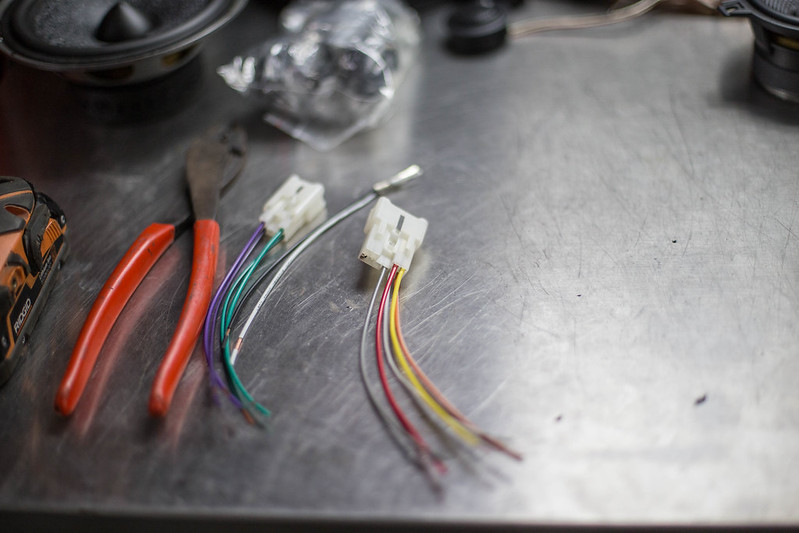 untitled (18 of 24)-2 by lawrx, on Flickr untitled (18 of 24)-2 by lawrx, on Flickr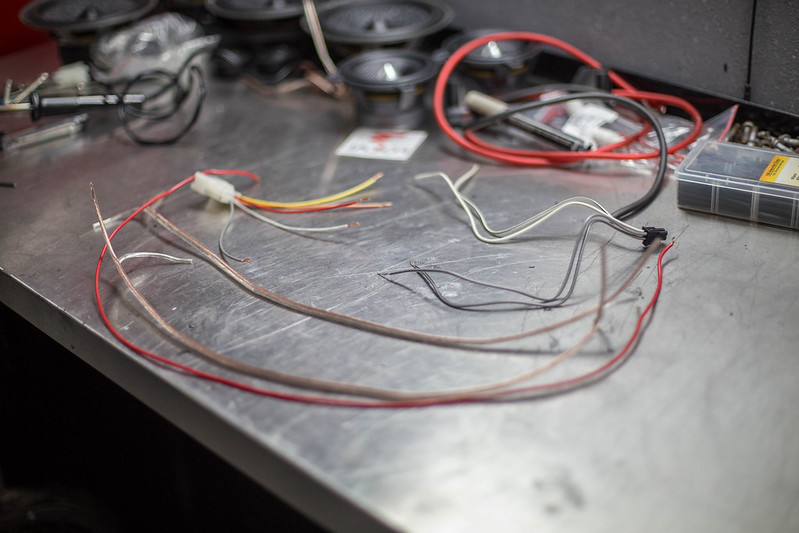 untitled (21 of 24)-2 by lawrx, on Flickr untitled (21 of 24)-2 by lawrx, on Flickr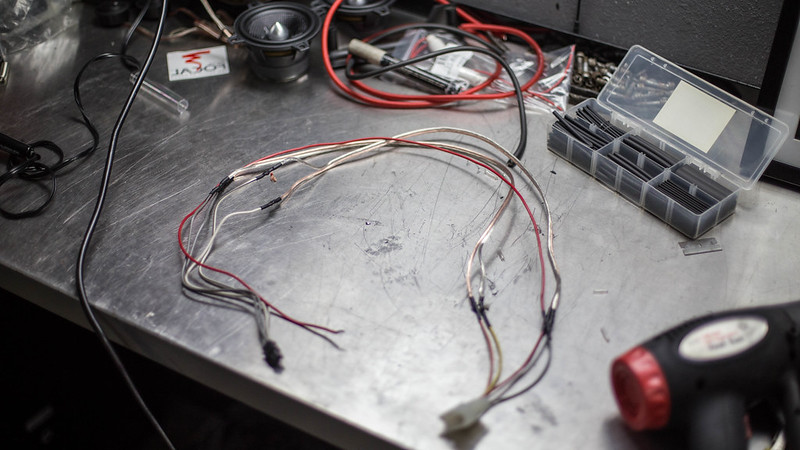 untitled (22 of 24)-2 by lawrx, on Flickr untitled (22 of 24)-2 by lawrx, on Flickr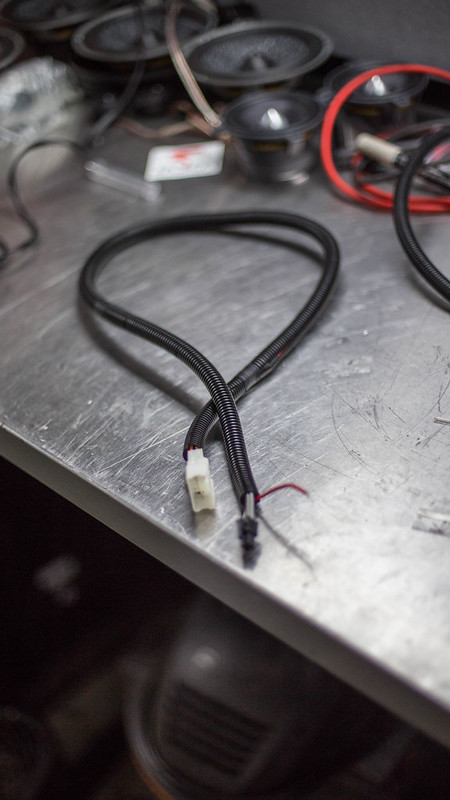 untitled (23 of 24)-2 by lawrx, on Flickr untitled (23 of 24)-2 by lawrx, on FlickrI dont mind running wires, ill do it all day. But i HATE sautering and the actions in building a harness, so tedious and time consuming. I cant begin to tell you how many time i forgot to slip the shrink wrap on the wire before beginning the sauter. Anyway, enough complaining. Once the harness was built i ran the speaker wires to the general locations id be mounting the crossover. the passenger crossover will be mounted in the glovebox. I have still yet to determine where to mount the driver side, but i have a few ideas. 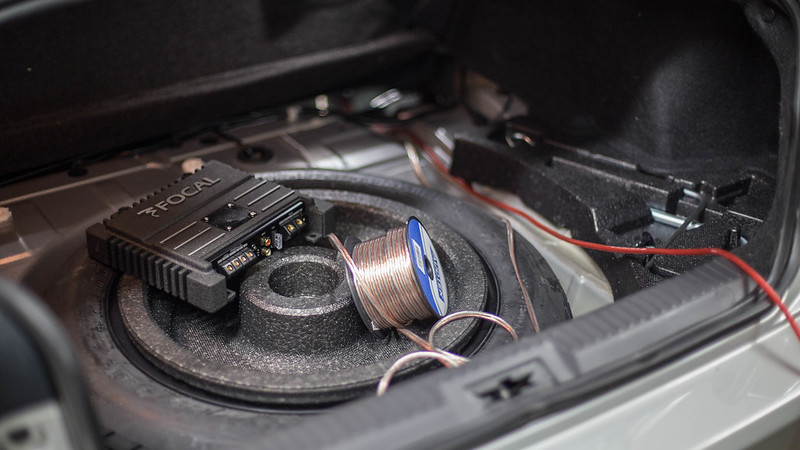 untitled (16 of 24)-2 by lawrx, on Flickr untitled (16 of 24)-2 by lawrx, on Flickr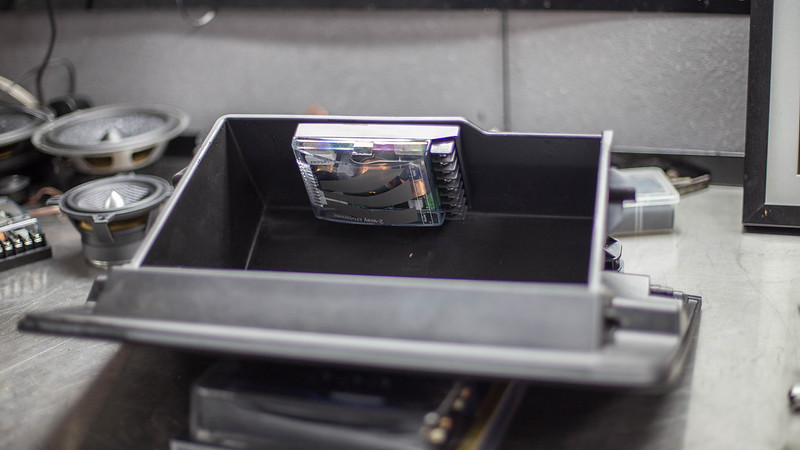 untitled (15 of 24)-2 by lawrx, on Flickr untitled (15 of 24)-2 by lawrx, on Flickr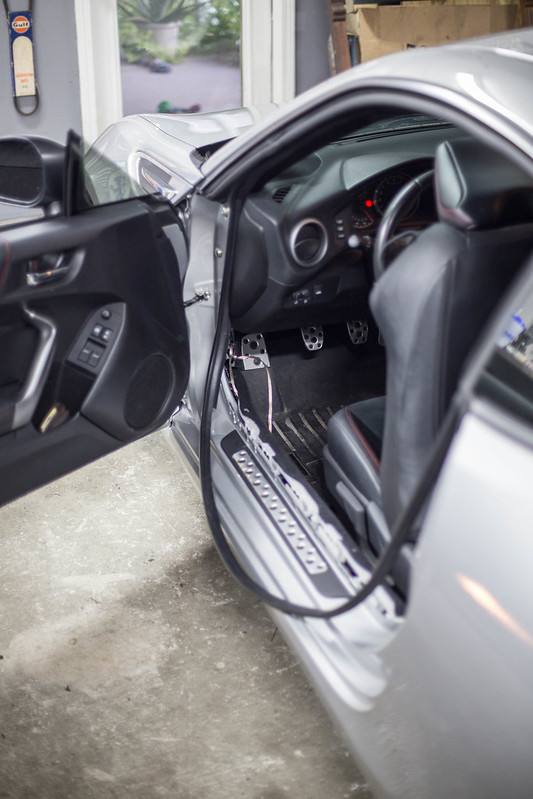 untitled (17 of 24)-2 by lawrx, on Flickr untitled (17 of 24)-2 by lawrx, on FlickrOnce all the wires were ran, i made a small jumper to test the power and hooked up a mid for a test. Everything worked as planned. Next phase will be installing the front speakers, and i still have to make a mount panel for the rear 6.5's behind the qtr int. trim panels. 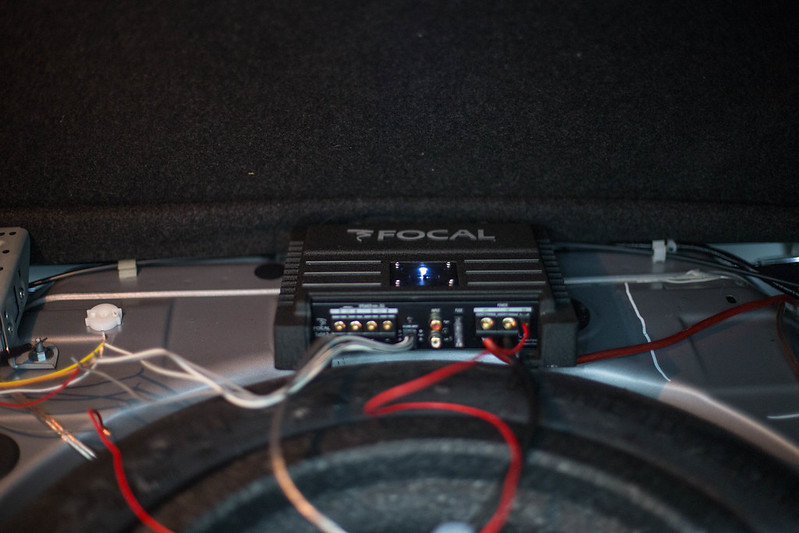 untitled (20 of 24)-2 by lawrx, on Flickr untitled (20 of 24)-2 by lawrx, on Flickr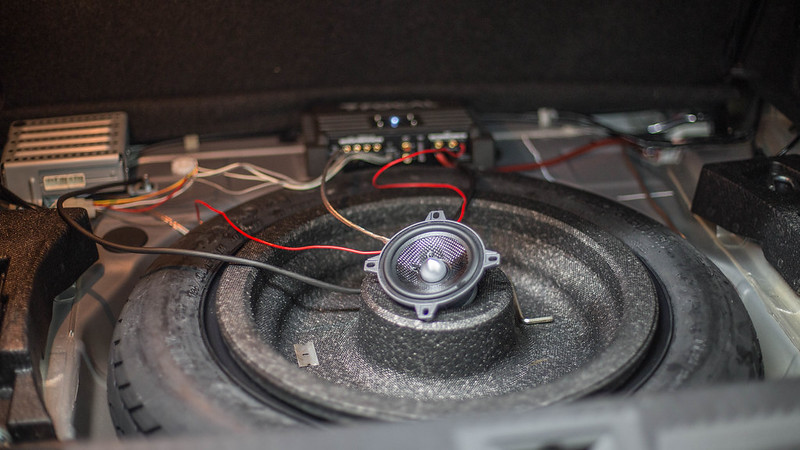 untitled (19 of 24)-2 by lawrx, on Flickr untitled (19 of 24)-2 by lawrx, on Flickr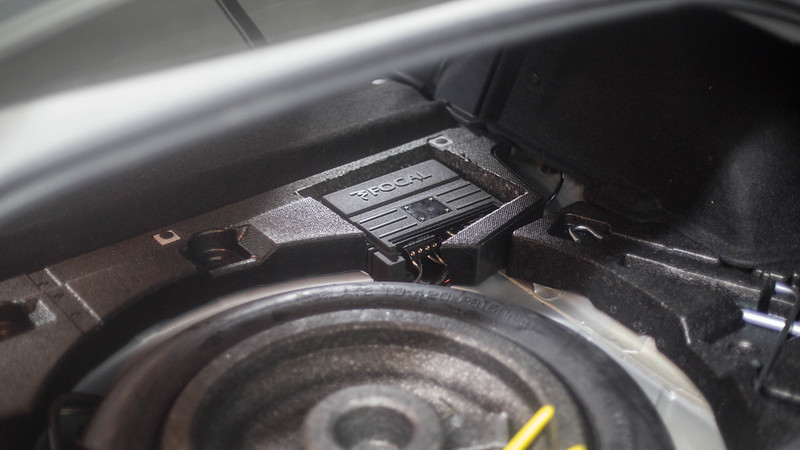 untitled (24 of 24)-2 by lawrx, on Flickr untitled (24 of 24)-2 by lawrx, on Flickr
|

|

|
|
09-29-2016, 12:51 PM
|
#2 |
|
Banned
Join Date: May 2016
Drives: on the wrongside of the road
Location: rear floor mats
Posts: 2,240
Thanks: 1,084
Thanked 2,087 Times in 1,015 Posts
Mentioned: 14 Post(s)
Tagged: 1 Thread(s)
|
nice!
|
|
|
|
|
09-29-2016, 01:26 PM
|
#3 |
|
Senior Member
Join Date: Apr 2013
Drives: 2014 BRZ
Location: Louisiana
Posts: 178
Thanks: 31
Thanked 122 Times in 67 Posts
Mentioned: 0 Post(s)
Tagged: 0 Thread(s)
|
I totally just realized i put this in the wrong section.... lol
|
|
|
|
|
09-29-2016, 01:44 PM
|
#4 | |
|
Senior Member
Join Date: Dec 2013
Drives: FRS
Location: Atlanta
Posts: 1,181
Thanks: 575
Thanked 291 Times in 216 Posts
Mentioned: 17 Post(s)
Tagged: 1 Thread(s)
|
Quote:
__________________
|
|
|
|
|
|
10-08-2016, 09:29 PM
|
#5 |
|
Senior Member
Join Date: Apr 2013
Drives: 2014 BRZ
Location: Louisiana
Posts: 178
Thanks: 31
Thanked 122 Times in 67 Posts
Mentioned: 0 Post(s)
Tagged: 0 Thread(s)
|
Over the last week or so i was able to finish up the audio install.
Started by removing there passenger door and putting it on my stand to make it easier to work on. It was such a nice morning out so the wife, baby, and dog came out to hang while i worked. 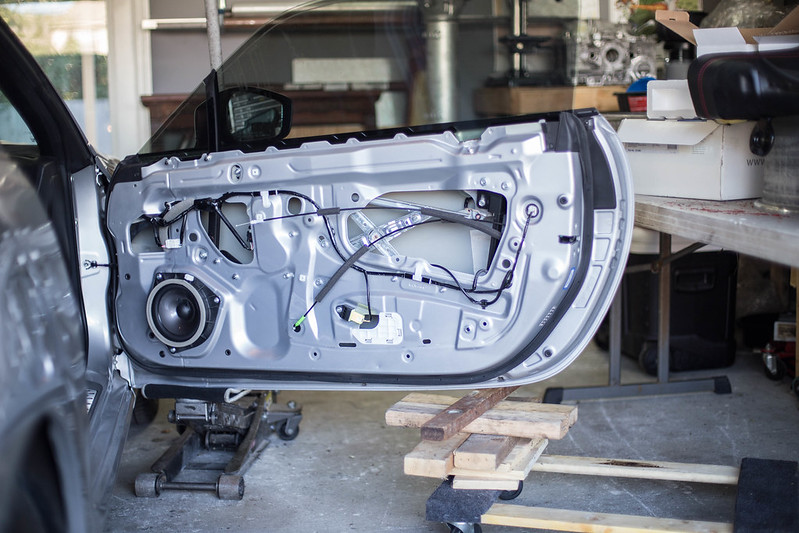 untitled (11 of 31) by lawrx, on Flickr untitled (11 of 31) by lawrx, on Flickr untitled (12 of 31) by lawrx, on Flickr untitled (12 of 31) by lawrx, on Flickr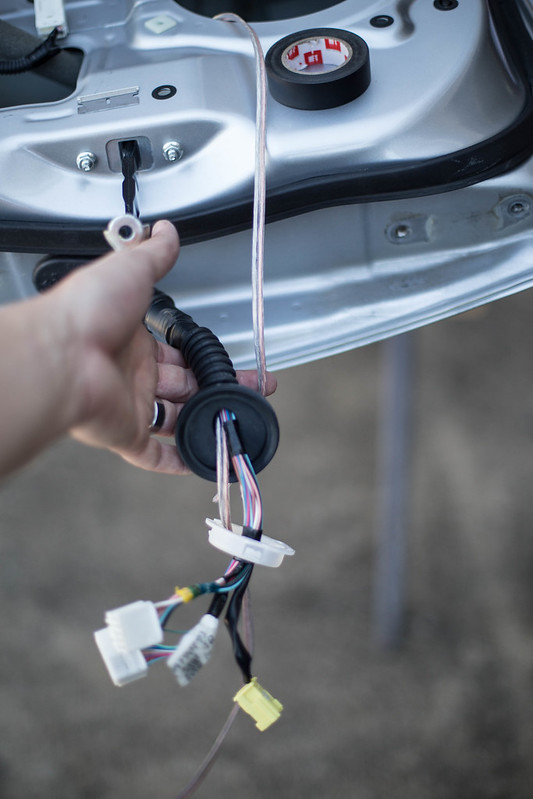 untitled (14 of 31) by lawrx, on Flickr untitled (14 of 31) by lawrx, on Flickr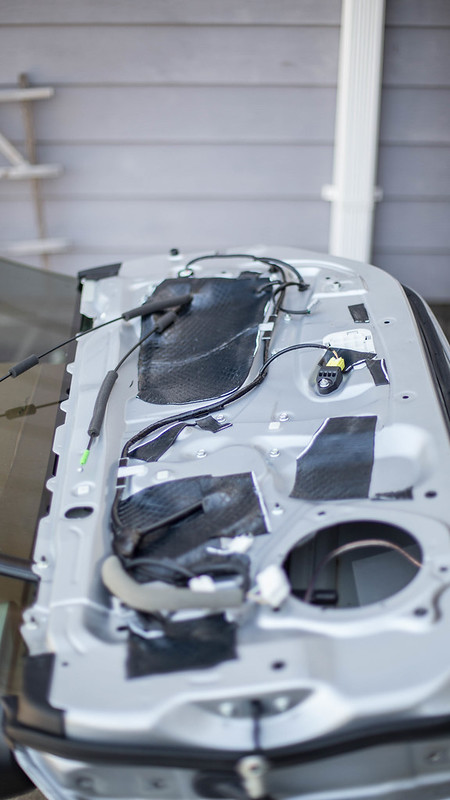 untitled (16 of 31) by lawrx, on Flickr untitled (16 of 31) by lawrx, on Flickr untitled (13 of 31) by lawrx, on Flickr untitled (13 of 31) by lawrx, on Flickr untitled (15 of 31) by lawrx, on Flickr untitled (15 of 31) by lawrx, on Flickr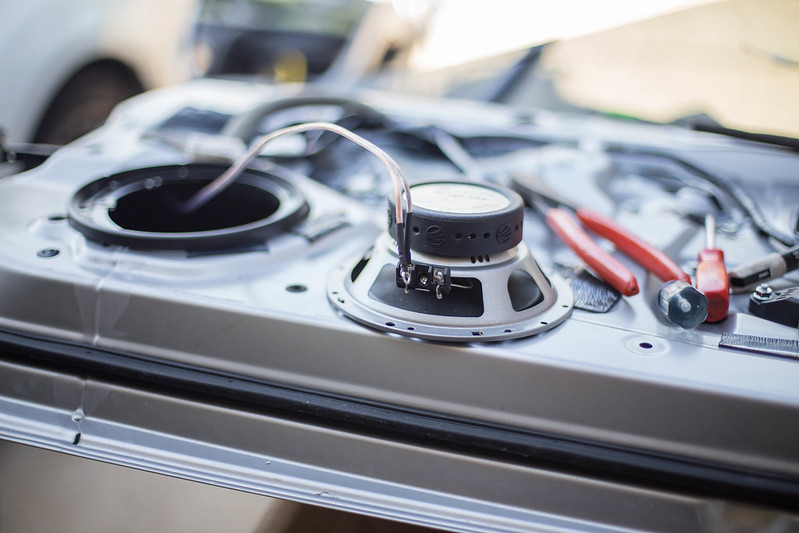 untitled (17 of 31) by lawrx, on Flickr untitled (17 of 31) by lawrx, on FlickrWhile i was outside working the mail truck pulled up, and i had a lovely delivery. My prodrive steering wheel showed up. 330mm deep dish suede piece. It also came with a sweet origami hedgehog lol 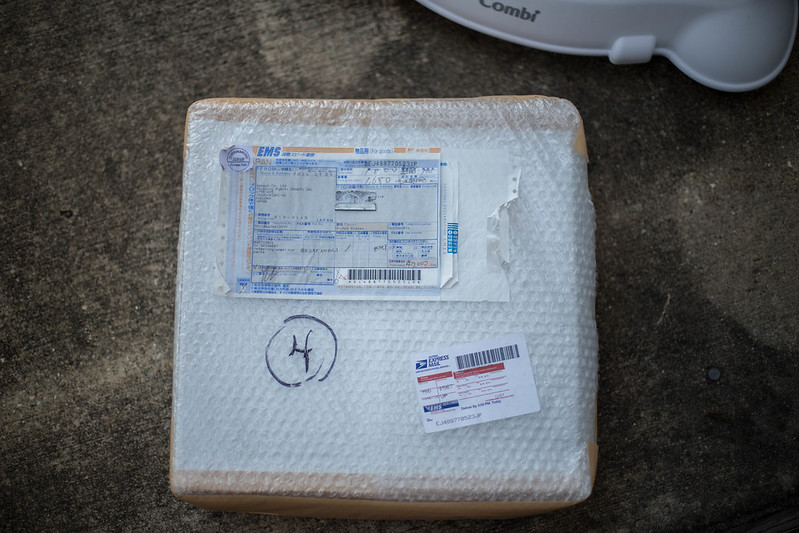 untitled (18 of 31) by lawrx, on Flickr untitled (18 of 31) by lawrx, on Flickr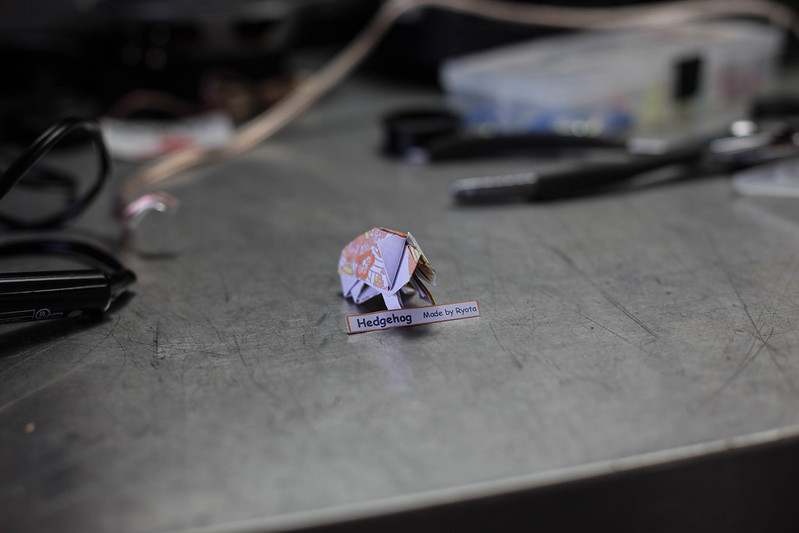 untitled (19 of 31) by lawrx, on Flickr untitled (19 of 31) by lawrx, on Flickr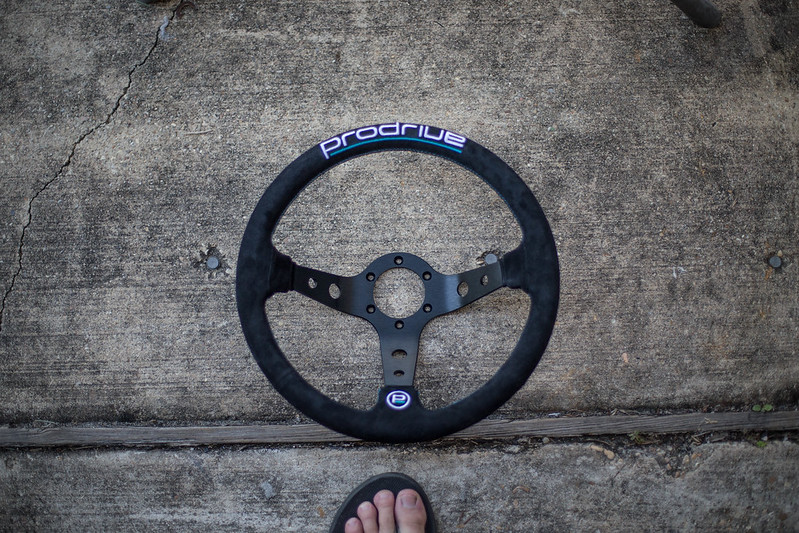 untitled (20 of 31) by lawrx, on Flickr untitled (20 of 31) by lawrx, on Flickr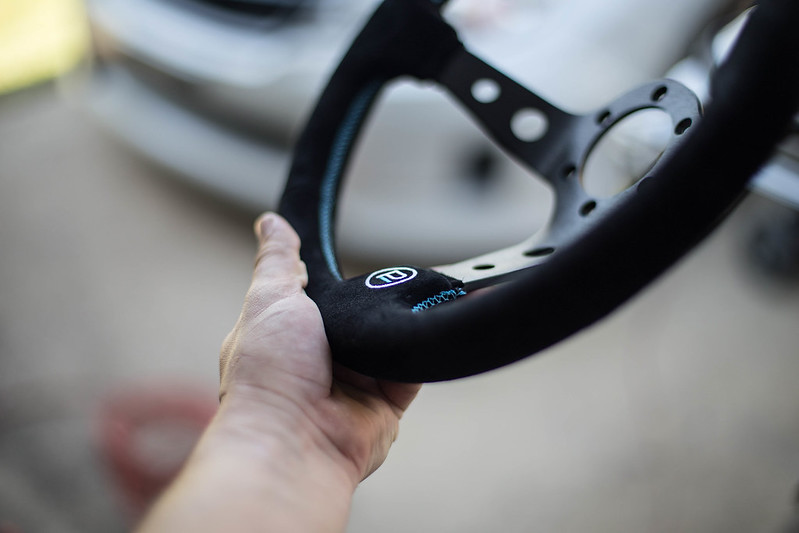 untitled (21 of 31) by lawrx, on Flickr untitled (21 of 31) by lawrx, on Flickr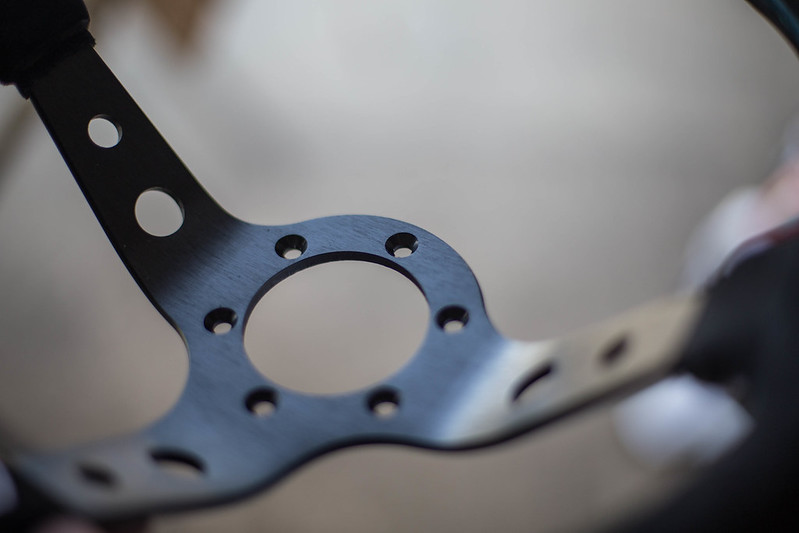 untitled (22 of 31) by lawrx, on Flickr untitled (22 of 31) by lawrx, on FlickrAfter playing with my steering wheel for a bit, i got back to work to start mounting the kids and tweeters. I didn't take too many shots as it was a tight space and i just got caught up in working. 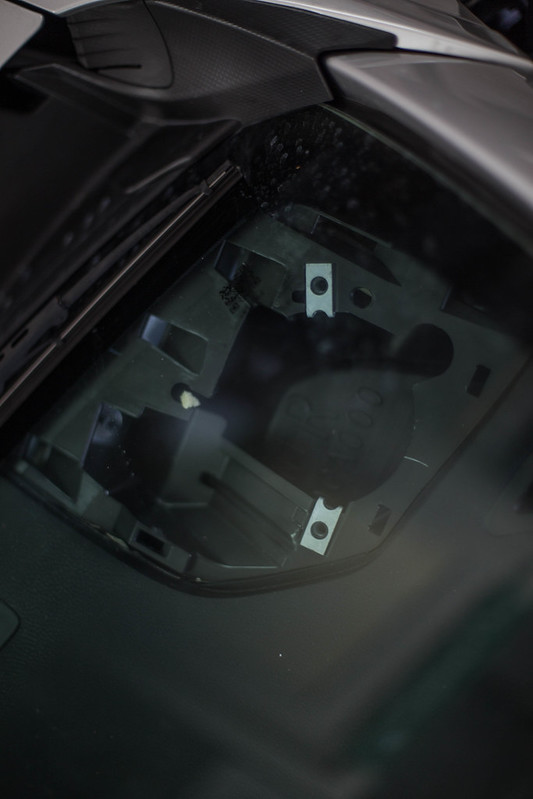 untitled (23 of 31) by lawrx, on Flickr untitled (23 of 31) by lawrx, on Flickr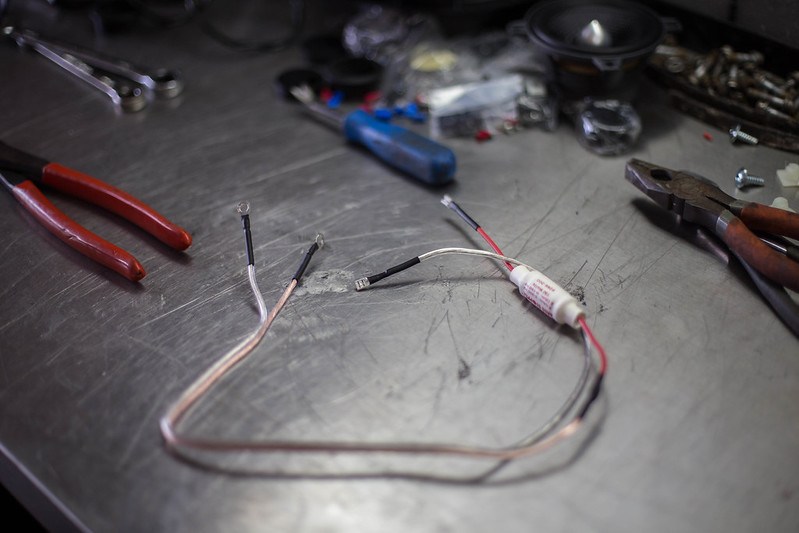 untitled (24 of 31) by lawrx, on Flickr untitled (24 of 31) by lawrx, on Flickr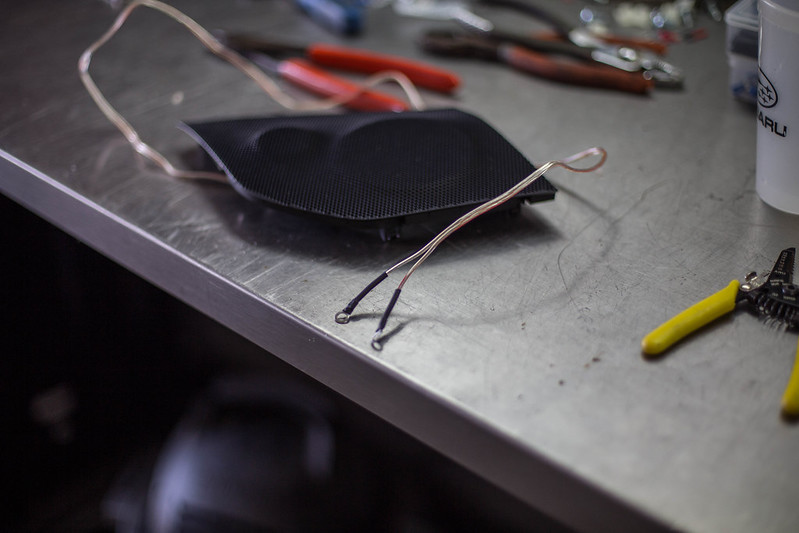 untitled (25 of 31) by lawrx, on Flickr untitled (25 of 31) by lawrx, on Flickr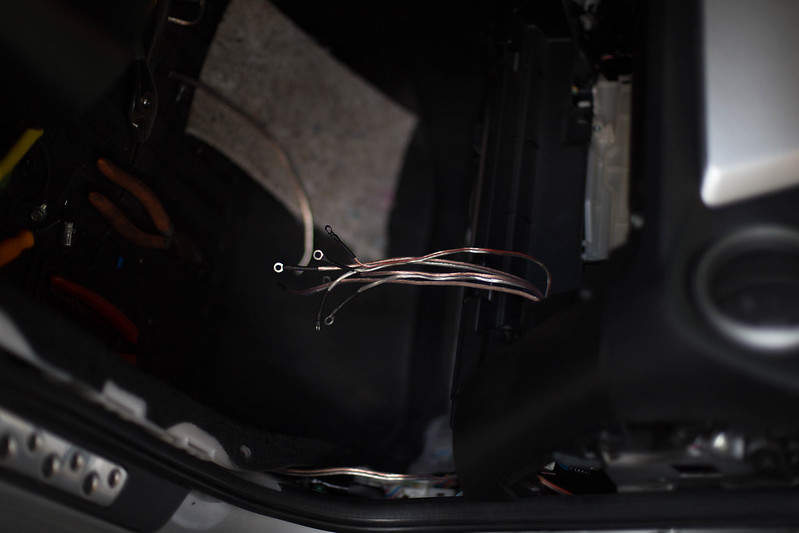 untitled (27 of 31) by lawrx, on Flickr untitled (27 of 31) by lawrx, on Flickr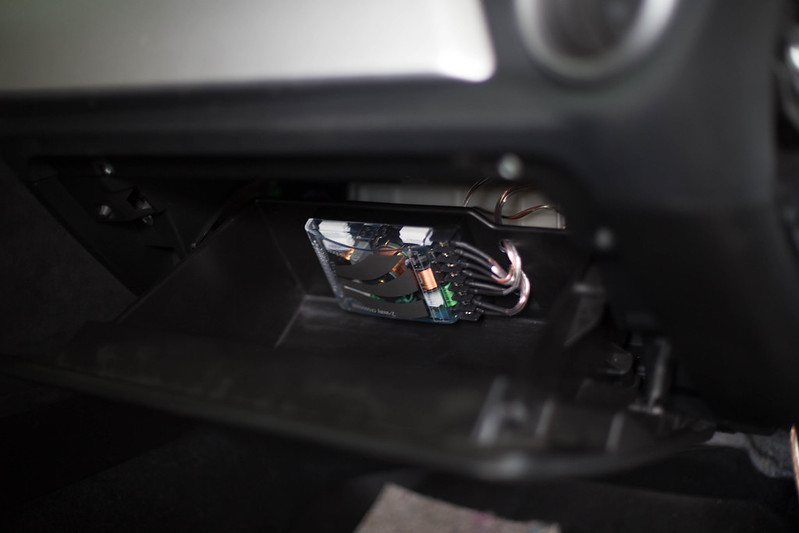 untitled (28 of 31) by lawrx, on Flickr untitled (28 of 31) by lawrx, on FlickrWith all the speakers mounted, all that was really left was to remove the tock amp, grind and hook up the ground, and lastly reinstall all the interior trim.  untitled (29 of 31) by lawrx, on Flickr untitled (29 of 31) by lawrx, on Flickr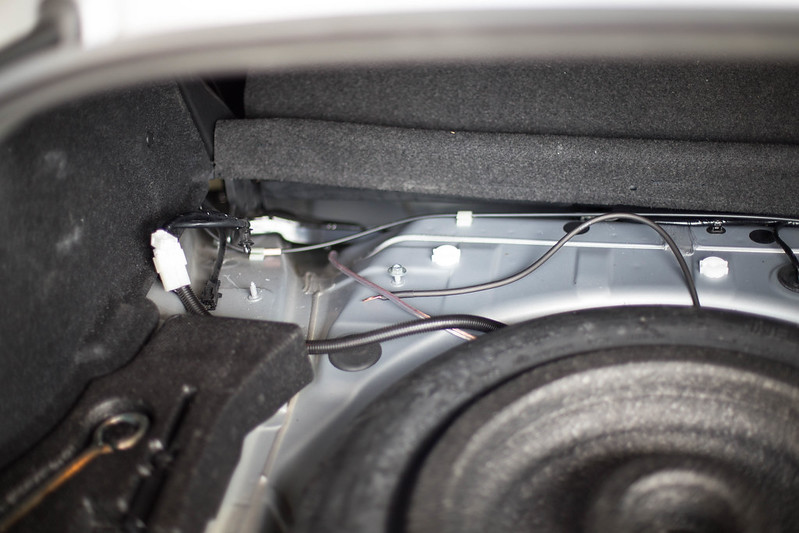 untitled (30 of 31) by lawrx, on Flickr untitled (30 of 31) by lawrx, on Flickr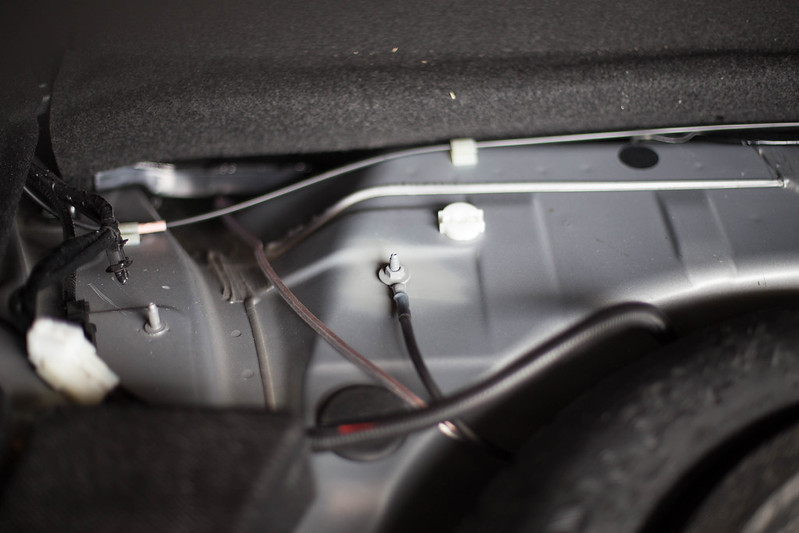 untitled (31 of 31) by lawrx, on Flickr untitled (31 of 31) by lawrx, on Flickr
|
|
|
|
|
|
|
|
|
|
|
 Similar Threads
|
||||
| Thread | Thread Starter | Forum | Replies | Last Post |
| My not so OEM Audio upgrade. | mines13 | Electronics | Audio | NAV | Infotainment | 8 | 09-14-2017 06:47 PM |
| My Focal based audio build | P3tras | Electronics | Audio | NAV | Infotainment | 45 | 10-05-2016 01:50 PM |
| 13' FR-S Audio Upgrade Build keeping base OEM HU | migueralliart | Electronics | Audio | NAV | Infotainment | 12 | 04-20-2014 04:44 AM |
| FR-S Audio Build - SQ (Illusion Audio/Mosconi) | DekaMori | Electronics | Audio | NAV | Infotainment | 28 | 04-17-2013 04:34 AM |
| 'Noobish' questions as I look to upgrade my car audio audio. | DkY in Vcr | Electronics | Audio | NAV | Infotainment | 0 | 09-22-2012 09:45 PM |


