I've been dying to start modifications on this car, but I decided to stick with a few simple and cheap cosmetic changes first.
I would love to have Toyota badges, but seeing as a set of two costs around $60, I decided to paint my stockies

To remove your emblems, follow this DIY.
http://www.ft86club.com/forums/showthread.php?t=7296
Anyways, here it goes.
Materials Needed
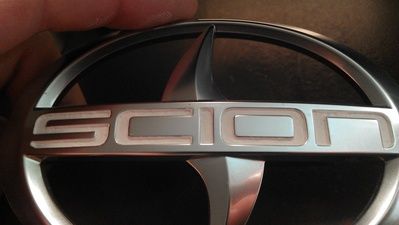
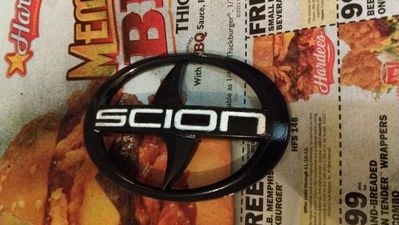
Scion Emblem (in this example, I'm doing the rear emblem.)
Acrylic paint (I went with plain white to redo the black lettering.)
Painter's tape
3M Double Sided automotive tape
All Surface primer
Your choice of plastic bonding paint. I went with a glossy black finish.
Clear coat. Trust me, don't pass up on this. Will protect your paint job and give your handy work that "professional" look.
Everything in the list can be purchased at any Wal-Mart or Auto parts store.
1. After removing the emblems, I used a small brush to paint the black SCION lettering white. In this step you don't have to be too careful to stay within the lines since you will be masking the lettering and spraying the rest of the emblem.
Basically, I coated the brush about halfway with paint. Wiped off the excess, and began blotting the paint on. The first coat works best if you "dot" the color on rather than "brush" it.
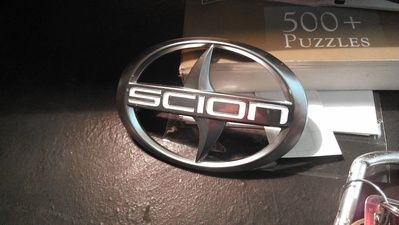
2. After your first "blot" coat dries, apply a second coat. This time, you can fill in all the little black bits showing through and make the paint job much smoother. After 2 coats I was satisfied with my results, but you may want to do more. Mine looks pretty good here, so I moved onto the next step.
3. After the lettering dries, it's time to mask them off. I took painters tape and laid it over the lettering. I then to a razor blade and cut out the depressions of the lettering. Be sure to cover the ENTIRE letter, and leave enough room to cover the edging.
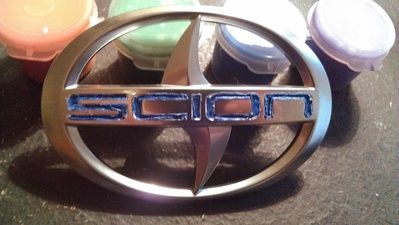
This step is the most important if you are looking for quality white letters. You have to be meticulous in the position of the tape, and think about where the white color will end, and the black will begin. IDK if someone has a better way of doing this...if so, let me know

4. Once the emblem is masked, you can apply the primer. I went with 3 coats just to be safe.
5. After the primer dries, apply your gloss. 2 coats should be fine.
After your gloss dries, CAREFULLY remove the tape. Make sure the paint is ABSOLUTELY dry. I used a small knife to pry up the corners of the tape, then peeled it off slowly with my fingers.
At this point you want to go back and touch up any of the white lettering you aren't satisfied with.
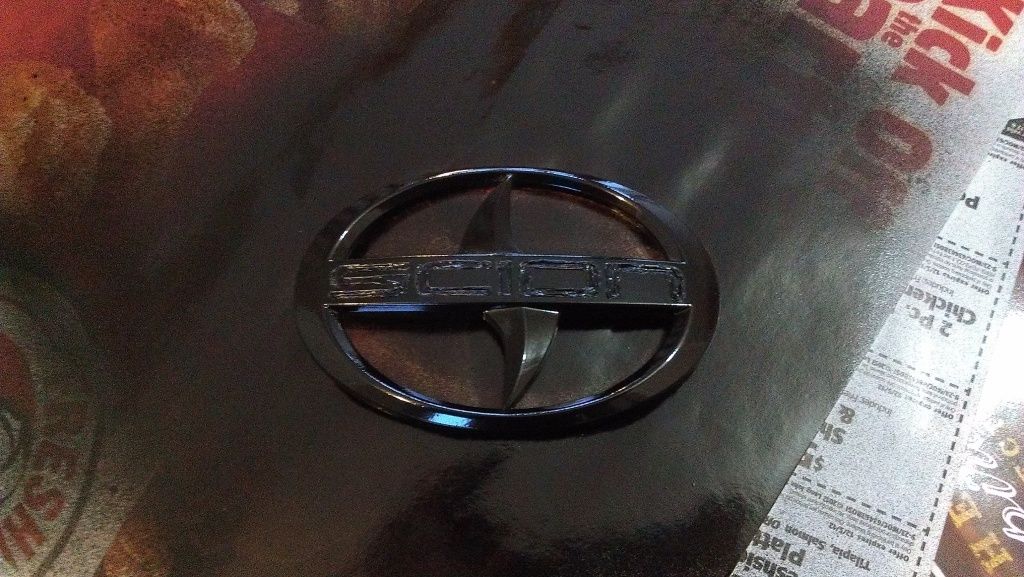
6. Apply your clear coat. 1-2 coats depending on preference.
I know this pic looks rough. This is before I went back and touched up a few spots.
7. Re-attach your emblems using the 3m double sided tape. Easy to do considering the rear emblem has 2 holes to position the badge correctly.
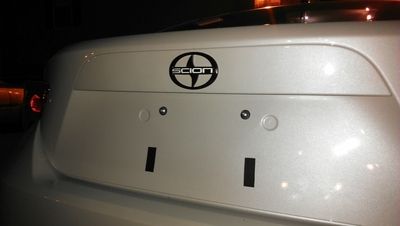
Sorry about the light, I was too anxious to put the badge back on to wait until tomorrow morning. May be silly, but I personally enjoy the way it looks. Particularly on the Whiteout

Enjoy! If you decide to use this DIY post some pics up of your results