


|
||||||
| DIY (Do-It-Yourself) Guides For all DIYs. |
 |
|
|
Thread Tools | Search this Thread |
 08-29-2012, 12:11 AM
|
#1 |
|
Senior Member
Join Date: Apr 2012
Drives: FR-S
Location: California
Posts: 1,956
Thanks: 294
Thanked 673 Times in 390 Posts
Mentioned: 11 Post(s)
Tagged: 2 Thread(s)
|
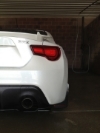
Drilling a Hole for Tow Hook or License Plate
I made a small DIY for creating a hole for either a tow hook or license plate holder, such as my Grimmspeed license relocation kit.
I take no responsibility for any damages that occurred. Do it at your own risk. Tools needed: 1. Plastic trim remover or a flat screwdriver. I wrapped a flat head screwdriver with electrical tape. 2. Drill and 7/8 Spur-point drill bit. 1 inch or bigger drill bit will allow for more error if you messed up on measurements or you have a thicker tow hook or license plate holder. 3. Ruler 4. Paper/Cardboard 5. Wrench to remove and install tow hook or license plate holder. 6. Grommet (optional) 7. Spare tow hook cover (optional) Steps to make the hole correctly. 1. Remove the tow hook cover with either your plastic trim remover or flat head screwdriver. 2. (Optional) Buy a spare tow hook cover just incase you mess up or want to keep the original for later. I bought mine from the local dealership for $20 painted. [IMG]http://i2.photobucket.com/albums/y42/kikim85/3C0***A0-E650-42A1-9169-0C54FE4673CF-4830-000005DAF859ABF6_zps5a0b405a.jpg[/IMG] 3. Insert the tow hook or license plate bolt you intend to use. Don't attach the rest of the license plate kit since you want room to make measurement. 4. Measure the top, sides, and bottom from where the tow hook or license plate bolt to the end of the tow hook area. It's not in the middle of the cover so it's crucial you get this done correctly. 5. Get your paper or cardboard and outline the edges with a pen/pencil. Now use your measurements and test it on the paper/cardboard. It took me 2 tries and I had to keep cutting extra pieces off to make it fit on my test paper.  6. Lay the paper directly on the tow hook cover and use your spur-point drill in the middle of the circle. Go slowly since the plastic can melt. 7. Install the tow hook cover  8. You can add a grommet if you want or if you end up using a smaller bolt it can accommodate the extra space around the open area.  9. Install the tow hook or license plate and you're done! 
Last edited by Hanakuso; 06-03-2016 at 06:04 PM. |

|

|
| The Following 14 Users Say Thank You to Hanakuso For This Useful Post: | baldolera (08-30-2012), Busybee (04-10-2019), calis5nest (09-05-2012), civicdrivr (10-17-2012), danthedirt (08-29-2012), drewbot (05-26-2015), FrX (08-30-2012), FyeaFRS (10-10-2013), MJones_RB (07-06-2018), myd_lyf_crysys (01-13-2013), robo_robb (02-11-2013), russv (08-30-2012), Shipwreck (10-29-2013), TIE Pilot (10-29-2013) |
|
08-30-2012, 02:33 AM
|
#2 |
|
NW Region Moderator

Join Date: Mar 2010
Drives: FR-S No More
Location: Portland OR
Posts: 5,156
Thanks: 1,134
Thanked 3,186 Times in 1,091 Posts
Mentioned: 300 Post(s)
Tagged: 4 Thread(s)
|
Added to the DIY Directory:
http://www.ft86club.com/forums/showthread.php?t=7365
__________________
|
|
|
|
|
11-24-2012, 07:40 PM
|
#3 |
|
Member

Join Date: Oct 2012
Drives: argento frs; 90 mustang gt
Location: 619
Posts: 89
Thanks: 39
Thanked 22 Times in 18 Posts
Mentioned: 0 Post(s)
Tagged: 0 Thread(s)
|
wanted to say thanks. i also put a 1/8 vacuum hose, cut along the length and placed around the drilled hole.
it gives it a cleaner look on the outside. |
|
|
|
|
11-26-2012, 03:49 PM
|
#4 | |
|
Senior Member
Join Date: Apr 2012
Drives: FR-S
Location: California
Posts: 1,956
Thanks: 294
Thanked 673 Times in 390 Posts
Mentioned: 11 Post(s)
Tagged: 2 Thread(s)
|
Quote:
|
|
|
|
|
|
11-28-2012, 05:27 PM
|
#5 |

Join Date: Apr 2012
Drives: 2014 Widebody Cosworth FR-S
Location: Salt Lake City, Utah
Posts: 4,542
Thanks: 205
Thanked 1,198 Times in 554 Posts
Mentioned: 38 Post(s)
Tagged: 0 Thread(s)
|
I never thought about a grommet. Good idea!
-Zach |
|
|
|
|
12-08-2012, 06:12 PM
|
#6 |
|
Newbie Car Enthusiast

Join Date: Oct 2012
Drives: Asphalt 6MT FR-S
Location: Canada
Posts: 413
Thanks: 78
Thanked 54 Times in 31 Posts
Mentioned: 0 Post(s)
Tagged: 0 Thread(s)
|
i never knew you needed a hole. i checked the grimmspeed site and it says "no drilling required"
|
|
|
|
|
12-08-2012, 06:24 PM
|
#7 | |
|
Senior Member

Join Date: Oct 2012
Drives: 2013 Ultramarine FR-S
Location: Liberty Lake
Posts: 1,209
Thanks: 1,978
Thanked 539 Times in 327 Posts
Mentioned: 18 Post(s)
Tagged: 2 Thread(s)
|
Quote:
|
|
|
|
|
|
12-25-2012, 01:21 AM
|
#8 |
|
Senior Member

Join Date: Nov 2012
Drives: 2013 Scion FR-S
Location: CA
Posts: 171
Thanks: 88
Thanked 32 Times in 25 Posts
Mentioned: 0 Post(s)
Tagged: 0 Thread(s)
|
Been looking for this diy thanks!
__________________
 |
|
|
|
|
02-11-2013, 03:09 PM
|
#9 |
|
Member

Join Date: Apr 2010
Drives: Whiteout FR-S
Location: NJ
Posts: 88
Thanks: 37
Thanked 56 Times in 23 Posts
Mentioned: 0 Post(s)
Tagged: 0 Thread(s)
|
Thanks a bunch Hanakuso! Could you tell me what kind of grommet you used in this pic?

|
|
|
|
|
02-11-2013, 03:24 PM
|
#10 | |
|
Senior Member
Join Date: Apr 2012
Drives: FR-S
Location: California
Posts: 1,956
Thanks: 294
Thanked 673 Times in 390 Posts
Mentioned: 11 Post(s)
Tagged: 2 Thread(s)
|
Quote:
|
|
|
|
|
| The Following User Says Thank You to Hanakuso For This Useful Post: | robo_robb (02-11-2013) |
|
02-14-2013, 03:23 PM
|
#11 |
|
Senior Member

Join Date: Aug 2012
Drives: 83 Toyota Supra, 16 FR-S RS2.0
Location: Modesto, CA
Posts: 405
Thanks: 389
Thanked 267 Times in 141 Posts
Mentioned: 47 Post(s)
Tagged: 0 Thread(s)
|
Thanks for the DIY! I went out to local Toyota and found part number SU003-01522 as the number for the Hot Lava color. Good looks with the grommet/tubing. I will use the idea for the tubing on a corner I need to protect from rubbing for another project on my 240z, thanks sinigang guy!
Eric G |
|
|
|
|
02-14-2013, 08:36 PM
|
#12 |
|
Senior Member
Join Date: Nov 2012
Drives: SWP Subaru BRZ
Location: Bellevue, NE
Posts: 1,294
Thanks: 257
Thanked 577 Times in 427 Posts
Mentioned: 19 Post(s)
Tagged: 0 Thread(s)
|
I will contribute to this rather than making a new thread. For the BRZ do the same method but since the surface is not painted, it is a little easier to use a different tool. I actually went with a dremel stone circular bit and pushed at high RPM. It melted the center but kept the outside cool and with a clean cut.
Ended up with this: 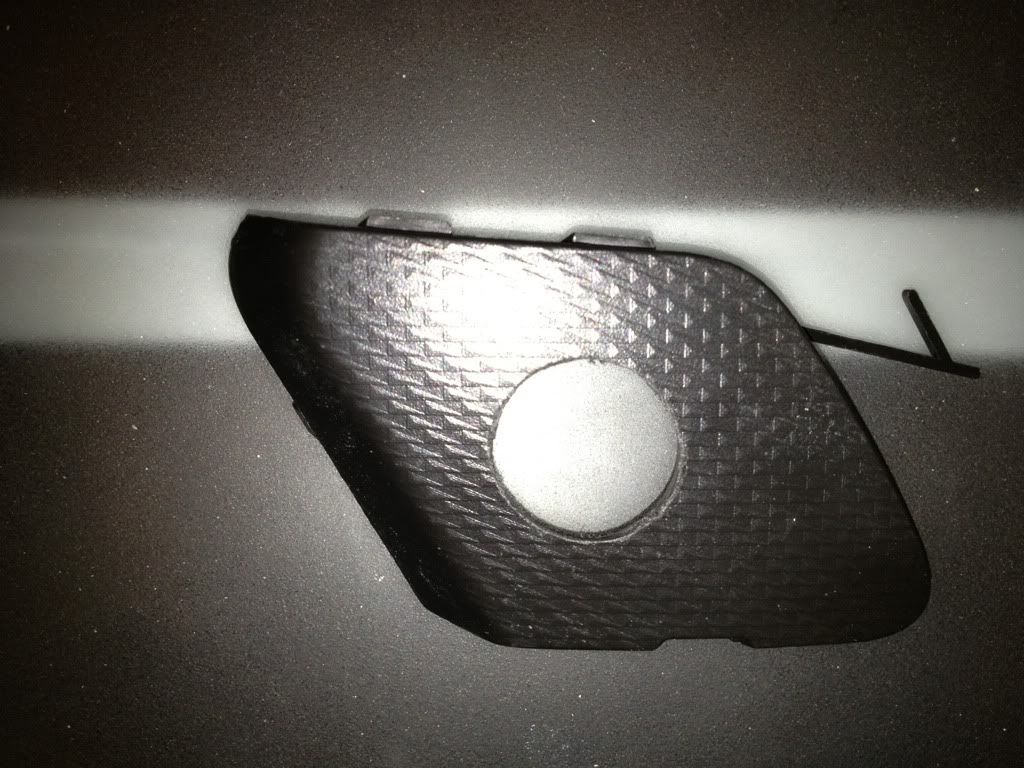 Took some wet sand paper to the edges afterwards and looked super clean. Trick is to not get it hot enough so it creates plastic goo. At that point you may end up making a hole bigger than intended. Go low then work up to fast. You start seeing some goo, then back off on the speed and let it cool for a second. The same bit from above will work too. Just remember drill from the backside of the piece for a clean finish. I have no "sealed" the hole I made in the tow hook cover door but will probably use some kind of rubber hose and cut down the center. |
|
|
|
|
10-02-2013, 03:25 PM
|
#13 |
|
Senior Member
Join Date: Sep 2013
Drives: 2013 FRS
Location: Bay Area
Posts: 105
Thanks: 35
Thanked 28 Times in 17 Posts
Mentioned: 2 Post(s)
Tagged: 0 Thread(s)
|
I just did this with a rotary tool and a 3/4 inch grommet from home depot (~$1). I used a couple cardboard templates to get the hole positioning just right. Afterwards, I drilled the hole and expanded it till it could fit the grommet.
I was surprised at how much cleaner it looks. The hole didnt bother me at all, but I figured I could do this project pretty quickly and easily. After finishing, I don't know how I lived with that gaping hole for so long... |
|
|
|
| The Following 10 Users Say Thank You to Shindig For This Useful Post: | 8R6 (04-16-2014), Ammunition (04-02-2015), Anthonytpt (10-29-2013), Brayden_23 (04-19-2016), Busybee (04-10-2019), Courier6 (04-08-2016), FyeaFRS (10-10-2013), Hanakuso (10-02-2013), XanRules (06-11-2016), zeal86 (11-07-2014) |
|
10-02-2013, 07:52 PM
|
#14 | |
|
Senior Member
Join Date: Apr 2012
Drives: FR-S
Location: California
Posts: 1,956
Thanks: 294
Thanked 673 Times in 390 Posts
Mentioned: 11 Post(s)
Tagged: 2 Thread(s)
|
Quote:
|
|
|
|
|
|
|
|
|
|
|
|
 Similar Threads
|
||||
| Thread | Thread Starter | Forum | Replies | Last Post |
| [For Sale] Rho-plate Tow Hook Mounted License Plate rack | pizzahead20 | Canada Classifieds | 0 | 08-23-2012 12:06 AM |
| My new license plate | Techknowfile | Scion FR-S / Toyota 86 GT86 General Forum | 4 | 07-12-2012 07:57 AM |
| Tow-hook license-plate template? | TuxedoCartman | Cosmetic Modification (Interior/Exterior/Lighting) | 5 | 06-24-2012 12:51 PM |
| Delete | driver01 | Scion FR-S / Toyota 86 GT86 General Forum | 17 | 03-28-2012 12:32 PM |


 2013 Scion FR-S