


|
||||||
| DIY (Do-It-Yourself) Guides For all DIYs. |
 |
|
|
Thread Tools | Search this Thread |
 12-08-2020, 03:09 AM
|
#1 |
|
Junior Member
Join Date: Oct 2020
Drives: 2013 Toyota 86
Location: Brisbane, Queensland AU
Posts: 5
Thanks: 0
Thanked 4 Times in 2 Posts
Mentioned: 0 Post(s)
Tagged: 0 Thread(s)
|
Install Guide: Joying Android 10.0 Head Unit
So I recently got myself the 7" universal Joying head unit and decided to make an install guide for all the good folks here, hopefully help some people out.
THE HEAD UNIT The head unit is specifically designed for Toyota and can be installed pretty much perfectly in the FRS and 86. No trim kits required! It is however shipped from China, so expect quite a wait when you order it. https://www.joyingauto.com/joying-7-...-4gb-64gb.html If you want to keep your factory reversing camera (which I will cover in this guide), you'll need to buy an adaptor harness. I used the Aeropro APVTY04, and will be going over how to use it in the guide. https://aerpro.com/apvty04 WHAT YOU GET Inside the strangely blank cardboard box that I received quite a lot of goodies to go with the head unit. 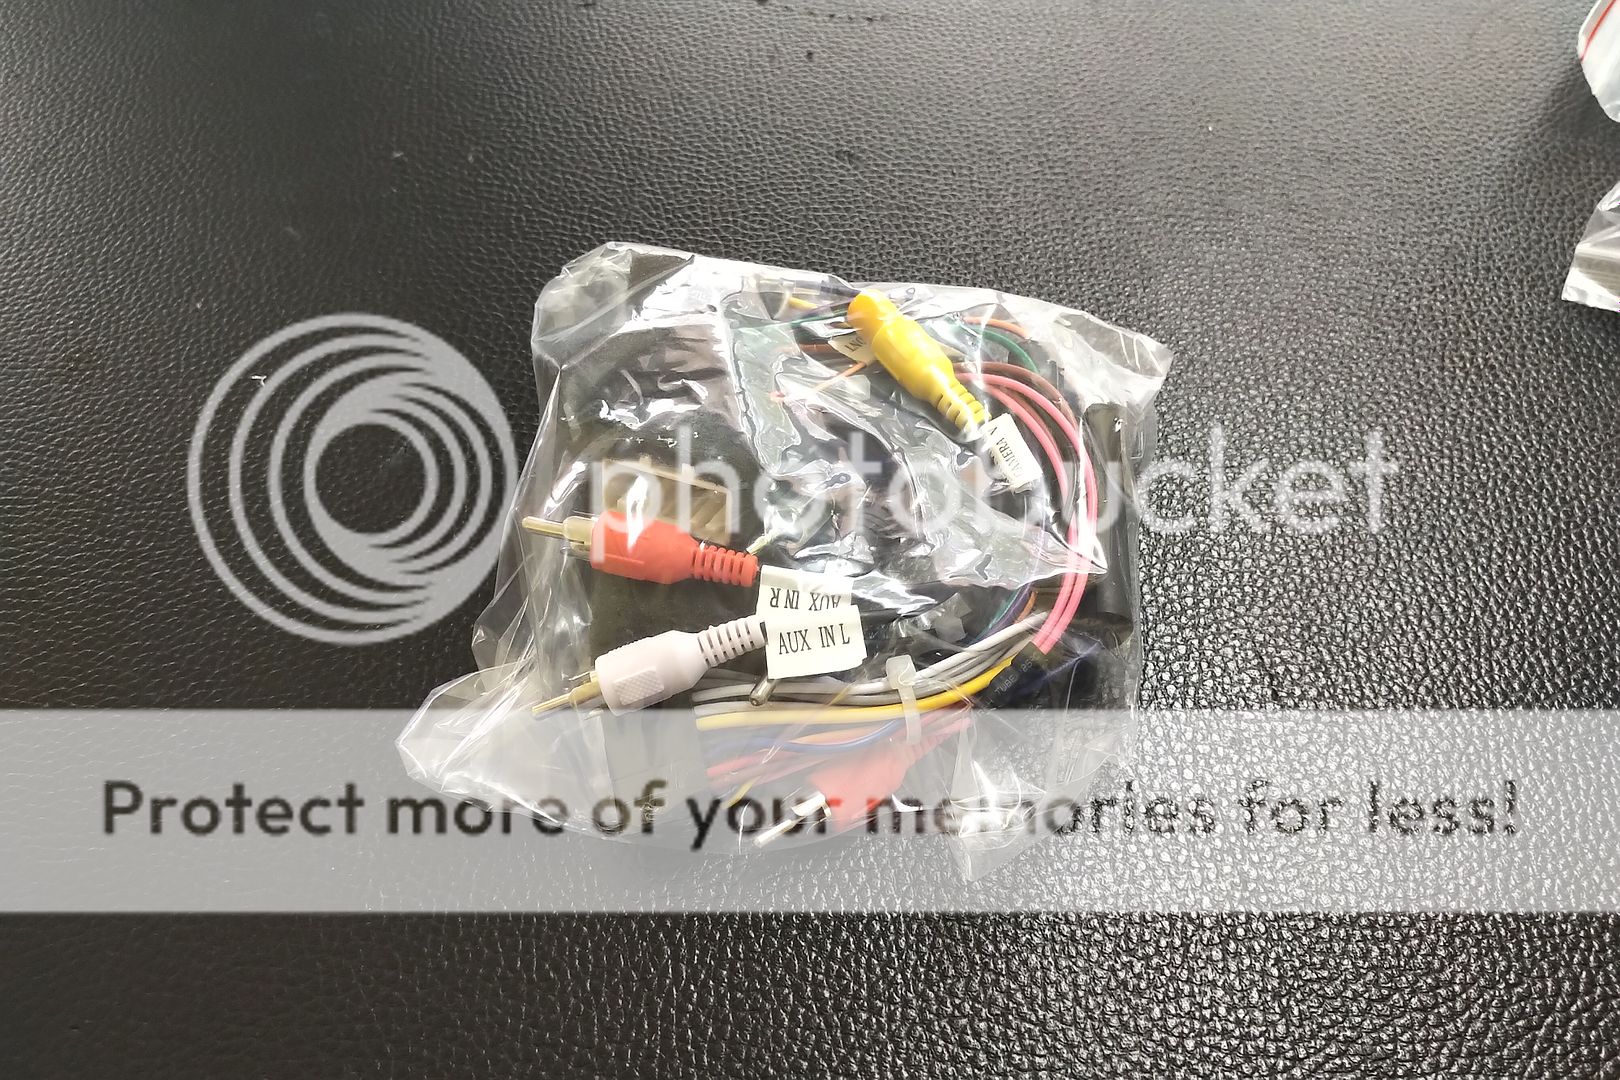 The wiring harness which is an almost plug and play fit. 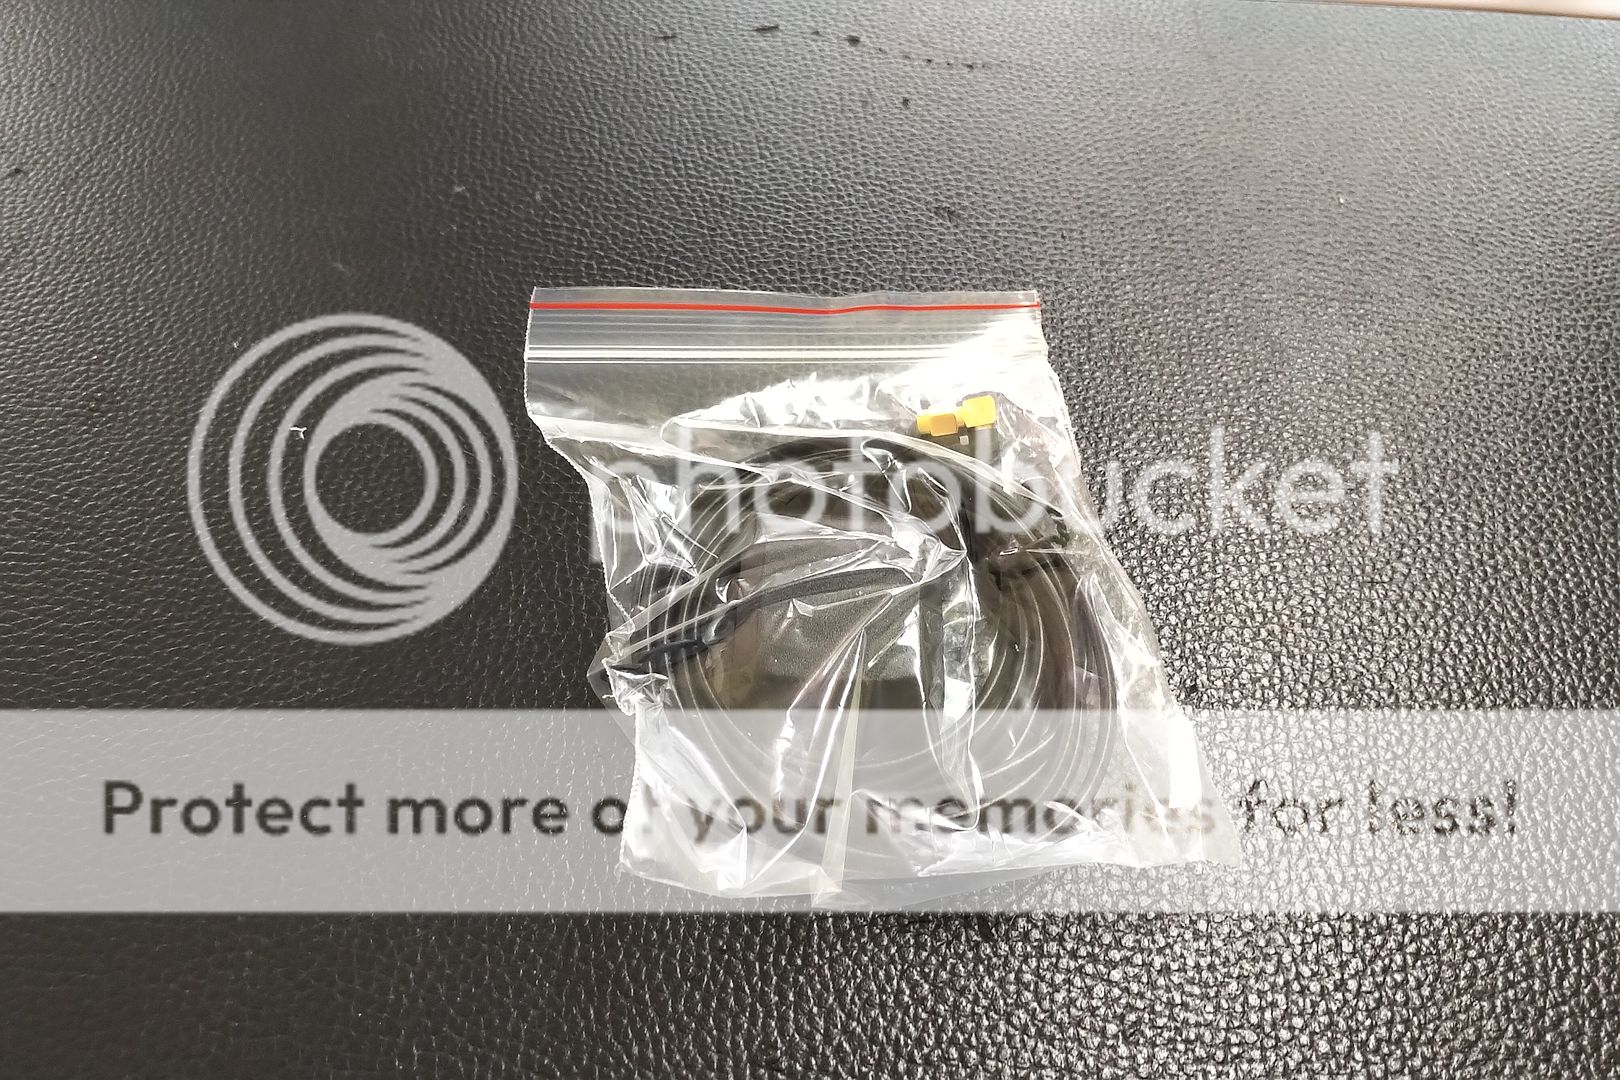 GPS antenna. Unfortunately the standard one supplied by Toyota wont fit the head unit. 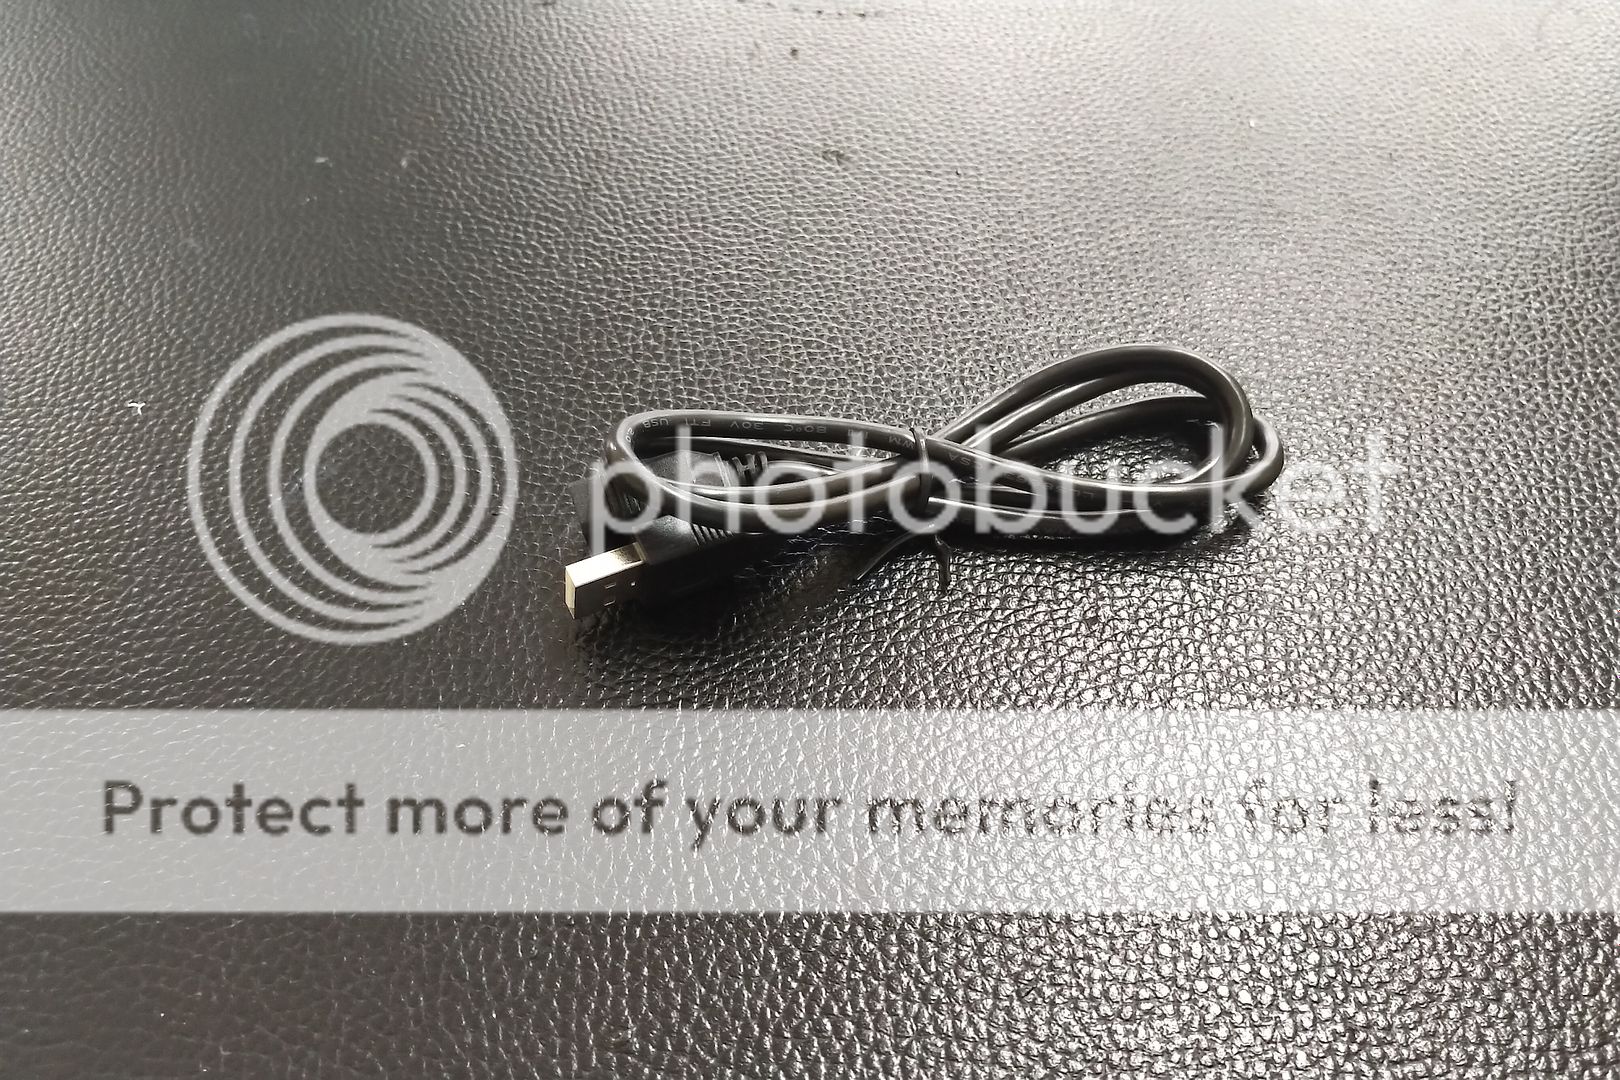 USB extension for Android Auto and Apple Car Play. 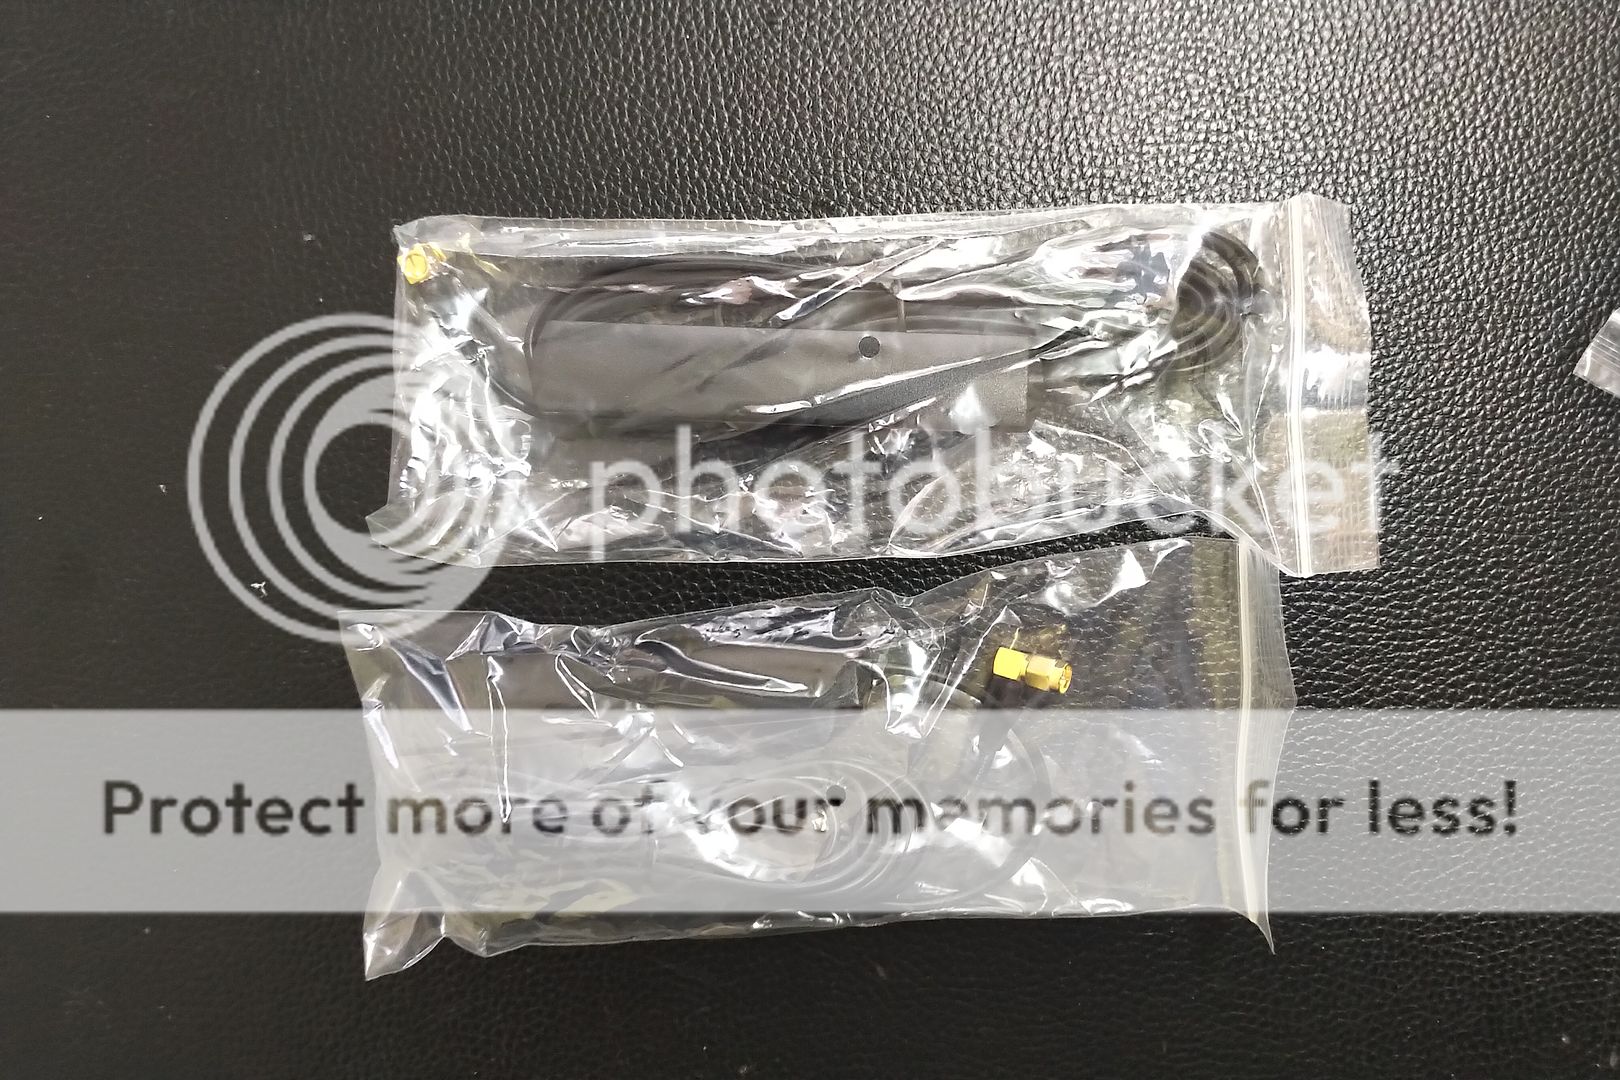 Set of 4G antennas, which I didn't end up using. 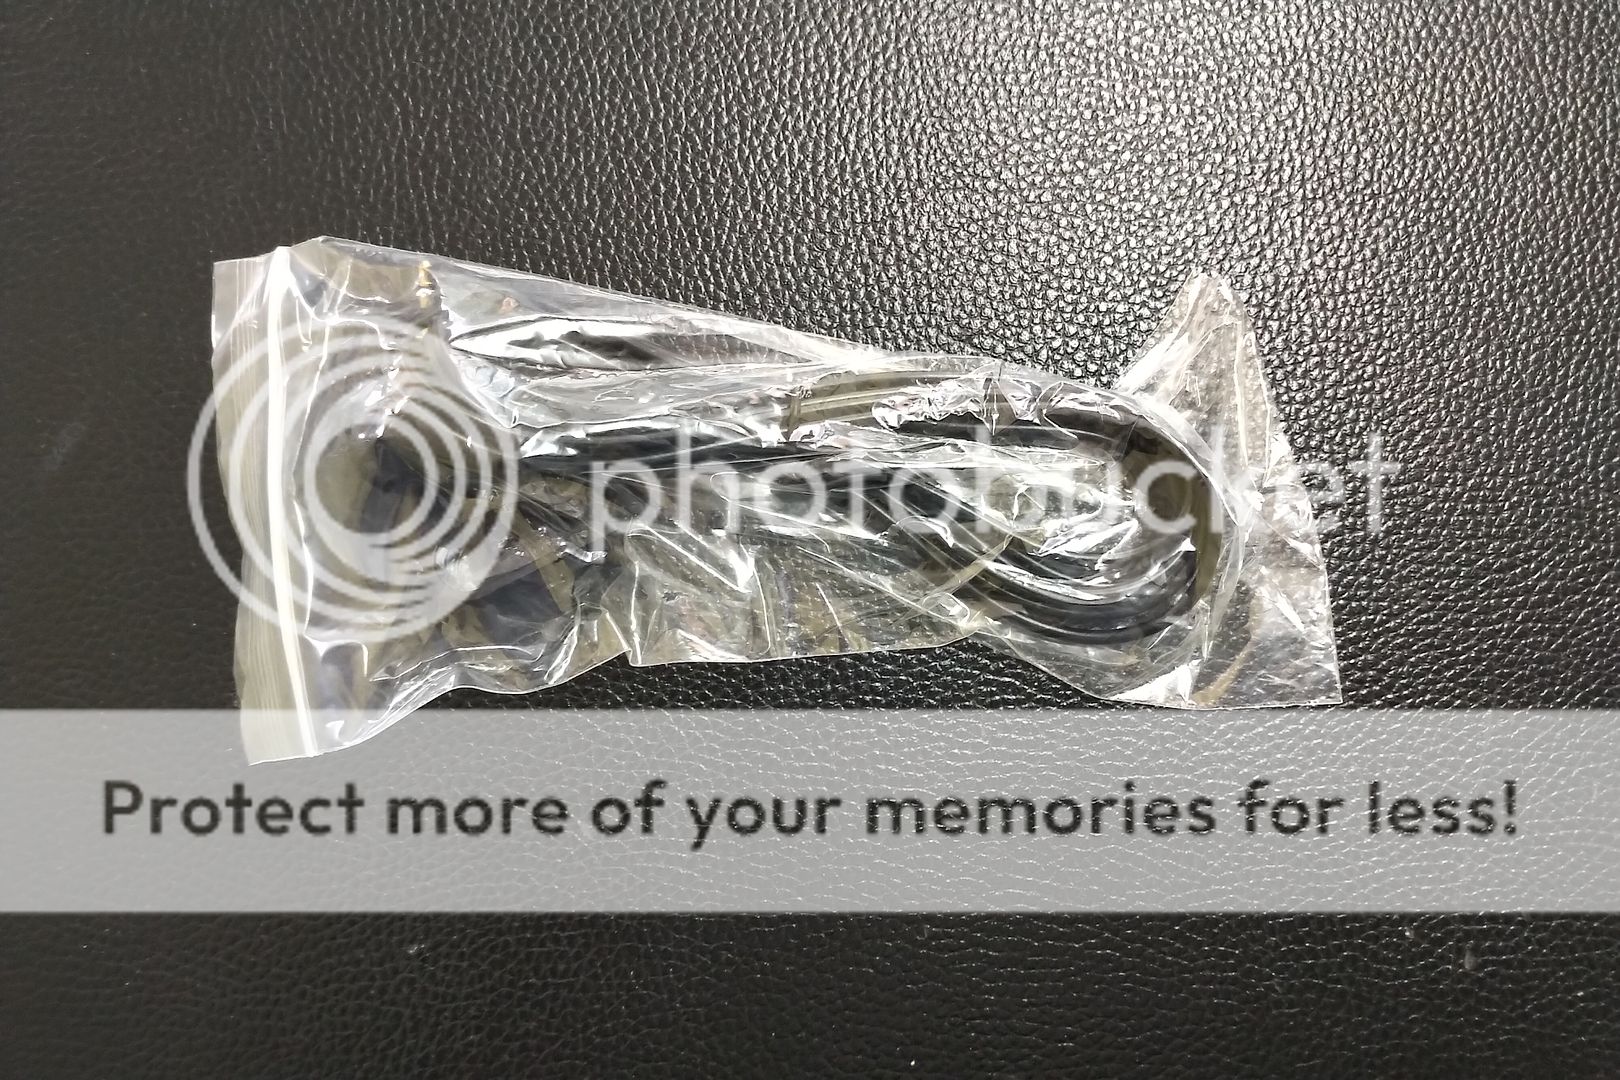 An external microphone. The head unit has an inbuilt mic, but I found the external one works far better. 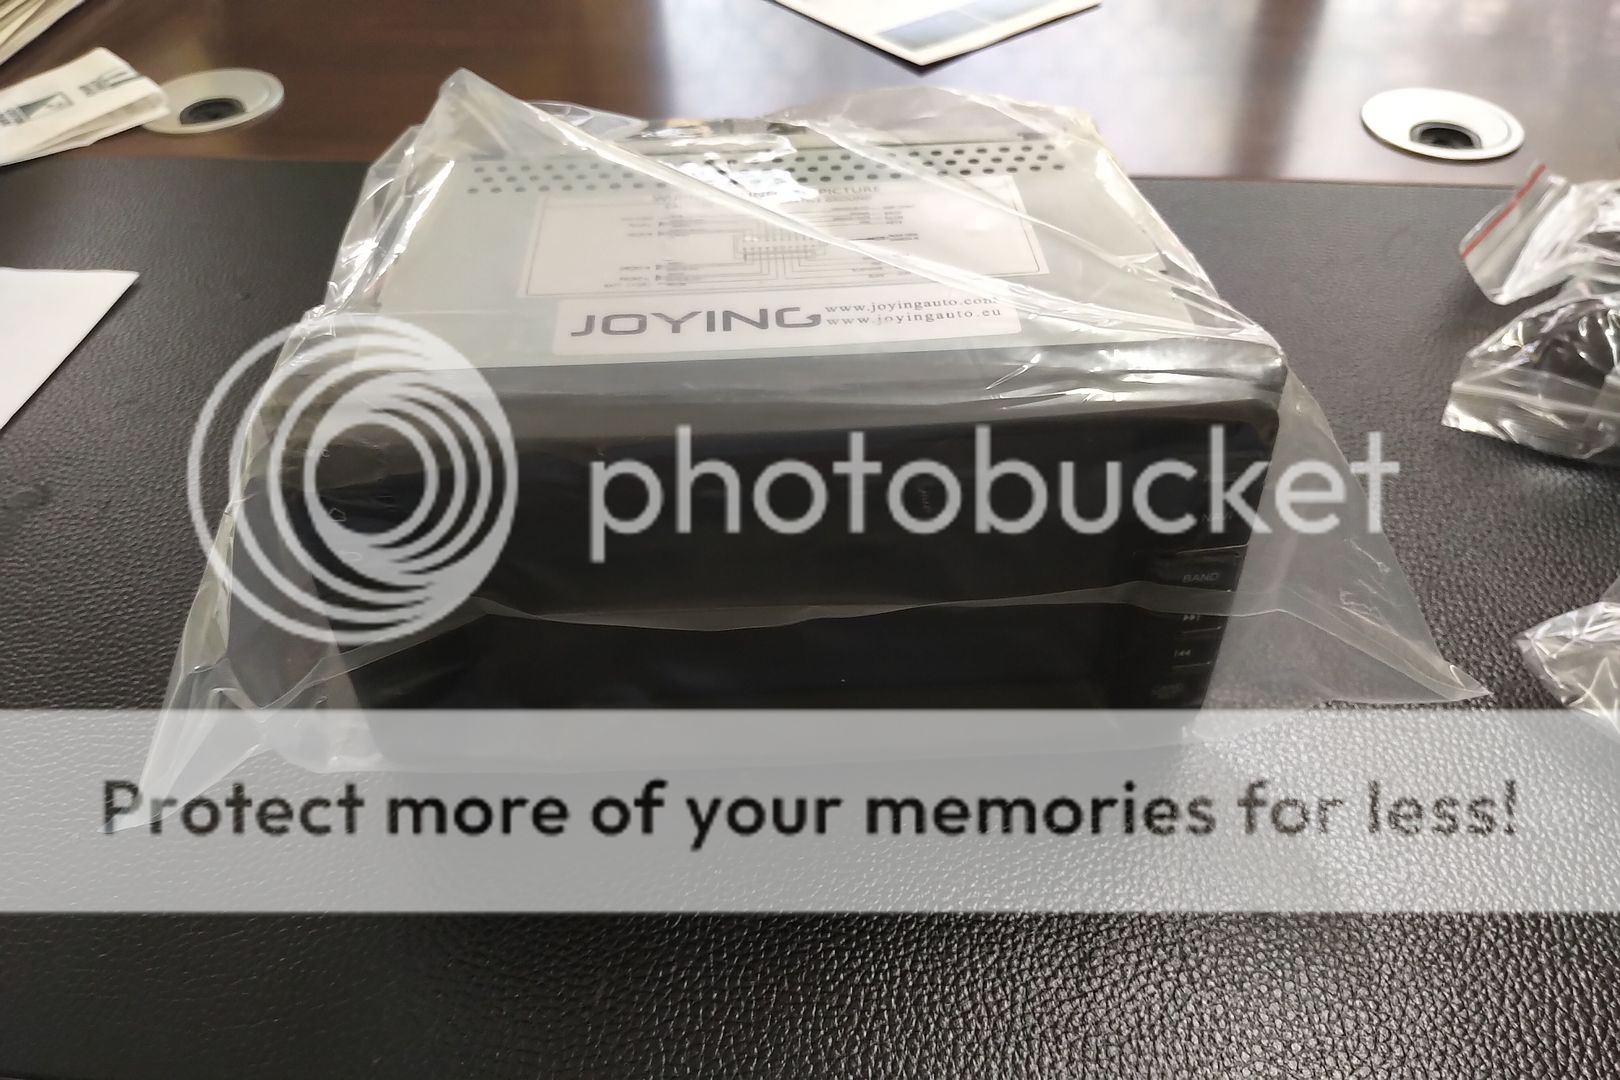 And of course, the head unit itself. REMOVING THE OLD HEAD UNIT Before anything can be done on the new head unit, we have to remove the factory one to take the brackets. the first step of this is to remove the passenger side trim piece. This is pretty easy to remove, and just requires a little pull by hand. 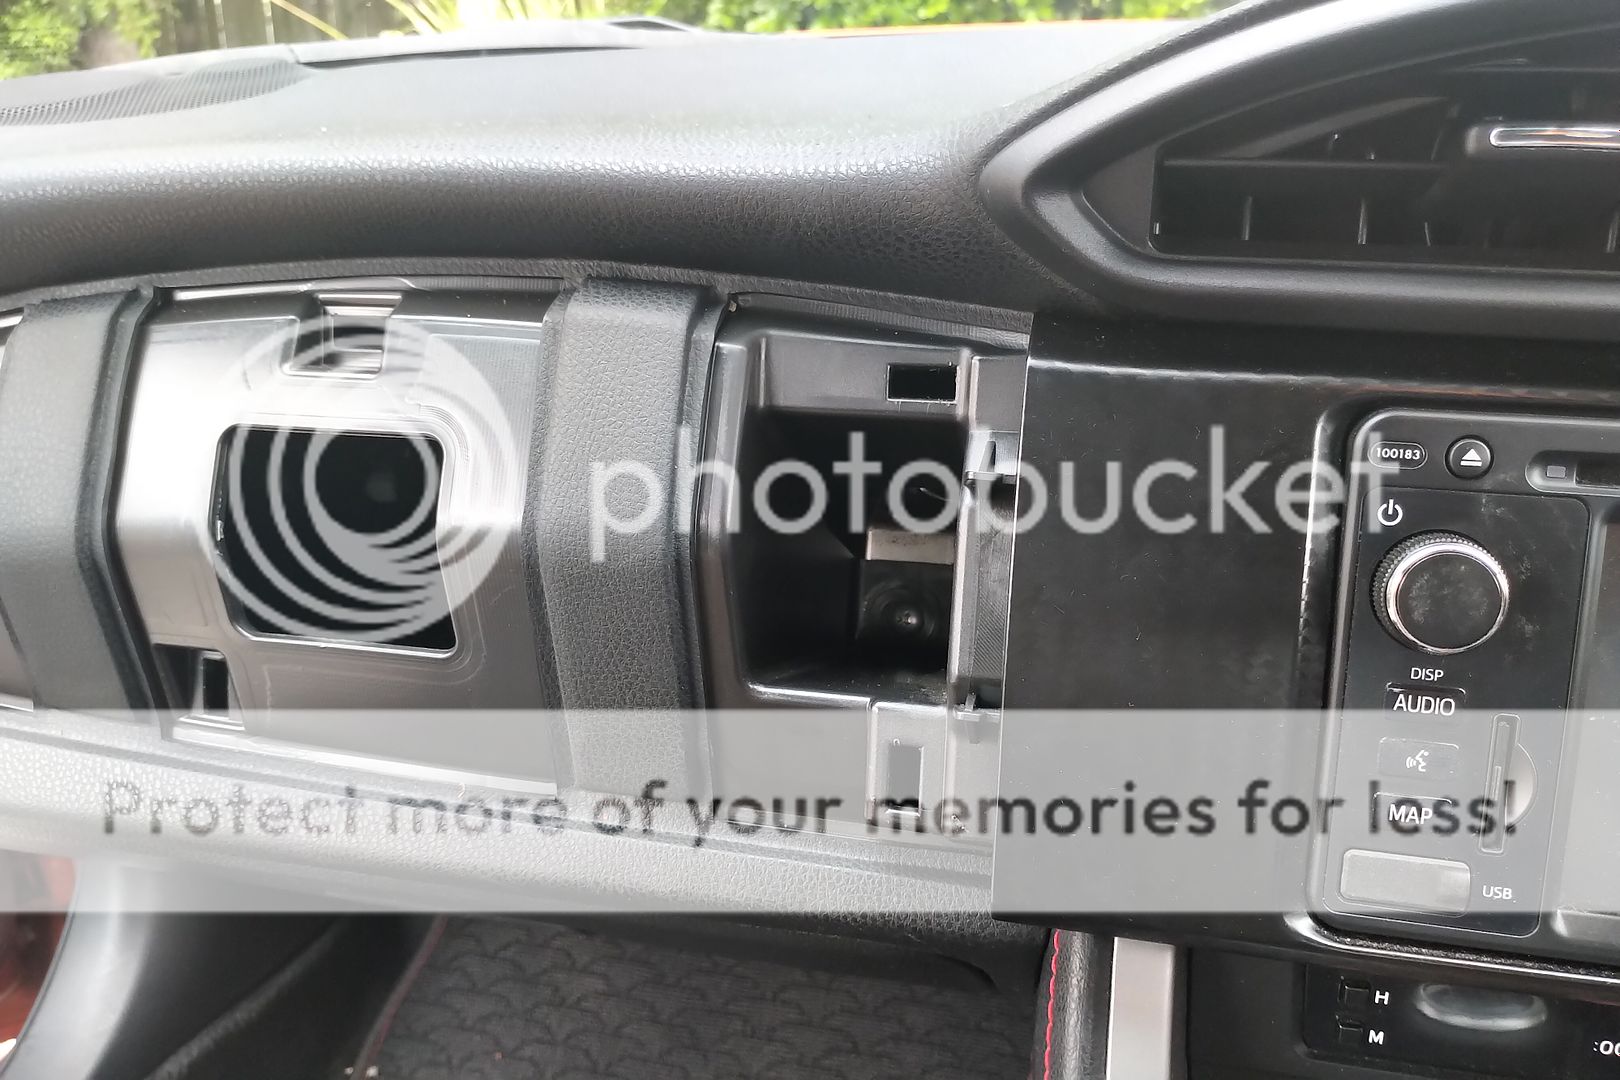 After this pull out the trim piece surrounding the head unit. This one is stuck in there a little tighter, so will require more force, but should still be pretty easy to just pull out. 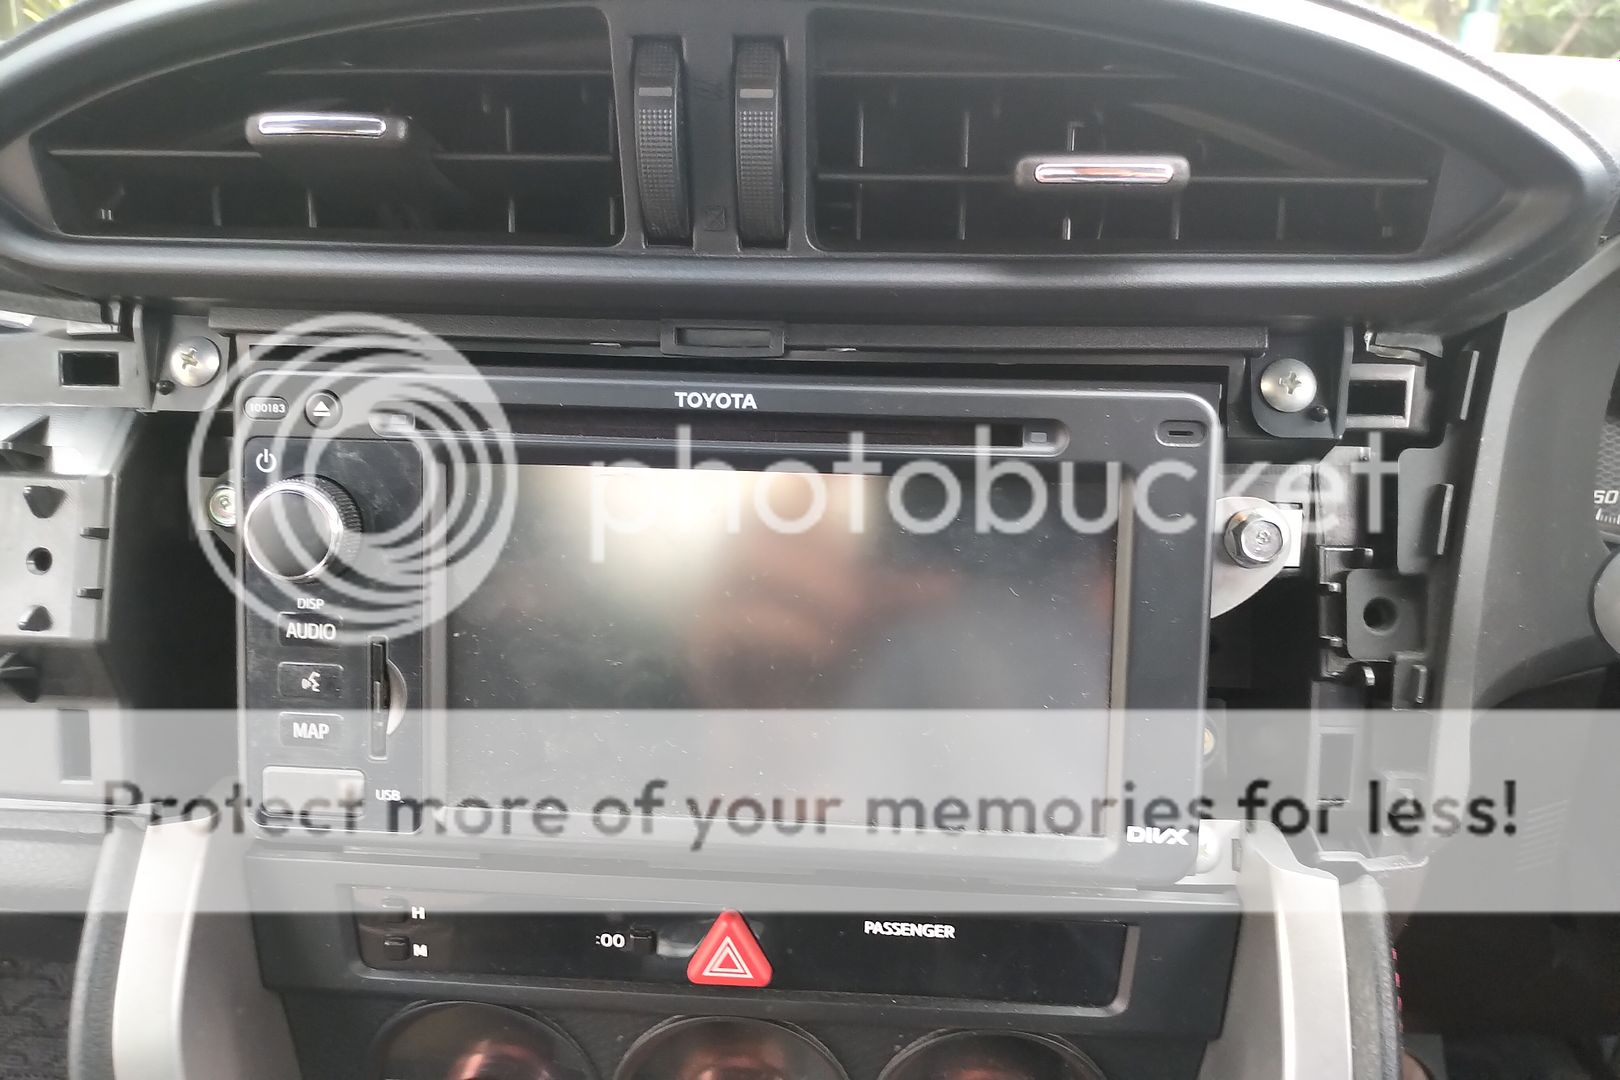 From here, you can see 4 10mm bolts holding the head unit in place. Unbolt all 4, being careful not to drop the bolts, and you are ready to remove the old head unit. 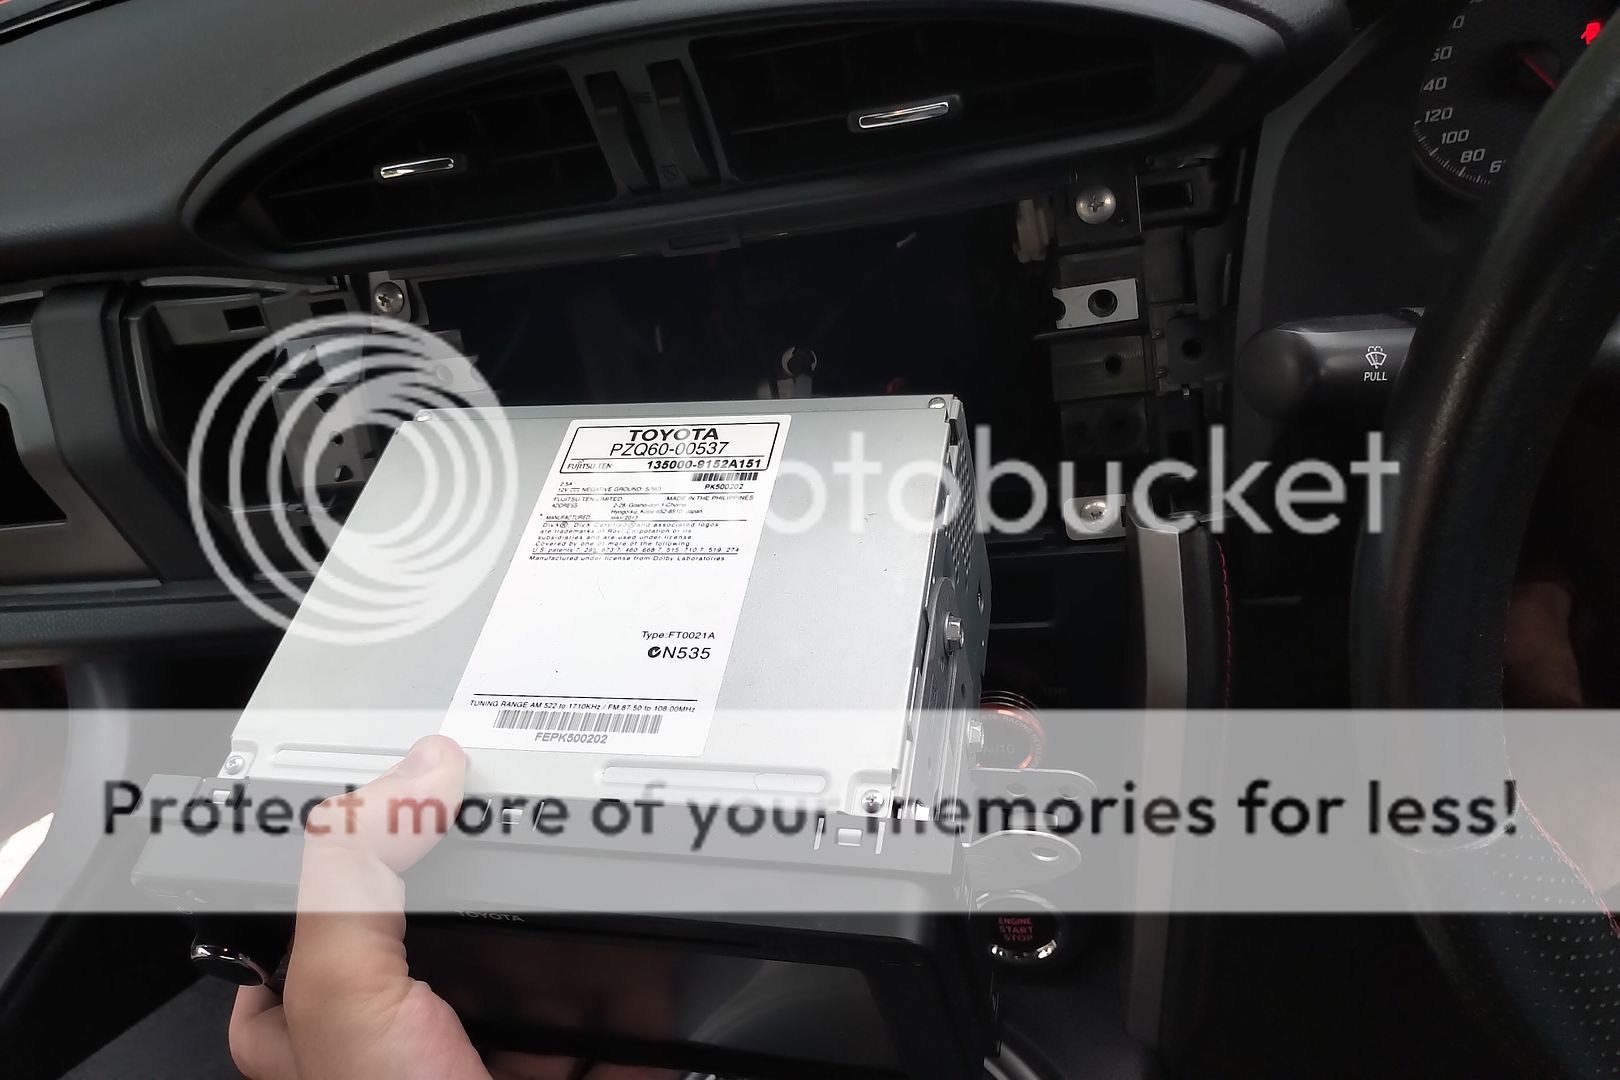 Unplug everything from the back and remove the head unit completely, but keep the wires easy to access. At this point you can remove the factory GPS antenna from the car. 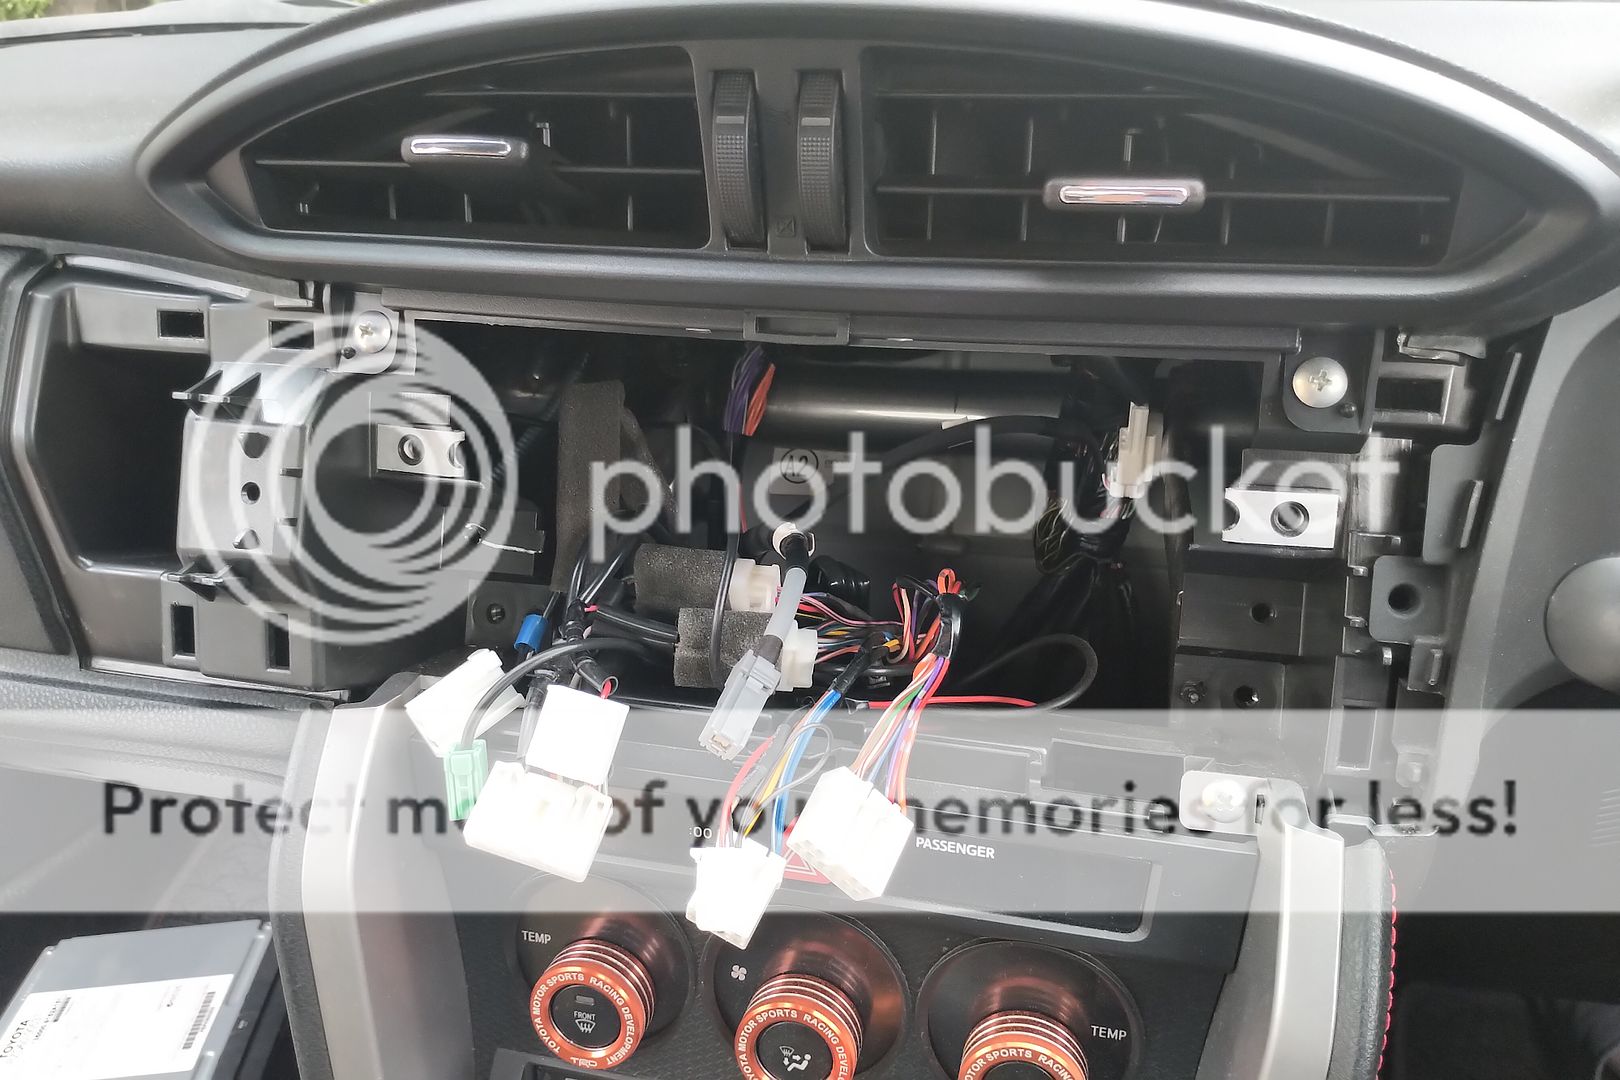 Now it's time to take off the brackets off the old head unit. Depending on the age of your car, the bolts may be a bit hard to remove by screwdriver, so I recommend using a wrench. 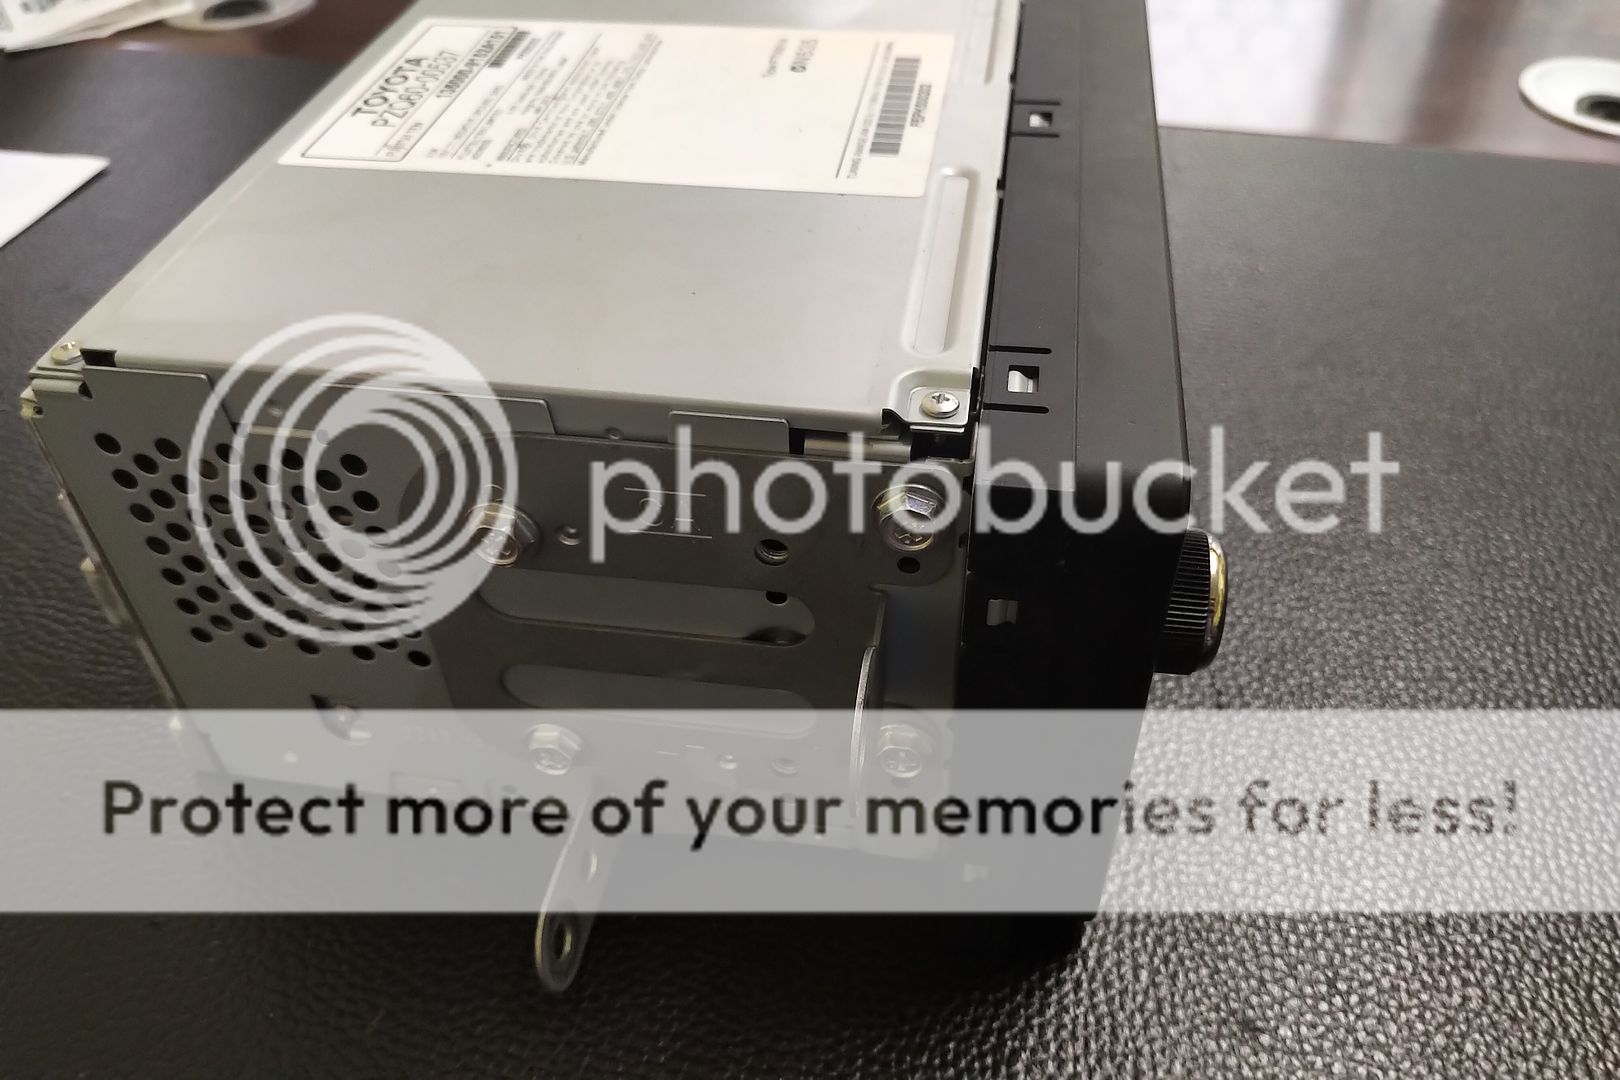 PUTTING IN THE NEW HEAD UNIT When you get the brackets off, you will notice 2 protrusions in the bracket facing towards where the head unit will be. 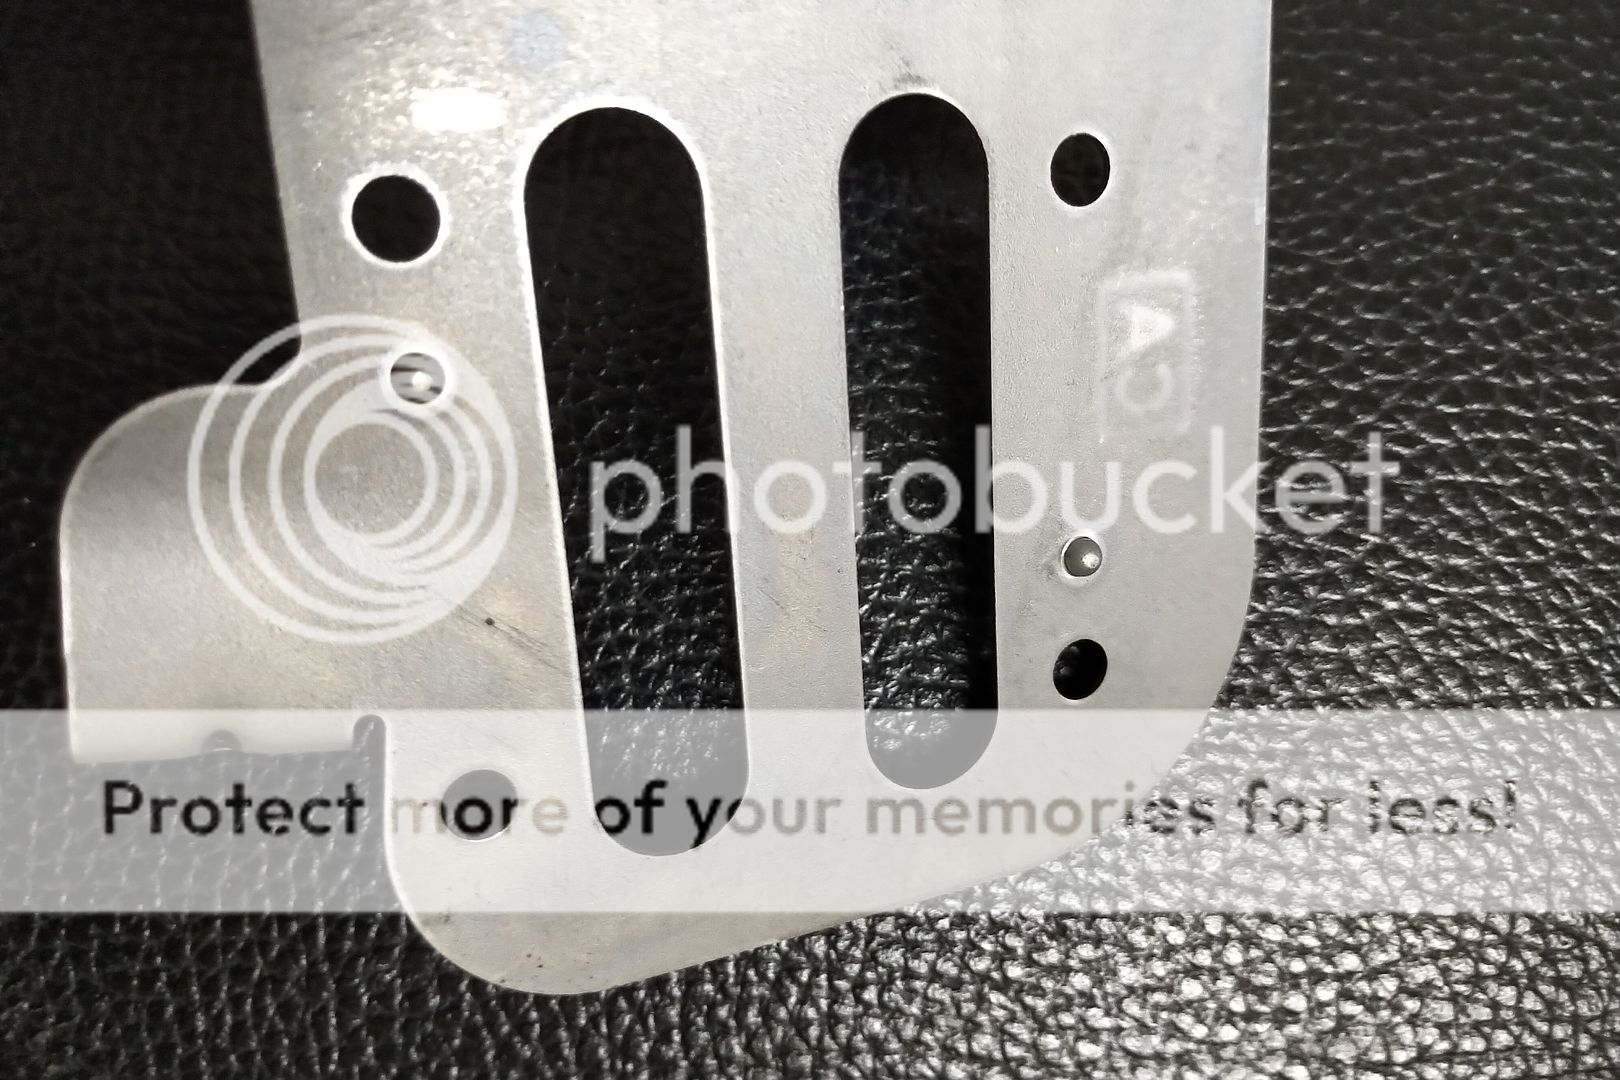 These wont fit with the Joying head unit, so just hammer them flat. The metal isn't very hard, so it doesn't take more than a few hits. 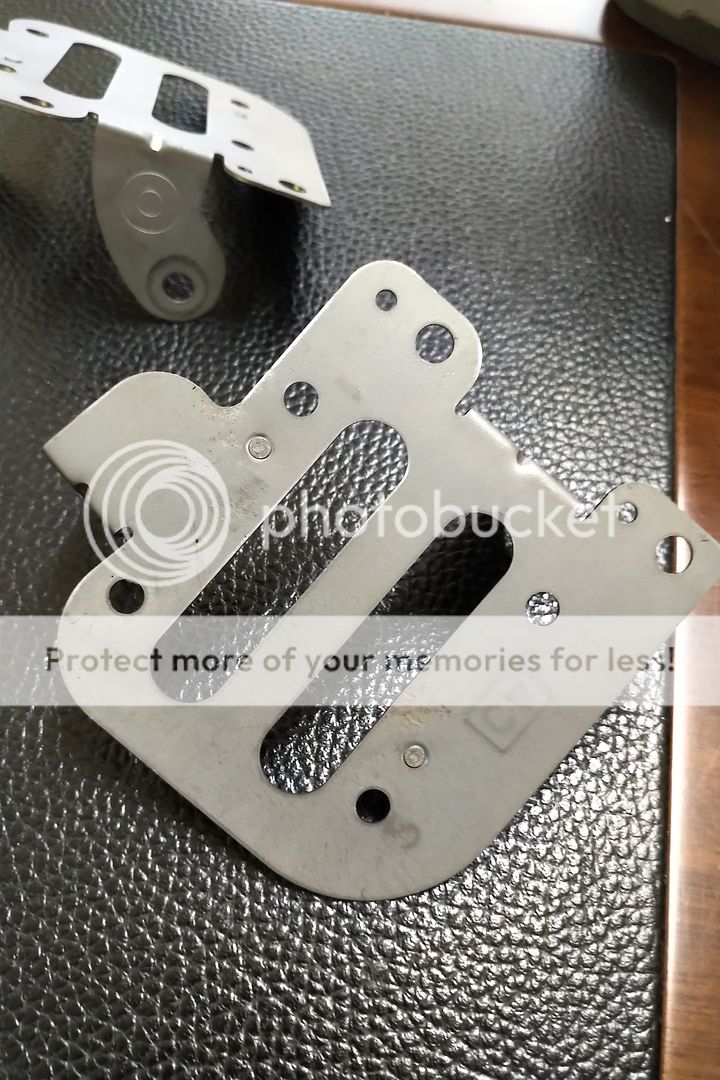 Align the brackets to the holes in the Joying, trying to get the bracket as close to the face of the unit as possible for the best fit. One of the holes may be covered by a sticker, so just double check. This is the position i used for mine, and it fit perfectly.  Now that the bracket is in place, the wiring comes next. The wiring harness Joying provides is mostly plug and play, but there are a couple of things to do manually that I'll cover later. First thing though, connect the wiring harness to the corresponding wires in the car. Keep in mind, the wiring harness will have 2 connectors with the same wires (pink, brown, black, red, white). Only one of these will connect, and the other can be left unused. 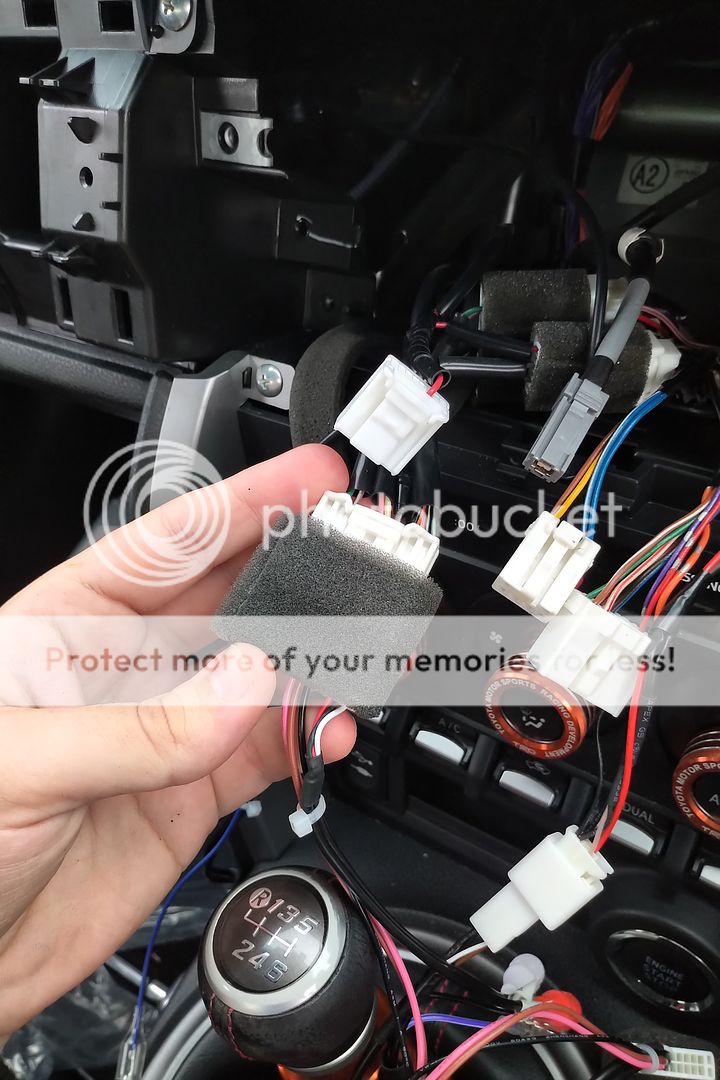 Within the wiring harness, there will be two halves of a blue wire with connectors, connect them together. 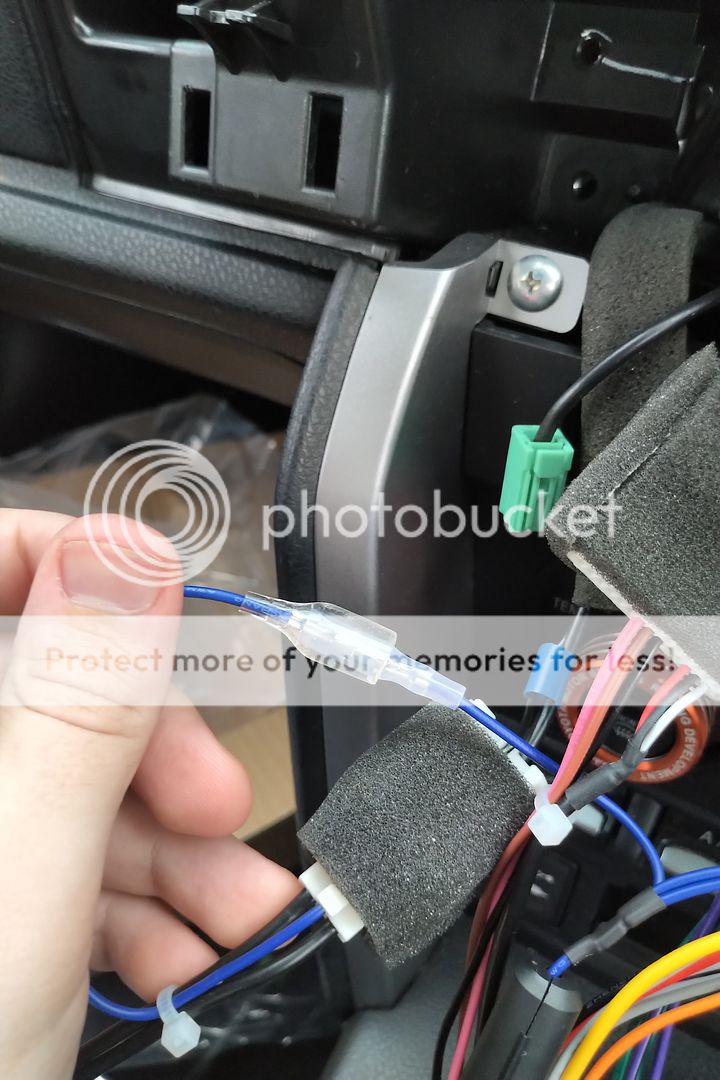 WIRING THE REVERSING CAMERA Now for some manual wiring. Unfortunately, the wire for the reverse signal (which activates the reverse camera) is not included in the harness. On the head unit side, it is the orange wire with the label BACK. 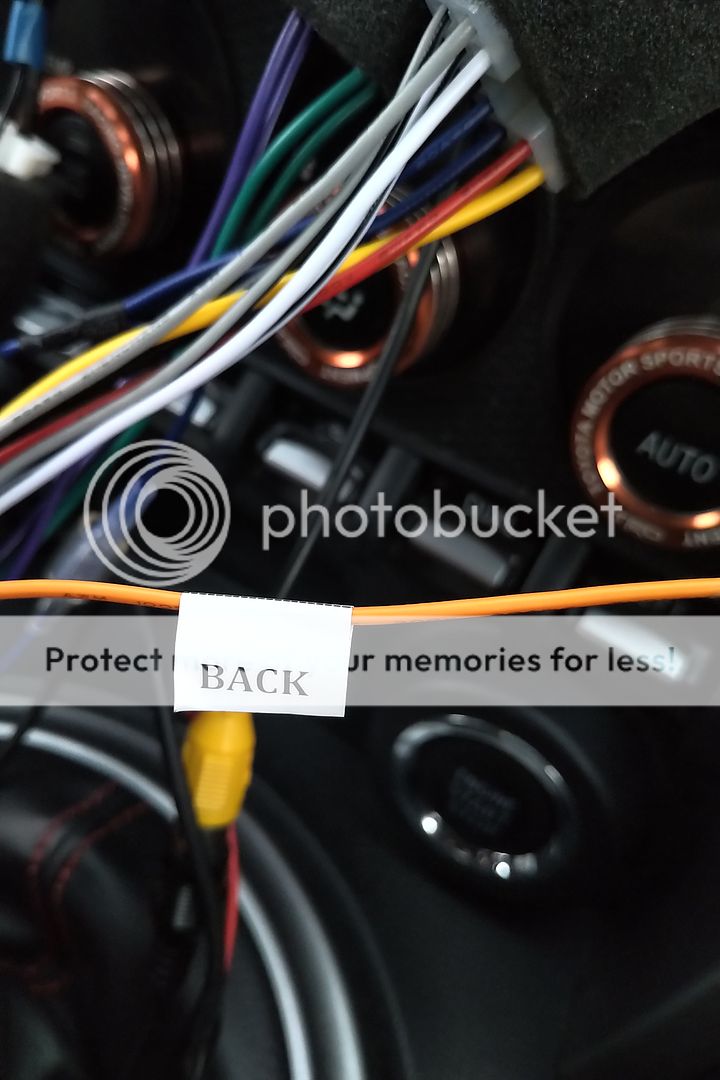 On the car side, the reverse signal wire is the green wire on the 28 pin connector. Since this isn't used in the Joying harness, you can pull out the pin from the connector, and wire it directly to the orange BACK wire. 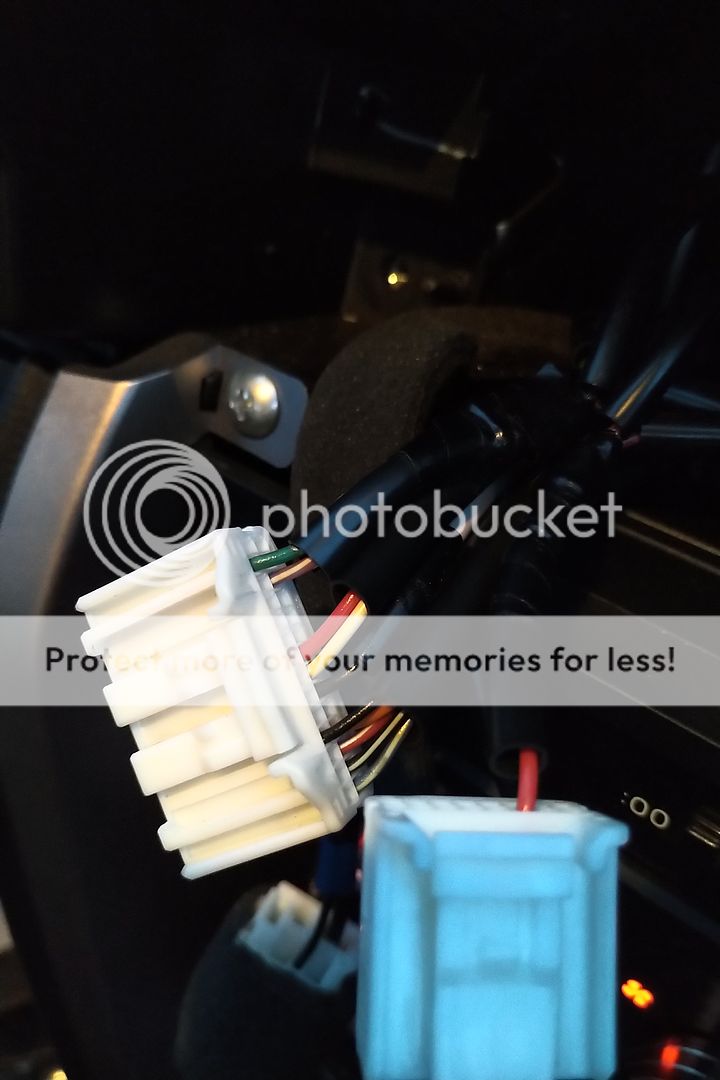 The signal wire is now all in place, so next step is to attach the Aeropro adaptor. The RCA end will connect to the corresponding RCA connector on the Joying harness, and the wiring connector will attach to the corresponding wires from the car. 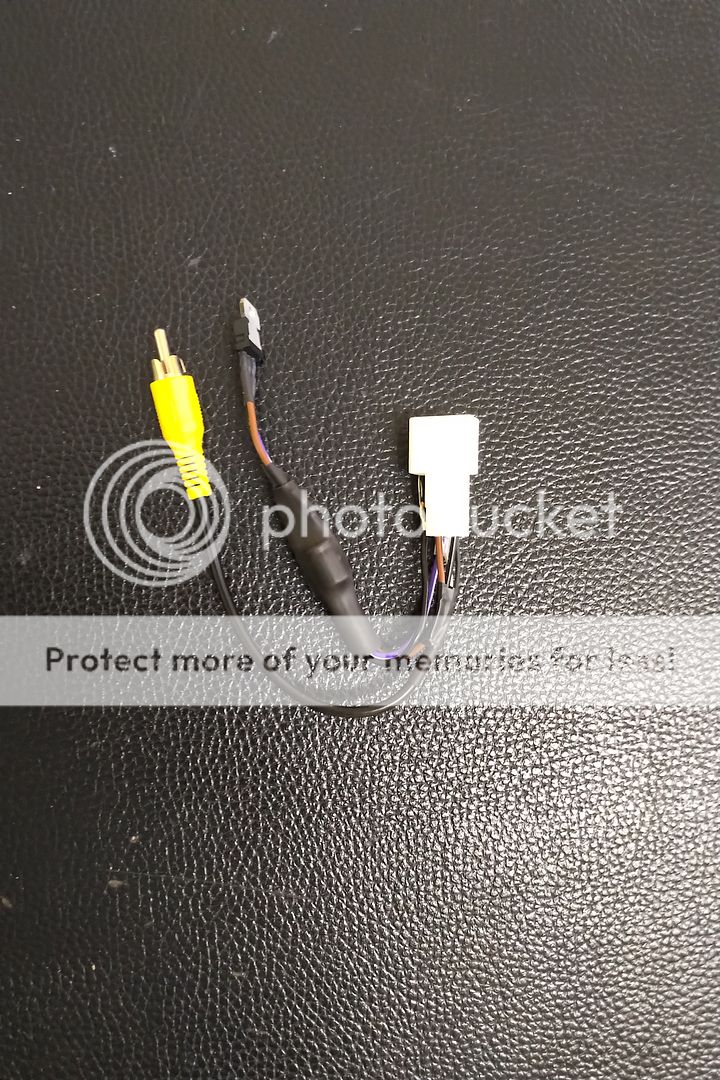 There is also a purple wire on the adaptor that needs a power source. 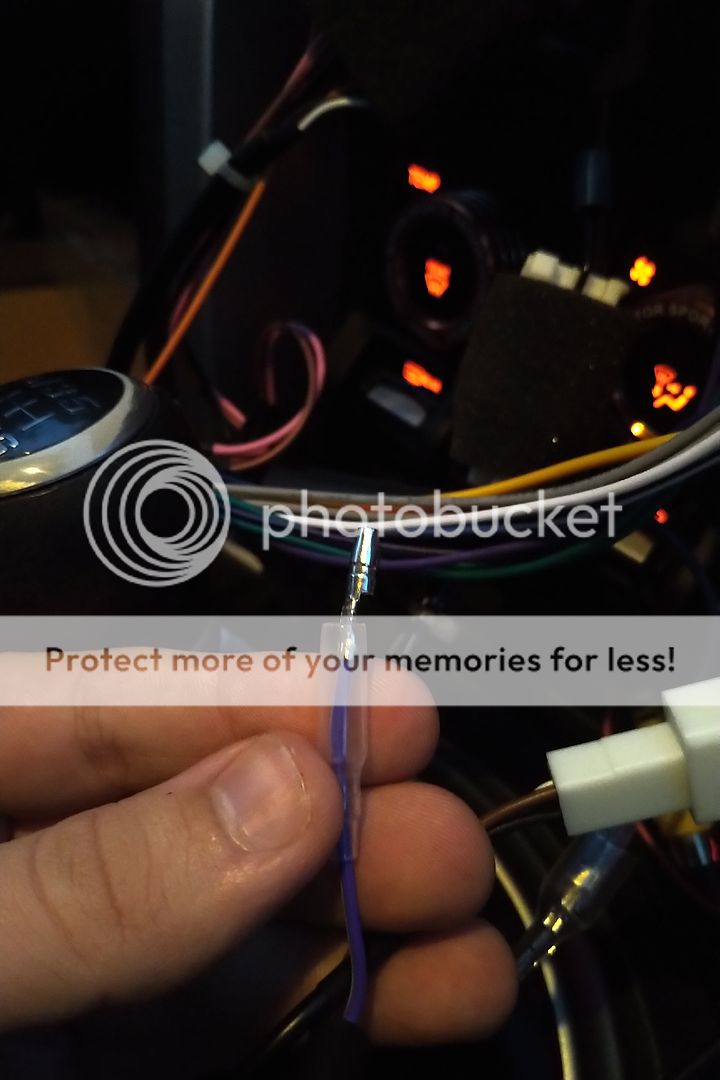 I found it was most convenient to connect it to the 2 blue wires that were joined earlier. (It might not be pretty, but it worked). 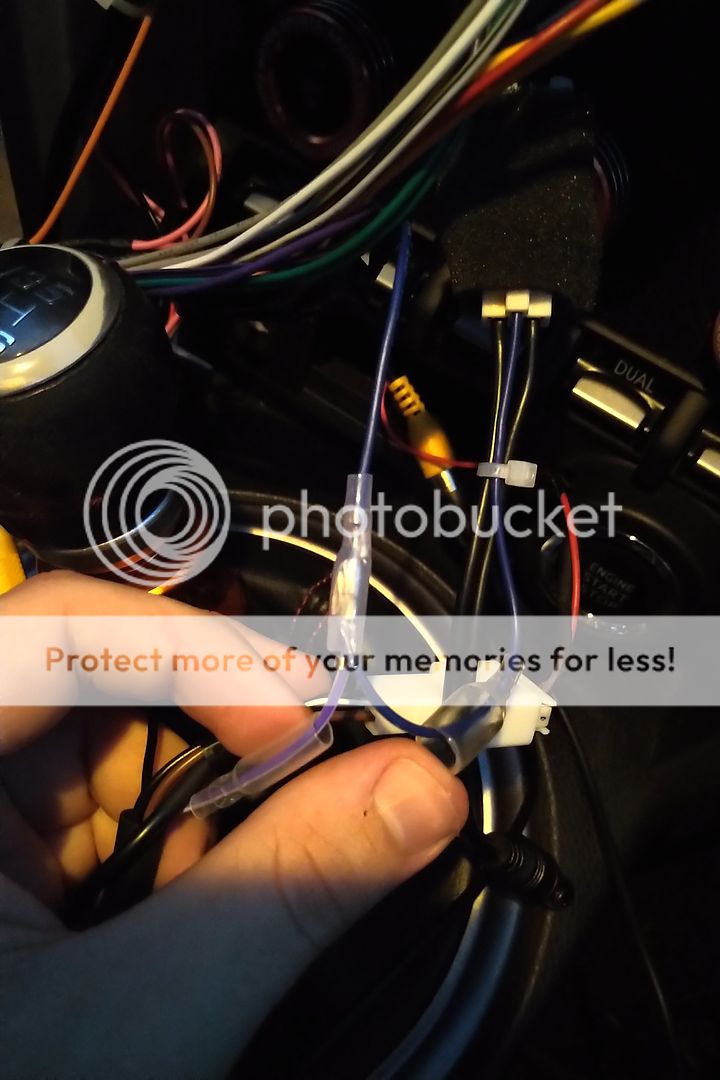 ADDING EXTRAS At this point, the main wiring is complete, and you can add the extra accessories. The diagram provided in the box will show where the GPS, 4G antennas and external mic connect, and you can put whichever you need in the car. For the GPS antenna, I placed it on the same metal beam where the factory one was located. The magnet didn't seem to be as strong, and it fell off it position within a day, so I highly recommend zip tying it in place just to be extra secure. For the external mic, I had it positioned underneath the steering wheel, out of sight, but still in a good position to pick up on your voice. For the USB connection, I ran it through into the glove box. The bottom usb port on the head unit works for Android Auto, so I assume the top is for Apple Car Play. When all the extras you want are added, put the had unit back in position (careful not to pinch and wires), bolt it in, and put the trim pieces back in position and you're done! HEAD UNIT REVIEW 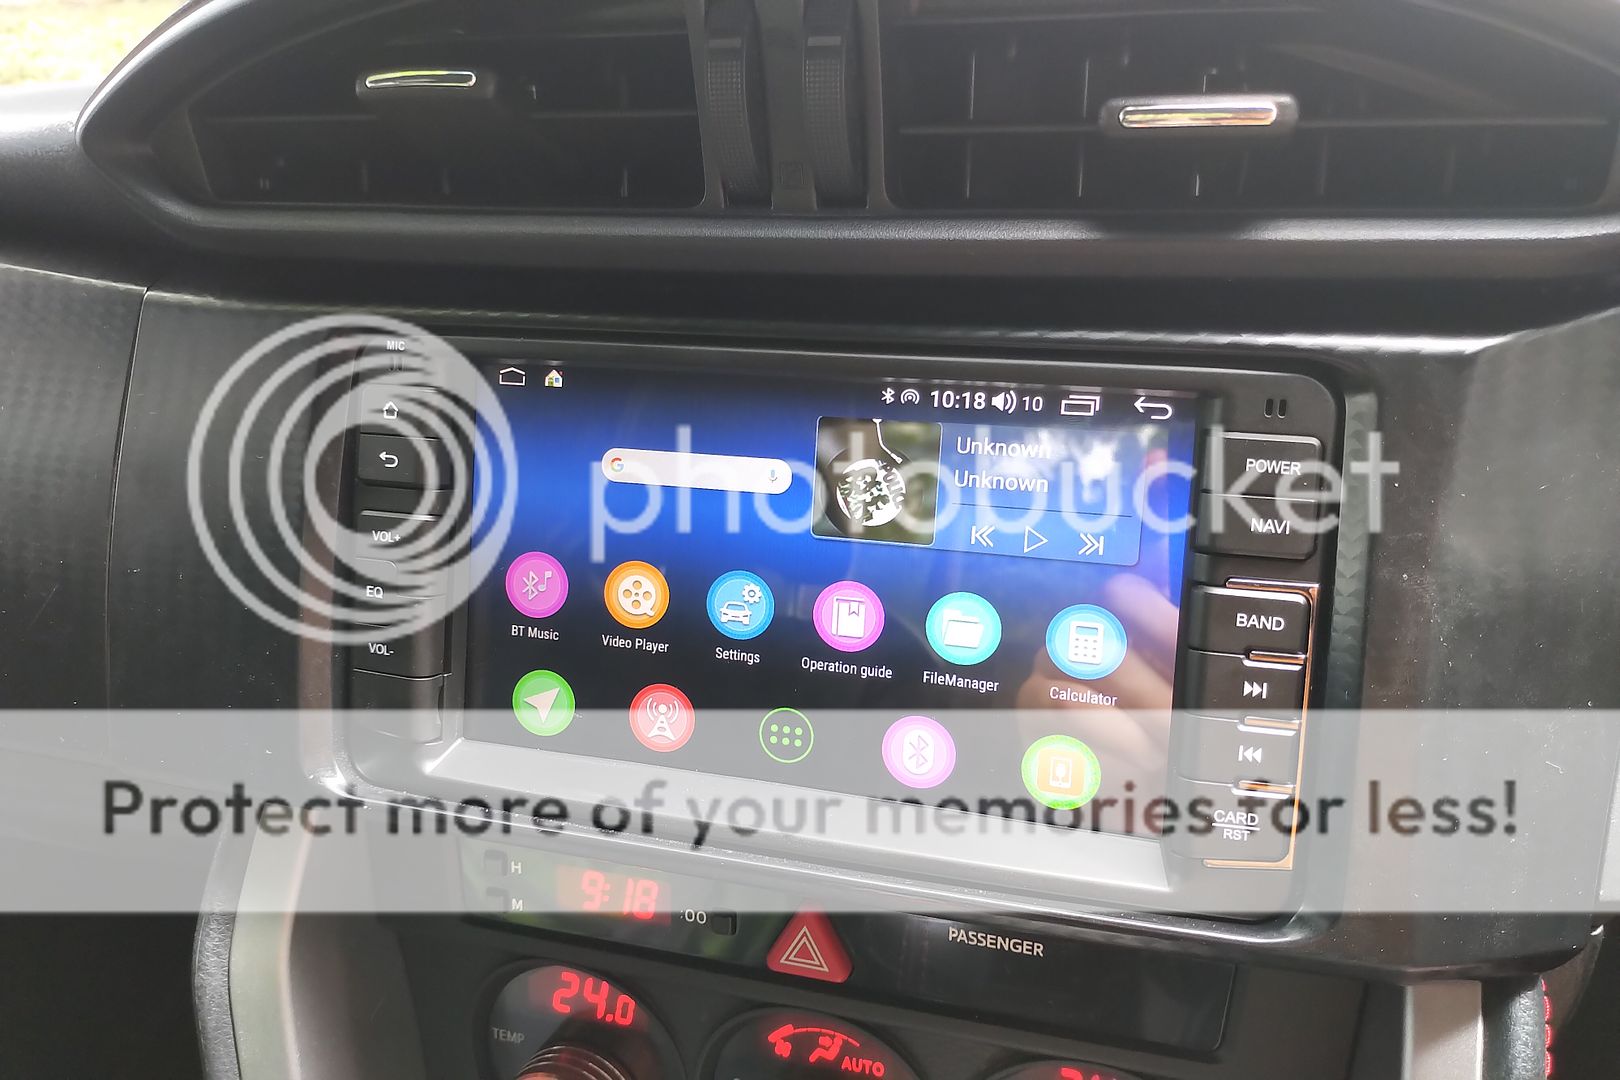 I've been using this head unit for about a week now, and have been absolutely loving it. The first few times turning on takes around 15-30 seconds to boot, but after that, it usually boots within 2-3 seconds from starting. The touch screen is very responsive to touch and clear to see from the driving position (which my photos do not do justice to). The physical buttons feel good to the touch and can be found pretty easy without looking away from the road. It connects to the Bluetooth and mobile hotspot from my phone very quickly, and I have not experienced any drop outs in connection. 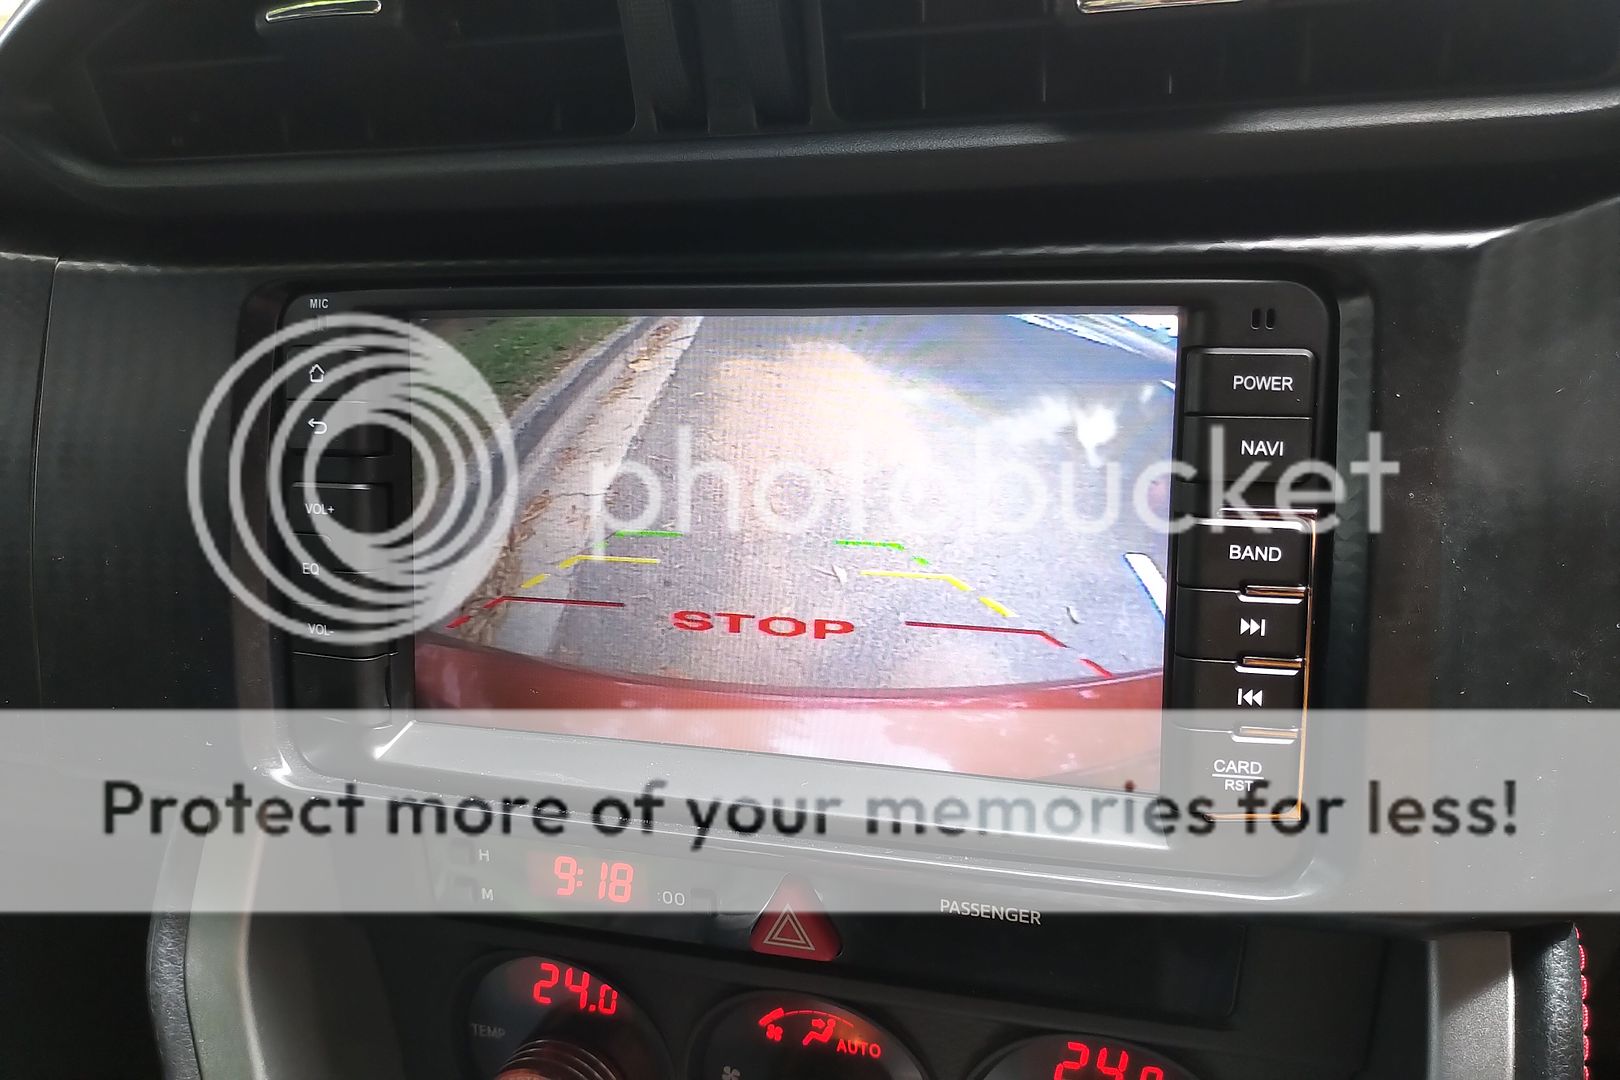 The reversing camera activates pretty much as soon as the car is in reverse, and has about the same quality as with the factory head unit. Audio quality is also the same, if not slightly better than the factory head unit using the stock speakers. The default user interface isn't the best, but being a full Android head unit, it's not too tricky to download a different launcher and customize it to your preference. 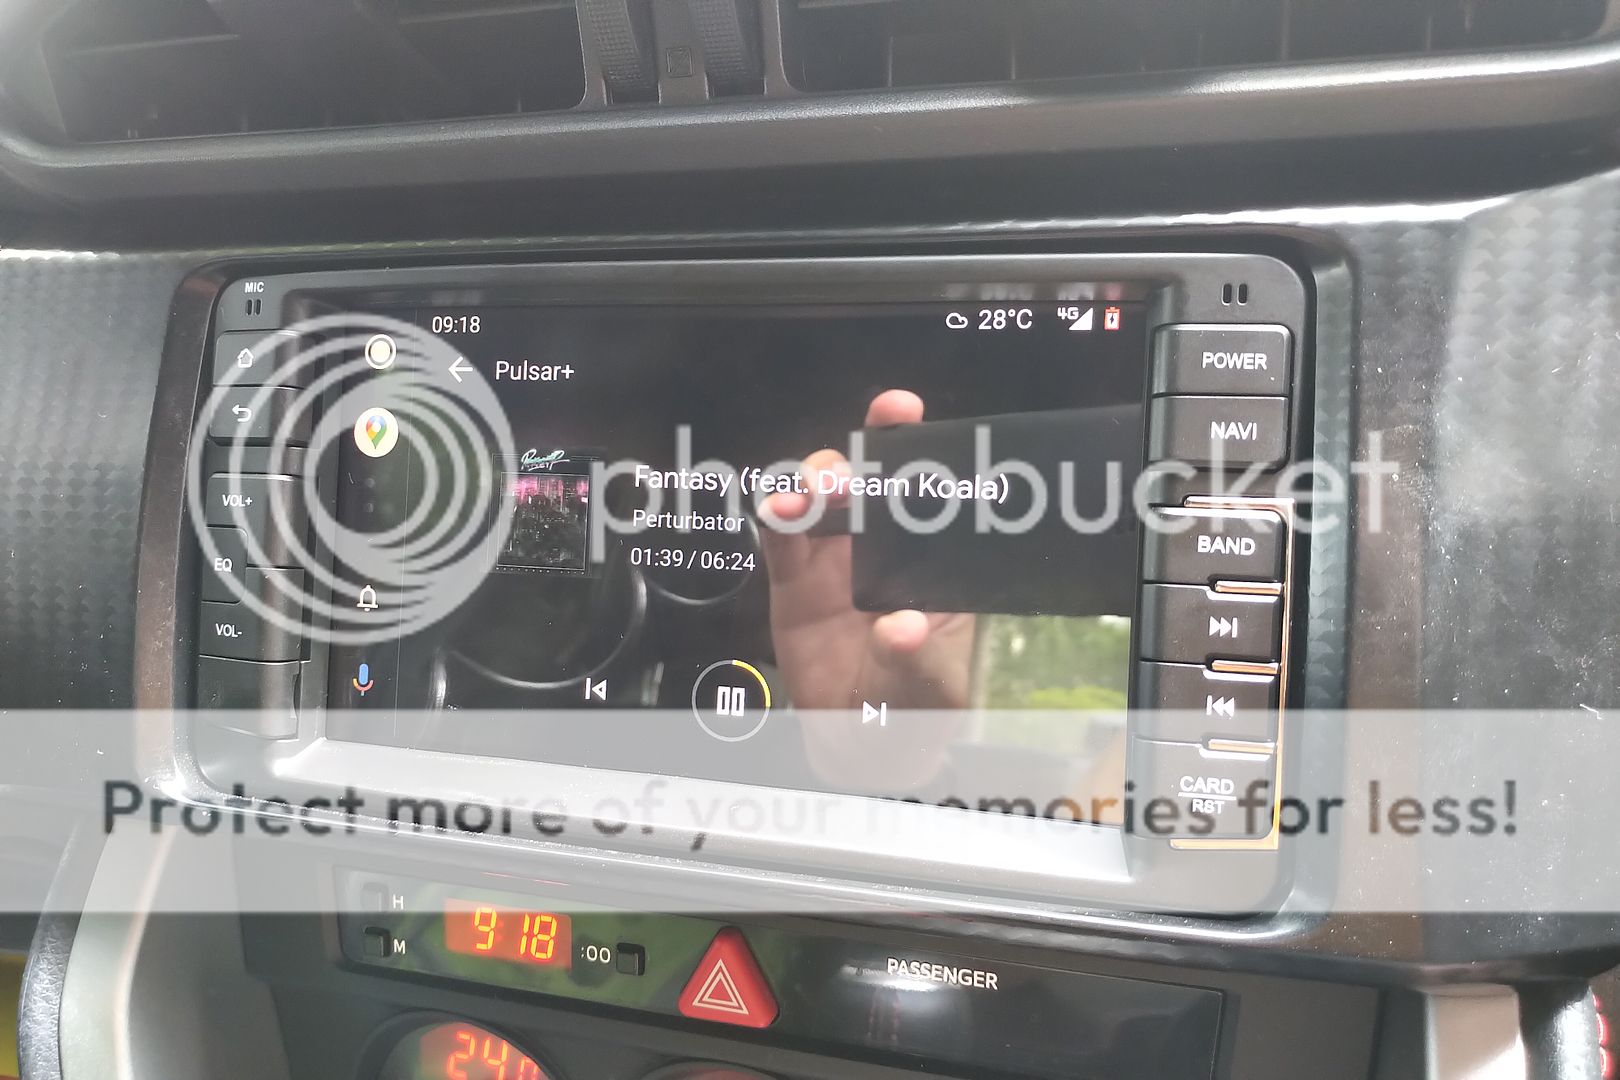 Android Auto and Apple Car Play is activated through an app called CarLink, and connects pretty quickly. The app ran smooth, responsive and without issue, though the connection seems to falter if the phone screen is turned off. Just turn on the "always on while plugged in" setting in your phone to fix this if this happens to you. FINAL THOUGHTS Overall, this was pretty easy to install, and shouldn't take more than an hour when you know which wires are which (and don't forget to turn your cabin lights off when you're done, or you'll end up with a flat battery like I did). For the price, this is a great head unit if you want extra features. For 2017+ 86 drivers, there are also options to program the steering wheel controls to work with the head unit. Hope this guide helps! Last edited by Shh86; 12-08-2020 at 03:20 AM. Reason: I messed up all the image links! |

|

|
| The Following 3 Users Say Thank You to Shh86 For This Useful Post: |
|
12-08-2020, 11:08 AM
|
#2 |
|
Senior Member

Join Date: Aug 2016
Drives: 2013 BRZ Limited / 2015 Q50S
Location: Vegas
Posts: 269
Thanks: 234
Thanked 173 Times in 109 Posts
Mentioned: 4 Post(s)
Tagged: 0 Thread(s)
|
Nice write up. I installed this exact same model a few weeks ago, replacing an old RK3188 unit. Curious about any issues you come across with this one...so far I've got:
1.) The clock always reads 02:10 for a few minutes after a cold boot then corrects itself. It does this whether 'get time from network' is on or off. 2.) Status bar brightness is independent from the rest of the screen and can't be adjusted. 3.) WiFi slow to establish connection 4.) The notification area doesn't actually show notifications from apps, only head unit settings. I suspect this is by design on their part and isn't a big deal for me, but it makes using apps like Screen Filter that have to be configured from their notification difficult. 5.) Can't do anything about this, but the screen is recessed making controls in the corners of the screen sometimes difficult to 'reach'. Overall I'm pretty happy with it...it's several times faster than the one it replaced, has real buttons, and doesn't look like a tablet stuck to the dash. |
|
|
|
|
12-08-2020, 06:23 PM
|
#3 |
|
Junior Member
Join Date: Oct 2020
Drives: 2013 Toyota 86
Location: Brisbane, Queensland AU
Posts: 5
Thanks: 0
Thanked 4 Times in 2 Posts
Mentioned: 0 Post(s)
Tagged: 0 Thread(s)
|
I can't say I've had any of the issues you've had so far apart from the lack of notifications, but I also suspect it's a design choice rather than a bug. Sometimes the WiFi will randomly turn off and will have to be turned back on manually, but I cant seem to find the cause of that.
|
|
|
|
| The Following User Says Thank You to Shh86 For This Useful Post: | BRZyJ (12-08-2020) |
|
10-31-2022, 04:48 PM
|
#4 |
|
Senior Member

Join Date: Aug 2016
Drives: 2014 BRZ
Location: Seattle, WA
Posts: 186
Thanks: 185
Thanked 44 Times in 36 Posts
Mentioned: 1 Post(s)
Tagged: 0 Thread(s)
|
Sorry to necro an old thread, but I have the 9" Android 10 unit. Has anyone figured out how to automatically launch CarLink? I don't see anything in the settings (aside from a USB option which isn't helpful since I'm connecting wirelessly).
The unit seems to default to the last-open program at boot... except for CarLink. I suppose this is due to CarLink being some sort of background process. I'm considering other launchers, but I'm having a Google account connection issue I need to get sorted before I can access the Play Store. Edit: Found it. Under Settings > User there's an Application Settings section. This is distinct from the other Applications section that has... application settings. Anyway, the Application Settings screen just has a list of apps with On/Off toggles. No indication of what that means, but all were off, so I toggled on CarLink. The unit automatically boots into it now.
__________________
Last edited by TheBRZsKnees; 11-02-2022 at 01:54 AM. |
|
|
|
|
|
|
|
|
| Tags |
| android, head unit, joying |
|
|
 Similar Threads
|
||||
| Thread | Thread Starter | Forum | Replies | Last Post |
| 7" Joying Android Head Unit. Plug and Play | cruizin01 | Audio/Visual, Electronics, Infotainment, NAV | 0 | 07-16-2020 07:12 PM |
| FS: Joying Head Unit | Cole | Canada Classifieds | 6 | 12-11-2018 10:57 PM |
| Joying Android 4.4.4 Kitkat Toyota Head Unit | Griffon | Electronics | Audio | NAV | Infotainment | 542 | 09-12-2017 10:49 PM |
| Install a Aftermarket Android Head Unit (Joying) -- HELP | FRS2017 | DIY (Do-It-Yourself) Guides | 0 | 07-03-2017 11:45 PM |
| Joying Android Head Unit in 2016 FRS? | michaelchatten | Electronics | Audio | NAV | Infotainment | 0 | 10-30-2016 02:03 PM |


 Estelle