


|
||||||
| Cosmetic Modification (Interior/Exterior/Lighting) Discussions about cosmetic mods. |
 |
|
|
Thread Tools | Search this Thread |
 10-31-2016, 04:45 PM
|
#379 |
|
the tuna, no crust.

Join Date: Oct 2012
Drives: 2014 Hachiroku of the year
Location: jersey
Posts: 2,298
Thanks: 874
Thanked 1,770 Times in 761 Posts
Mentioned: 78 Post(s)
Tagged: 0 Thread(s)
|
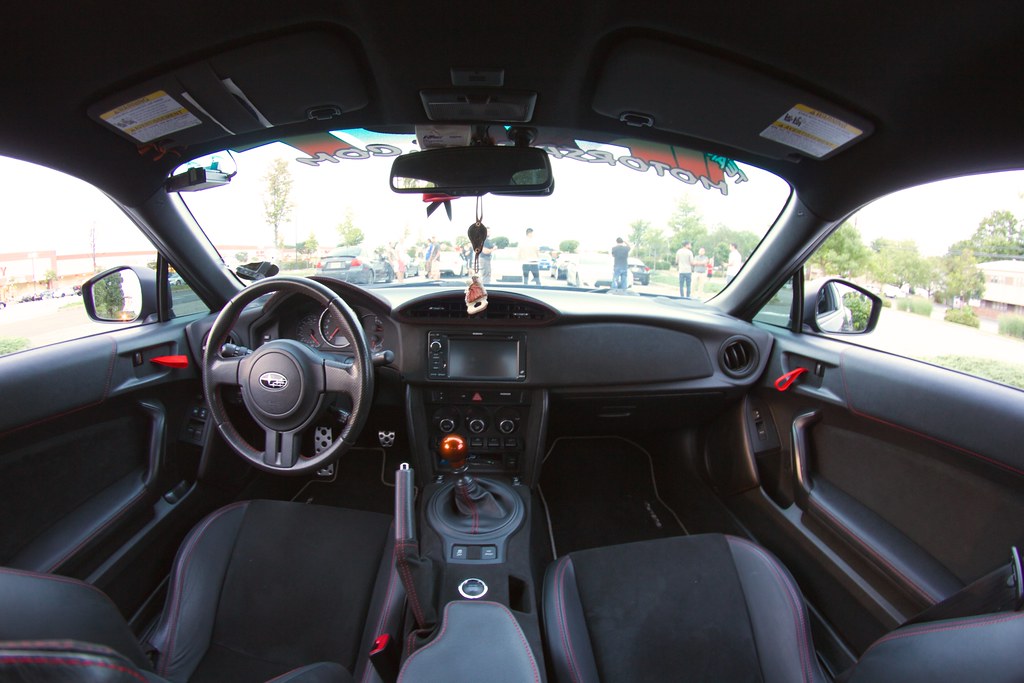
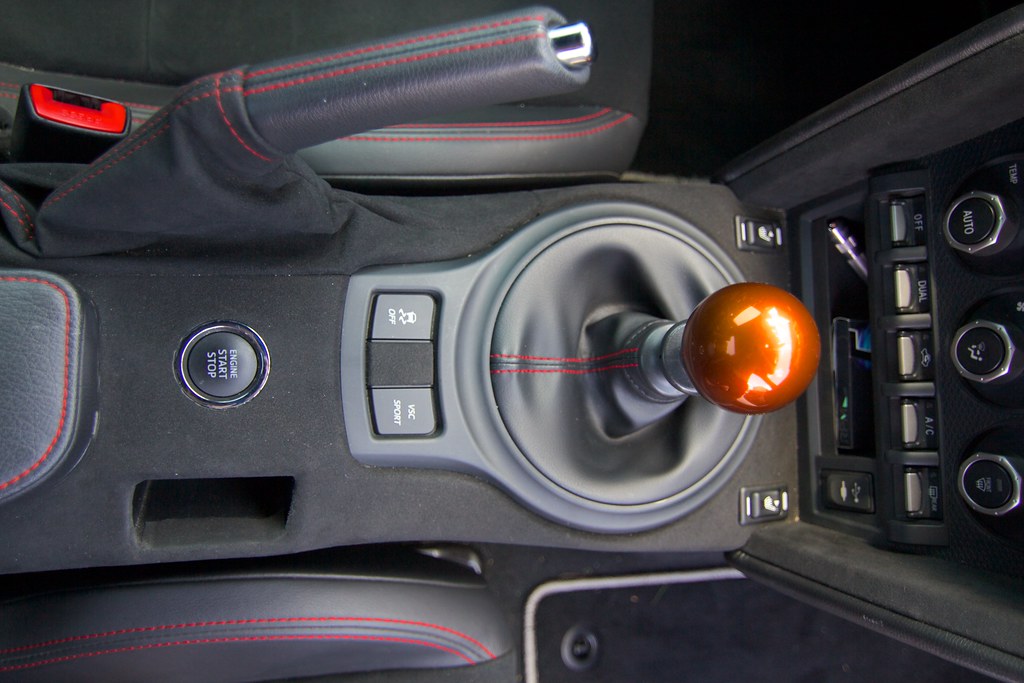
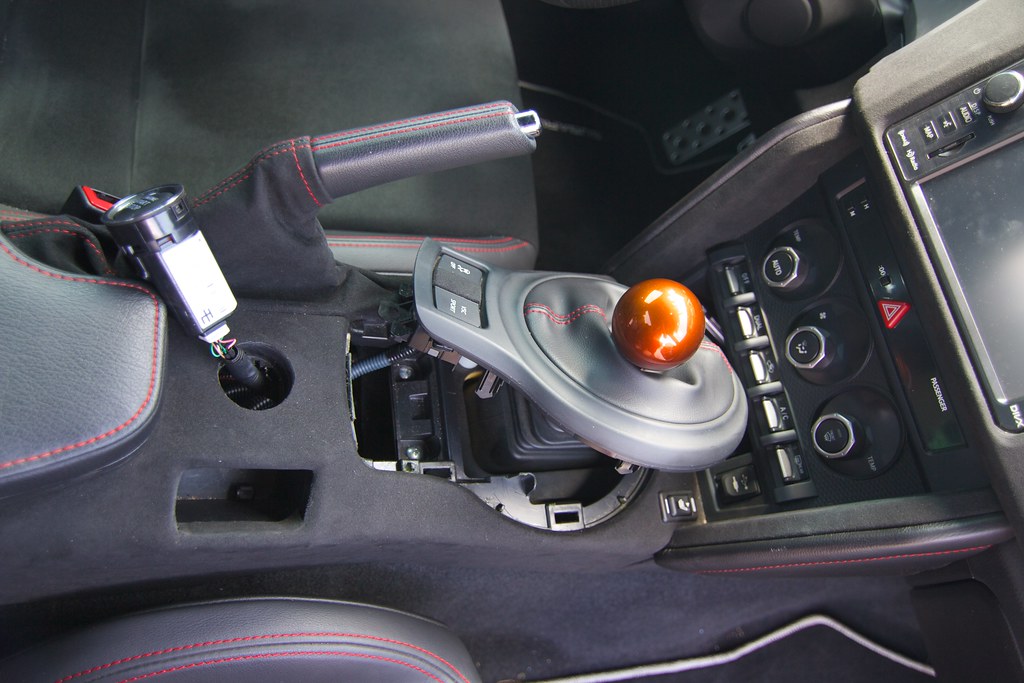
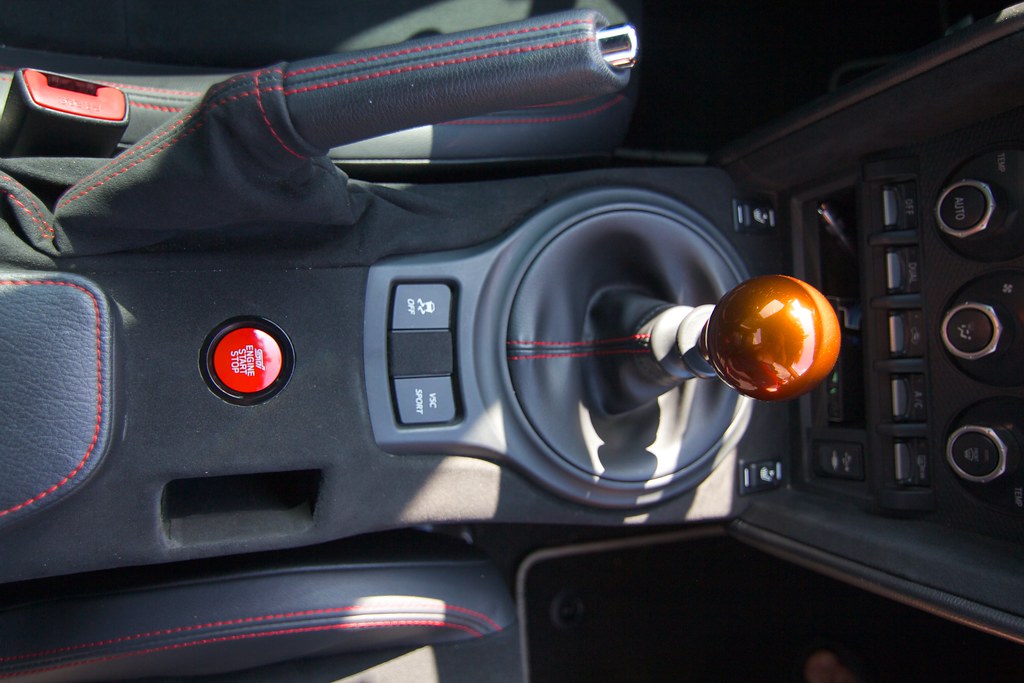
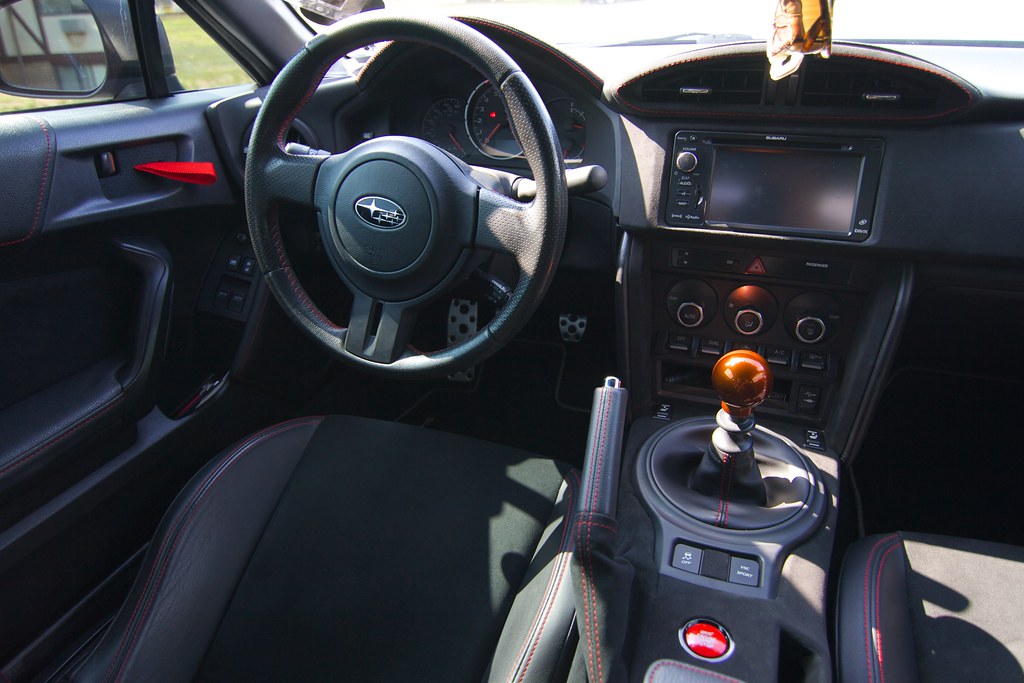
totaled the car a few weeks ago. interior is all gone.
all i have left are wheels and coilovers. i also have the BMW cupholders if anyone wants to do them. |

|

|
|
12-21-2016, 01:30 AM
|
#380 |
|
Senior Member
Join Date: Aug 2015
Drives: Asphalt 2015 FRS
Location: Seattle, WA
Posts: 444
Thanks: 292
Thanked 218 Times in 133 Posts
Mentioned: 5 Post(s)
Tagged: 0 Thread(s)
|
Dammit.
Just read through this entire thread, getting more and more excited to see where the build was going. This came to such an abrupt halt. Sorry about your car, but thank you for the inspiration you have provided to myself and others.
__________________
Build Thread: http://www.ft86club.com/forums/showthread.php?t=101096
|
|
|
|
| The Following User Says Thank You to Brayden_23 For This Useful Post: | Jive Turkey (12-22-2016) |
|
12-21-2016, 09:22 AM
|
#381 |
|
Senior Member
Join Date: Nov 2016
Drives: gt86
Location: GTA Toronto
Posts: 103
Thanks: 174
Thanked 40 Times in 26 Posts
Mentioned: 0 Post(s)
Tagged: 0 Thread(s)
|
wow WISH I have the time and money to do this, very impressive
|
|
|
|
| The Following User Says Thank You to FujiwaraTofu86 For This Useful Post: | Jive Turkey (12-22-2016) |
|
08-06-2017, 09:27 PM
|
#382 | |
|
Member
Join Date: Jun 2017
Drives: 2013 Subaru BRZ
Location: Colorado
Posts: 80
Thanks: 11
Thanked 16 Times in 10 Posts
Mentioned: 0 Post(s)
Tagged: 0 Thread(s)
|
Quote:
|
|
|
|
|
|
09-29-2017, 01:34 AM
|
#383 | |
|
the tuna, no crust.
Join Date: Oct 2012
Drives: 2014 Hachiroku of the year
Location: jersey
Posts: 2,298
Thanks: 874
Thanked 1,770 Times in 761 Posts
Mentioned: 78 Post(s)
Tagged: 0 Thread(s)
|
Quote:
|
|
|
|
|
|
09-06-2018, 11:28 PM
|
#384 | |
|
Memphis

Join Date: May 2012
Drives: 1989 MR2 S/C, 2014 Scion FR-S
Location: Langley, B.C.
Posts: 559
Thanks: 270
Thanked 98 Times in 78 Posts
Mentioned: 6 Post(s)
Tagged: 0 Thread(s)
|
Quote:
Can I see a close up of the seat heater buttons? did you encounter and issues putting them in that location? I am putting my buttons there as I have a console plaque in there currently. Thanks, MemphisR
__________________
"It's ok... It's not structural."- Mikey
|
|
|
|
|
|
10-10-2018, 12:26 AM
|
#385 |
|
the tuna, no crust.
Join Date: Oct 2012
Drives: 2014 Hachiroku of the year
Location: jersey
Posts: 2,298
Thanks: 874
Thanked 1,770 Times in 761 Posts
Mentioned: 78 Post(s)
Tagged: 0 Thread(s)
|
don't have a close up. I had zero issues. be careful not to cut hole too big for them if you place them there. You don't want them to be loose.
|
|
|
|
| The Following User Says Thank You to Jive Turkey For This Useful Post: | MemphisR (10-10-2018) |
|
01-08-2019, 08:28 PM
|
#386 |
|
Member
Join Date: Oct 2014
Drives: Crystal white brz
Location: North carolina
Posts: 38
Thanks: 1
Thanked 4 Times in 3 Posts
Mentioned: 0 Post(s)
Tagged: 0 Thread(s)
|
I may have missed it, but how did you make the gauge pods? Thanks for all the other things you have done! Now my car won’t feel so cheap thanks to you!
|
|
|
|
|
02-17-2019, 12:17 PM
|
#387 | |
|
the tuna, no crust.
Join Date: Oct 2012
Drives: 2014 Hachiroku of the year
Location: jersey
Posts: 2,298
Thanks: 874
Thanked 1,770 Times in 761 Posts
Mentioned: 78 Post(s)
Tagged: 0 Thread(s)
|
Quote:
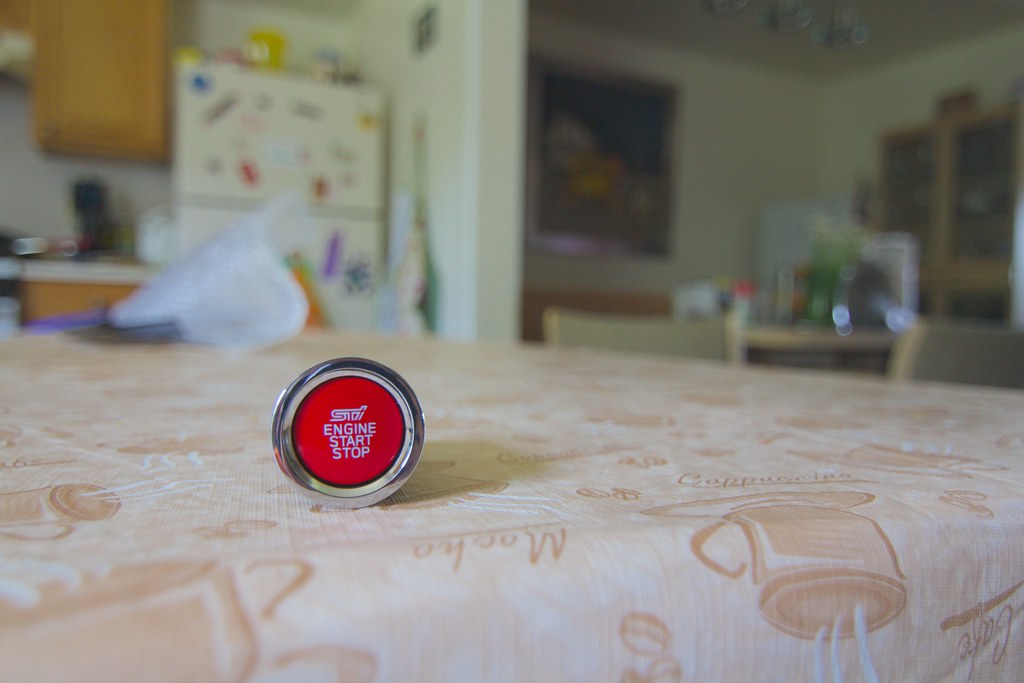
Cut pipes into like 3 inch "pods" and cut two circles in the cluster where i wanted gauges to go. glued the PVC pipe and then filled with some body filler, sanded and painted. Its pretty simple once you get to it. hope this helps. |
|
|
|
|
|
02-18-2019, 08:59 AM
|
#388 |
|
Member
Join Date: Oct 2014
Drives: Crystal white brz
Location: North carolina
Posts: 38
Thanks: 1
Thanked 4 Times in 3 Posts
Mentioned: 0 Post(s)
Tagged: 0 Thread(s)
|
Yes sir!! Thanks a bunch!
|
|
|
|
|
05-18-2019, 10:39 PM
|
#389 |
|
Junior Member
Join Date: Apr 2019
Drives: 2015 White BRZ Premium
Location: MO
Posts: 9
Thanks: 0
Thanked 1 Time in 1 Post
Mentioned: 0 Post(s)
Tagged: 0 Thread(s)
|
Dude those pull straps are mad cool!!!!!!!
Now you got me thinking! |
|
|
|
|
05-20-2019, 03:46 AM
|
#390 |
|
Junior Member
Join Date: May 2019
Drives: 2019 Subaru BRZ
Location: Canada
Posts: 8
Thanks: 0
Thanked 0 Times in 0 Posts
Mentioned: 0 Post(s)
Tagged: 0 Thread(s)
|
Hi question about the hvac surround pillars (silver trim pieces) How did you wrap it and what is the process of removing it?
|
|
|
|
|
05-29-2019, 12:25 PM
|
#391 | |
|
Senior Member
Join Date: Mar 2019
Drives: 13 BRZ Limited
Location: DC
Posts: 111
Thanks: 32
Thanked 42 Times in 28 Posts
Mentioned: 0 Post(s)
Tagged: 0 Thread(s)
|
Quote:
Sorry for the awful wording. It's way easier to show than to tell. Once you've done it once the clips will be pretty intuitive. |
|
|
|
|
|
|
|
|
|
|
|
 Similar Threads
|
||||
| Thread | Thread Starter | Forum | Replies | Last Post |
| DCW Carbon Fiber interior items! Center console Plaques / Interior panels | doggy | Interior Parts (Incl. Lighting) | 143 | 10-11-2013 11:17 AM |
| LED interior conversion kits (interior), USA stock & warranty | WTF | Interior Parts (Incl. Lighting) | 0 | 05-22-2013 10:17 PM |
| Video: Toyota FT-86 II Concept Design Explained by "Dezi" Nagaya (Design Manager) | Hachiroku | Scion FR-S / Toyota 86 GT86 General Forum | 58 | 04-11-2011 09:03 PM |


 Greta
Greta

 Eleanor