


 03-06-2013, 12:56 AM
|
#71 | |
|
Senior Member

Join Date: Aug 2012
Drives: '04 350Z/ 2013 LR BRZ (LM)
Location: Jax Flo - Rida
Posts: 264
Thanks: 444
Thanked 52 Times in 41 Posts
Mentioned: 0 Post(s)
Tagged: 0 Thread(s)
|
Quote:

|
|

|

|
|
03-06-2013, 05:26 PM
|
#72 |
|
Member

Join Date: Mar 2013
Drives: Really slow
Location: Over there
Posts: 87
Thanks: 41
Thanked 88 Times in 39 Posts
Mentioned: 3 Post(s)
Tagged: 0 Thread(s)
|
I emailed Radium asking for a 90° 2-piece in 0.425" and they told me the closest they have is the 0.5", which is selectable from their website. I guess they aren't making any more custom sizes.
|
|
|
|
| The Following User Says Thank You to Cheeseballs For This Useful Post: | ProjectD (03-06-2013) |
|
03-06-2013, 11:53 PM
|
#73 | |
|
Member

Join Date: Oct 2012
Drives: argento frs; 90 mustang gt
Location: 619
Posts: 89
Thanks: 39
Thanked 22 Times in 18 Posts
Mentioned: 0 Post(s)
Tagged: 0 Thread(s)
|
Quote:
__________________
 |
|
|
|
|
|
03-07-2013, 10:15 AM
|
#74 |
|
Senior Member

Join Date: Jan 2012
Drives: '13 GBS Subaru BRZ
Location: Minneapolis, MN
Posts: 2,030
Thanks: 680
Thanked 664 Times in 382 Posts
Mentioned: 26 Post(s)
Tagged: 1 Thread(s)
|
Did anyone else course stainless steel wool type material in theirs rather then the stackable screens? It looks like Radium has switched (didn't notice this before I ordered) judging by some of the pics on their website now.
https://radiumauto.com/index.php?p=p...id=28&parent=0 Not sure if this really matters or not, but the stackable screens seemed to be one of their selling points.
__________________
-Fortes fortuna adiuvat (Fortune favors the bold)
|
|
|
|
|
03-07-2013, 10:57 AM
|
#75 | |
|
Photo Specialist

Join Date: Feb 2012
Drives: 2013 Toyota 86 DGM 6MT
Location: Texas
Posts: 1,152
Thanks: 587
Thanked 1,805 Times in 420 Posts
Mentioned: 94 Post(s)
Tagged: 0 Thread(s)
|
Quote:
__________________
|
|
|
|
|
|
03-07-2013, 11:21 AM
|
#76 | |
|
Senior Member

Join Date: Jun 2012
Drives: SWP BRZ 6MT
Location: Phoenix, AZ
Posts: 876
Thanks: 415
Thanked 576 Times in 332 Posts
Mentioned: 144 Post(s)
Tagged: 0 Thread(s)
 |
Quote:
Sent from my Nexus S using Tapatalk 2 Last edited by Ninjin; 03-12-2013 at 10:26 PM. |
|
|
|
|
|
03-07-2013, 11:30 AM
|
#77 | |
|
Senior Member
Join Date: Jan 2012
Drives: '13 GBS Subaru BRZ
Location: Minneapolis, MN
Posts: 2,030
Thanks: 680
Thanked 664 Times in 382 Posts
Mentioned: 26 Post(s)
Tagged: 1 Thread(s)
|
Quote:
Thanks for the confirmation that it's working well without the screens.
__________________
-Fortes fortuna adiuvat (Fortune favors the bold)
|
|
|
|
|
|
03-08-2013, 10:46 PM
|
#78 |
|
Photo Specialist
Join Date: Feb 2012
Drives: 2013 Toyota 86 DGM 6MT
Location: Texas
Posts: 1,152
Thanks: 587
Thanked 1,805 Times in 420 Posts
Mentioned: 94 Post(s)
Tagged: 0 Thread(s)
|
The rustoleum isn't holding up
 Please don't use steel. I used it because I goofed at the store. 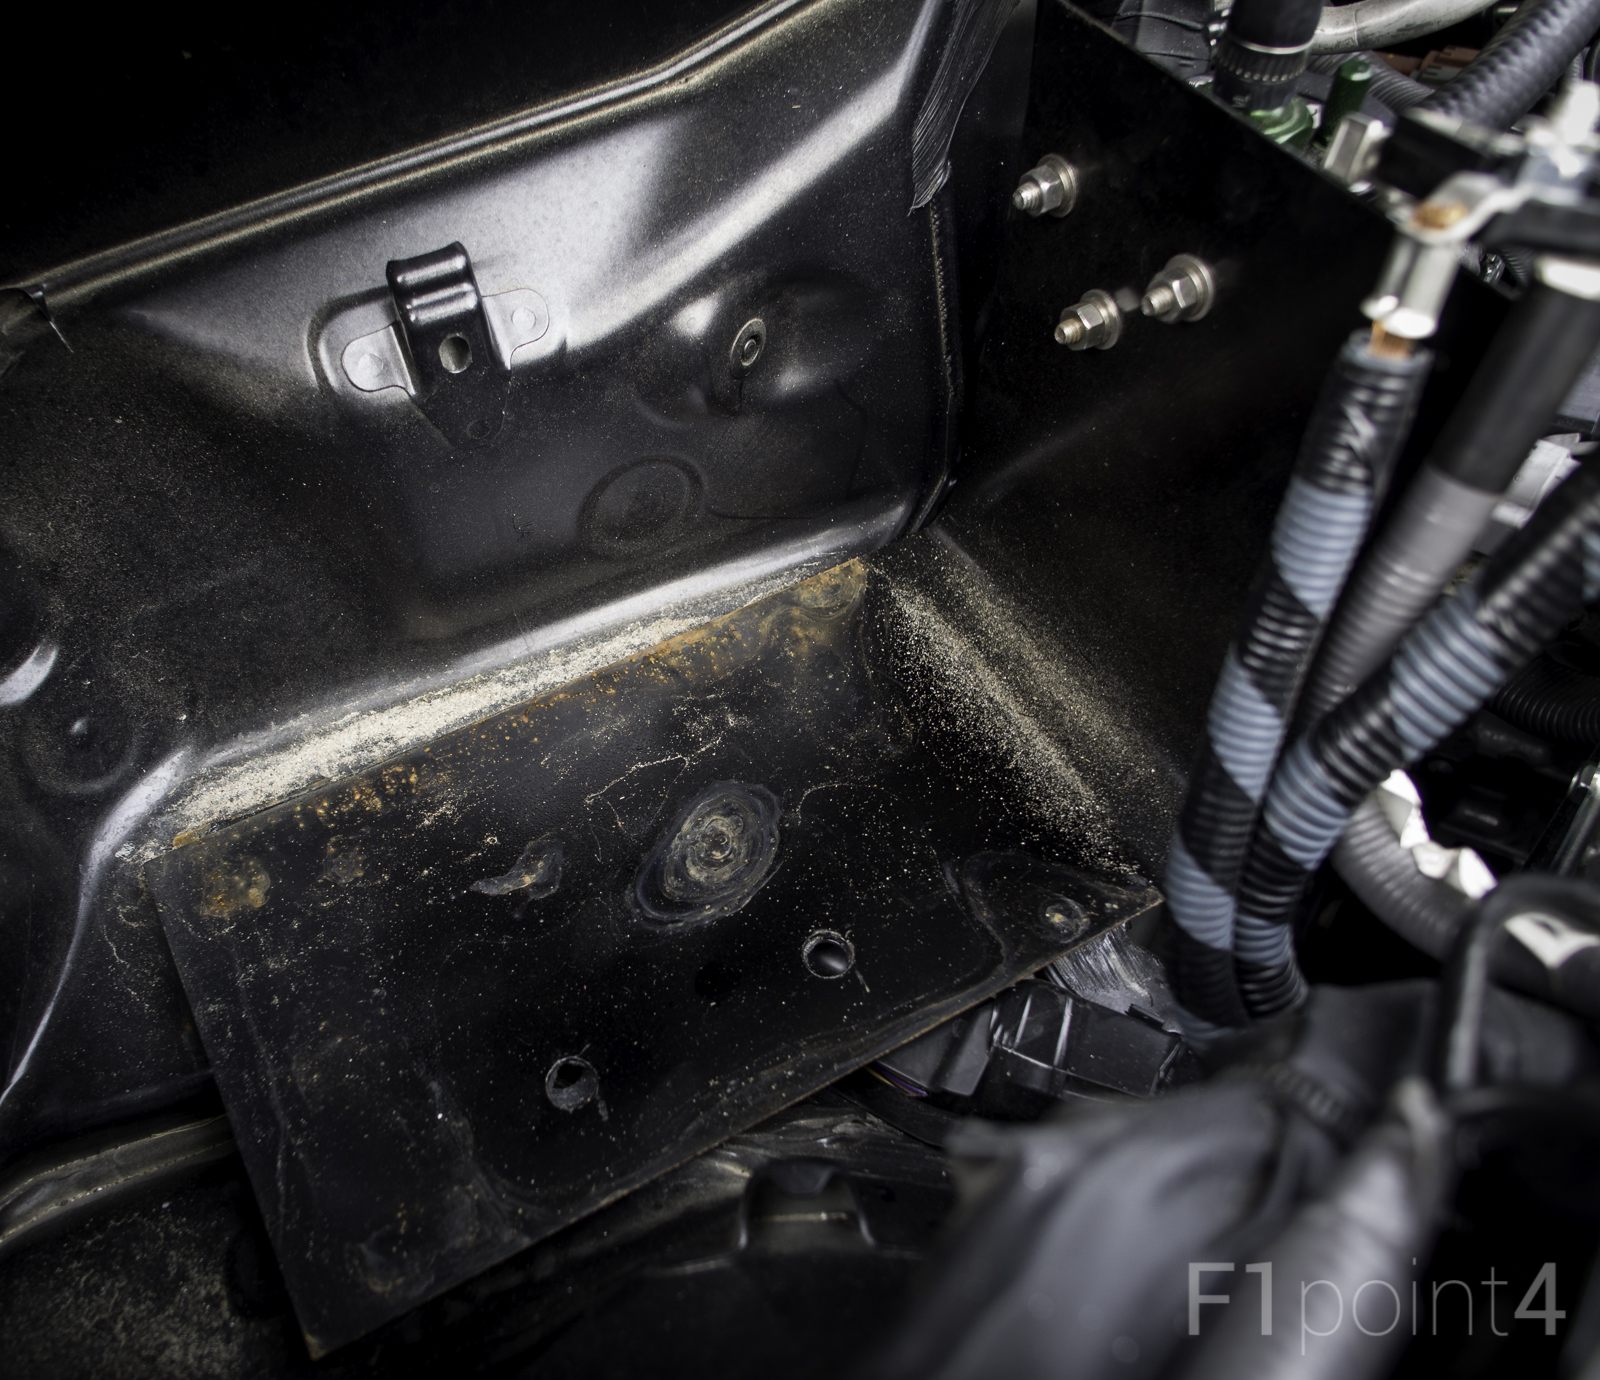 20130308-DieHardBattery-003 by VictorN07, on Flickr
__________________
|
|
|
|
|
03-10-2013, 05:31 AM
|
#79 |
|
Senior Member

Join Date: Mar 2012
Drives: '13 Nissan Frontier (4.0L 6spd 2WD)
Location: In the desert...
Posts: 1,645
Thanks: 179
Thanked 1,246 Times in 669 Posts
Mentioned: 21 Post(s)
Tagged: 1 Thread(s)
|
Well I have a prototype version installed...not completely though as I bought 2 clamps but my father who was helping modify them cut the length too short on one and it wasn't usable. I can say with only one modified clamp in the middle it's totally solid on the bar, silicone grip tape on the bar clamp pieces works great. The Radium mount is now the weakest link actually. Super easy to get to and remove the bottom of the can too with all that space between the battery and strut brace with this layout. It's fairly close to the hood, but clears fine in this position - further to the rear on the strut brace by a little over 1" is when the Radium intake fitting will make contact with the hood. I do plan on making a better version (TIG welded 1 piece upper), but this will do for now - with 2 more modified clamps added for massive overkill...
The reinforced racing rubber hose (1/2" for catch can to Intake manifold location and 3/8" for PCV valve to catch can location) was extremely hard to get on the fittings... see no need for clamps on them. Custom Mount images:      Installed Images:   
__________________
Had a '13 FR-S Asphalt 6spd manual (bought new 5/25/12, sold 6/10/20) but needed to let her go... she will be missed.
Last edited by Vracer111; 03-10-2013 at 05:47 AM. |
|
|
|
|
03-14-2013, 02:08 AM
|
#80 | |
|
Member
Join Date: Oct 2012
Drives: argento frs; 90 mustang gt
Location: 619
Posts: 89
Thanks: 39
Thanked 22 Times in 18 Posts
Mentioned: 0 Post(s)
Tagged: 0 Thread(s)
|
Quote:
thumbs up for coming up with a mounting solution!
__________________
|
|
|
|
|
|
03-14-2013, 11:29 AM
|
#81 |
|
Senior Member
Join Date: Feb 2012
Drives: 2013 DGM Subaru BRZ (Subie #9)
Location: ATL, US
Posts: 2,667
Thanks: 123
Thanked 861 Times in 552 Posts
Mentioned: 32 Post(s)
Tagged: 0 Thread(s)
|
My first go at attaching the can I just drilled another set of three holes in the Radium bracket and used a piece of 7/8 rubber tubing around the bar (it's 7/8) along with three 1/4" high strength zip ties. Honestly it would have worked fine, the can wasn't going anywhere but the one issue was the output port was facing the rear of the car. I didn't feel like spending the money on a 90 degree fitting to make the hose not loop around so I just changed the mounting.
|
|
|
|
|
03-20-2013, 12:16 AM
|
#82 | |
|
Member
Join Date: Mar 2013
Drives: Really slow
Location: Over there
Posts: 87
Thanks: 41
Thanked 88 Times in 39 Posts
Mentioned: 3 Post(s)
Tagged: 0 Thread(s)
|
Quote:
As a side note, I used the 3/8" 90° 2-piece fitting since Radium doesn't offer it in .425" and my 11/32" hose fit very nice and snug even without a clamp. I used a clamp anyway for peace of mind. |
|
|
|
|
|
03-27-2013, 03:38 PM
|
#83 | |
|
Member
Join Date: Feb 2013
Drives: FR-S Black Beauty
Location: Huntsville Alabama
Posts: 61
Thanks: 18
Thanked 15 Times in 11 Posts
Mentioned: 0 Post(s)
Tagged: 0 Thread(s)
|
Quote:
So I'm definitely doing this setup once I get my tax refund check. Most likely going to go ahead and buy the double can setup for future expansion. How is that holding up so far? Any added noise (rattle)? Also did you buy a specific thickness of the metal that you bent? side note: Would it matter if I used the 8AN outlet instead of the ones listed? |
|
|
|
|
|
04-02-2013, 03:18 AM
|
#84 |
|
Senior Member
Join Date: Jun 2012
Drives: SWP BRZ 6MT
Location: Phoenix, AZ
Posts: 876
Thanks: 415
Thanked 576 Times in 332 Posts
Mentioned: 144 Post(s)
Tagged: 0 Thread(s)
|
Alternative sources of fittings
As many have noted, the fittings and adapters that Radium sells with their catch cans are very expensive (they're also great quality, but still expensive). After some trial and error, I think I've worked out what would be needed to install a Radium can and not buy the fittings from Radium.
Male -10 AN to hose barb this one is a bit hard to find, this is the only model I came across. Used to connect the catch can outlet to the intake manifold. Male -10 AN to Male -6 AN Reducer used to connect a Female -6 AN to hose barb 90 degree adapter* These two are much easier to find at various online retailers. The -6 AN size matches up well with 3/8ths hoses. The total cost of these items at this particular vendor is $21.15 + shipping, so far they're the cheapest source of these parts, but most places will be less expensive than Radium. Of course, you'll also need 3/8ths and 5/8ths hose (or -6AN and -10AN if you can find push-fit hoses sold in AN sizing). A hose clamp is definitely needed to secure the 5/8ths hose to the intake manifold. I would recommend using a hose clamp on all connections, just to be safe. Also optional are AN fitting O-rings. (Radium includes these) Hopefully this can help save some money on future catch can installs! *Edit: Backordered, here's an alternate part. Last edited by Ninjin; 05-03-2013 at 12:56 AM. |
|
|
|
| The Following 3 Users Say Thank You to Ninjin For This Useful Post: |
|
|
|
|
|
|
 Similar Threads
|
||||
| Thread | Thread Starter | Forum | Replies | Last Post |
| 2013 FR-S Product Technical Info and Specs (from Las Vegas press event) | ichitaka05 | Scion FR-S / Toyota 86 GT86 General Forum | 53 | 07-19-2021 06:59 PM |
| Fifth Gear reviews the GT86 (Full Video) | lazyluka | Scion FR-S / Toyota 86 GT86 General Forum | 20 | 10-10-2012 07:09 AM |
| 86 Full Throttle Video + another. | Aus86 | FR-S & 86 Photos, Videos, Wallpapers, Gallery Forum | 2 | 04-02-2012 08:07 AM |
| Full Specs and Info on GREDDY SCION FR-S | vh_supra26 | Scion FR-S / Toyota 86 GT86 General Forum | 109 | 01-03-2012 12:11 AM |


 2013 Subaru BRZ


 FR-S
FR-S