Update:
Things are slowly progressing with this audio system build. I got the studs installed where the factory holes for the plastic snap rivets would normally go to secure the factory trunk lid liner in place. This preps the trunk lid for my amp rack that I'm building.


These 1-inch studs were not easy to fish down and over from the openings and holes in the internal trunk lid bracing. I had to use a combination of a spring claw tool, a magnet and a very thin but fairly stiff length of nickel coated copper capillary tube along with a lot of patience to get these studs in place.

The three studs on top can be accessed from behind with an open-end wrench in order to tighten them down but the four studs on the bottom cannot be accessed with a wrench from behind at all, so I had to get the main securing nut in place on the bolt first, following the nylon washer, flat washer, and lock washer, then thread two more nuts onto the stud, tightening them together to use them to hold the bolt in place while I tightened the main securing nut down. Then I just loosened and removed the two nuts and did that for the remaining three studs.
I used the factory trunk liner as a template to cut the initial amp rack patterns which I am planning to build as lightweight and strong as possible incorporating a sketetal structure sandwiched between two 1/4" Birch plywood sheets.

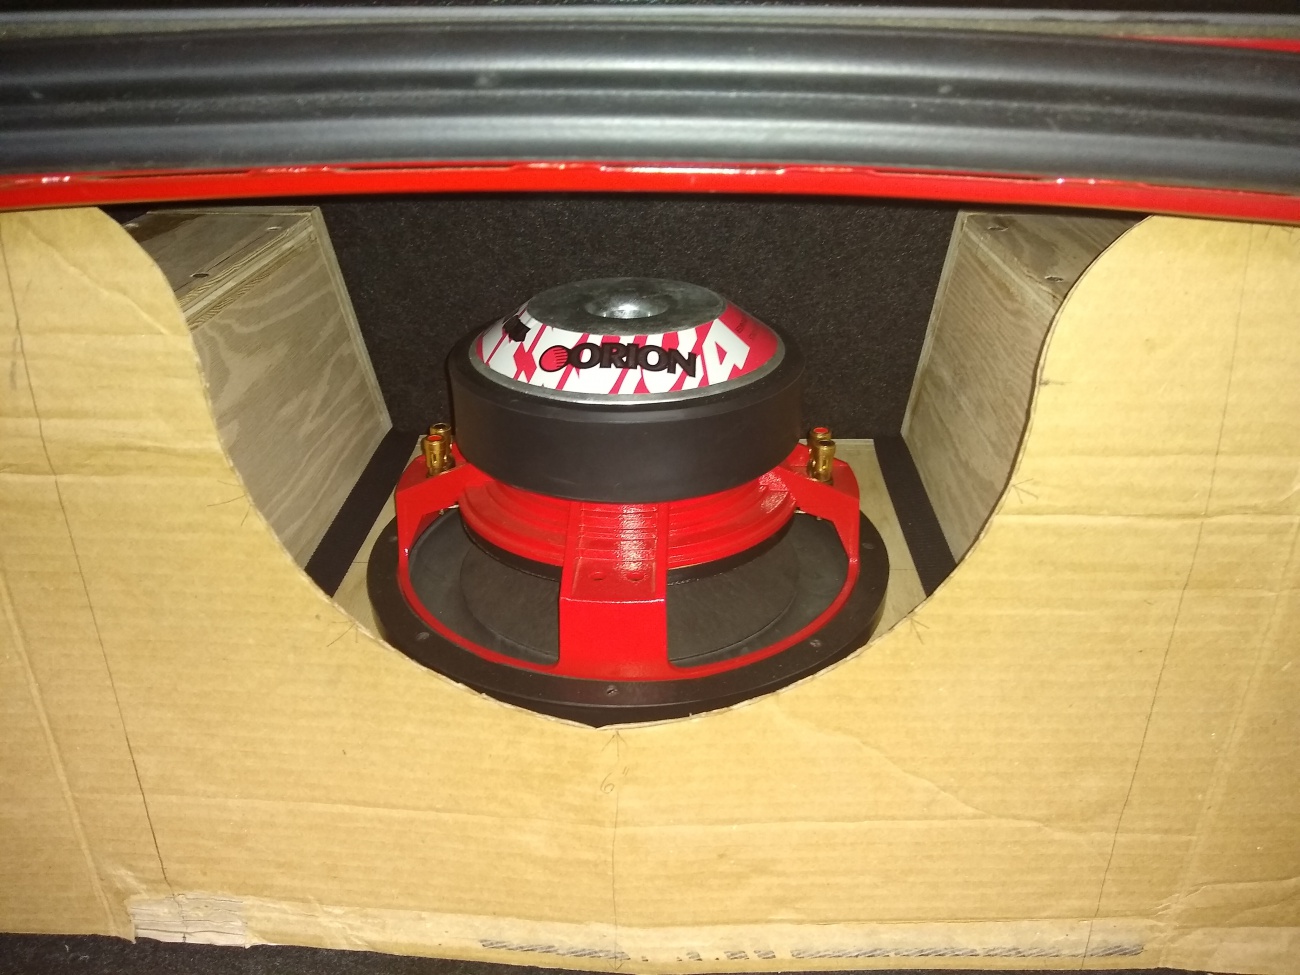
I'm also planning on building a beauty cover for the subwoofer enclosure. I've got a cardboard mock-up of it made already. This cover will allow people to view the subwoofer with a three-dimensional effect.
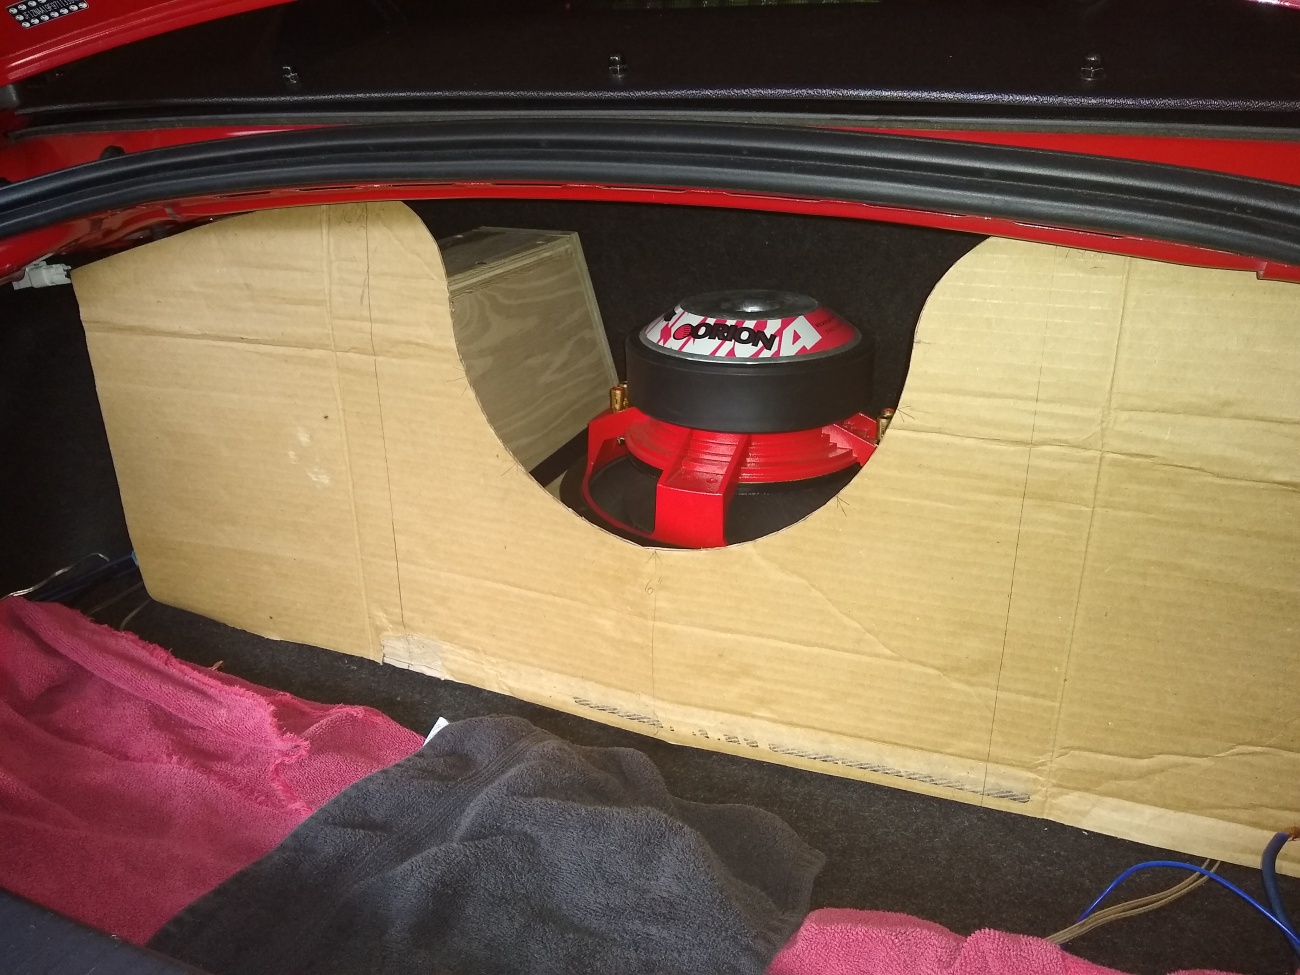
Fun fact: I have this cardboard piece just friction fitted in place and forgot I had it there when I took the car on some twisty roads on a 150 mile round trip over the weekend, and when I got back, I popped the trunk to find that it was still in place and hadn't moved a bit! The subwoofer enclosure is strapped in place using an anchor system that I fabricated to attach to the rear seat securing bracket bolts and seat belt mechanism securing bolts. Apparently it works very well as the enclosure hasn't moved either. Tried and tested!
Note: I have not drilled a single hole in this car so far during this audio system build, nor during any other modifications to this car for that matter.
Here's a look at the strap set up for securing the enclosure in place.