|
DIY : TRD Door Stabilizers
Installed the TRD Door Stabilizer kit today. Ordered it from Carson Toyota in CA for $190 or so and shipping was free as it was included with the TRD spoiler I ordered at same time.
The instructions are all in Japanese of course but the few diagrams included gave good hints as to how it would be installed. This photo is one side not yet installed.
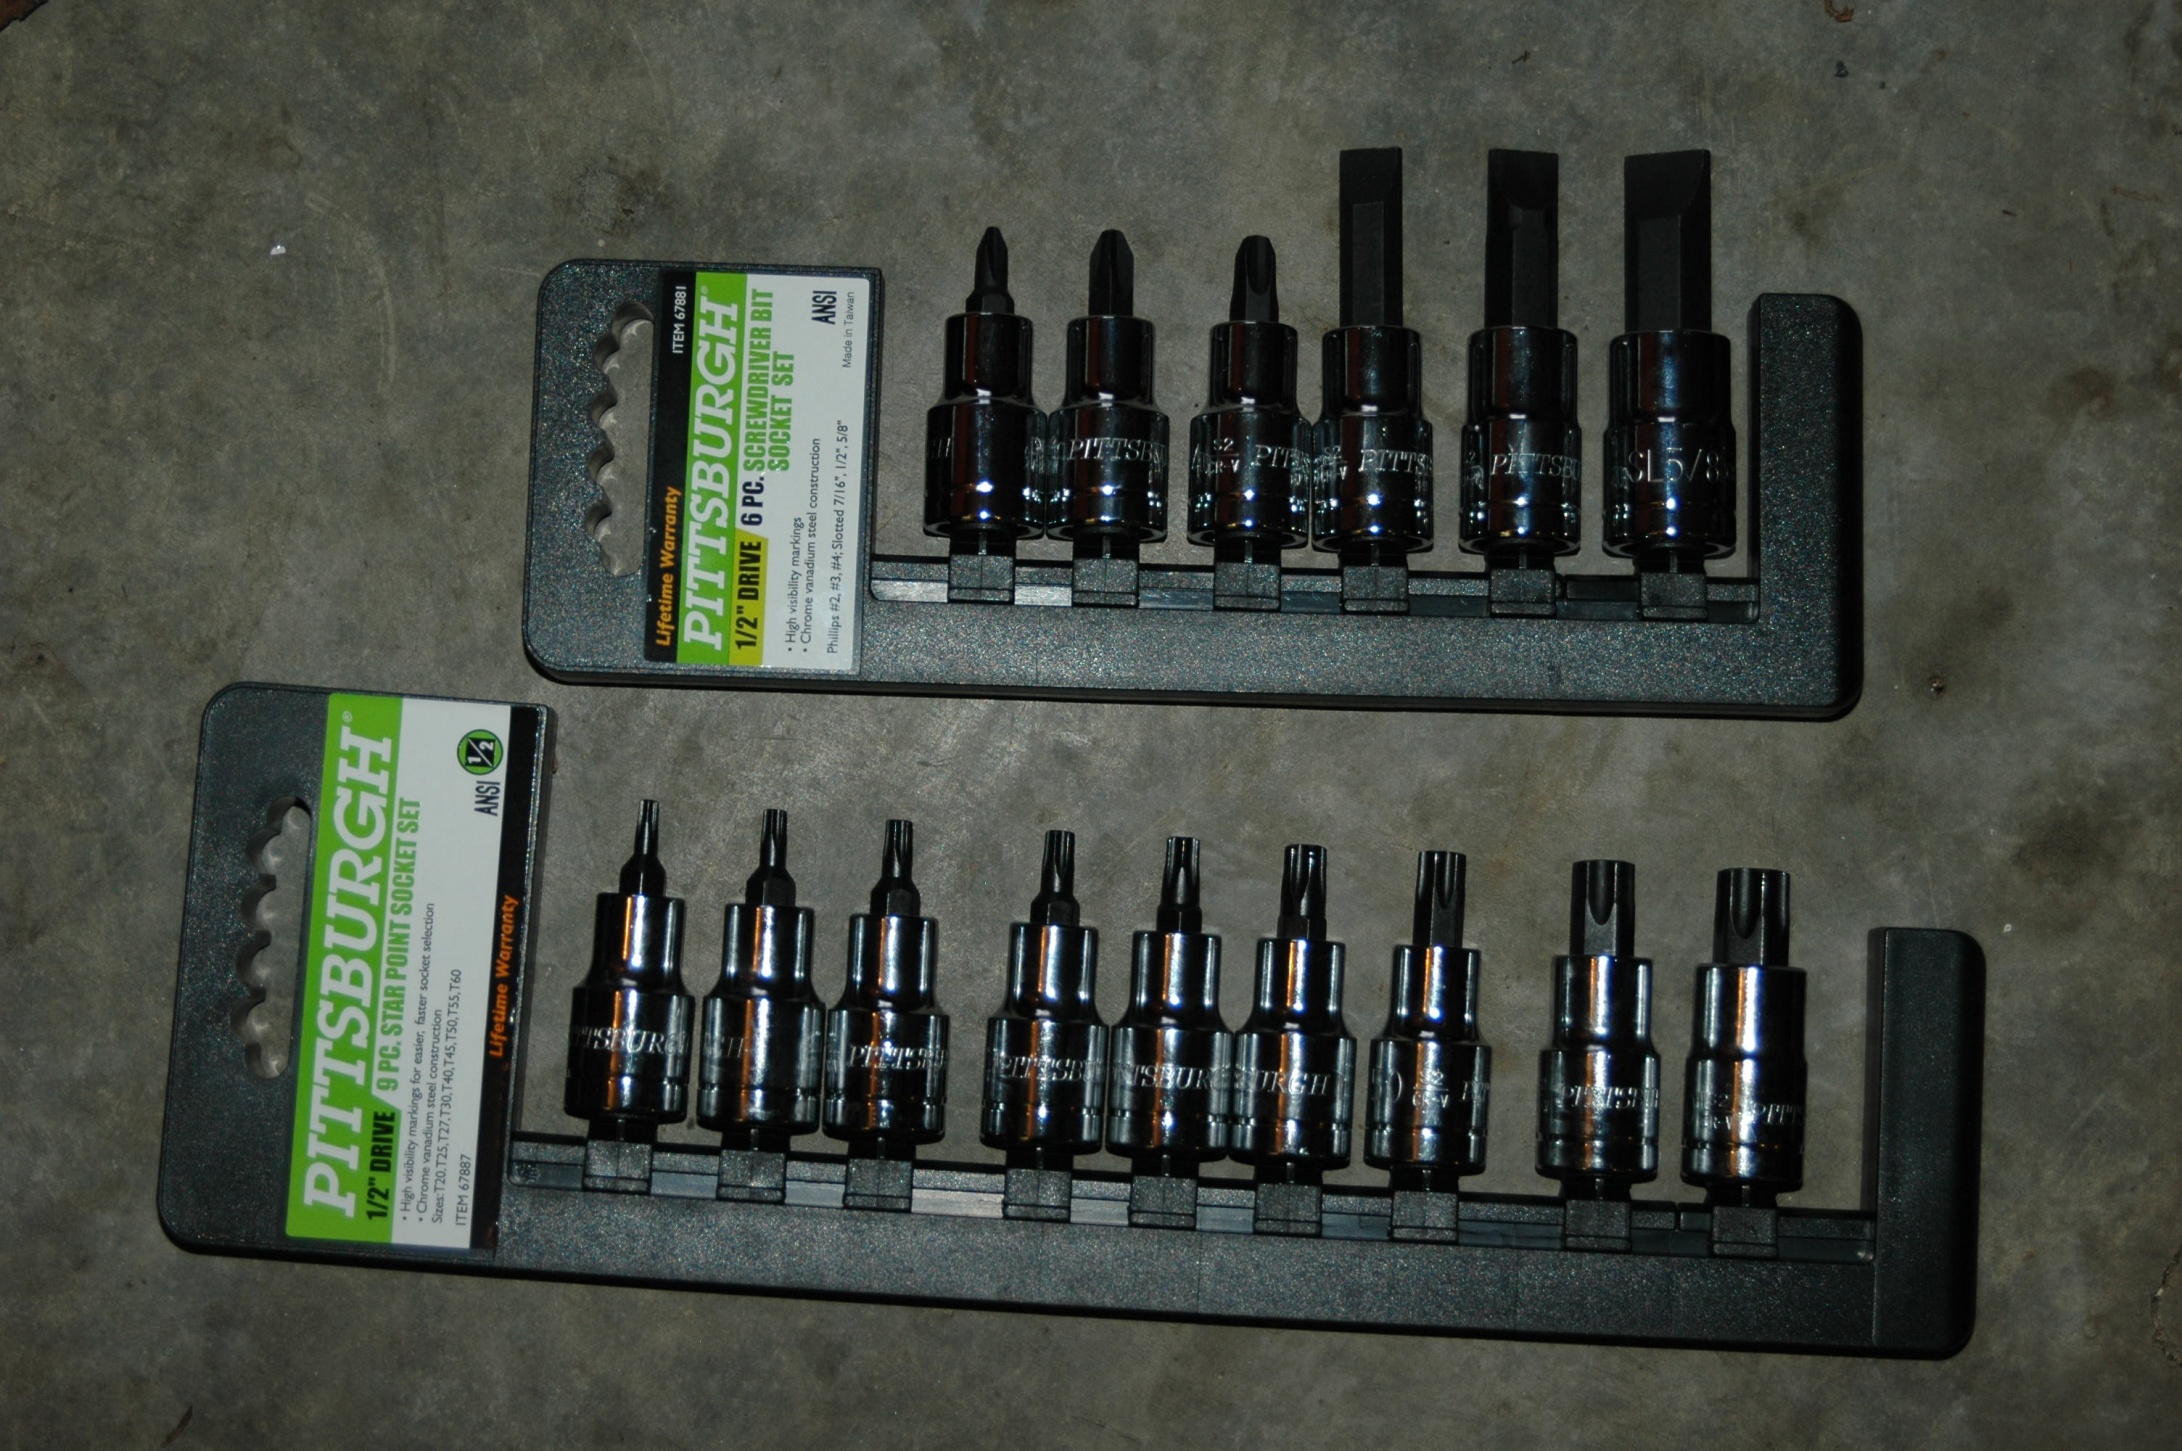
 Seems to be fairly straight forward. The black part in upper left is heavy duty plastic. The new screws are “star” screws so took a run to Harbor Freight to buy the bits for it. I also needed to pick up a screw driver socket set as I didn’t have one and it was necessary. Not bad for $20 total but then again it’s harbor freight so I get what I pay for. Tools I had to buy from Harbor Freight:
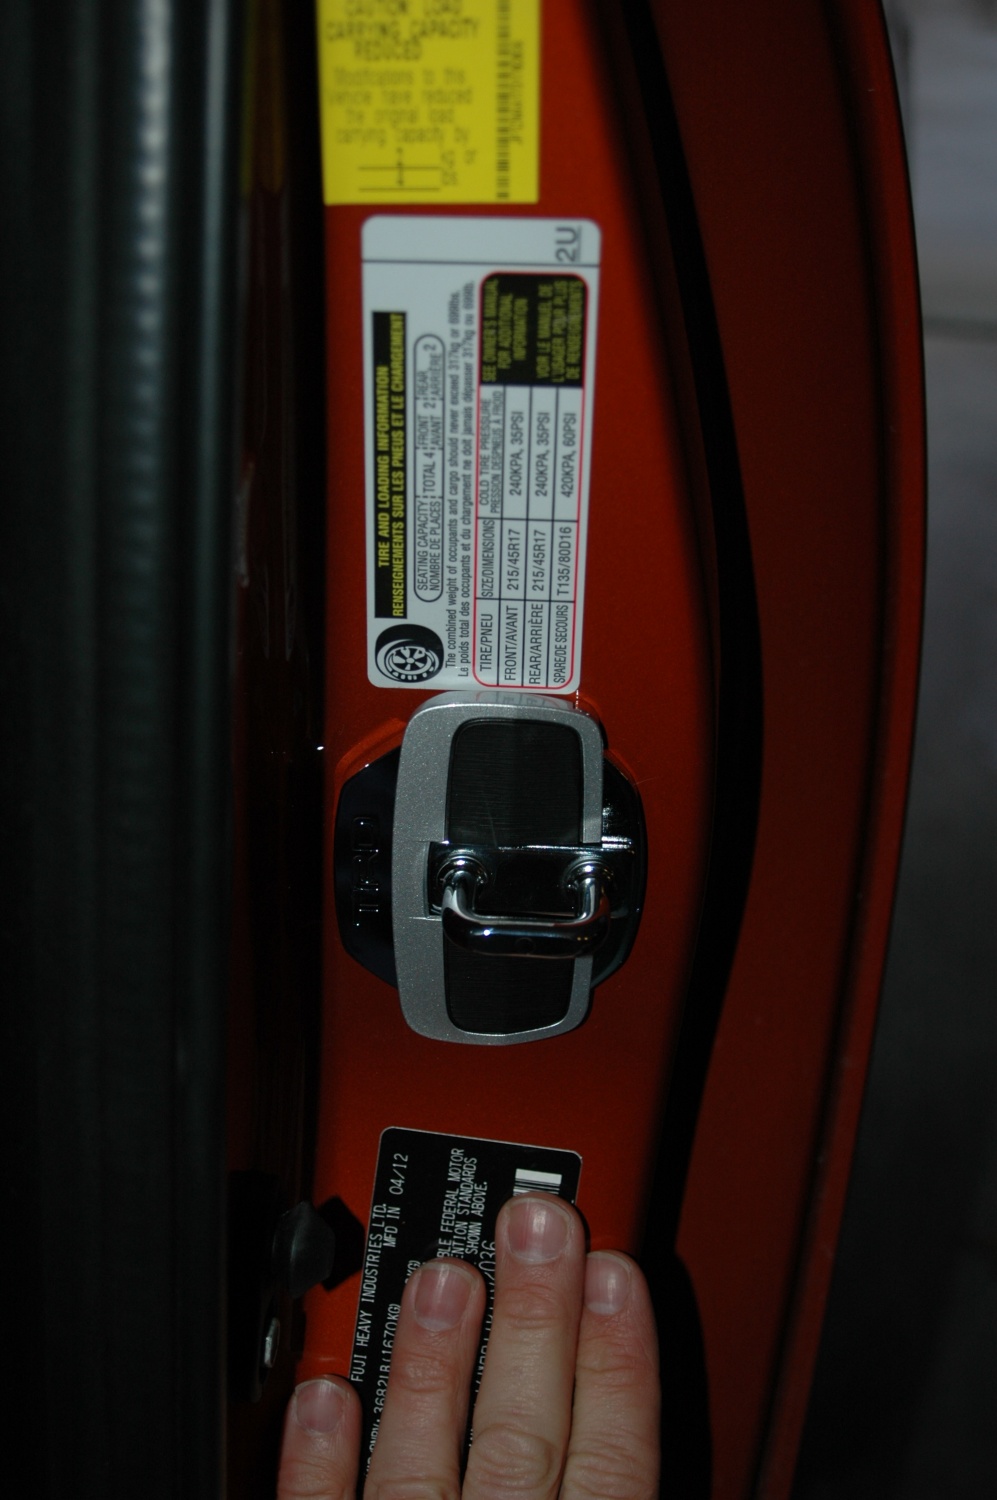
 This of course is what it looks like before we start:
 The hardest part of this whole project is getting those damn screws loosened. I thought a breaker bar with a Philips head would do the trick:
 (As n2oinferno points out, you shouldn't use a torque wrench as a breaker bar but this is a very old and abused one so it's not doing it any more harm. You should use a real breaker bar if one is available)
But the breaker bar just started to strip the screws despite how hard I pushed. So I resorted to using an impact driver and hammer just to loosen them a bit.
(As n2oinferno points out, you shouldn't use a torque wrench as a breaker bar but this is a very old and abused one so it's not doing it any more harm. You should use a real breaker bar if one is available)
But the breaker bar just started to strip the screws despite how hard I pushed. So I resorted to using an impact driver and hammer just to loosen them a bit.
 Hold it differently from picture or you’ll break your wrist with the hammer. After getting the old one off, it’s then just a matter of holding the “spring” section back and screwing in the new plate with the star screws:
 I found in the Japanese documentation that the torx screws should be tightened to 23 nm (~17 ft lbs). Thanks to Hanasuko for pointing out this fact.
Here’s how it looks when complete:
I found in the Japanese documentation that the torx screws should be tightened to 23 nm (~17 ft lbs). Thanks to Hanasuko for pointing out this fact.
Here’s how it looks when complete:
 The screws on the actual door are trivial in comparison. It’s just a matter of loosening two screws and putting the metal bracket on:
 Note that the lower screw isn't yet installed just to show how the bracket fits quite well into the screw hole. According to the doc, these screws should be tightened to 6.5 nm (~ 4 ft lbs). Then the plastic piece snaps in as so:
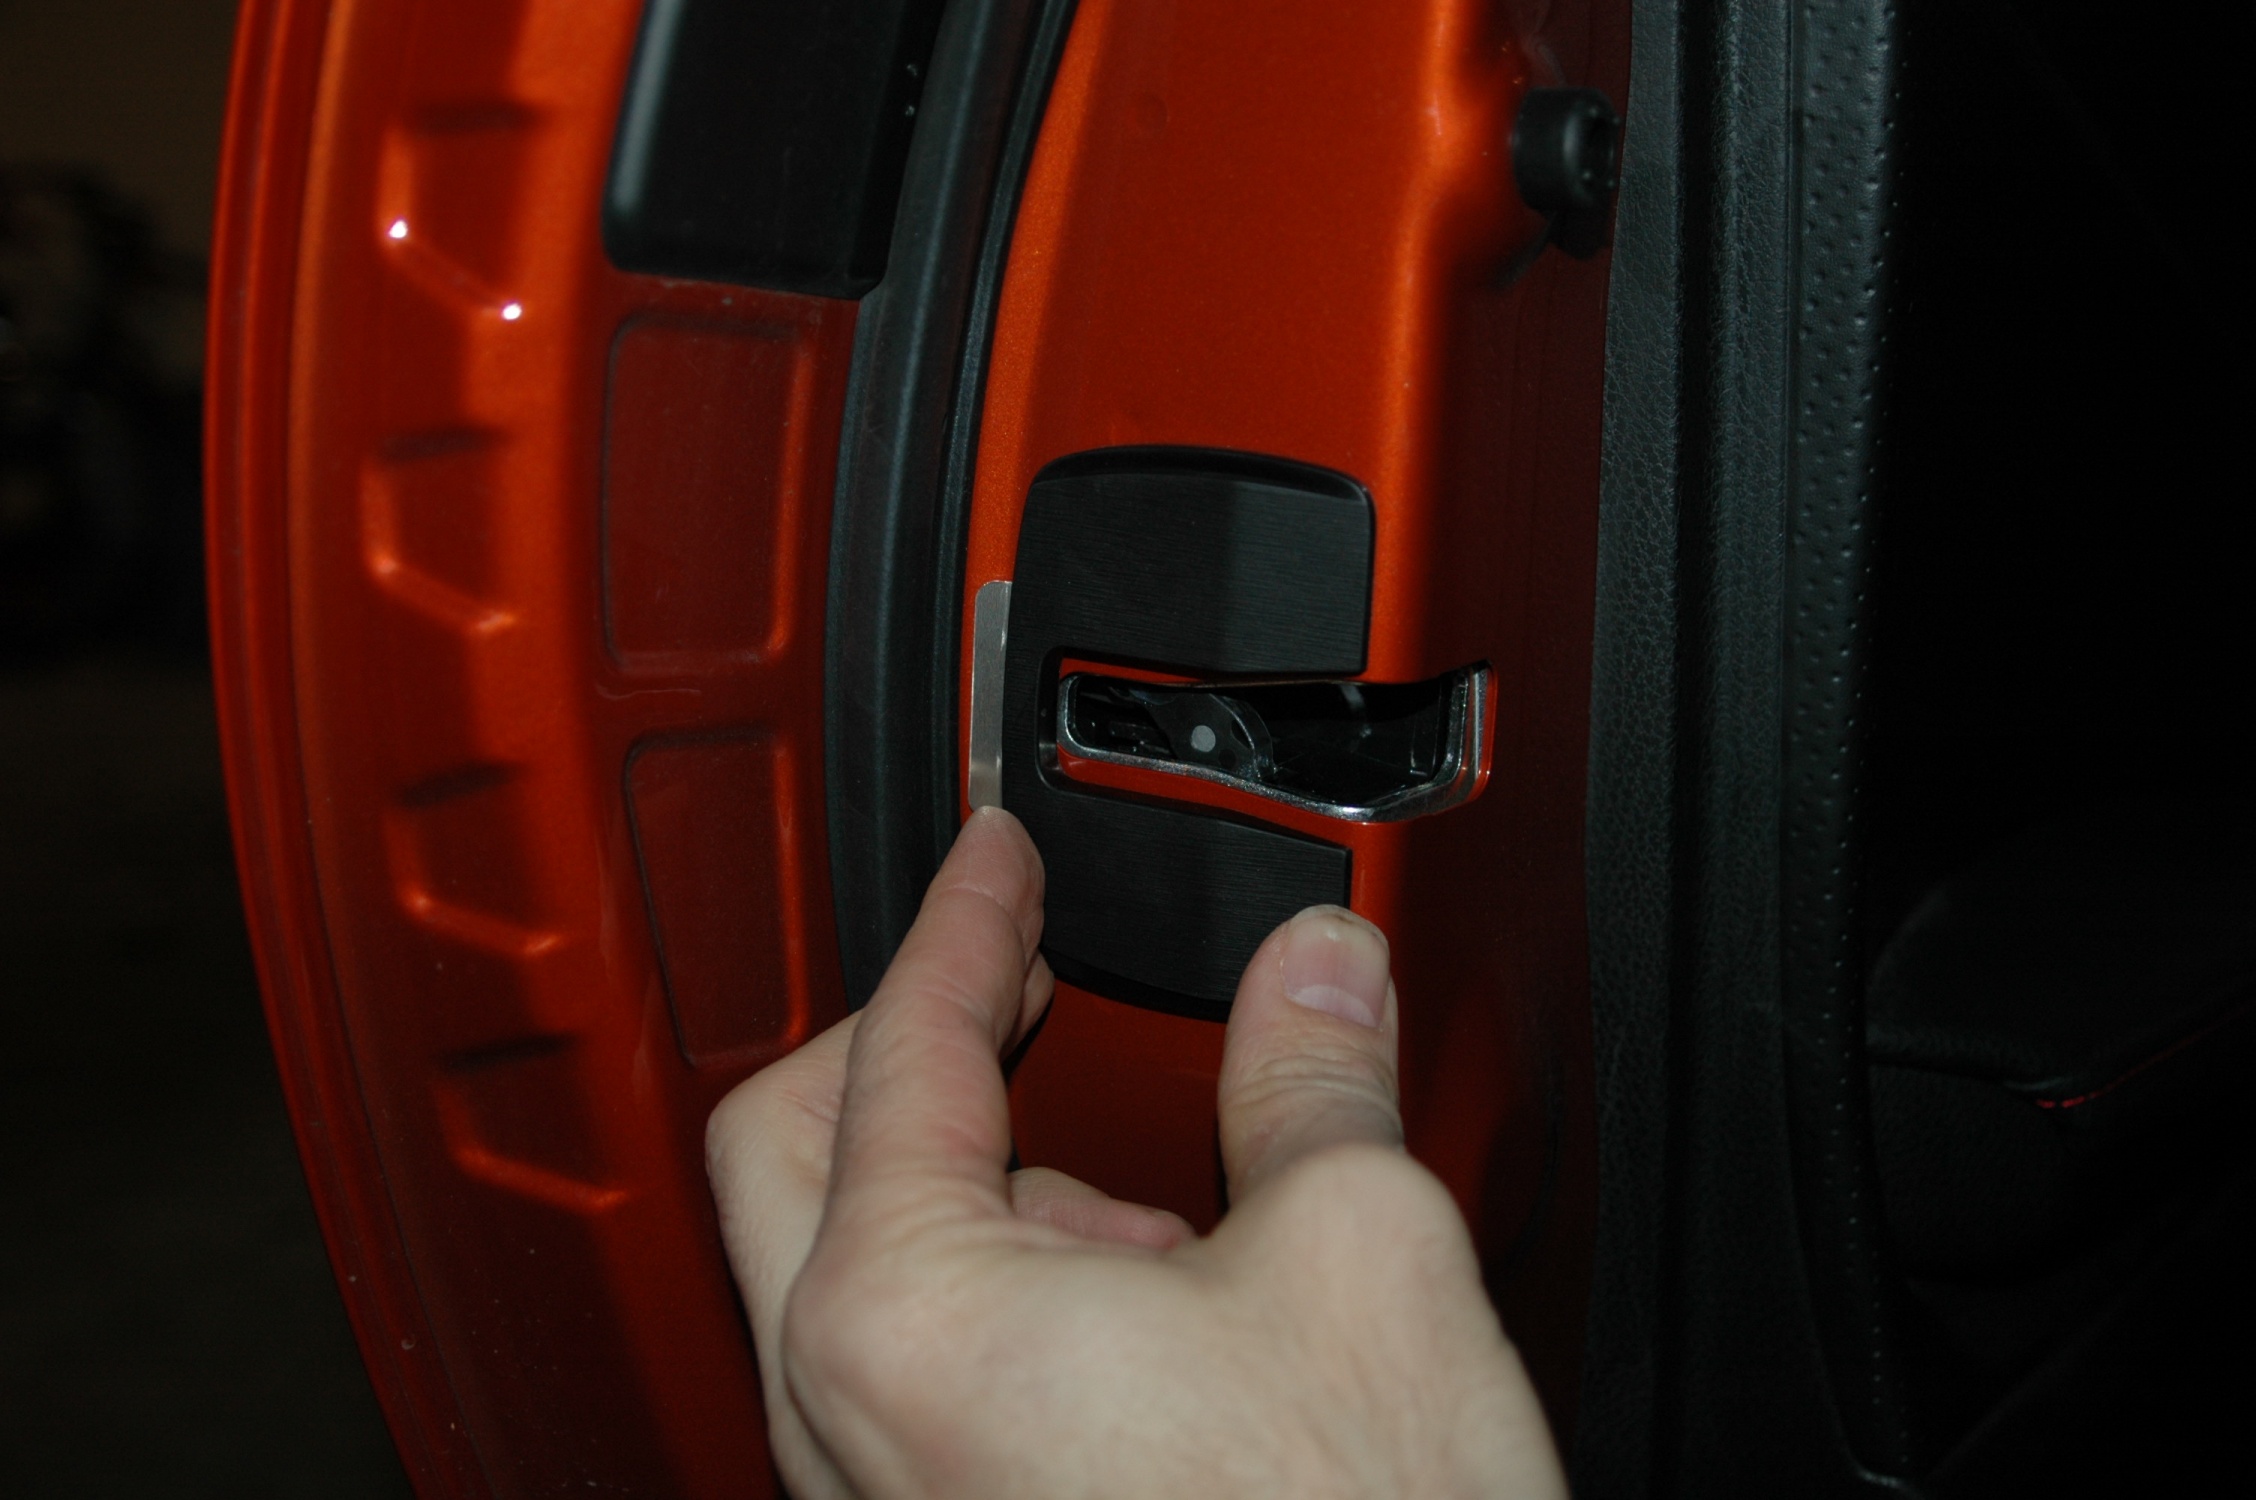 Push it into the bracket at the point above and then just gently push it to the outside to lock it in place. This is what is looks like complete:
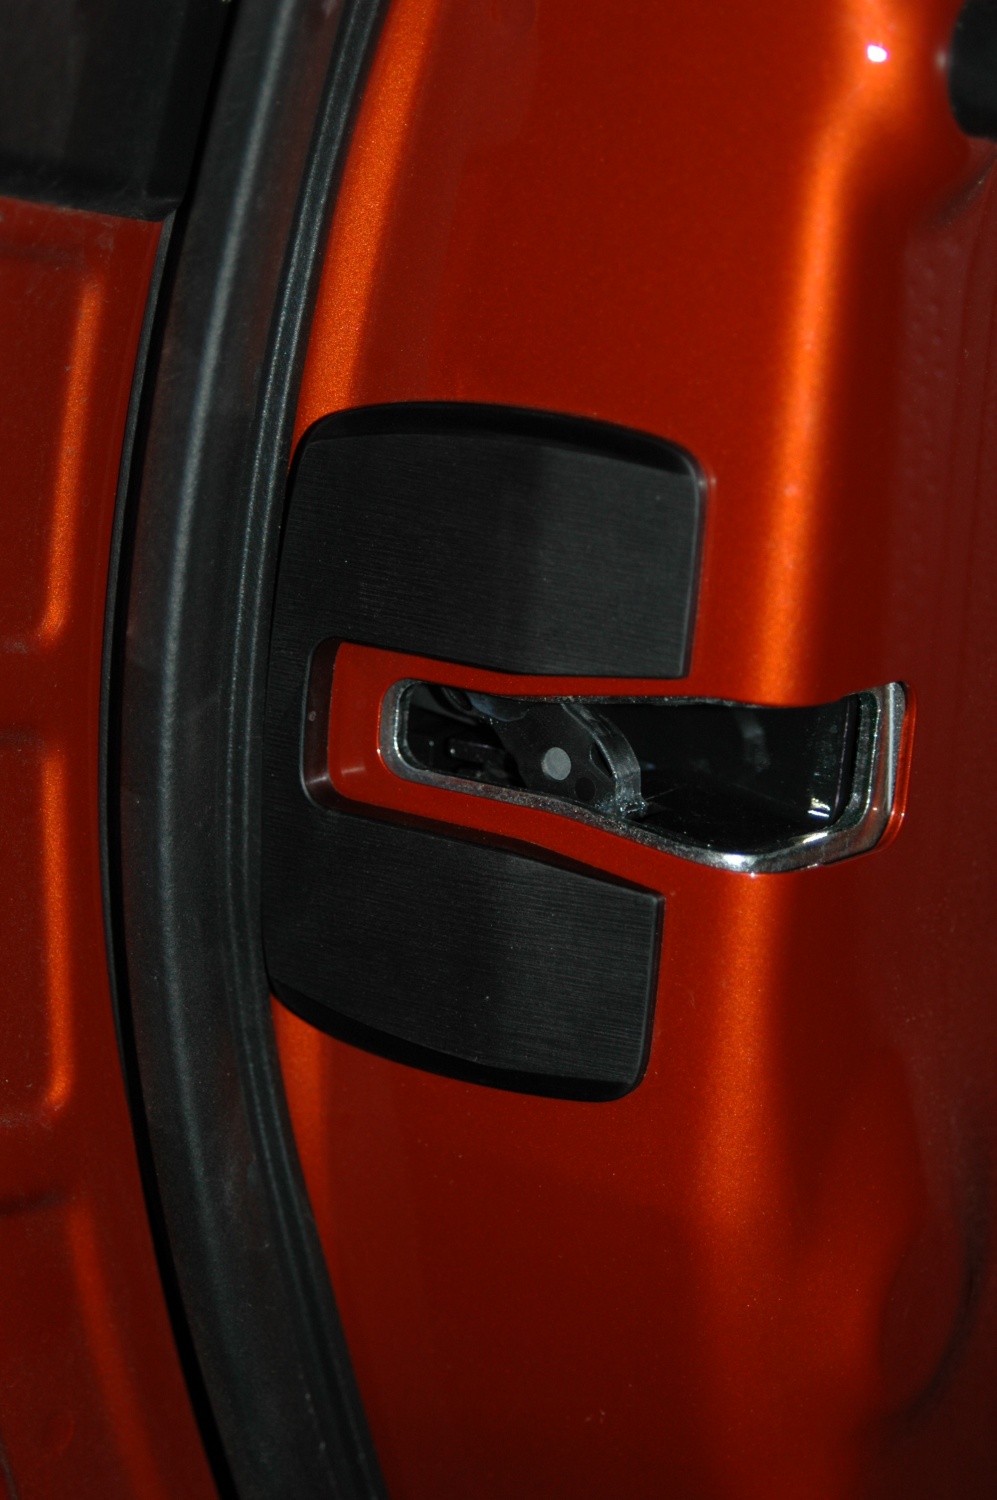 I had no issues with fit or function, it did not affect the door alignment.
Are they worth it? Meh, probably not as I’m not auto-crossing or racing the car at this point. It’s just some silly bling for now.
Cheers.
Last edited by HotLavaMann; 02-07-2013 at 02:12 AM.
Reason: Added details on torque level for torx screws.
|