Quote:
Originally Posted by assbox

I used a x-acto knife to cut the two black caps on the backside of the needle. I slowly wiggled the knife back and forth while giving it a little pressure. Go slow so you dont stab yourself or put the blade through the black plastic. Once the two caps are sliced off, you can take a fine flat head screw driver and pry up using the little notch. Once you have the plastic cap off, you can lightly pull the needle through the black cap. After scraping the paint off all the needles using a box-cuter style razor, just re-assemble as you took apart. Lastly i used a fine solder tip, to melt the plastic post to the back cover of the needle. You just have to touch the cap for a fraction of a second to get it to seal up, so be careful.

 |
I recommend painting the back of the needle with white or silver model paint. This will reflect the light from the LEDs and help fill the needle. Very noticeable in pictures. I will see if I can find some.
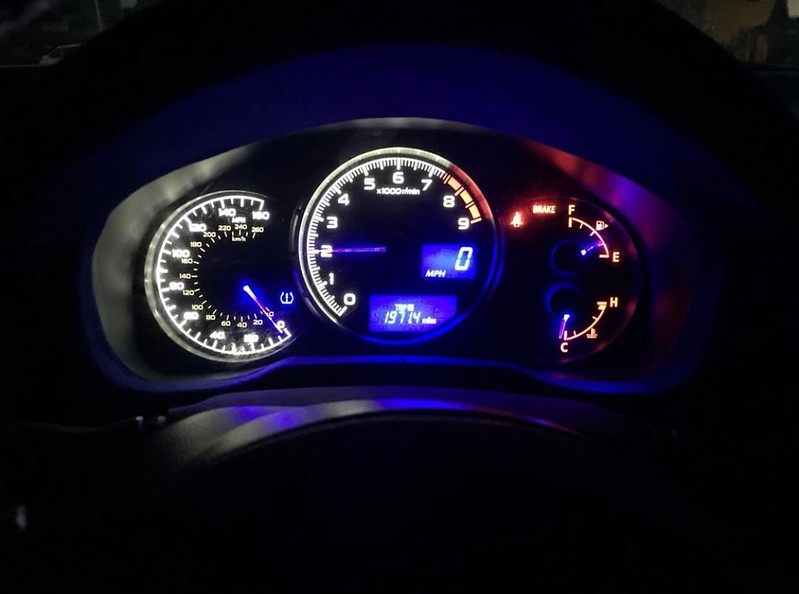
Edit: Non-painted:
Painted:
