After adding some springs and dropping the height a bit I decided to do my own alignment. Hours of research on the internet and FRS specific info here I began getting parts and equipment with this goal in mind.
Let me preface this with this is not an easy thing to do. I've done lots of work to vehicles over the years and this one ranks way up there with testing my patience. Unless you are very meticulous and confident in your abilities go have a pro do it. I also recommend that you verify your alignment with a pro afterward. I haven't yet but soon will.
I'm also going to note that this doesn't cover so much the extra parts I installed to get the alignment settings to where I wanted them but in how to setup and actually do alignment measurements. It also only covers measuring/setting the camber and toe.
Stuff you need:
3 pieces of 1/2 conduit. I bought 3 -10 ft pieces and cut them down.
String - strong, relatively small diameter, visible - I used strong fishing line.
4 Jack Stands
Masking tape
Cinder blocks
Floor Tiles - about 20 dependent on floor level. I used ceramic but vinyl is probably better. A few of the ceramic cracked.
Food Coloring
See through Pitcher
about 15' clear vinyl tubing
Bubble level
Oil/Grease
Camber Gauge
A good Scale
Calipers
Various tools to lift and adjust the suspension.
In all I spent about $300 to do this alignment. The majority being in the digital camber gauge. I also have about $500 in the parts that allowed me to change camber and toe. Whiteline front camber bolts, SPC Rear LCA's and toe arms.
Getting Started:
You need a relatively level area to do this. Also enough room around the vehicle to work. Room front and rear to put the jack stands to string it. Its also a good time to check you tire pressure. Get all of them equal.
Park the car in the place you'll be working it on. Place tape at each wheel to mark where it will sit.
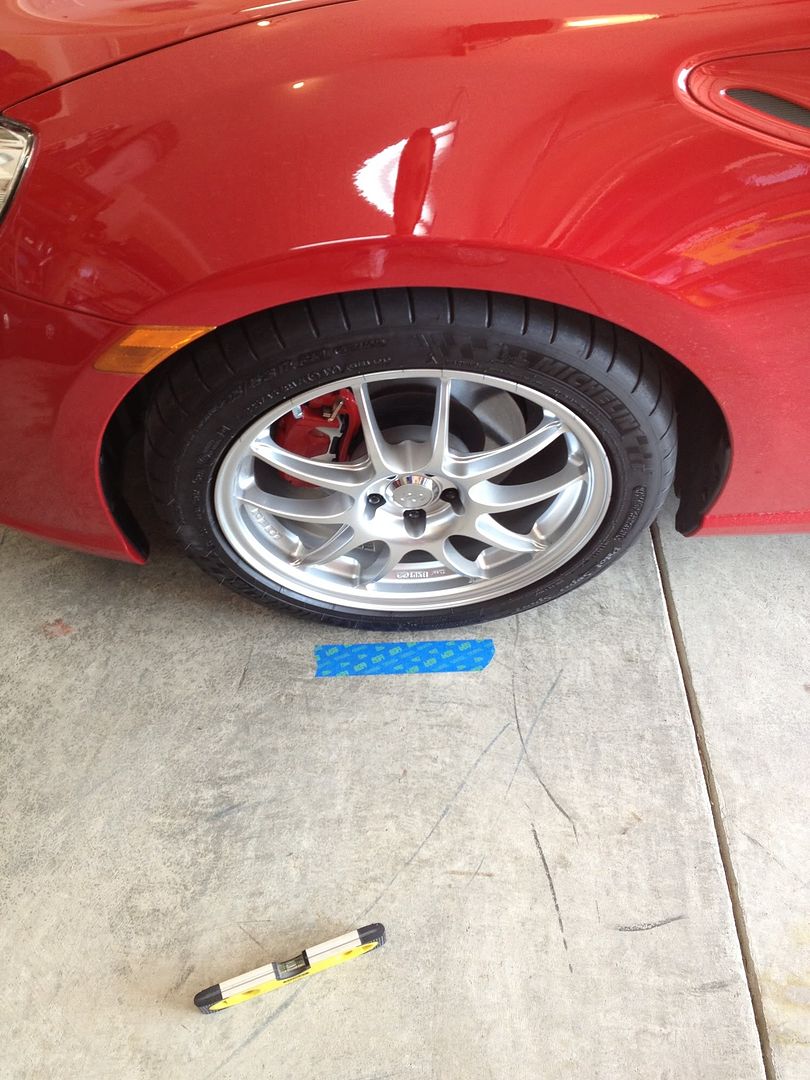
After taping the location, roll the car as straight back as you can and park it. We now need to setup level pads for it to sit on. Because the car is so low started off with 4" cinder blocks as foundations.
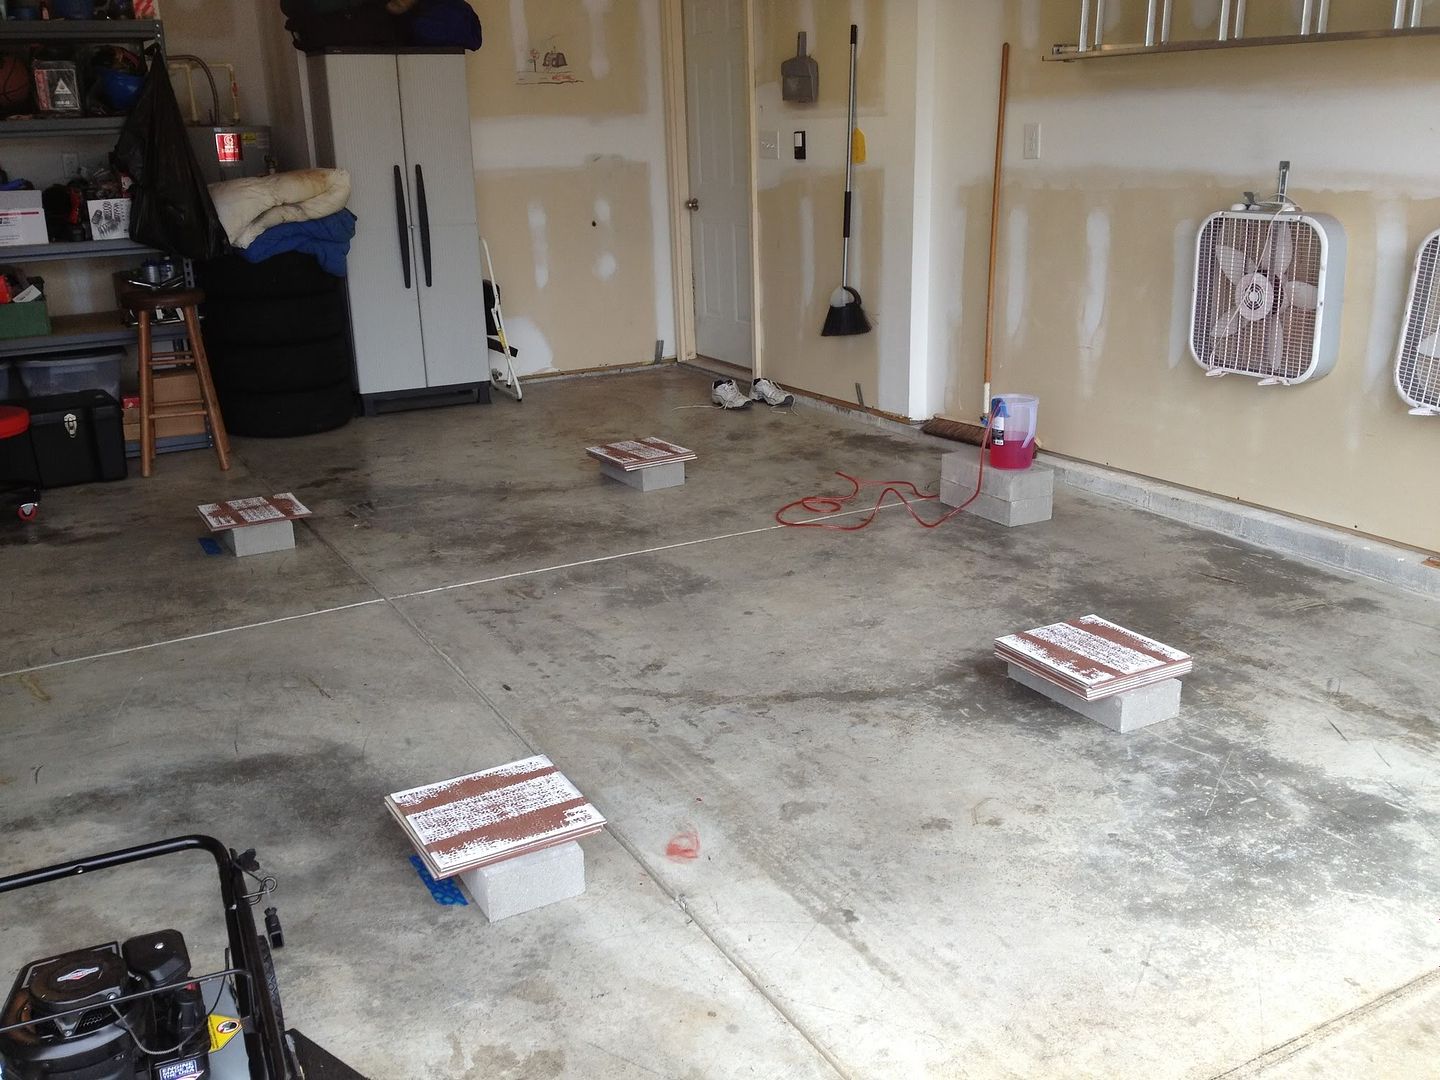
Place the cinder blocks in line with the tape lines on the floor. On top of each block put 2 tiles. Now we have to get them all level to each other.
 Leveling the Pads:
To align as accurately as possible, the car needs to be sitting level. So the pads need to be the same height. Most garage floors, mine included, aren't very level at all. They are swept to let water run out of the garage. I really over thought how to go about getting this done. First thoughts were a laser level or similar. In my web searching I came up with a simple water level. Its cheap, Accurate and fast. It worked out great.
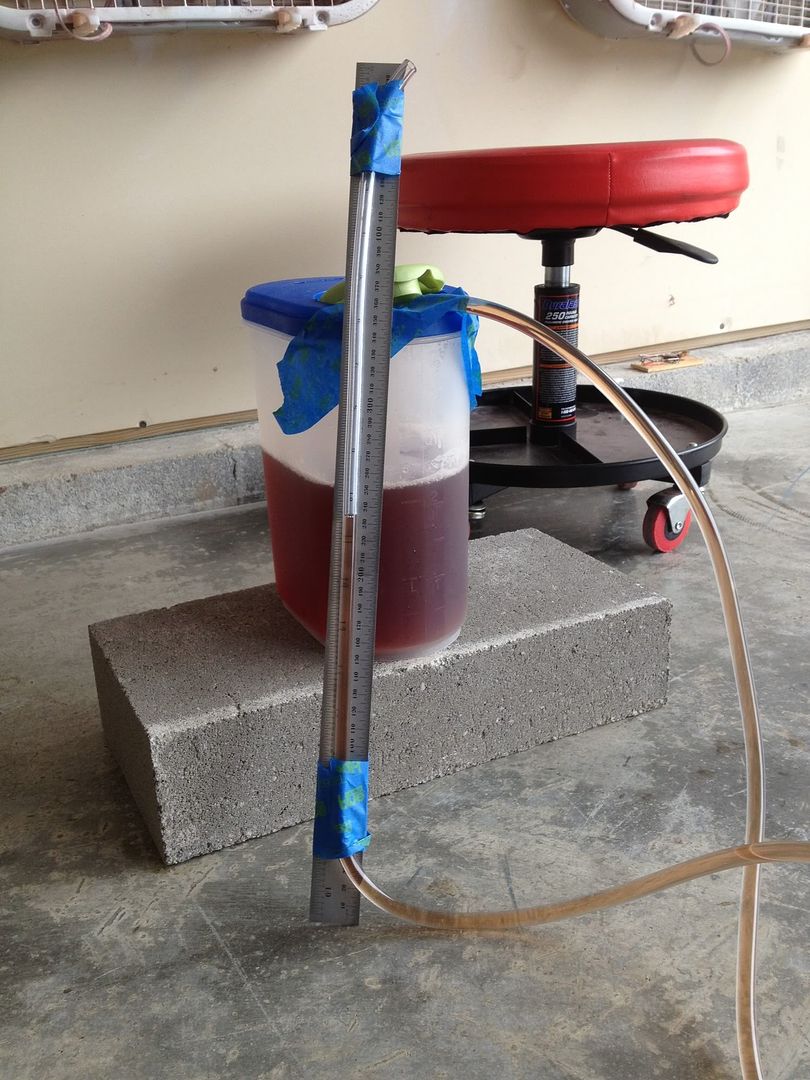
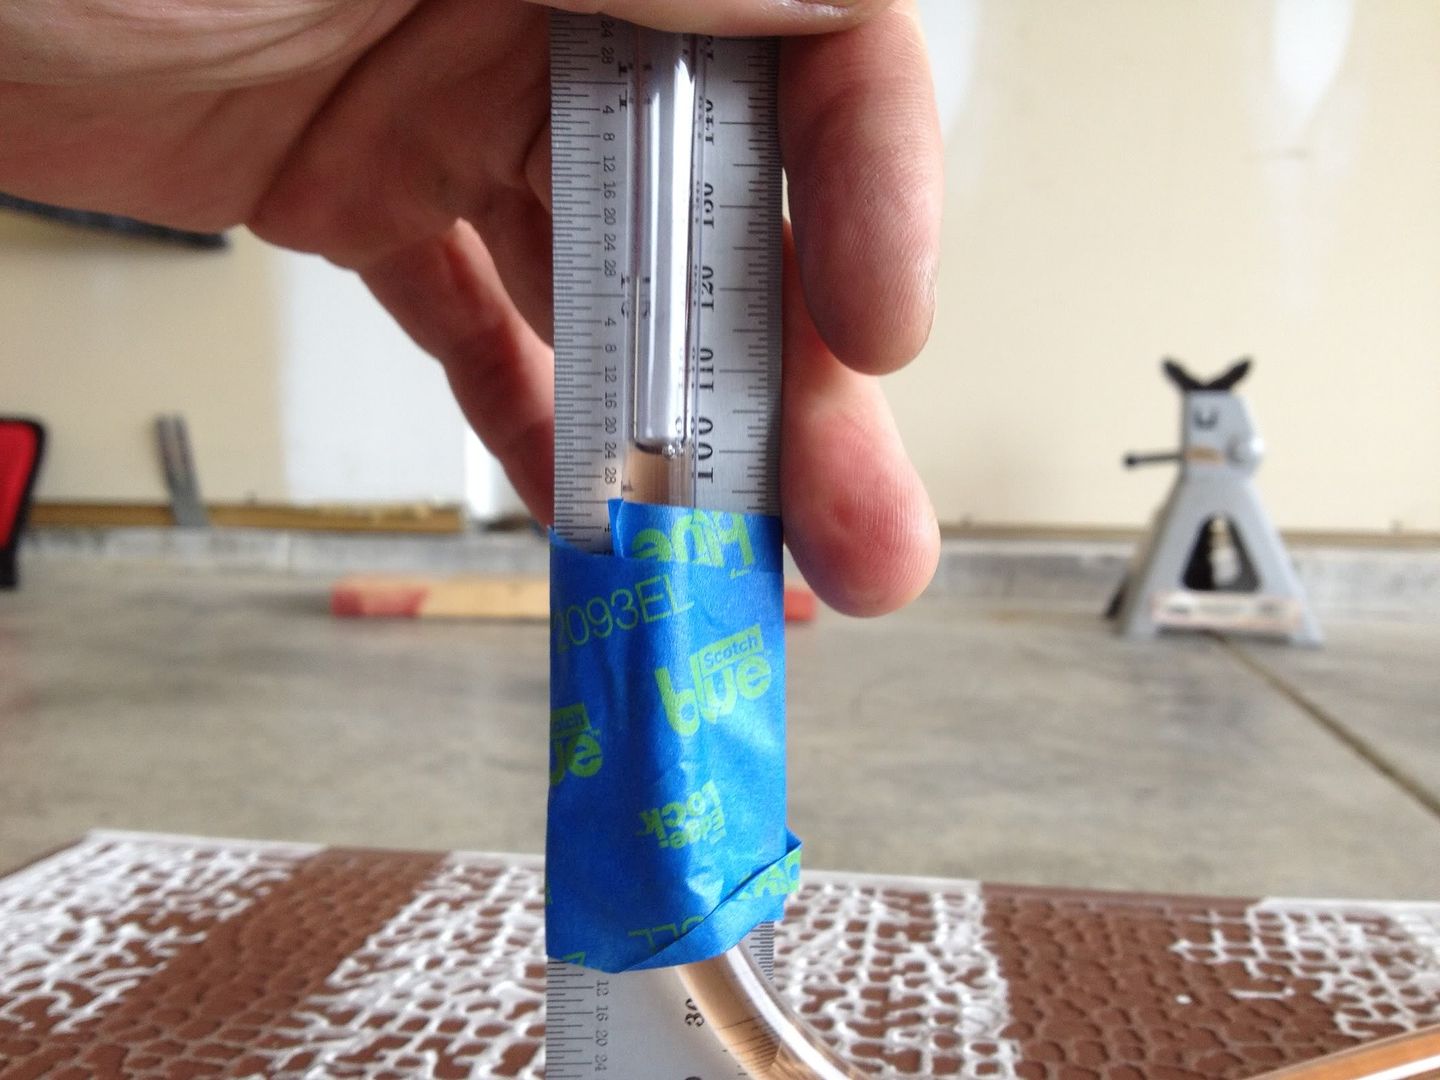
Fill a see through pitcher about 1/2 to 3/4 full and add some food coloring. Take one end of your clear vinyl tubing and stretch it across the entire length of your scale. Tape it so that you can see the graduations running beside the tubing. The end of the tubing should be at one end of the scale. Put the other end of the tubing into the pitcher of colored water. Tape it to the pitcher so that this end can't come out of the water. Now siphon the water from the pitcher into the tube until all the bubbles are out of the tubing.
Set the pitcher at about the same height as your pads. See the picture above.
Now take the scale and place on your pads. Each pad should have the one cinder block and two tiles on it. Find the highest one. By taking the scale/level around to each pad, add tile shims to the lower ones until the water level reads about the same number on the scale. All the pads will then be level to each other. Within 7 ft in my garage floor level was as much as 2 inches different from high point to low point.
First time I did this I didn't have any food coloring so I made some tea

 Slide Plates:
Now that you have your pads leveled up its time make the top two tiles slide plates. I considered buying some slide plates but they are damned expensive. Researching the internet saved me again.
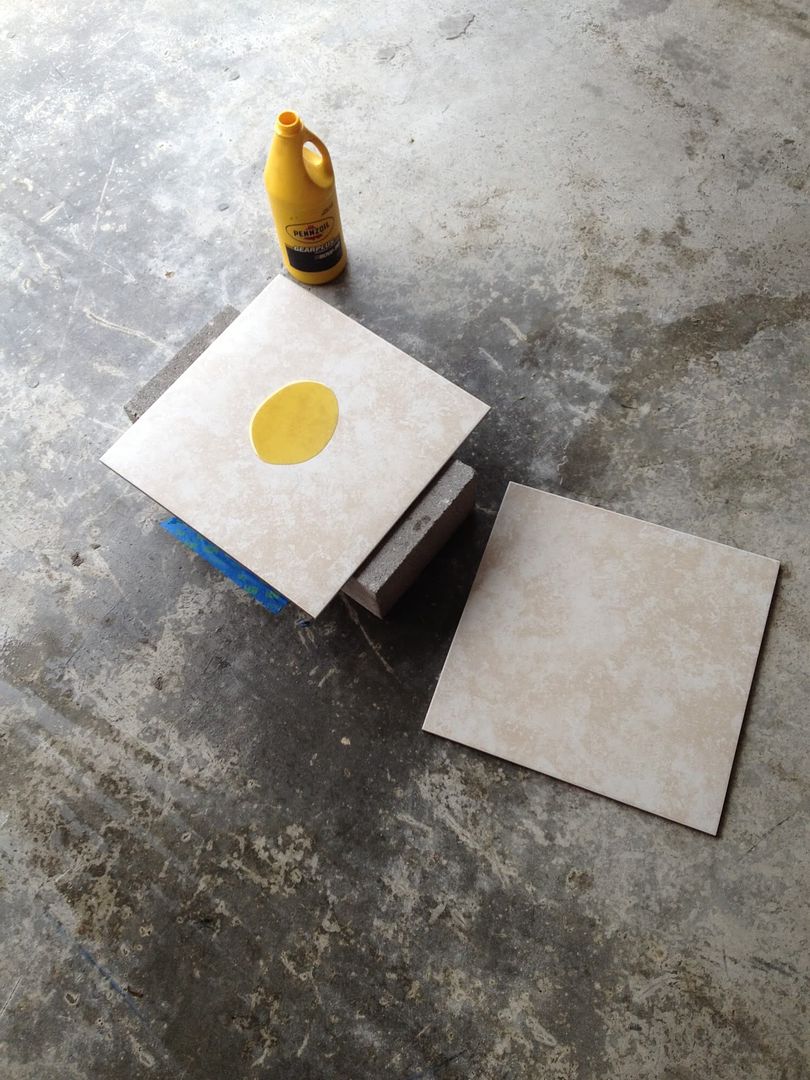
When you set the car on the pads you want the suspension to be able to move/settle. Slide plate allow this to happen. Remove the top tile from each stack and put some grease/oil on top of the plate. Then put the plate back on top and spread it around. Just be aware that when the car is on top of the pads a good shove could push the car off the pads.
Now that you have the pads completed, keep them together and move them out of the way. Pull the car back into the spot using the tape on the floor to position it correctly. Pay attention to getting the steering wheel straight.
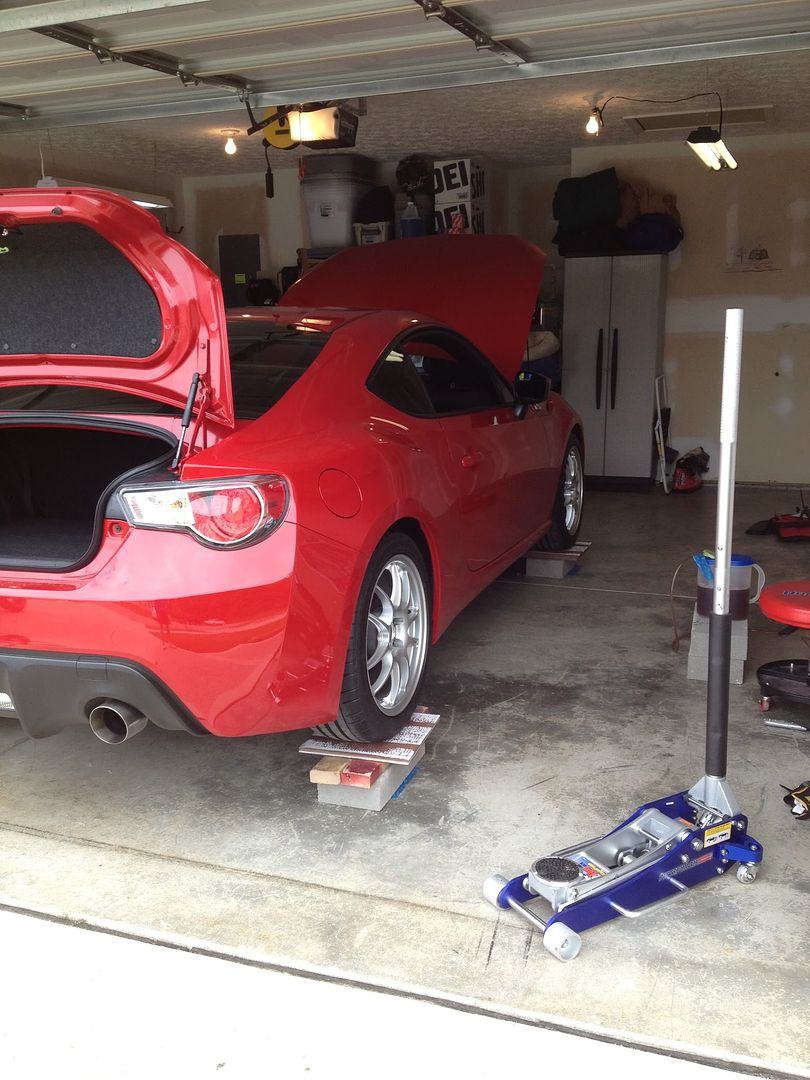
Carefully jack up the car, place the pads under each wheel and gently set the car onto each wheel. Pop the trunk and hood. Find a place to press down on the suspension front and rear to settle the suspension. I verified car level once once on the pads.
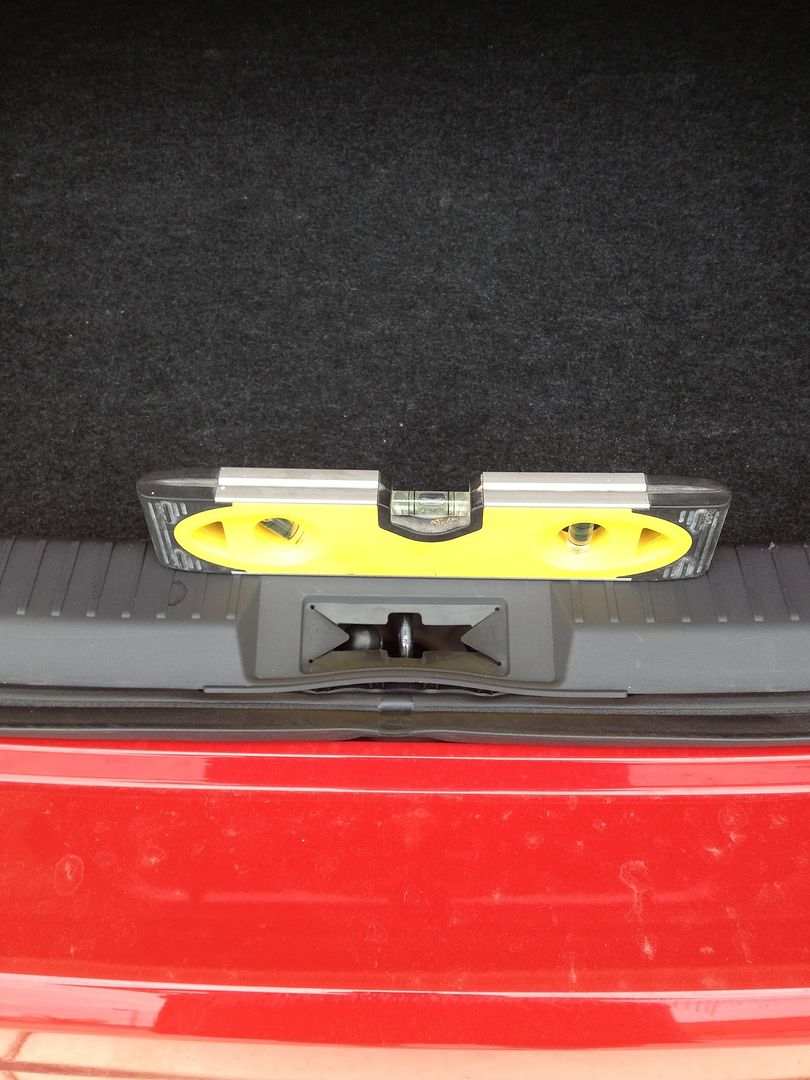
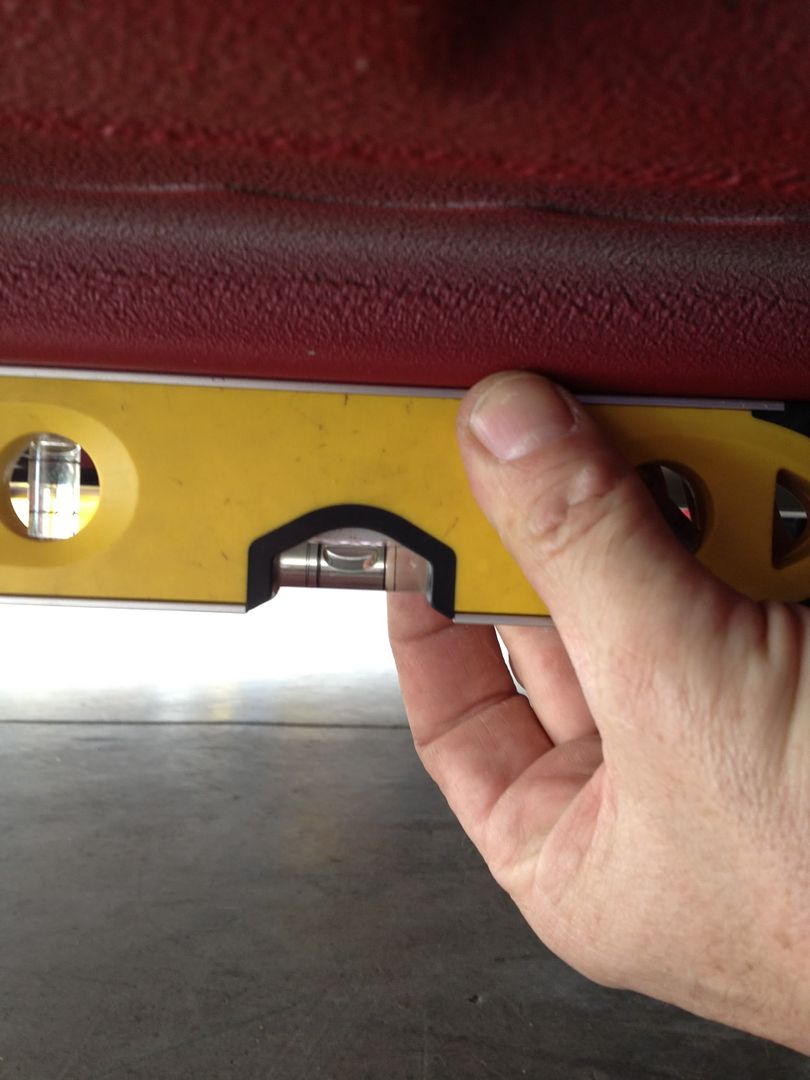
The car resting on the pads. If you look at the tile under the tire you can see it slid out allowing the suspension to settle. I'll also note that I used ceramic tiles. Some of them cracked under the weight of the car but everything still worked.