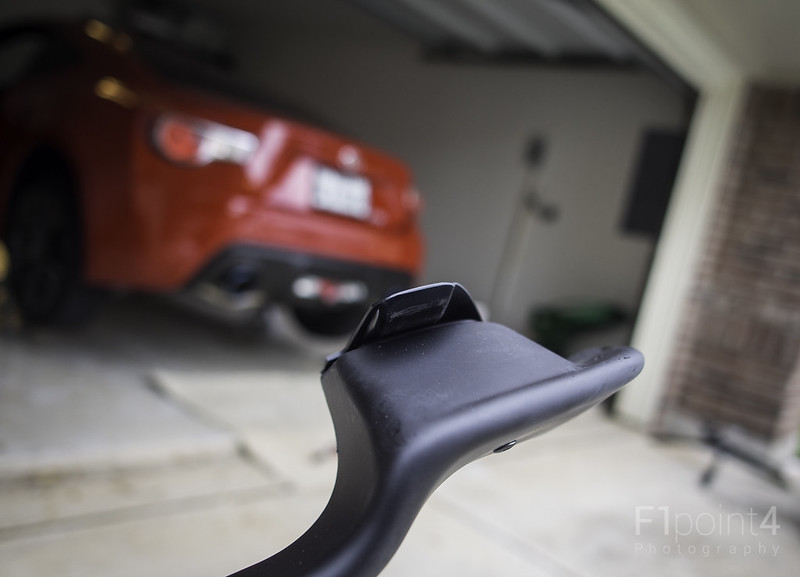
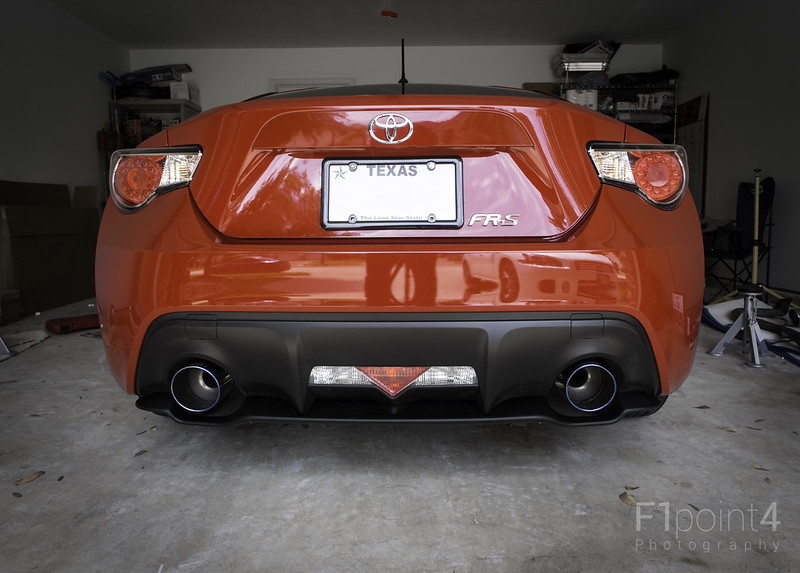
Ebay Diffuser Quick Look and DIY
 20130419-EbayDiffuser-022
 by
VictorN07, on Flickr
I came down to guide @
firestormriot through his catback install [found here:
http://www.ft86club.com/forums/showthread.php?t=34386]. He ordered one of the replica diffusers so we decided to put it on while the car was in the air. It was exciting as he is starting to mod his car, and always fun to be working on them. Enjoy
Here is a quick look and dirty DIY guide.
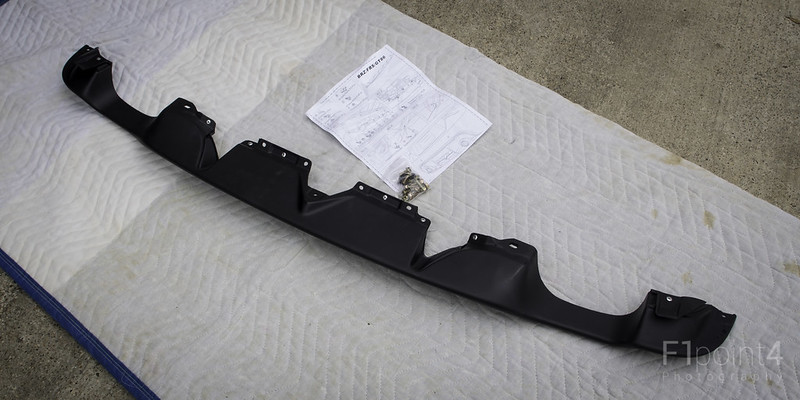
Everything in all it's glory. One page, some hardware, and the diffuser itself. Very simple
 20130419-EbayDiffuserDIY-001
 by
VictorN07, on Flickr
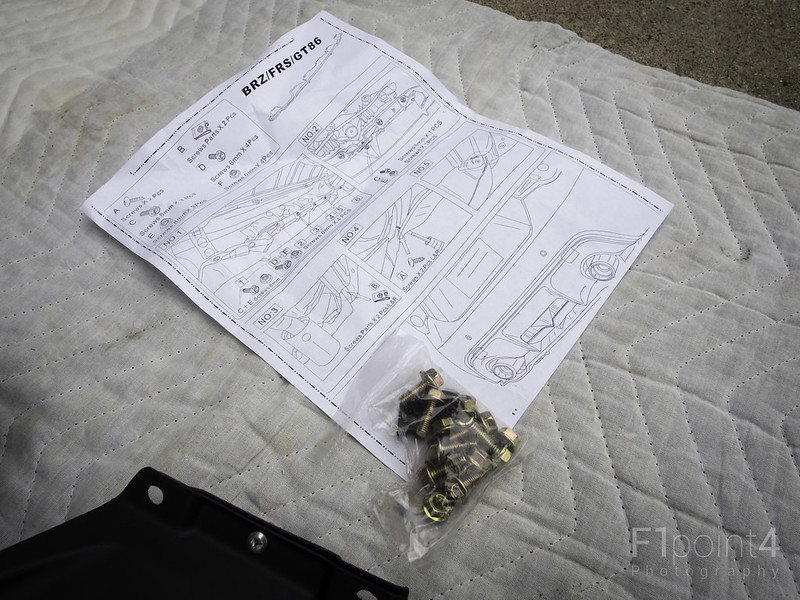
Manual.
 20130419-EbayDiffuserDIY-002
 by
VictorN07, on Flickr
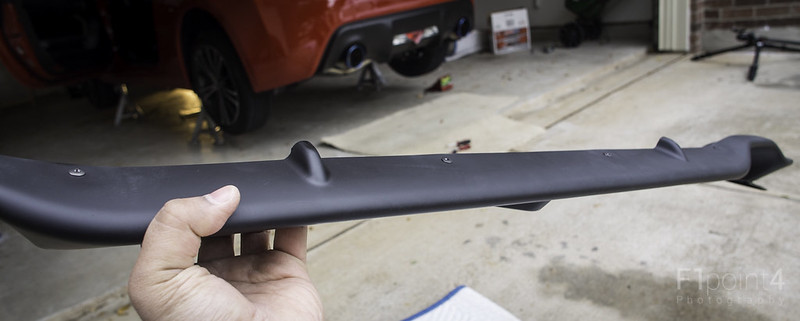
The diffuser was a smooth plastic. I'm unsure if the OEM diffuser has the same texture as the rear bumper. It has a matte plastic finish
 20130419-EbayDiffuserDIY-003
 by
VictorN07, on Flickr
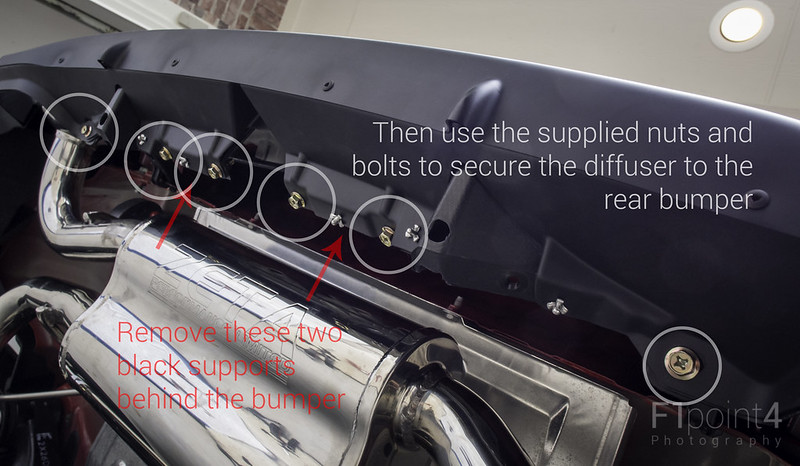
It seems to actually be several parts held together with flower rivets. I didn't look at the manual. We assumed all the holes were mounting points
 20130419-EbayDiffuserDIY-004
 by
VictorN07, on Flickr
This hook goes over the rear bumper. On the outside is another hole for another mounting point
 20130419-EbayDiffuserDIY-005
 by
VictorN07, on Flickr
Quick and Dirty DIY
Tools:
Flathead Screwdriver
Phillips Head Screwdriver
Drill
 20130419-EbayDiffuserDIY-006
 by
VictorN07, on Flickr
Sorry I didn't get a close picture of the supports. They can be seen later; I will point this out
 20130419-EbayDiffuserDIY-007
 by
VictorN07, on Flickr
 20130419-EbayDiffuserDIY-008
 by
VictorN07, on Flickr
Finished!
More pictures and thoughts
I looked at the Ebay diffuser that @
Chris@Phastek purchased. I will say it is different than this one. I'll let @
firestormriot post the ebay link for people who are interested
We wanted to minimize drilling, so test fitted with no drilling. The middle can be easily pushed down so we decided to drill the bumper for that middle mount point.
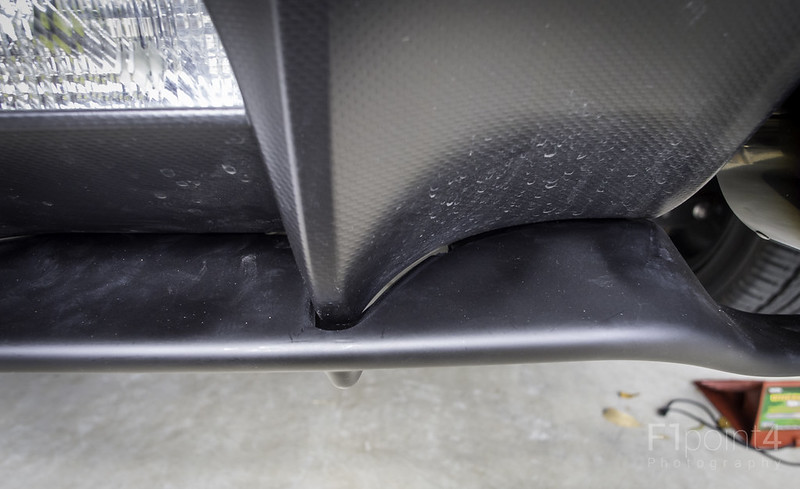
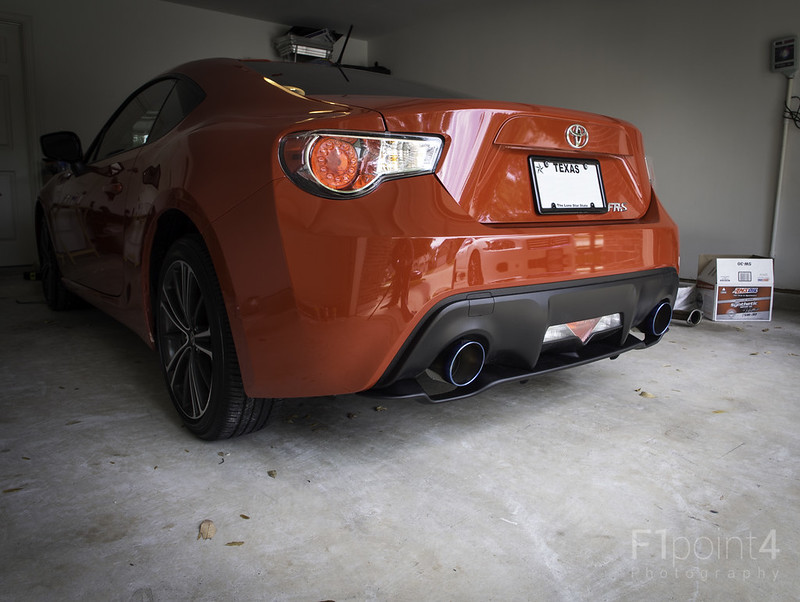
However, the fitment for the sides aren't great. There is about a 1/2-3/4" gap between the diffuser and bumper. Pushing up doesn't close the gap. We didn't want to stress anything so we left it alone. Despite this the diffuser is holding on very well.
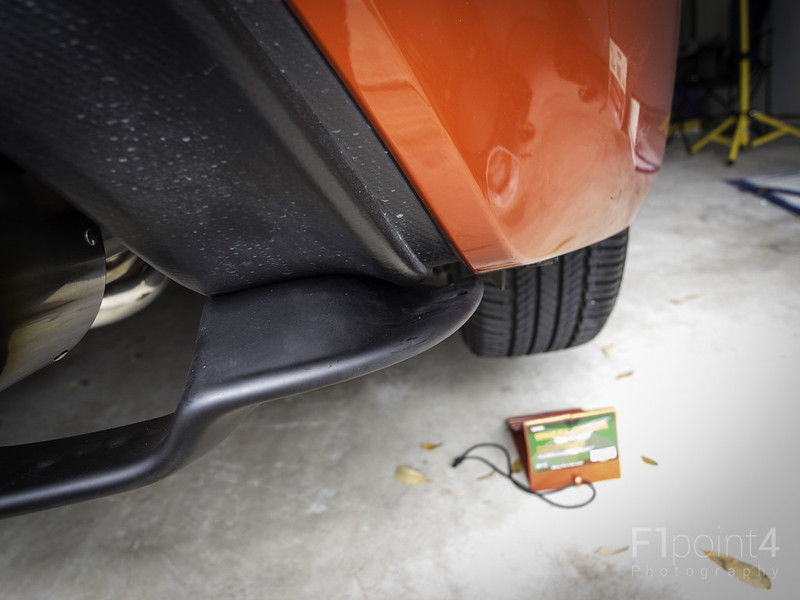
I am certain like the OEM diffuser, this is not a functional piece. It is purely just for looks.
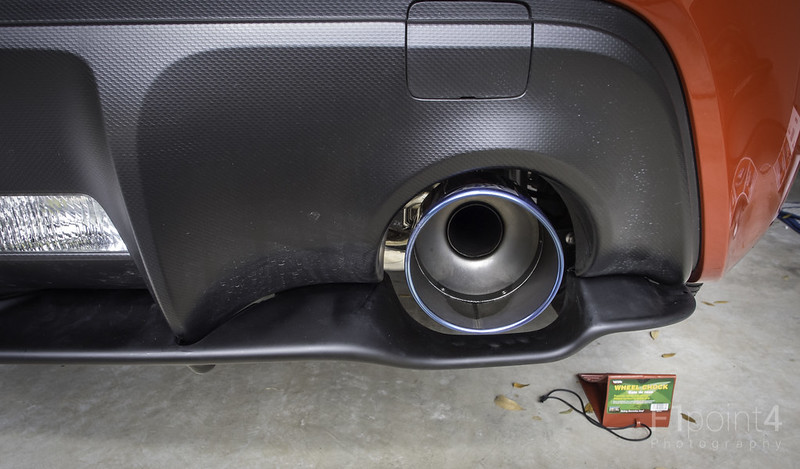
@
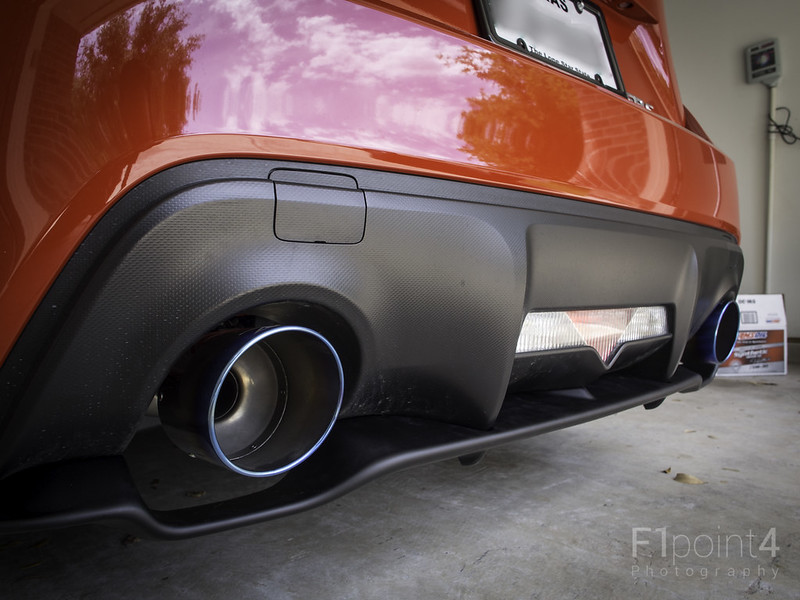
firestormriot has the Zeta Performance Catback exhaust on. He told me his tips were 4.5" in diameter. They fill the hole made by the diffuser and bumper cutouts well.
Overall this product does the job: Gives the OEM look at 1/8th the cost.
Small gaps
 20130419-EbayDiffuser-024
 by
VictorN07, on Flickr
Here is the gap on the sides I spoke of
 20130419-EbayDiffuser-026
 by
VictorN07, on Flickr
By the screwdriver handle you can see the bumper supports I mentioned in the DIY
 20130419-EbayDiffuser-029
 by
VictorN07, on Flickr
 20130419-EbayDiffuser-031-Edit
 by
VictorN07, on Flickr
 20130419-EbayDiffuser-032-Edit
 by
VictorN07, on Flickr
 20130419-EbayDiffuser-034-Edit
 by
VictorN07, on Flickr
 20130419-EbayDiffuser-038-Edit
 by
VictorN07, on Flickr
 20130419-EbayDiffuser-056-Edit
 by
VictorN07, on Flickr