Before we get started, all credit goes to
Durmiente on the NASIOC forums. All I did was link the additional DIYs & reformat and word some things.
Also thanks to @
ihaskrayon for
linking it.
Here are some materials you might like to get before doing this:
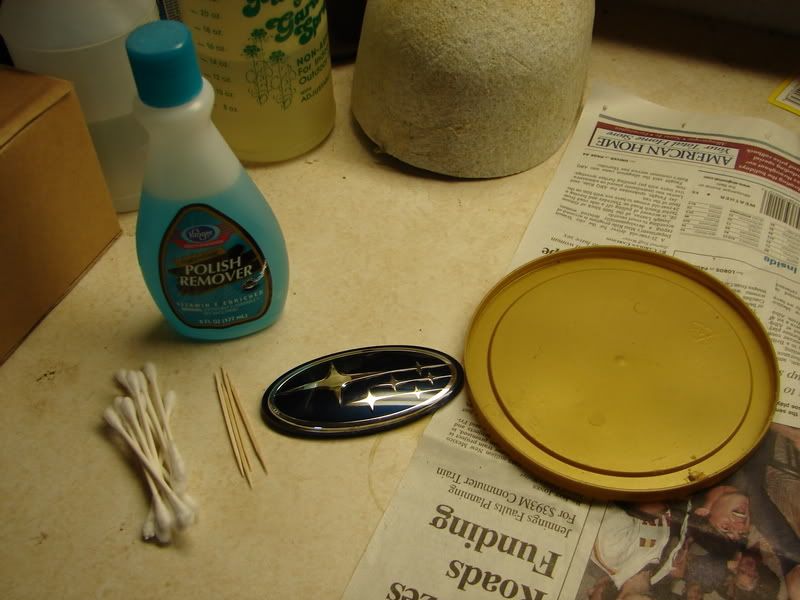
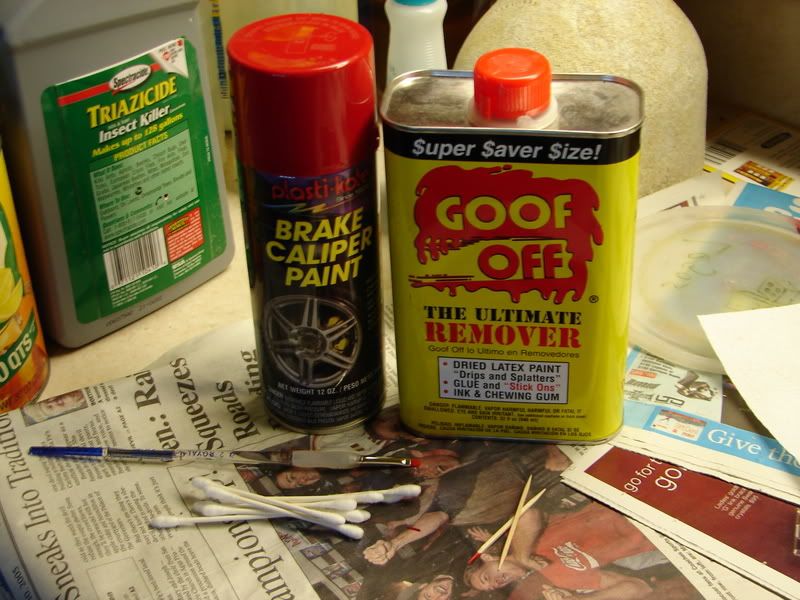
Recommend:
-Q tips
-Tooth picks
-A heavy duty remover (i.e. Goof Off). nailpolish doesn't really work. Just whatever you use, don't use something that is harmful to plastics. Goof Off is pushing it, but he didn't notice it eating away at the badge plastic.
The Steps:
1. First you need to pop your stock badge off from the car. This is relatively easy to do, but be careful to do it slowly, you can find DIYs on here (Remember the front badge has clips and you need to remove the bumper to get it off without breaking it).
Link to
DIY debadging
Link to
DIY removal of front bumper
2. Here we have the badge off the car. He actually did this to an '03 WRX badge, but it's the same for all Subaru badges according to the thread.
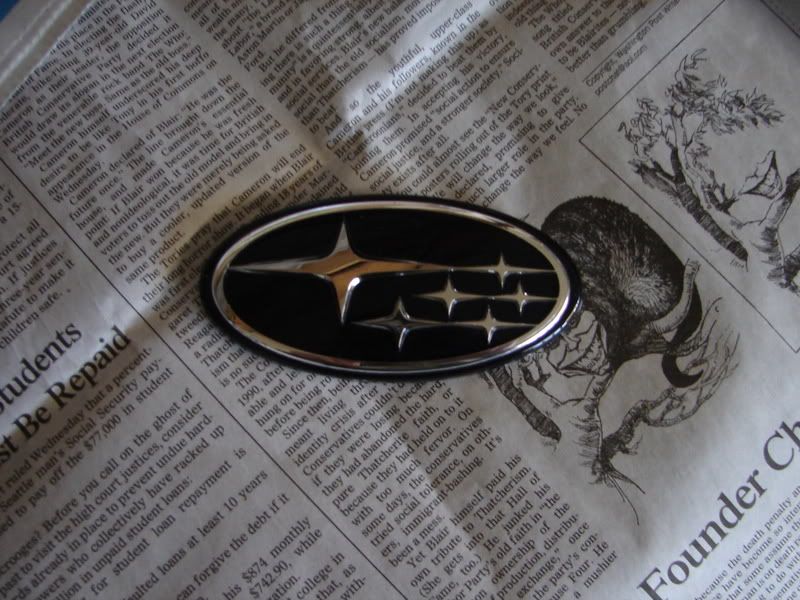
Here is the reverse side of the badge. It is basically chrome inserts covered by blue paint.
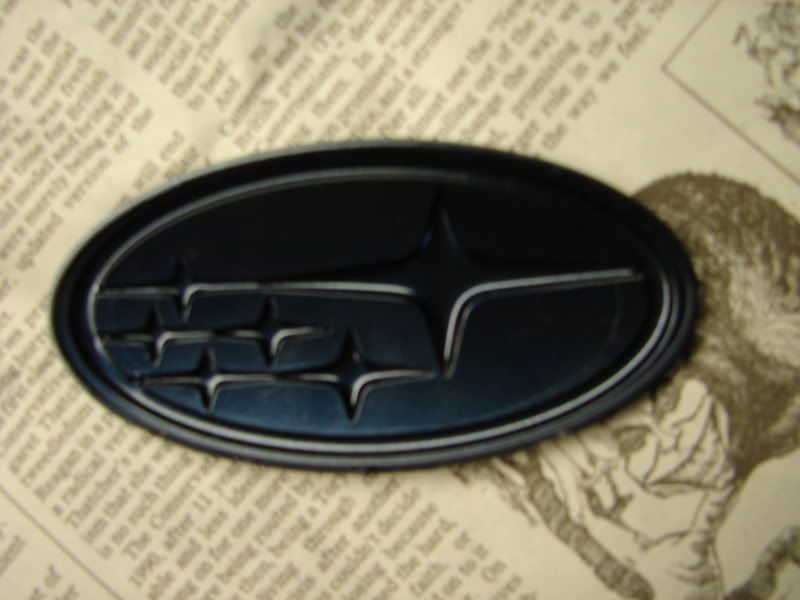
3. First off, start off by using some of the goof-off to start removing the blue paint. It comes off pretty easy. Use a Q-tip saturated in the remover to rub off the paint. You might also pour some of the remover on the badge and let it soak so as to soften up the paint. As you do this, most of the chrome will start to come off the badge. However, little specs of chrome will remain in the edges of the stars. Use a toothpick to scratch at these and remove them. This part was a PITA and took a very long time. Continually inspect the badge until you remove all the chrome.
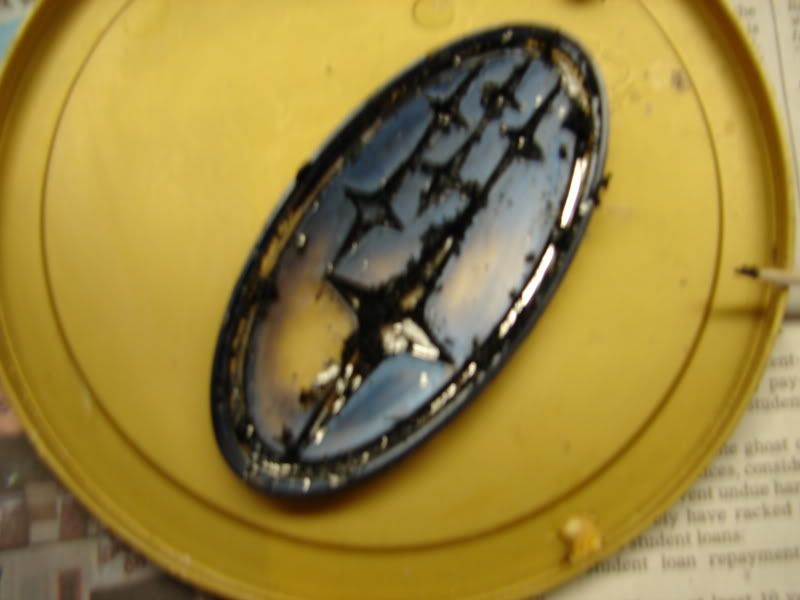
4. Next, clean the badge very well with soap and water. Then let it dry. Check again that no chrome specs are in the stars. Your badge should look like this from the reverse. You'll see some remaining paint on the edges, but this doesn't matter as you can't see it from the front.
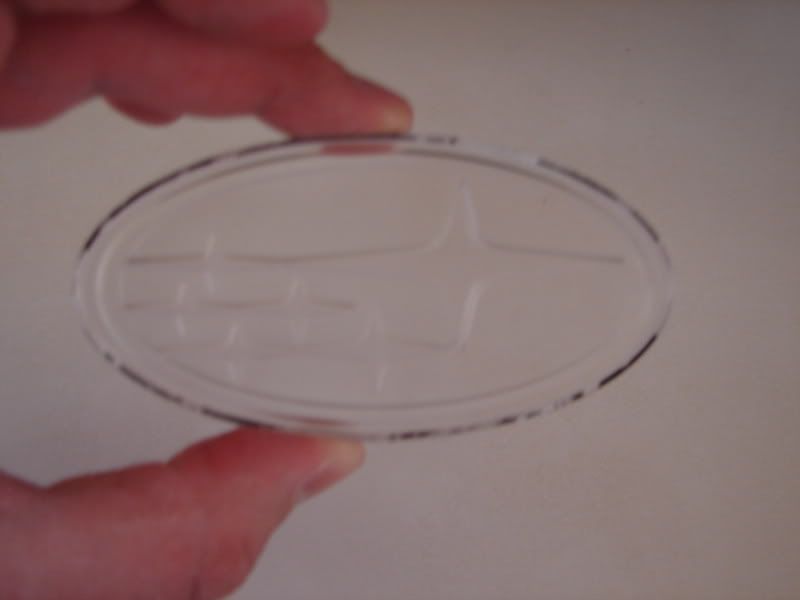
5. Now it is time to paint the stars and the loop. He did this with some red caliper paint. Just spray it into a cup and brushed it on. It’s good to have some paint thinner and paper towels handy to wipe off any mistakes, if made (it’s pretty easy to paint the wrong part of the badge, especially considering the nooks are so small).
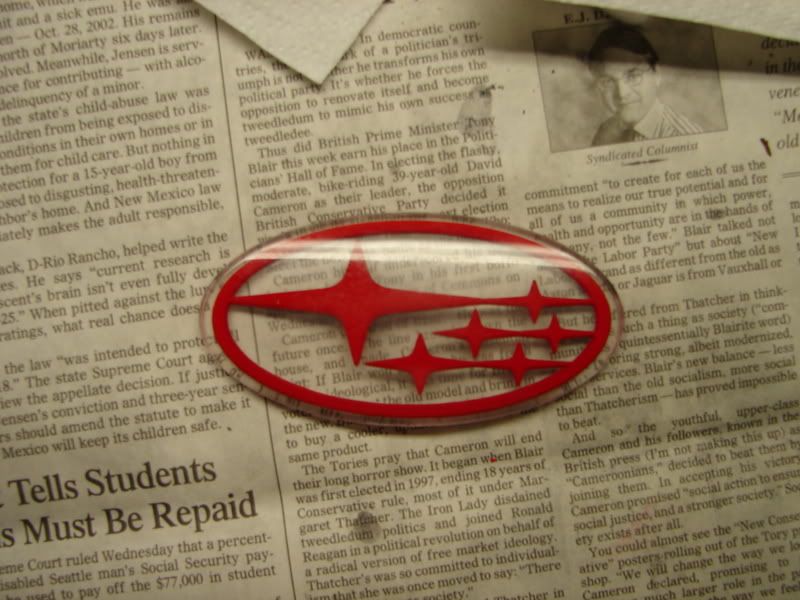
6. Give your badge 3-4 coats, allowing enough time to dry between each coat, like any other paint job. Make sure you have enough coats so that when you hold it up to the light, no light can get through the paint. It should look like this:
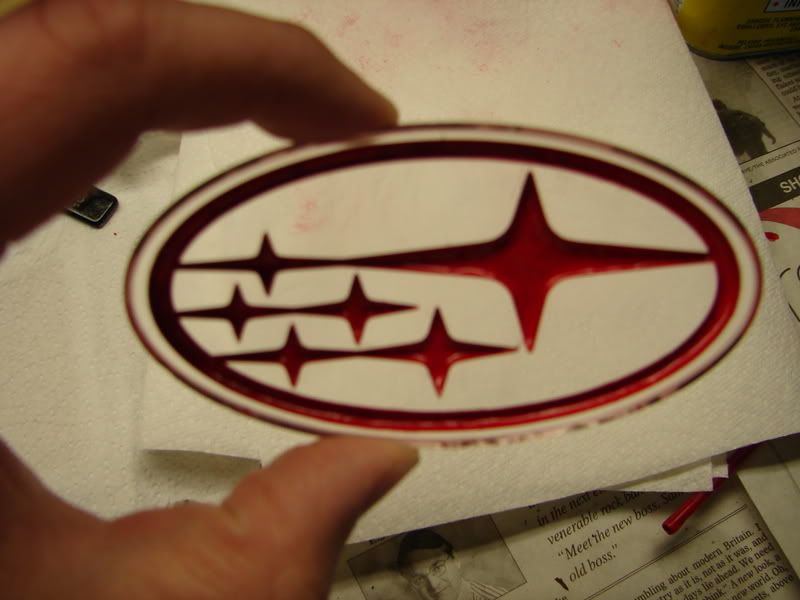
And the front side: