Quote:
Originally Posted by xxscaxx

Step 4) Install strut bar - Grab the 4 bolts with washers that were supplied with your kit. Again, the bar is adjustable so you will have to loosen the two end bolts with the adjustable wrench, and then adjust the bar inwards or outwards to line it up with the holes on the braces. Once you adjust it, install the supplied bolts into the brace using the 5mm hex key or socket. Do this on both sides. I installed them a little bit loose again just to make sure everything lined up (which it does fine).
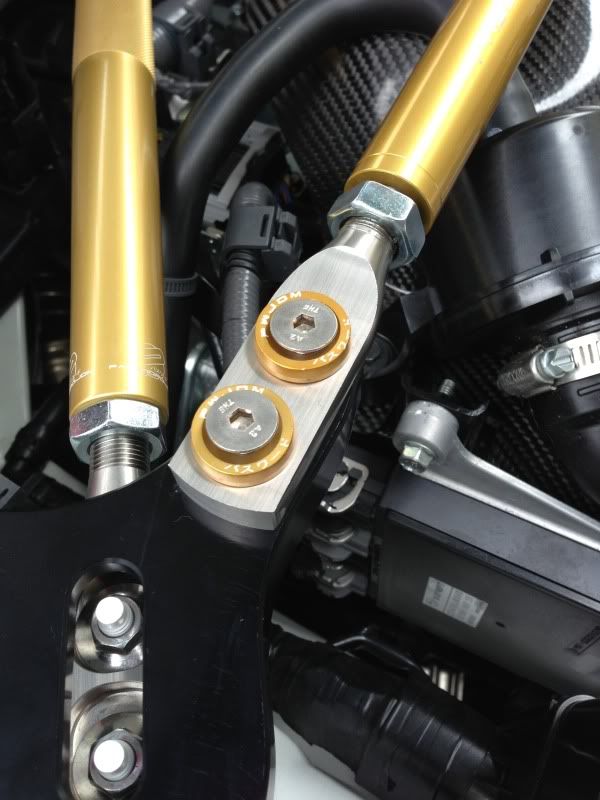 Step 5) Tighten!
 - Tighten down the 4 bolts for the strut tower bar, and the 4 bolts on the braces.
Strut nuts - 17ft-lb
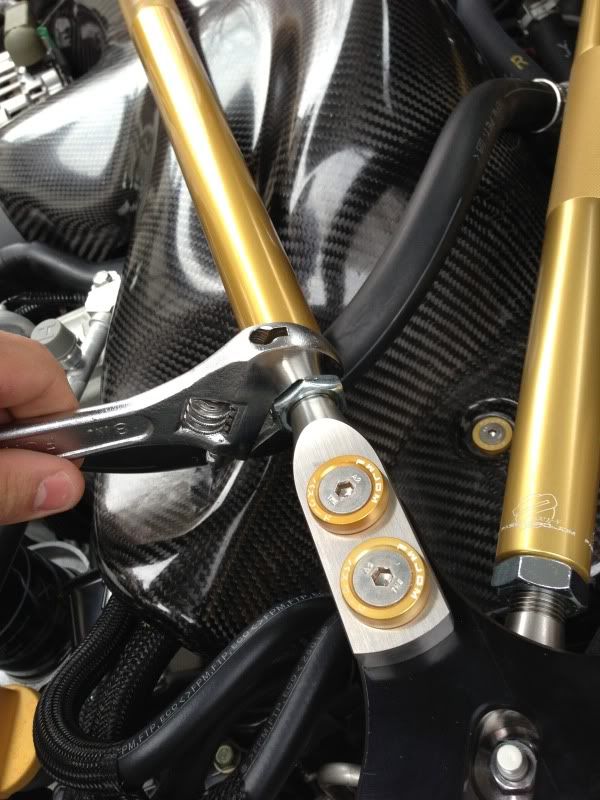
Now, you are going to adjust the strut bar and lower tie bars to your liking with the adjustable wrench. I pretty much just spun the bar with my hands to line up the logos and get it tight, and then tightened the bolts on the end of the bars. You can leave one nut loose and tighten the other side down more if you want to further stiffen up the bars.
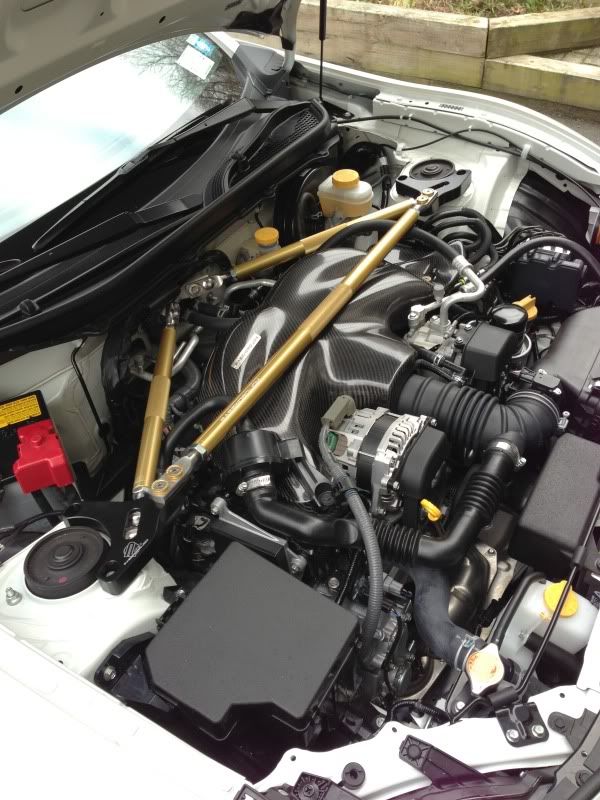
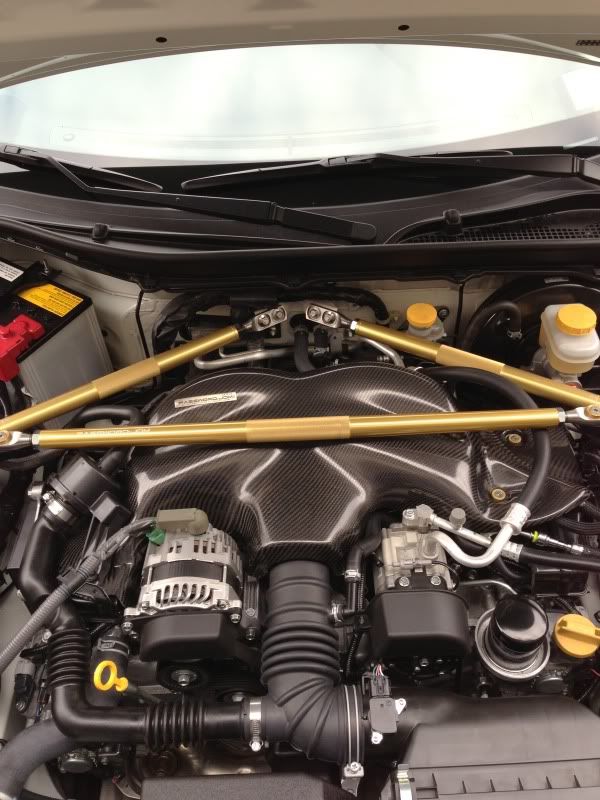
 Step 7) Stand back and drool
 - You are done! Enjoy your new strut bar setup.
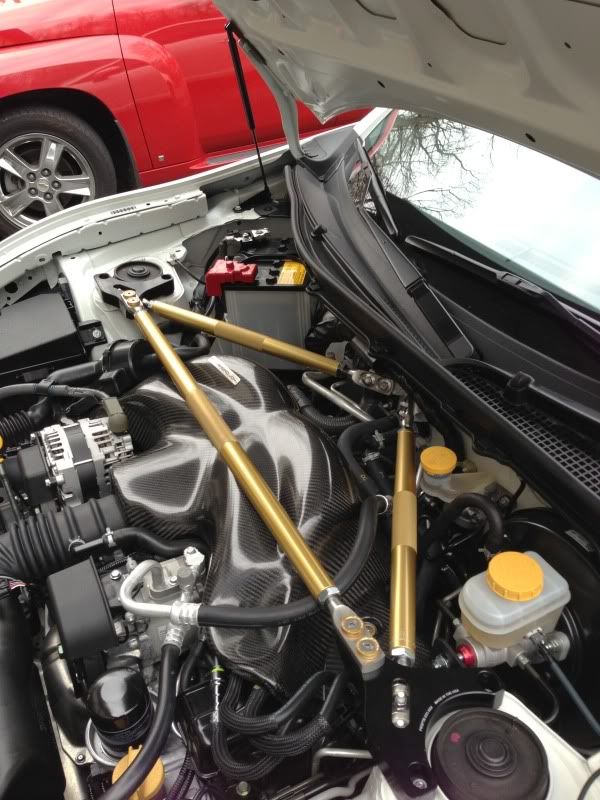
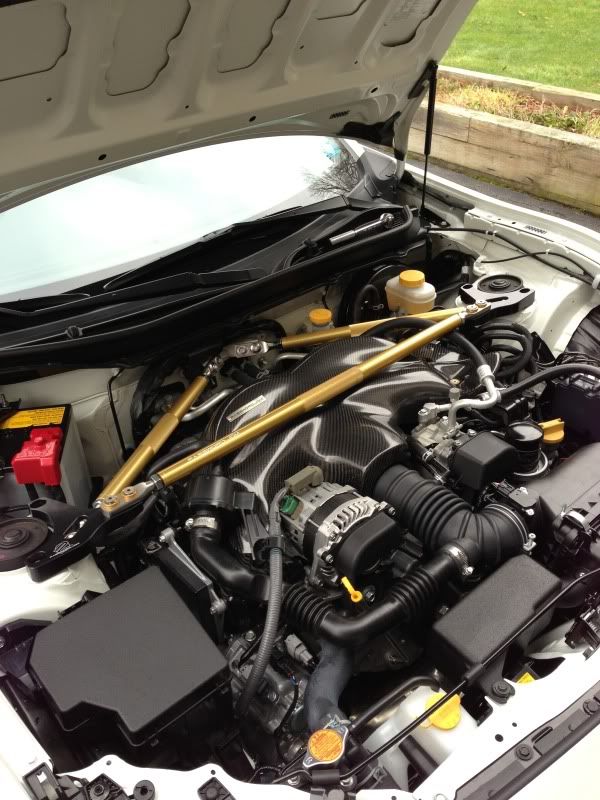
|
Where did you get that badass carbon fiber engine cover?