i think the better questions that i should have asked earlier are: what are your goals, and how did you arrive at the gear you've selected so far?
i run a similar setup. and there's absolutely nothing wrong with anything you've selected so far, but the capabilities of the gear does not seem to match the questions your asking. there's nothing wrong with getting something better than needed, but i don't want to see you wasting money on gear that doesn't really benefit your end goal.
Quote:
Originally Posted by SkyeHack

Thank you so much for all your advice soundman98! You just convinced me to push through and buy the next stage and get it done once (minus the JL stealthbox sub. i will have to buy that later and then i should be done.)
How do you recommend I hook this up? Should I ditch the passive crossovers and hook my front stage in network mode and utilize the amp as an active crossover?
Should I put a capacitor/bass blocker on the tweeter to protect it from getting blown? If so what size?
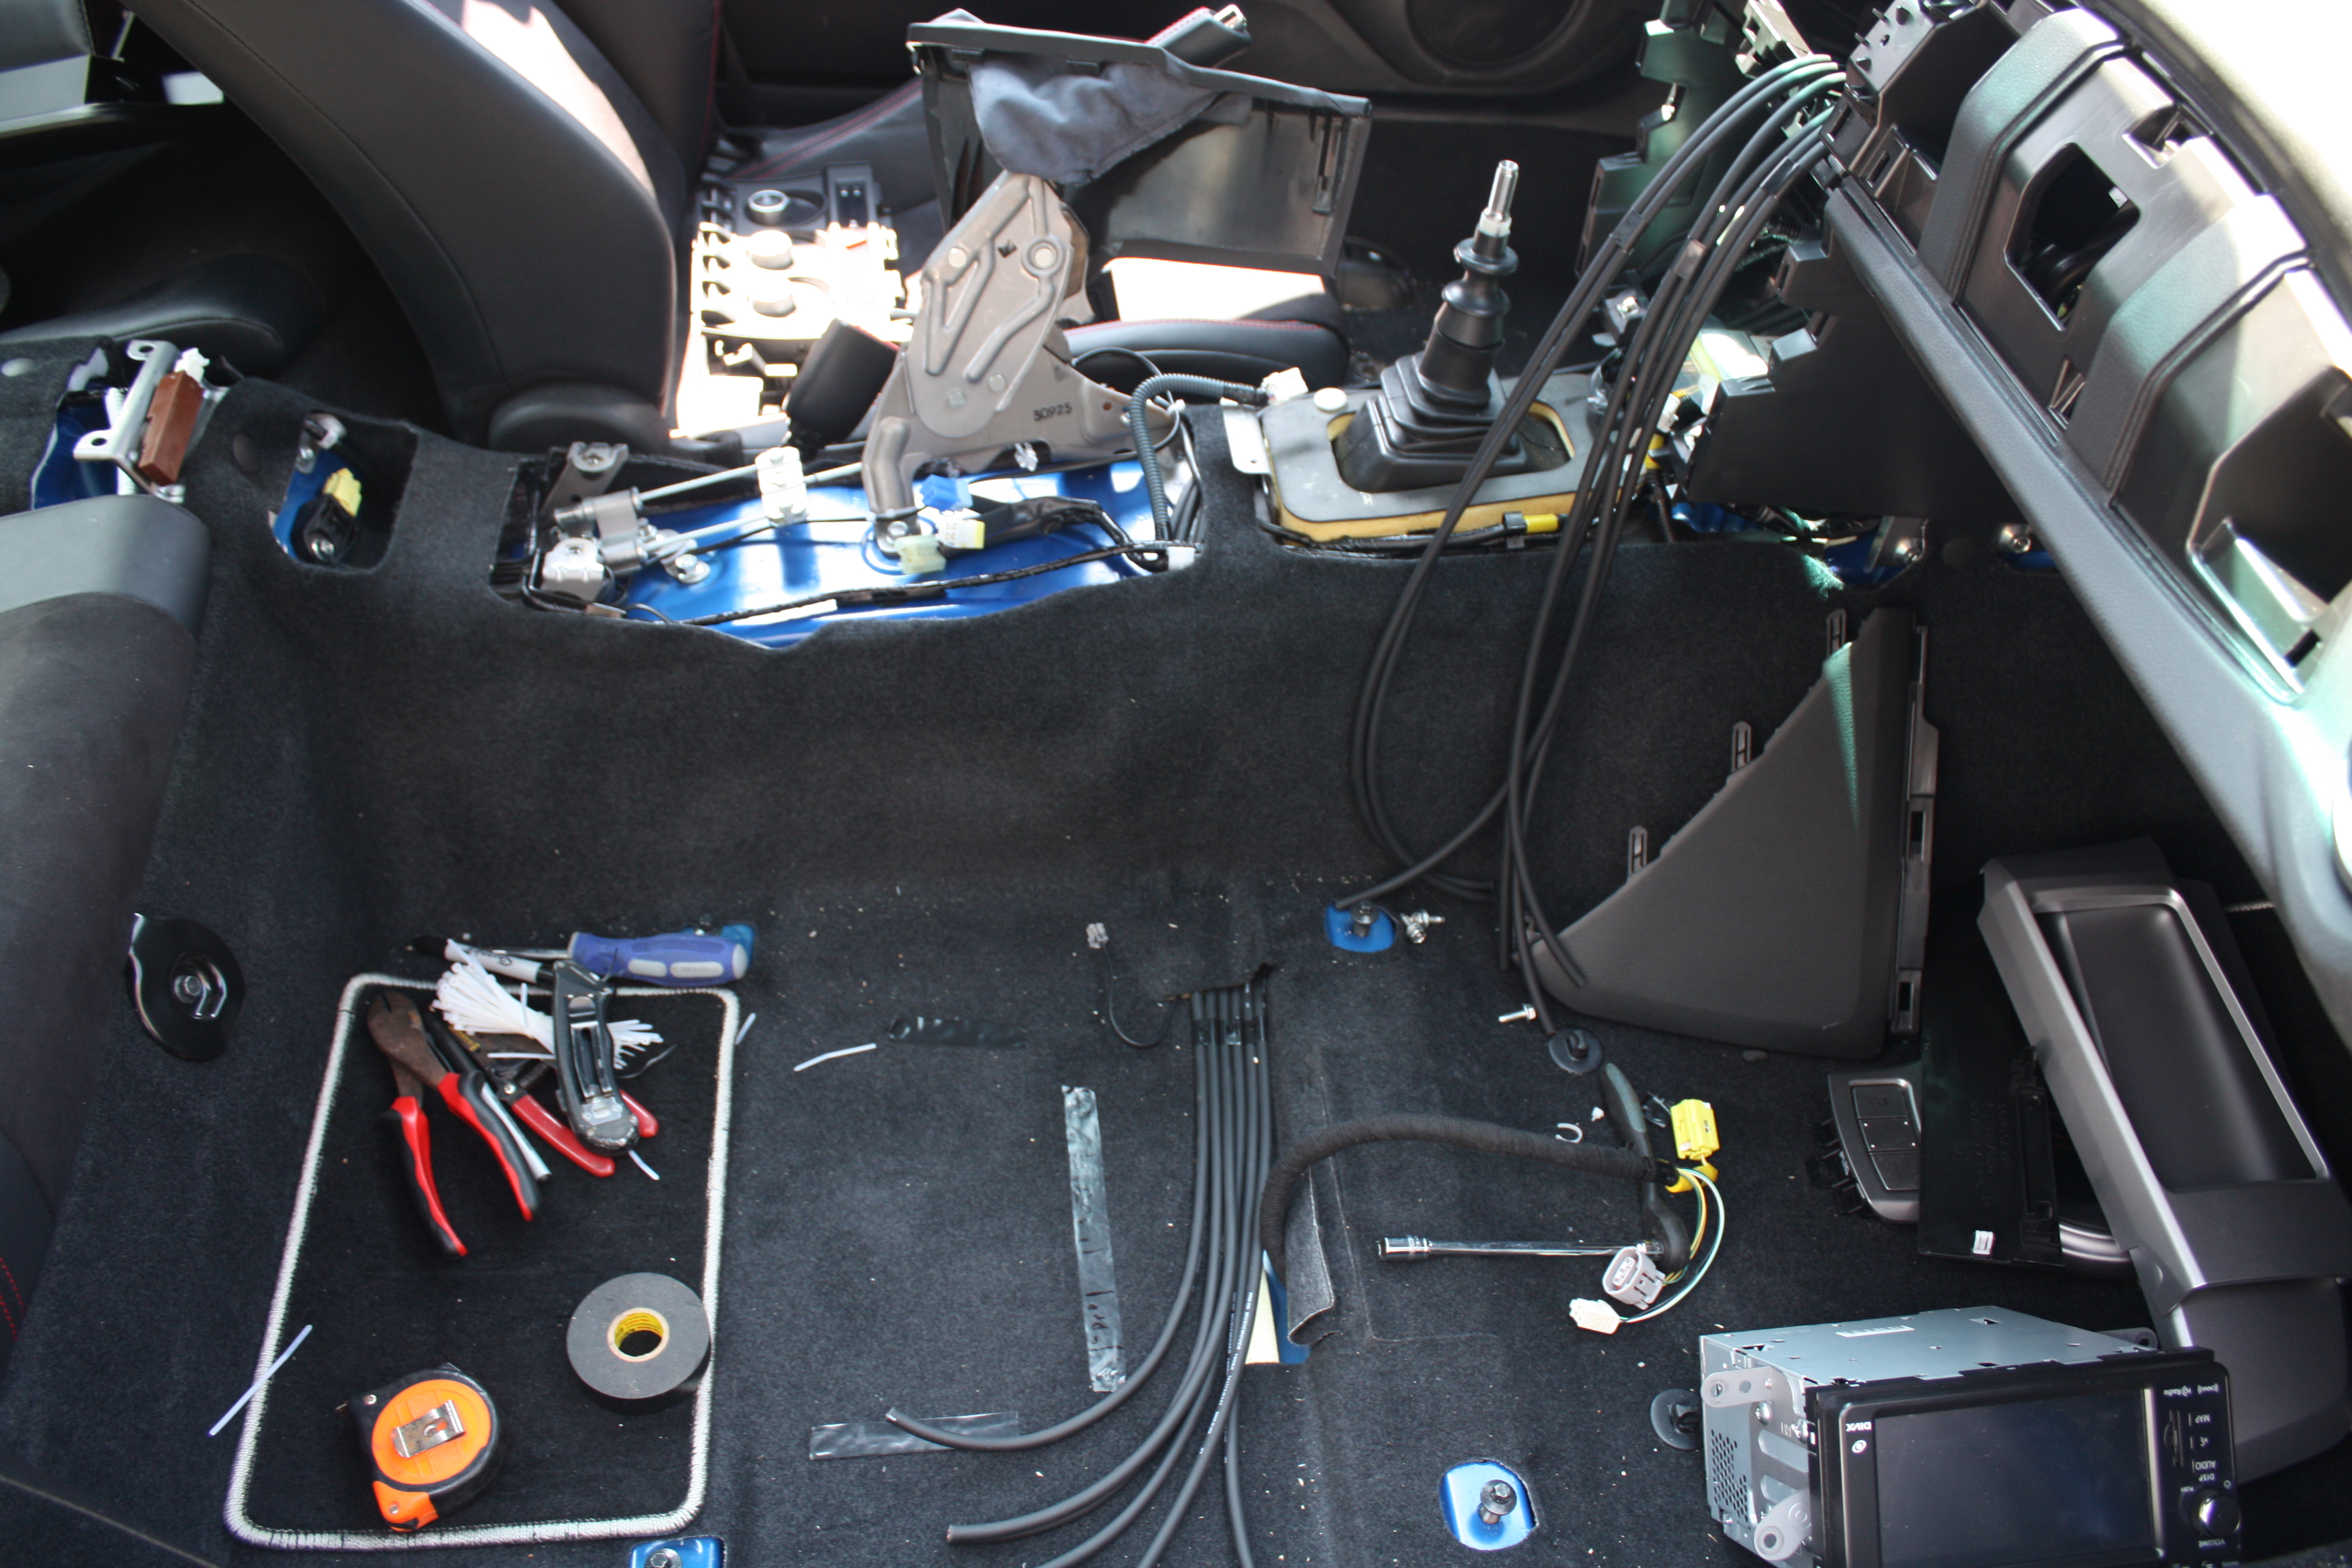
In the manual Alpine recommends the diagram below for the setup I am trying to do. Is this correct wiring that will allow me just to plug in my designated subwoofer speaker cables and be good to go?
|
no, you shouldn't be using capacitors/bass blockers with this setup. either network mode, or the amp, or the included passive crossovers.
so with the radio you have, there's really 4 options, but 3 i would consider best:
1. the first and lesser option would be to wire the amp to the passive crossovers and then to the speakers. the main benefit to this option is that it free's up 2 channels, which many consider important to run rear speaker channels. you've already indicated you've taken out the rear speakers, so while this is a potential setup, it doesn't fully utilize all of the gear. there's really nothing particularly 'wrong' with this setup, it's just not a very efficient use of equipment.
these next 2 options have exactly equal audio quality benefit-- a full active setup. the previous option is considered a standard, non-active setup, as the passive crossovers do take some power to work, and offer no adjustment to fine tune the audio tone, or characteristics of each speaker--for a lot of people this is more than enough.
2. connect the speakers directly to the amp, and use the amplifiers built in crossovers to control the frequencies going to each set of speakers. this uses all 4 main channels of the amp, and offers the best benefit of audio manipulation. the disadvantage to this setup is that every time you desire to make any adjustments, you must gain access to the amp, make the adjustment, and get back to sit down, determine if the adjustment was enough, etc, etc--it can be a little of a hassle to get done right because of the extra physical movement.
but this method is does not rely on any head unit functionality, which can be a major bonus as a 'headless' setup--running a headphone-to-rca cable directly to the amp, where your phone would do everything. it's ultra minimalist, which can work in a pinch, or to reduce complexity within the system. i ran such a setup with my v9 after a d*ckhead stole my cheap touch screen radio.
3. connect the speakers to each individual amp channel as in option #2, but disable the amp's crossover and enable network mode on your radio.
the major benefit to this method is being able to make all audio adjustments on the fly, from your typical listening position. the disadvantage in this method is that pioneer gives only a dozen or so frequencies for each channel that can be selected. so as long as the gear and your preferences line up with what pioneer's engineers believed was best, it will work fine.
in my specific case, i had to abandon this option-- i've chosen to run a dayton 3.5" point source in my dash, as a mid/tweeter. because it's more than a tweeter, the pioneer network mode options don't have frequencies low enough to give me the tone i want. without looking it up, i believe the lowest option is 1.25khz, where i want no less than 800hz going to that driver.
but the gear you've selected so far should be able to run this mode just fine. the disadvantage here is only if you "go off the reservation" like i did.
4. the last option is the option i went with in my pickup truck recently, and the option i wish i had gone with in the car.
long story short, i chose to run a different mid/tweeter again, and again wanted more range than network mode offered(minimum 1.25khz or so), but putting the deck in standard mode made the mids buzz because they were getting too much bass-- the max crossover frequency is 200hz in standard mode, i needed a minimum of 500hz. i'm currently using a pdx f4, which does not have the crossover options of the pdx v9...
https://www.parts-express.com/dayton...audio--230-500
there's other DSP's like it on the market. but this is one of the cheapest, that offers just about all the features anyone could ever need-- the eq is per-channel, instead of pioneers included eq which is applied to all outputs equally. the crossover adjustment is also unparalleled.
the down side is that it's a major couple of extra steps, both in connections and setup, but it does everything that options #2 & #3 do more thoroughly than they could ever do, and with the added bluetooth dongle, adjustment is extremely easy as long as you're within range.
but all of this assumes you'd know how to use the additional features!
Quote:
Originally Posted by SkyeHack
Also, where do you recommend I mount the amp? Should I commission a audio shop to build my a small rack for the PDX-V9 and mount it where the factory amp was. I saw a Youtube video and it looked clean. I do not do any woodworking though. 
Thanks for your help in advance bro!  |
i saw that video. just remember that any adjustment to the amp must be done on the amp. personally i'd rather not have to remove the trunk liner, remove the trunk floor, crawl in, and then make my adjustments...
i mounted my amp under the passenger seat. very simple-- a 1/8" thick piece of acrylic cut to the size of the amp, on top of a ratty old towel(to keep the t-nuts from rusting/rattling on the car body), with 4 6-32 t-nuts drilled to line up with the amp, and then electrical taped to stay poking through the acrylic, and then they were poked through the oem carpet. the acrylic is only there to hold the t-nuts in the correct place, by screwing the amp on top of it all, it sandwiched the carpet, and made it as solid as if it was mounted to the car body. prevented the same d!ckhead from trying to steal the amp with the head unit, despite their best efforts, so i'd say it's pretty solid.
it required a little 'clearancing' with a hammer to the bottom of the seat to make everything clear and move freely, but it's nice and close for the few times i need to adjust it...

scared yet?

and the last thing i'll add is that you can generally find all this equipment cheaper at stores outside of crutchfield--i generally look to knuconceptz, sonicelectronics, woofersetc, and techronics. the main benefit to crutchfield is that they are a factory authorized reseller, and have knowledgeable customer support staff to help with any installation. but that comes at a significant cost over the other retailers.
oh, and for your list of items:
while that amplifier kit is the right size, i would steer clear of parallel fuses. one fuse is enough, there's no reason to need double the hassle.
for the rca cables, they really don't matter as much as everyone says they do. i've run walmart rca's with the same success as the heavy-on-marketing streetwires ZN7. monoprice is the place to get cables from. they're half the price of crutchfield. i like and recommend their 'premium' rca cable, for nothing less than i like the feel of the connectors, and it's a mid-grade cable, meaning not the cheapest, and not the most expensive. i'm not convinced that more expense nets you anything more than pretty cable ends.
speaker wire is speaker wire. my preference is 12 gauge over 14 ga, just 'because' for a little better power carrying capability, but the main consideration is that it's pure copper, which that is.
the wire worm is sorta funny to me. it's a big zip tie with a hole in it. hardware stores probably have the same thing for about half the cost, just less marketing.
for the automatic wire stripper, i've never had good luck with those. i've tried them a few times, and most damage the wire more than they strip it, leaving it looking like a raggedy piece of old rope. i highly recommend a standard wire stripper like this instead. and if you're not confident you've got the right size hole, start larger and work your way down one hole at a time. it takes a little technique, but is well worth the effort.
https://www.homedepot.com/p/Commerci...0201/202039360
if you've got a harbor freight near you, i've been quite happy with their wire stripper of the same style, and it's a little cheaper than that still.
the rest of it is a pretty standard fare