Track preparations
04/11/2018:
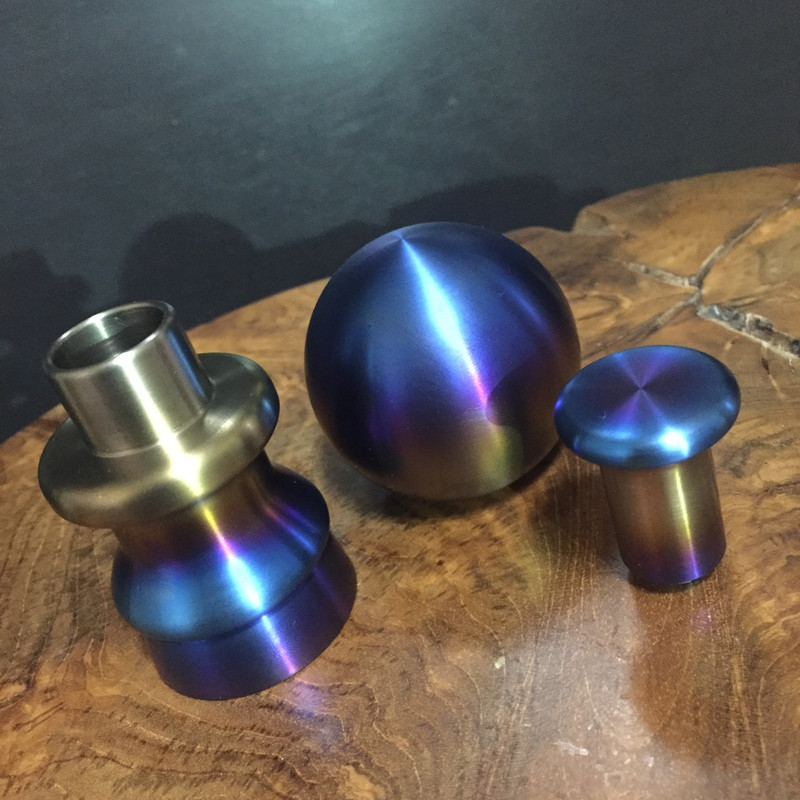
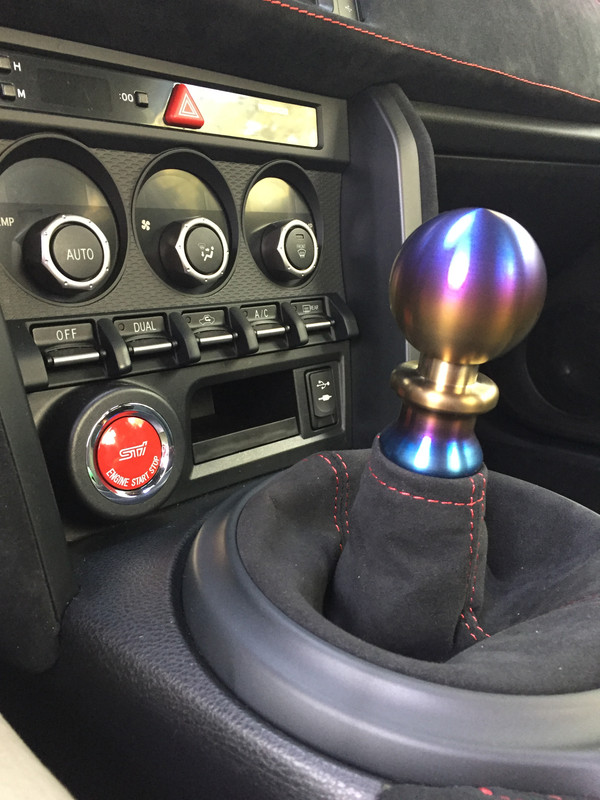
Finally got around to installing my WC Lathewerks Shift Knob, Ebrake button, and Reverse lockout. The heavier weight of the shift knob feels great!
 04/26/2018:
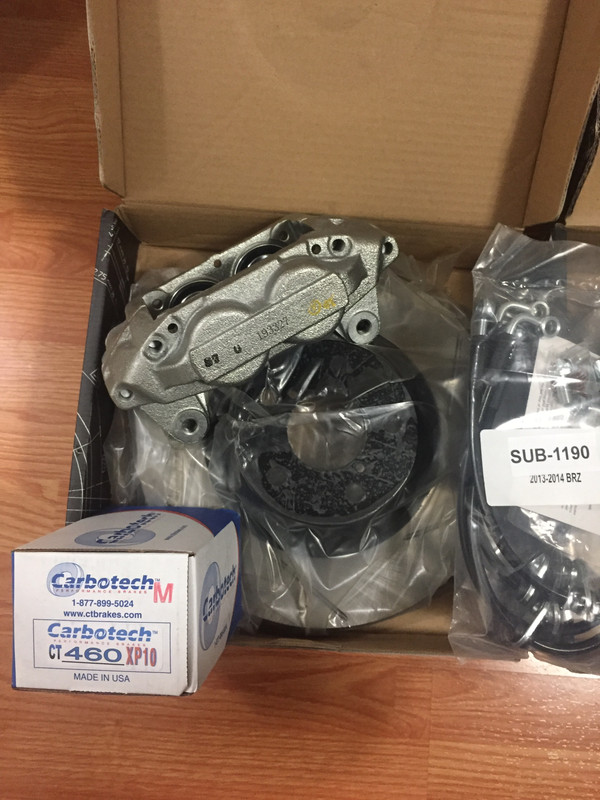
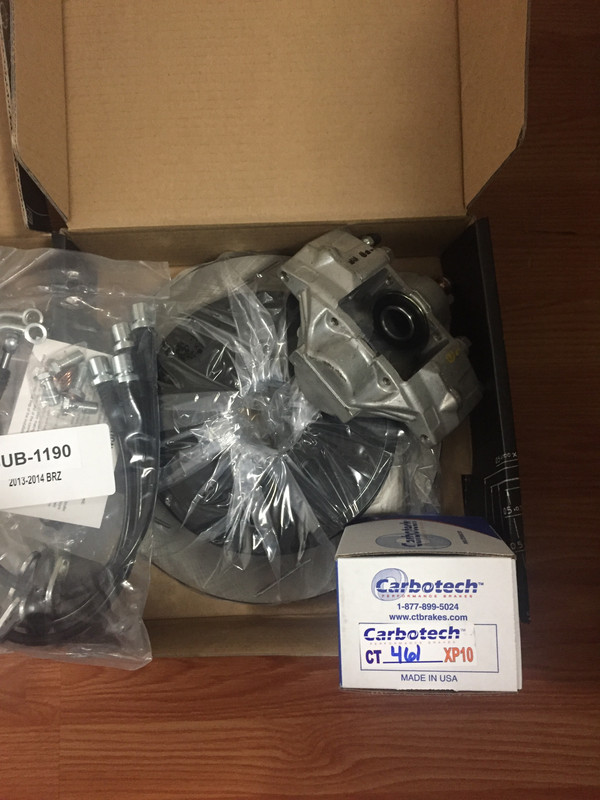
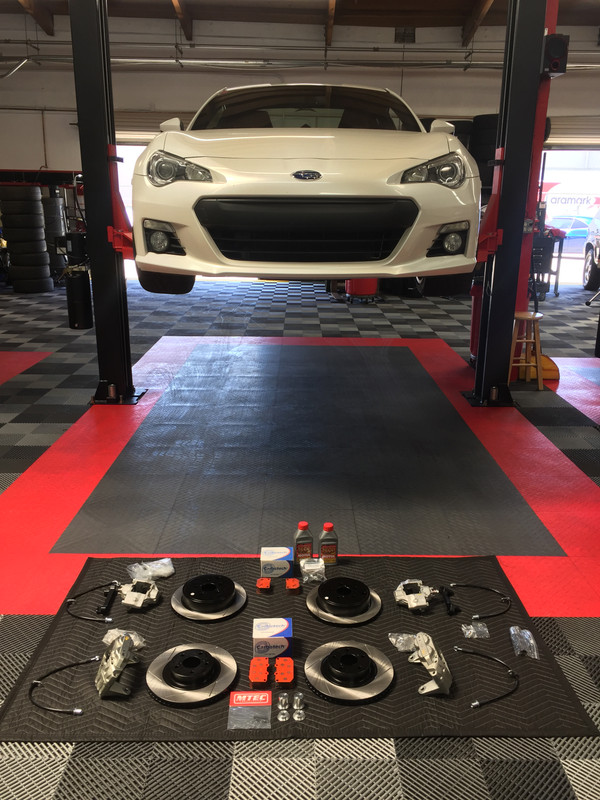
I've also ordered the following parts for the car:
A1 Cardone 2007 Subaru WRX 4 Piston Front Calipers
A1 Cardone 2007 Subaru WRX 2 Piston Rear Calipers
KNS V2 WRX Rear Caliper Brackets
Stoptech Slotted Front Rotors
Stoptech Slotted Rear Rotors
Carbotech XP10 Brake Pads
Yperion Titanium Brake Pad Shims 0.65mm F/R
Chase Bays SS Brake Lines
Battle Version Solid Steering Rack Bushings
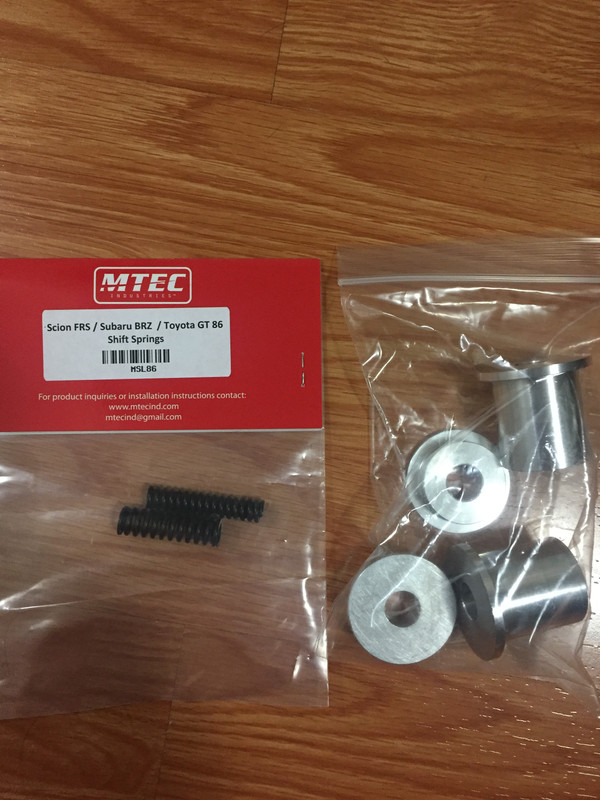
M-Tech Shifter Springs
This should set me up with a really nice, solid car for track and mountain use. I decided to go with the "OEM" 4/2 pot setup for a few reasons. I will eventually go with an AP Racing Sprint kit for the front, which based on feedback on this forum, pairs well with the 2 piston rear calipers.
Why did I go with A1 Cardone instead of OEM Subaru? I didn't want painted calipers. After a while, the heat just ruins the finish. The AP Racing calipers are not painted, so will match much better with these once I do that upgrade down the line. A1 Cardone makes great rebuilt calipers for a good price, so it just didn't seem logical to buy brand new ones from Subaru. Plus, I could only find OEM Subaru calipers in red, which would eventually clash with the AP Racing ones.
So far this setup has been amazing! I haven't gotten any break fade at all! Street driving they feel great too. Now, the XP10 pads are noisy, I won't lie. I have to be really soft on the brake pedal in order to not get a squeal. I do not daily this car, so I really don't mind the noise, but that is something to consider.
I could swap between street/track pads, but that seems silly on a car I only drive on the streets occasionally.
Braking confidence is much improved and the fade I was getting before is totally eliminated. This isn't the prettiest brake setup, but it works!
05/01/2018:
Install day! I took these to my long-time friend Adam's new shop,
Dynamic Autoworks. I've know Adam for many many years, back to my drifting days. Adam has built some of the most amazing vehicles and has a real passion for drifting and Japanese cars. He's currently building a 1998 Toyota Chaser JZX100.
Adam just opened this shop, so I figured I'd bring him some business. I could of done it myself, but I love supporting my friends dreams so I had no qualms about bringing him my car to work on. I also had him do a tire rotation and alignment on the car.
 05/02/2018:
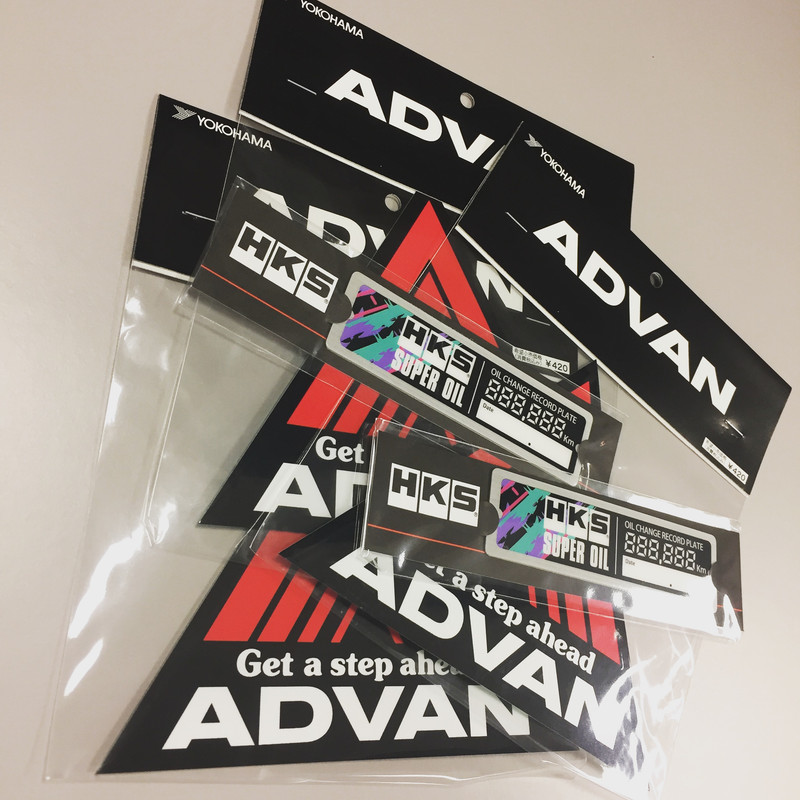
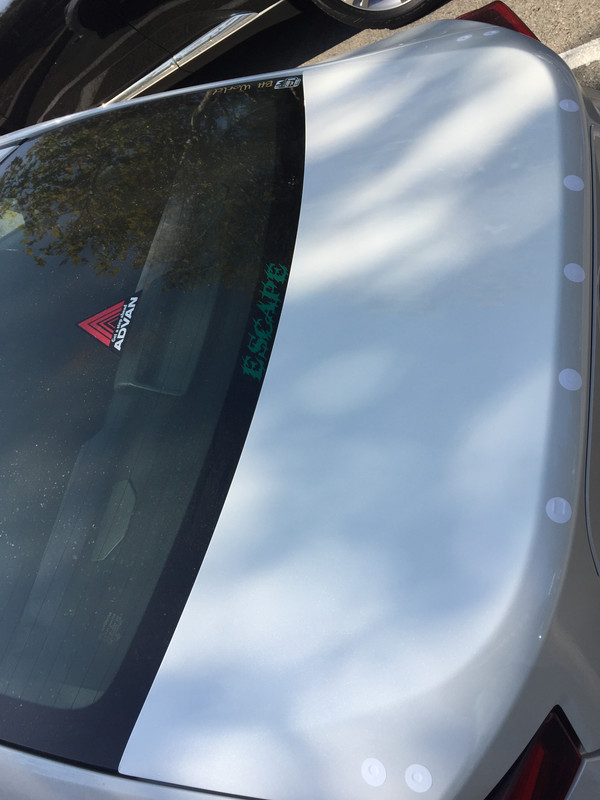
I kept seeing these HKS oil change plates pop up on instgram for sale for an outrageous price. I did a little digging and found them on yahoo japan auction for only a few dollars vs. the 40 some resellers wanted! Also picked up a couple discontinued ADVAN stickers. I have one on my car already, but it has a weird crease in it

 05/12/2018:
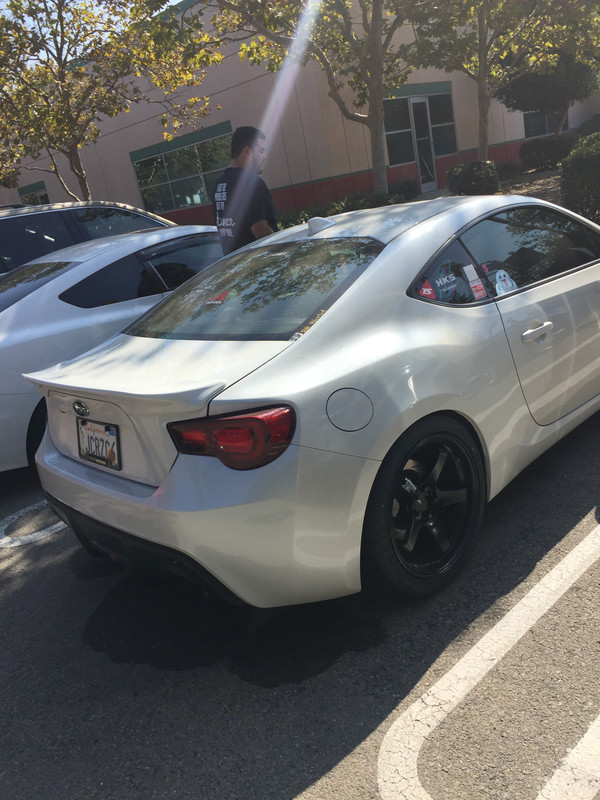
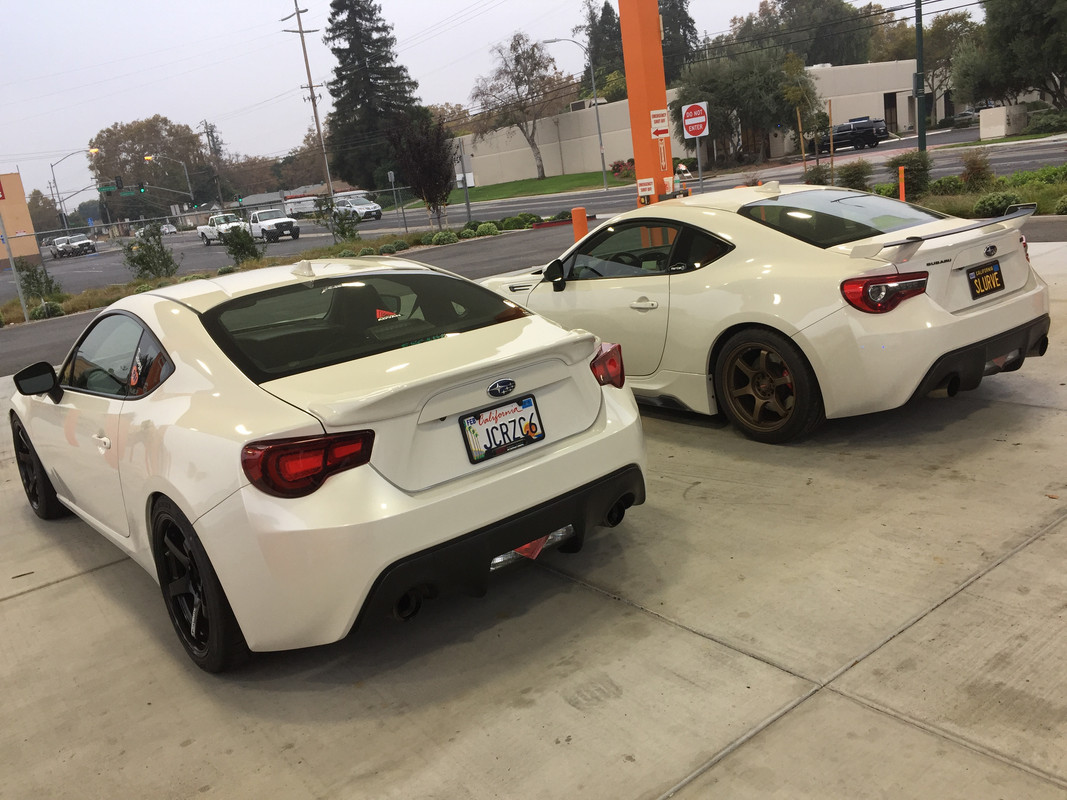
Some asshole parked wayyyy to close to my car. Luckily, no damage.
 A Touch of Class
08/28/2018:
A Touch of Class
08/28/2018:
Haven't done too much work on the car lately! Just been driving it and enjoying it. The brake upgrade has made the car so much more fun in the mountains. One of my goals for next year is to have the exterior finished so I can enter the car in Wekfest. I've been going to Wekfest since it started in SF, so having a car in that show has always been a dream. I recently purchased a couple exterior parts that will help set the car part, and will compliment the aero package that I will be purchasing come tax season!
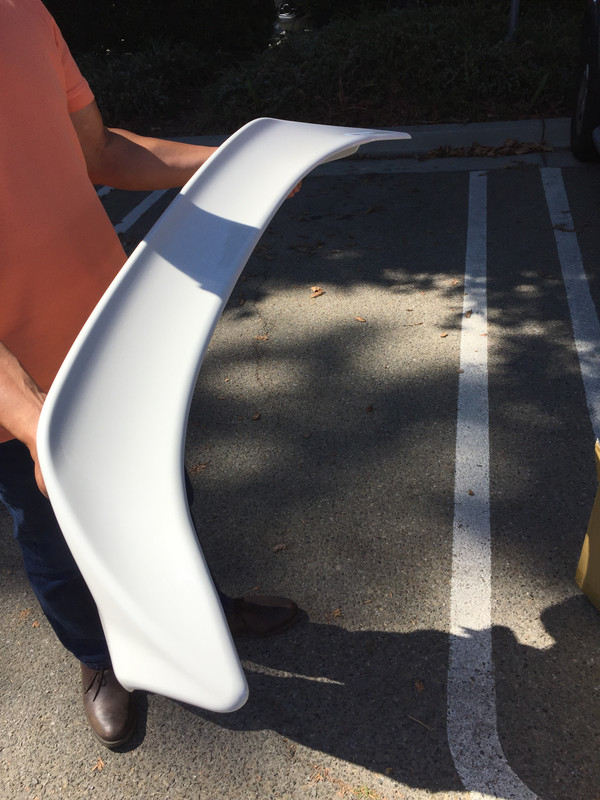
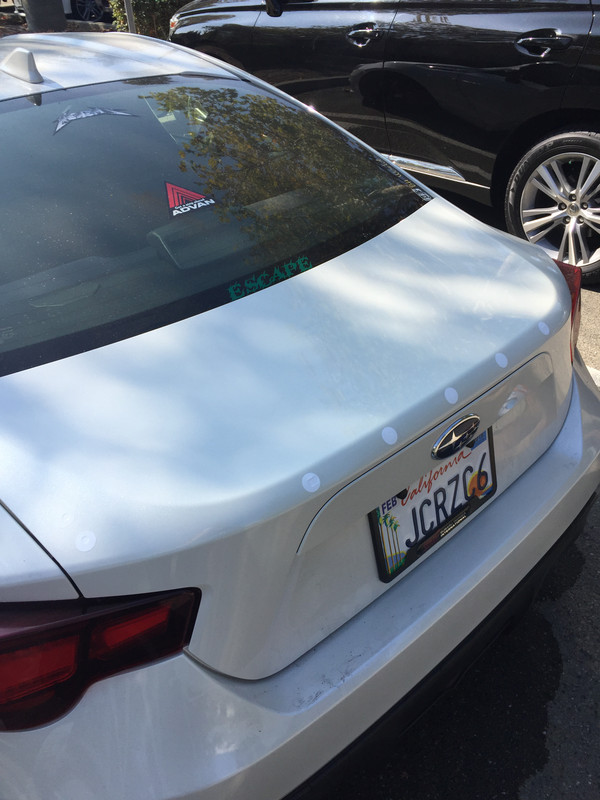
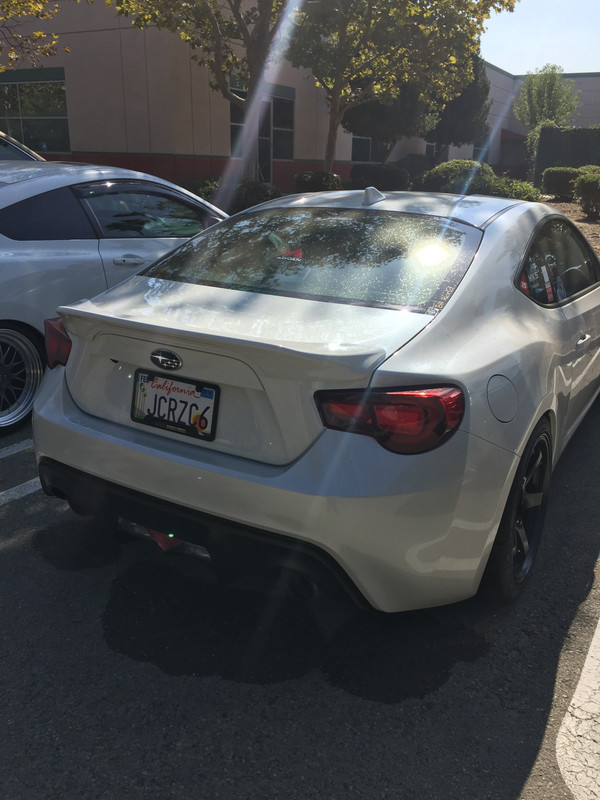
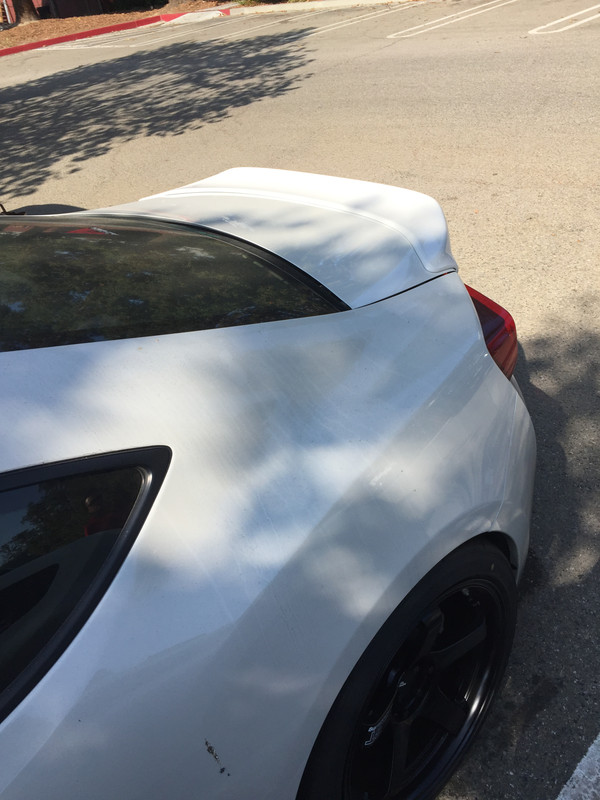
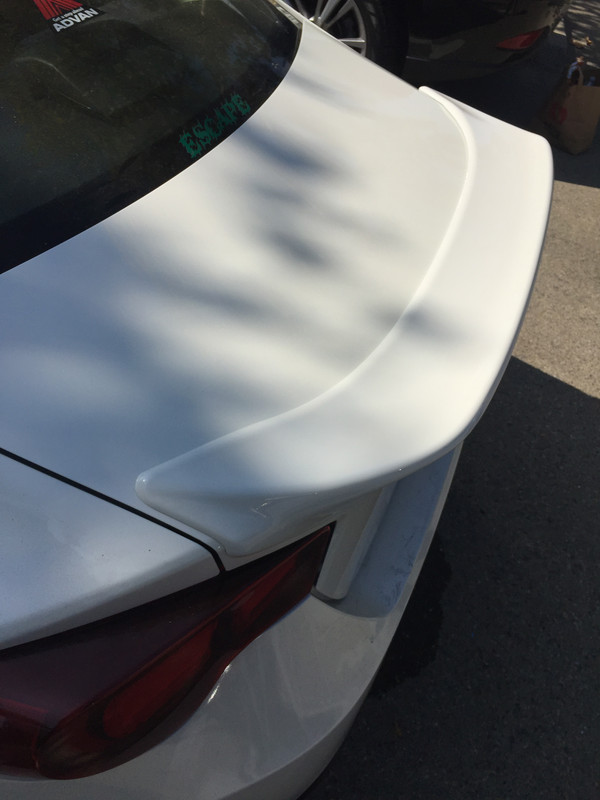
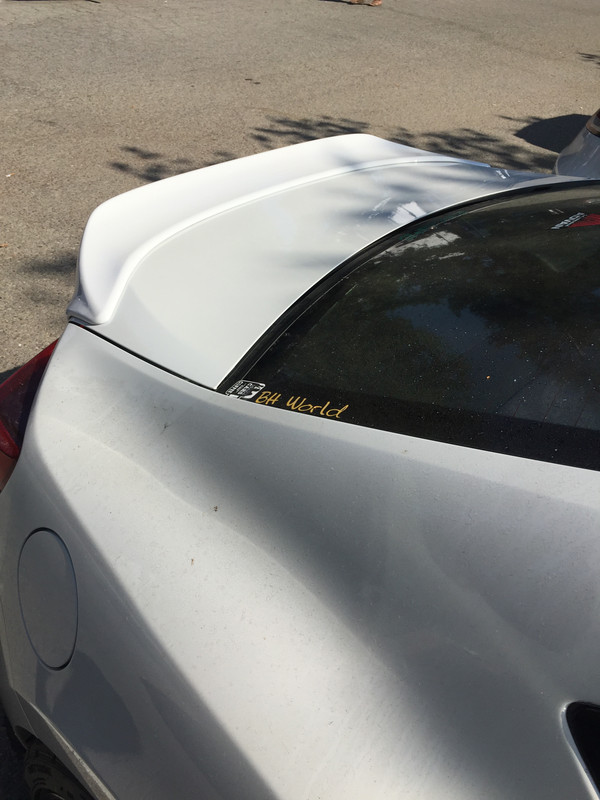
I decided to go with a TRD Style rear wing. This wing is really only temporary until I get the truck holes properly filled. I will be purchasing a Voltex wing down the line once my skill level at the track warrants it. But for now, this will be a nice addition and a huge improvement over the stock limited wing, which I hate with a passion.
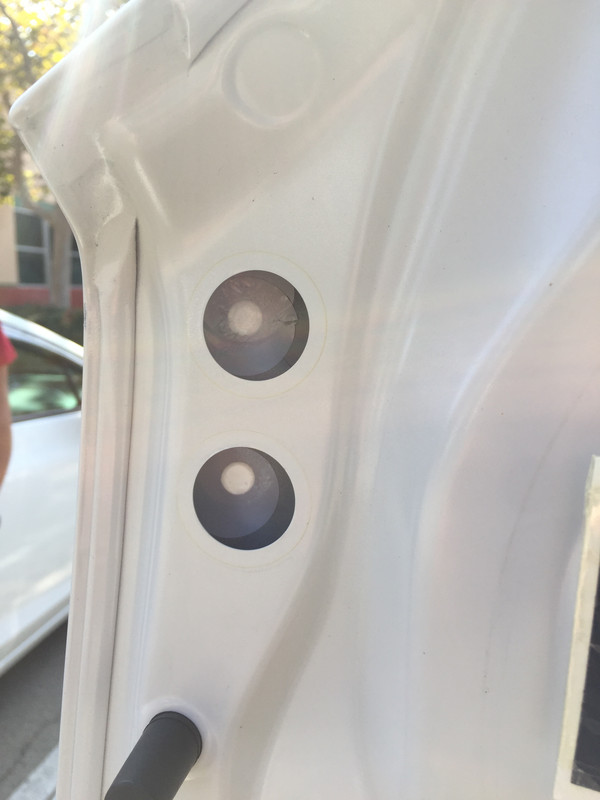
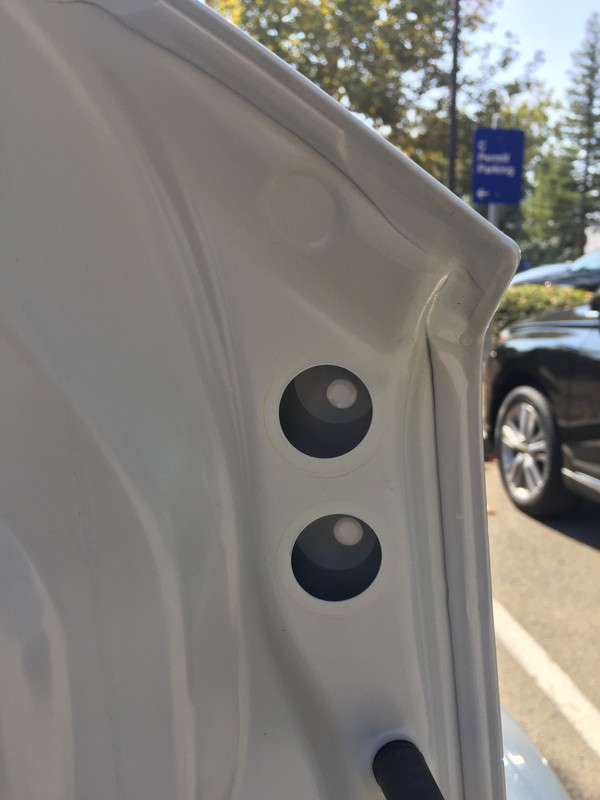
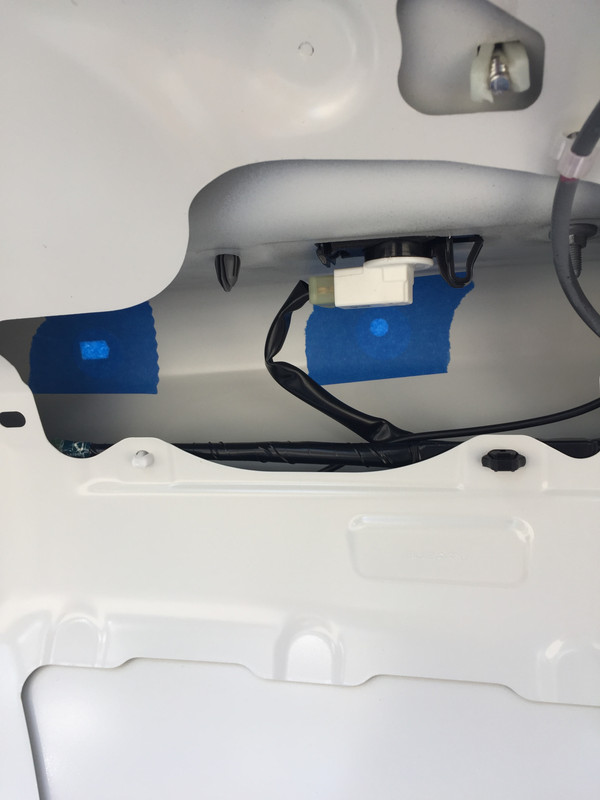
I bought this wing off ebay for 140 shipped! Painted K1X. The color match is pretty spot on, and the wing is ABS plastic. It has nuts recessed into it, so if you wanted to drill your trunk and screw it on, you can! The only thing its missing is the trim around the edges the real TRD version has. I can live without that, as this wing is just a temporary solution. The install is pretty straight forward. I did take precautions on sealing the truck holes as best I could. I used a 1" vinyl spoiler plug sticker I found on ebay, and put one on the bottom, and one on the top in order to seal it nicely. I also followed up with some painters tape underneath just to be safe. It probably doesn't need it, but gives me some peace of mind.
 STI Fender Garnish
09/19/2018:
STI Fender Garnish
09/19/2018:
I've always wanted the STI fender garnish, but was upset it didn't come in the K1X color. I really don't like the new tS version that came out, so I looked into other options. After doing some research on this forum, it turns out that you can totally disassemble the fender garnishes! A member on here did the same with with WRB vents and it came out great, so I figured I would do the same. There was no write-up available, so I took lots of pics during the progress to create one for anyone else who wants to do this mod.
I couldn't justify spending 300+ on a part I would need to modify, so I waited until someone had a used set for sale.
Tools needed:
Heat gun
Fishing Line
Screwdriver
Drill + Drill Bits
3M Tape
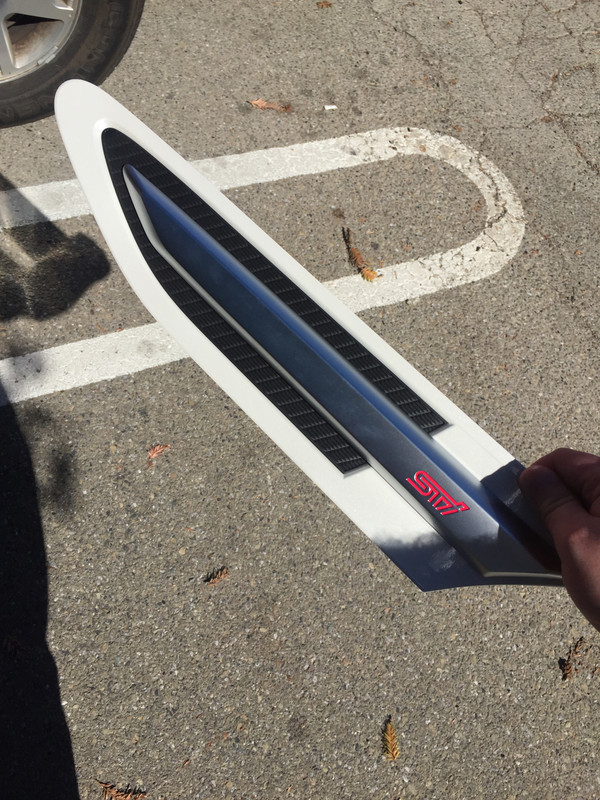
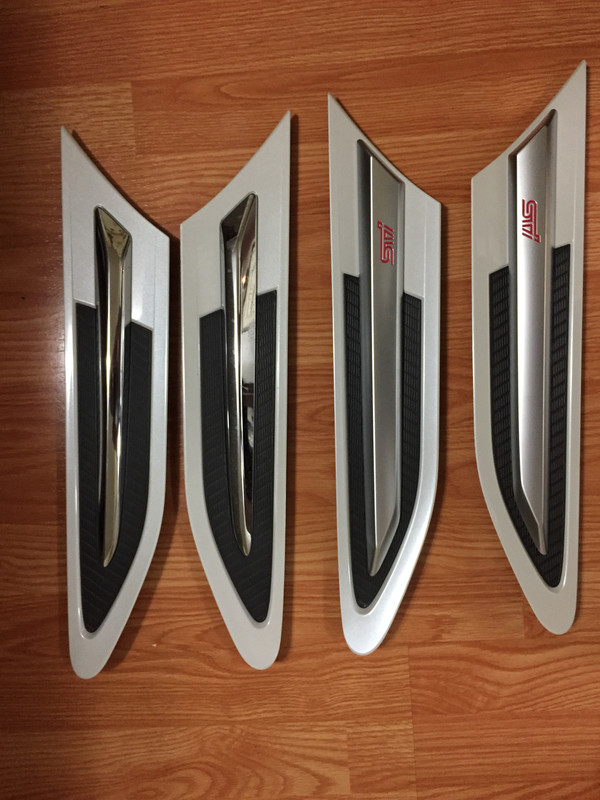
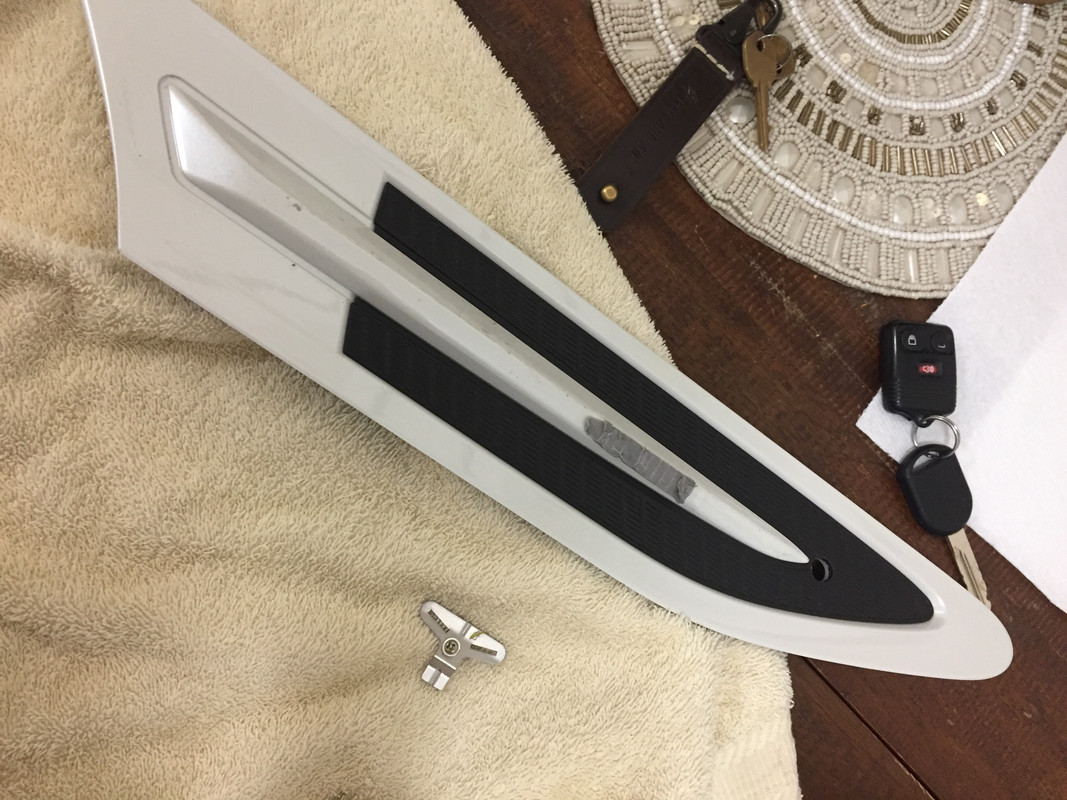
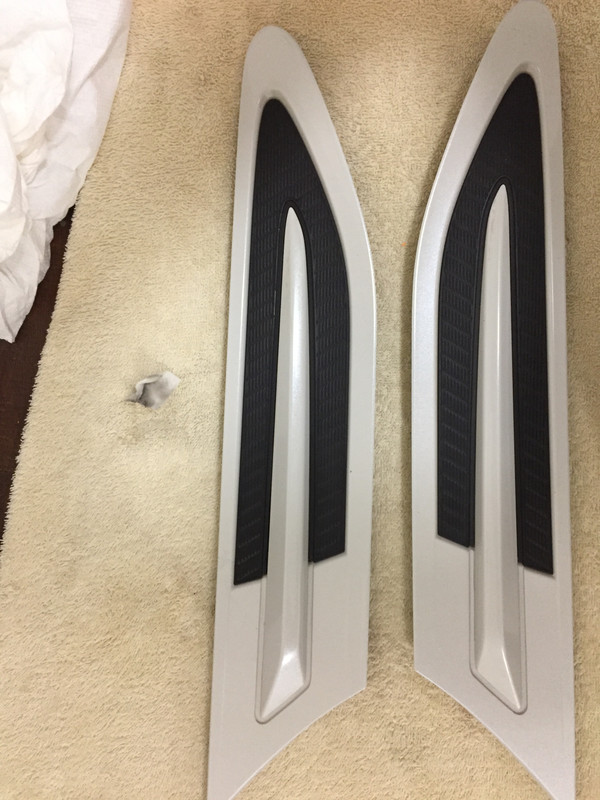
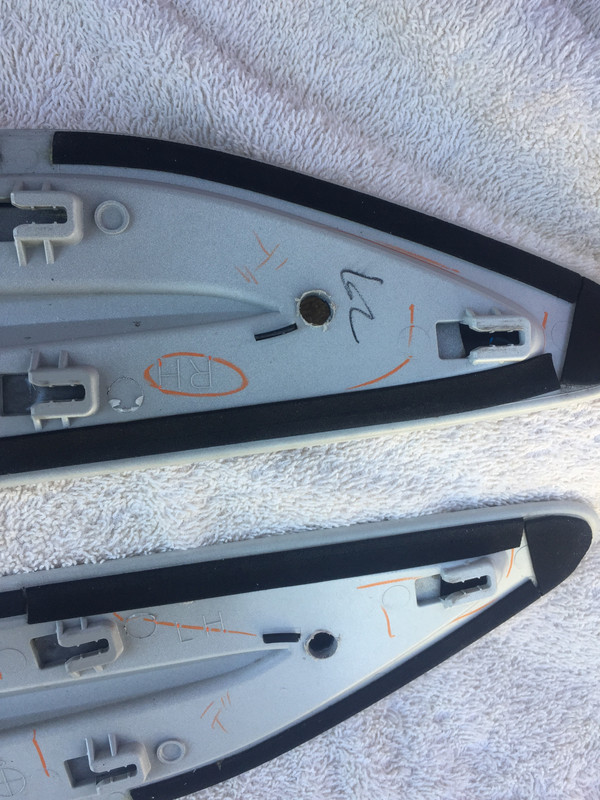
Here's the STI Garnish. The color code is the Satin White, and not the Crystal White that I have. Too bad! These were in much better shape than my mine are.
First step is to remove your stock garnish. They are attached with 3M tape right near the door, and then clips for the rest. I did not document this step, as I just followed a youtube video. Use the fishing line to brake the tape, then full off the panel. Be careful not to lose or damage the clips!
[ame="https://www.youtube.com/watch?v=yMkT1a_qY34"]youtube[/ame]
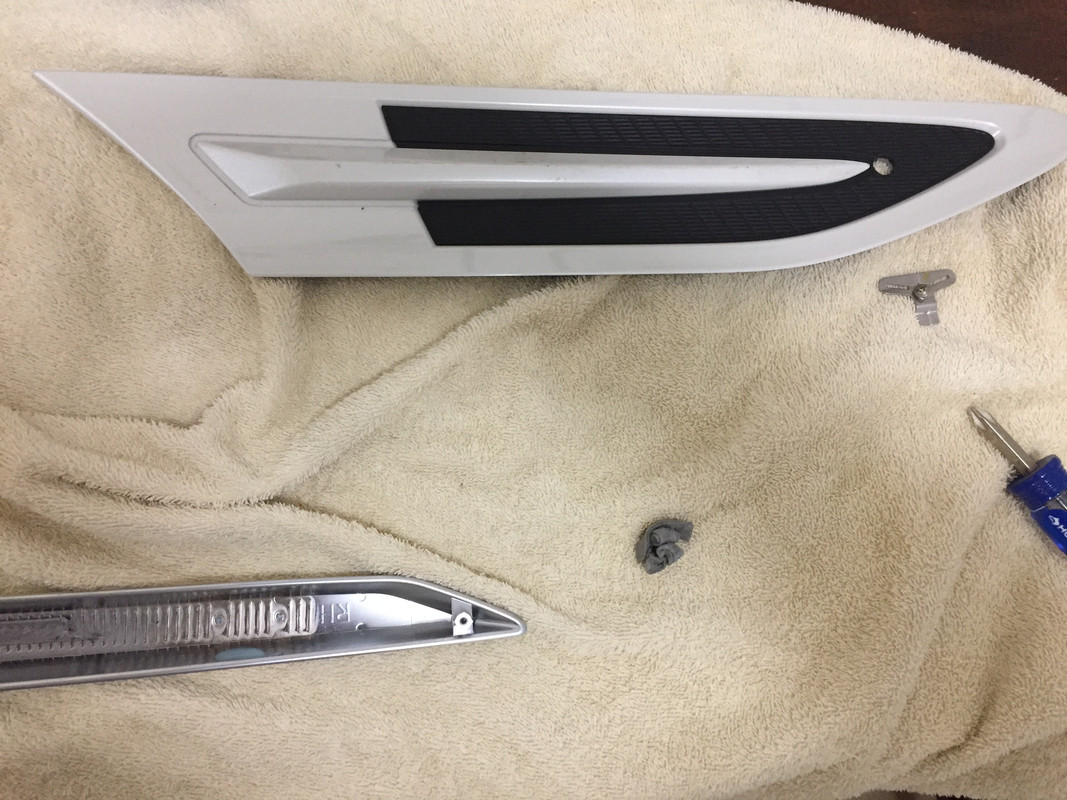
Side by side comparisons:
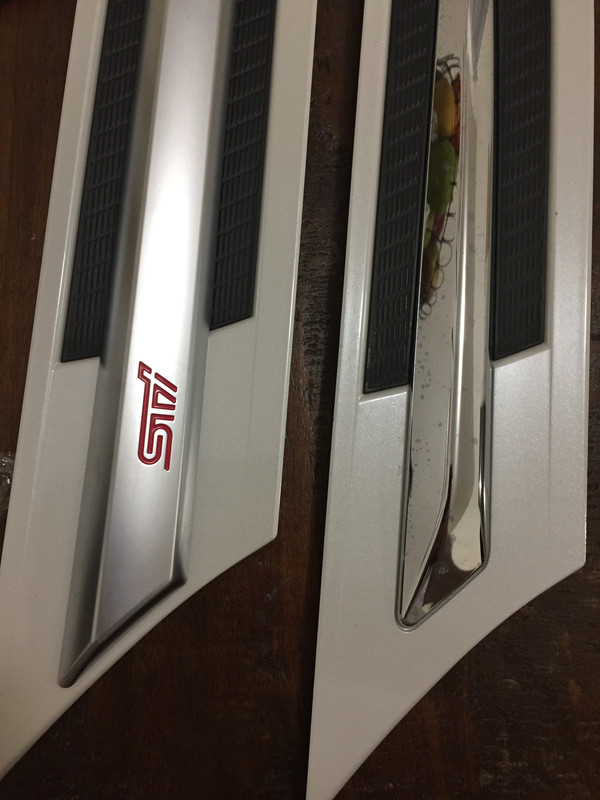
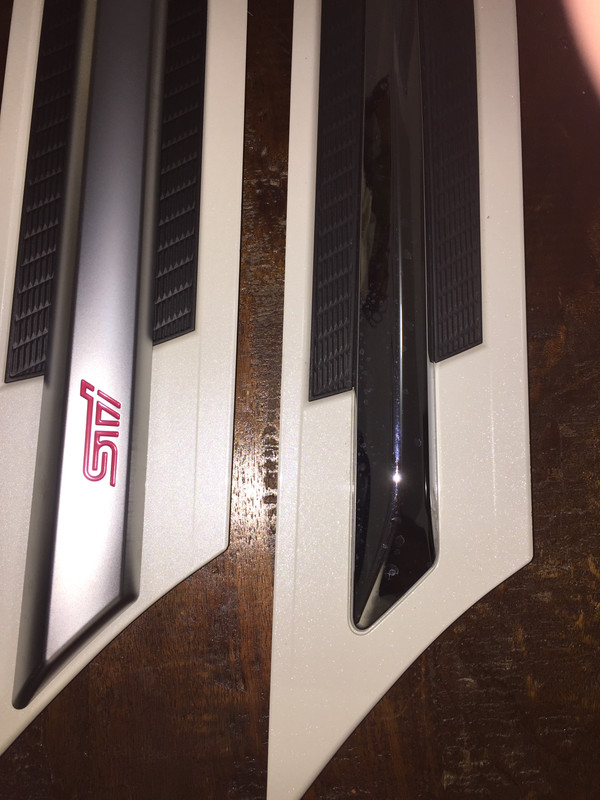

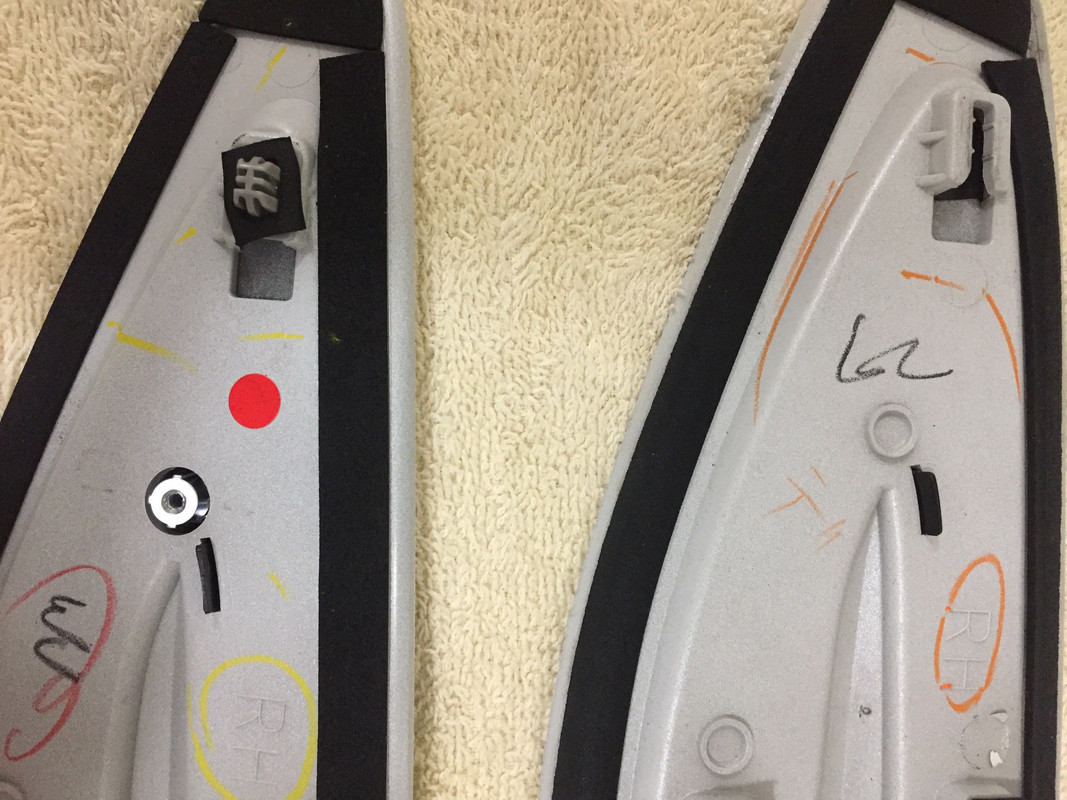
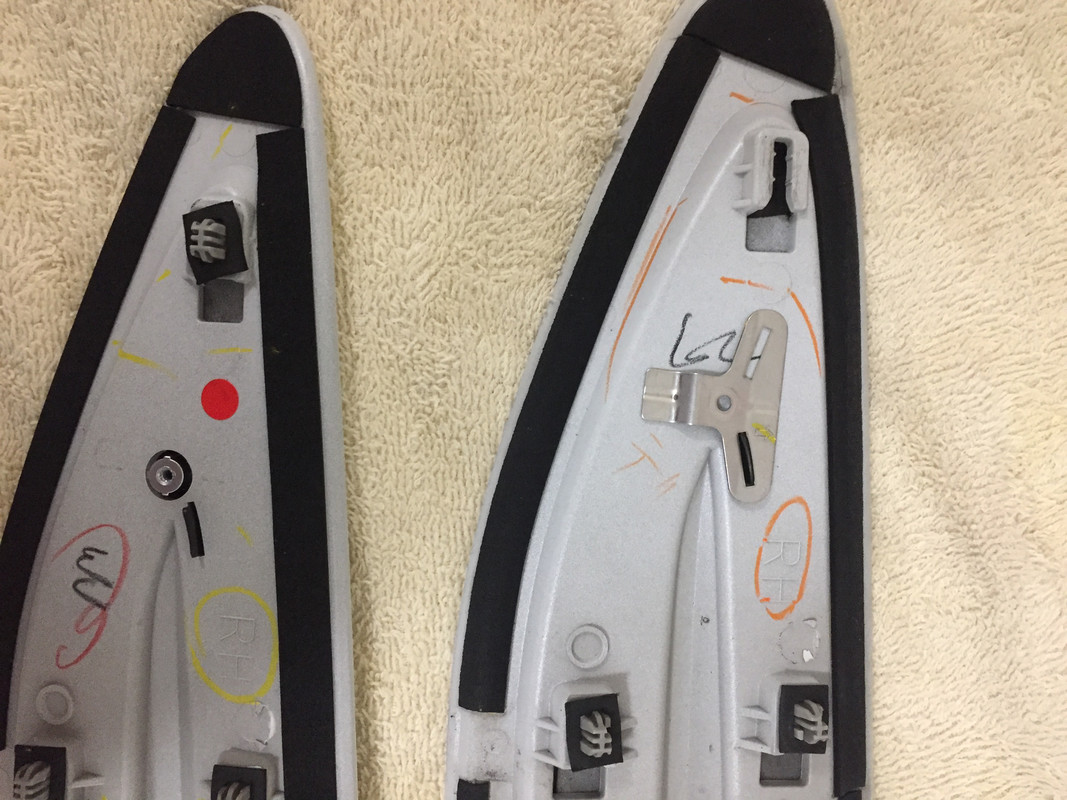
As you can see they are identical! even the part numbers are the same. The STI garnish is attached with a screw near the front, and 3M tape. The Chrome on the stock garnish is attached with just 3M tape.
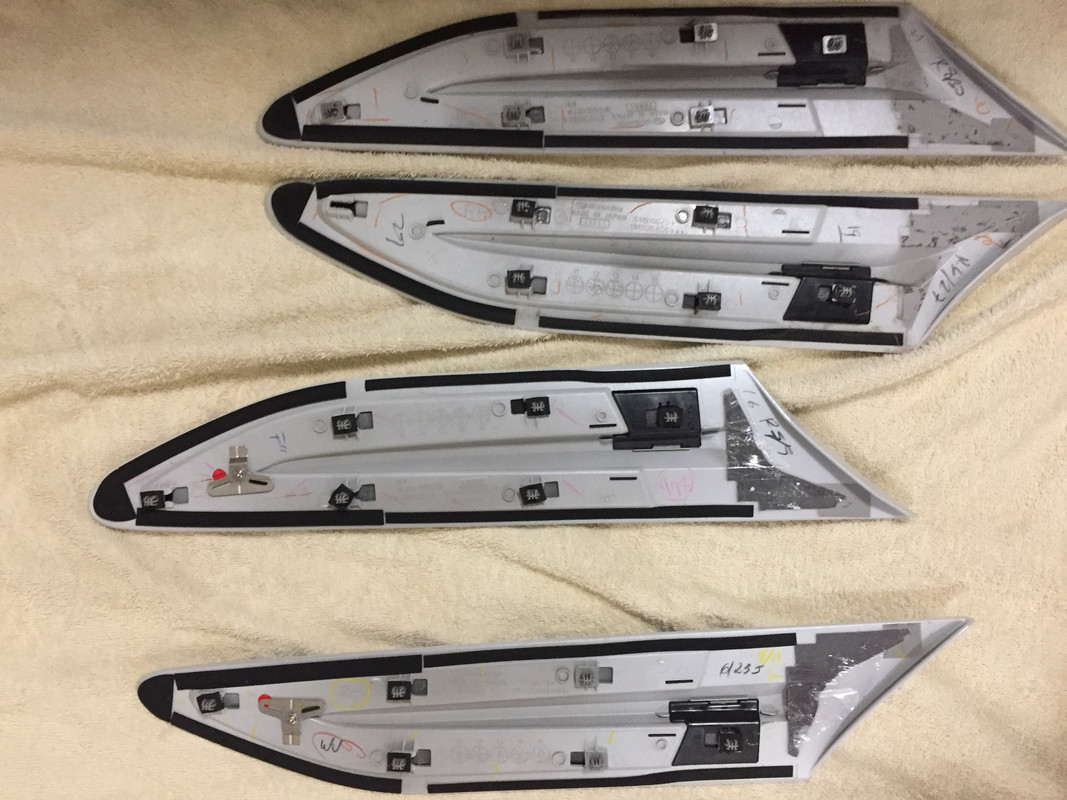
Now to disassemble. On the STI Garnish, remove the screw. Use a heat gun on the back side of the garnish in the weird valley thing. Heat it up nice and good and then use the fishing line to help separate the silver STI piece from the garnish. You will need to do this on all 4 garnishes. Go slow and take your time, that tape is on there good!

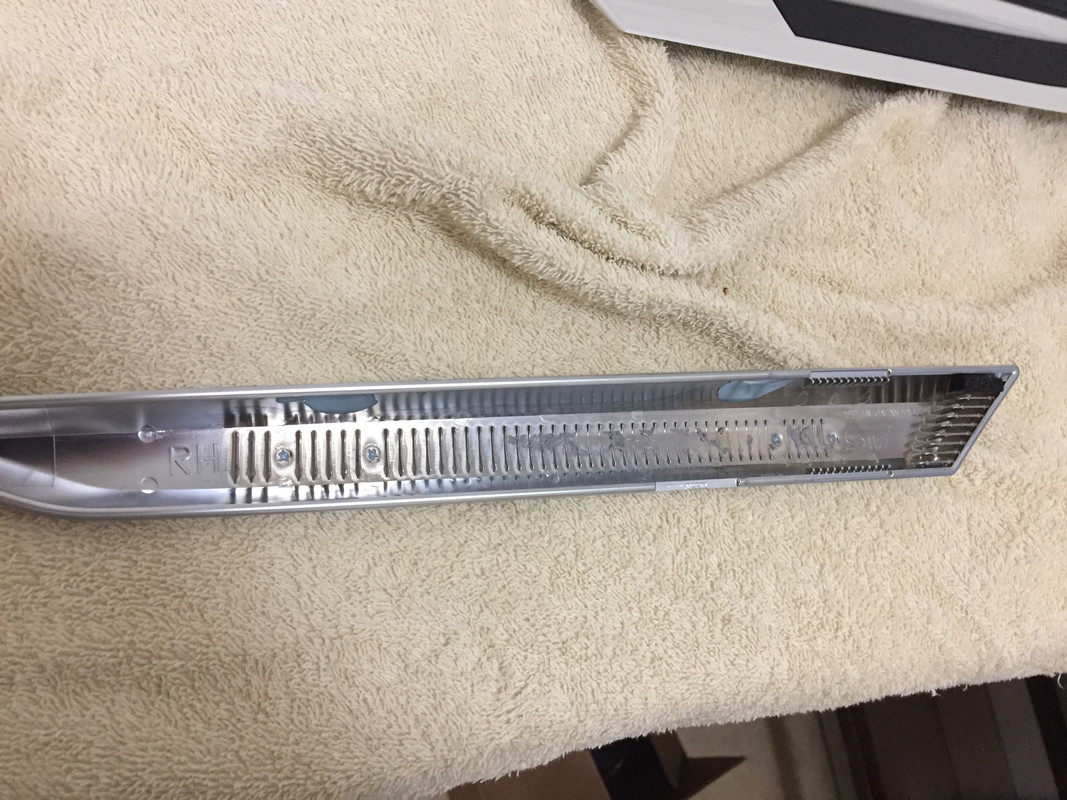
Use alcohol or goo gone or whatever else you need to clean off the residue from the garnishes. You will need to apply 3M tape to these surfaces so make sure they are nice and clean! You will also need to drill a hole in your original garnishes, but luckily it's already marked from the factory! and the weird Y shaped washer does a great job of centering your drill bit. I didn't bother to record the size of the hole. I have a drill bit set so just found whatever bit fit the STI garnish hole, and then started with a smaller one to pilot it. It's really easy since the hole is "marked".
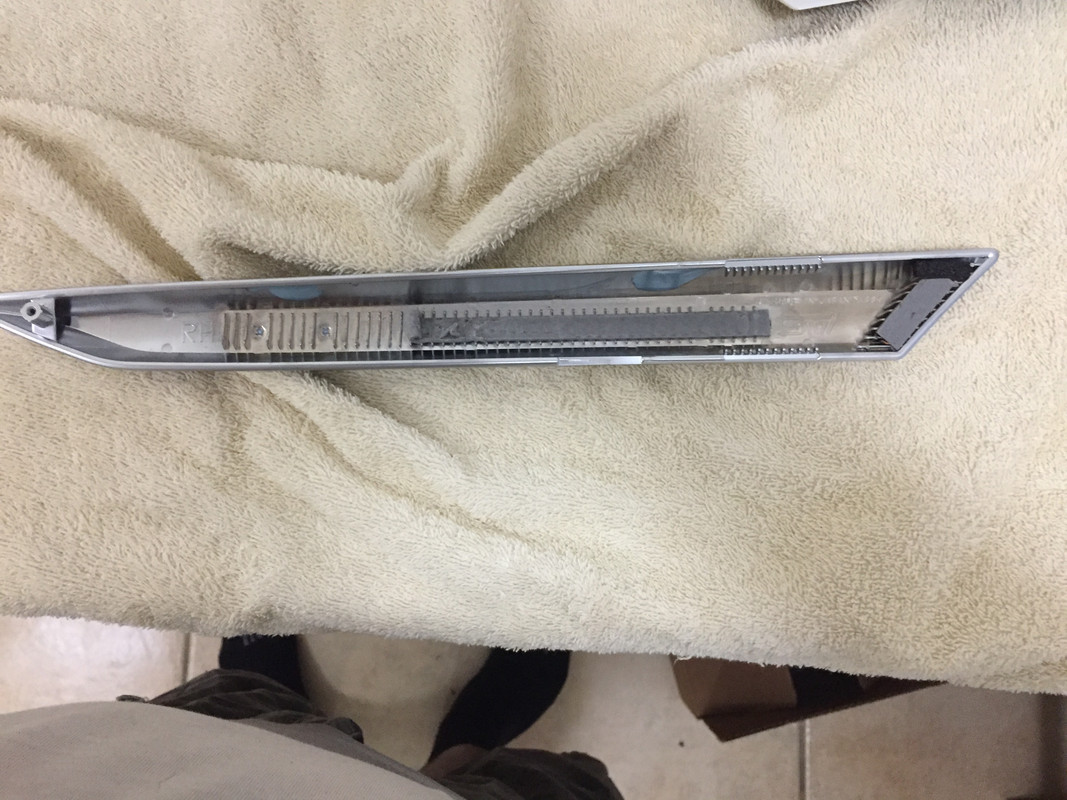
Reapply the 3M tape to the backside of the STI garnish in the same place. I had to cut my 3M tape into strips to match how it was from the factory.
Use the newly drilled hole as a guide when laying the STI Garnish down. Make sure you put it on straight! Put ample pressure on the garnish for a few minutes, then reattach the screw.
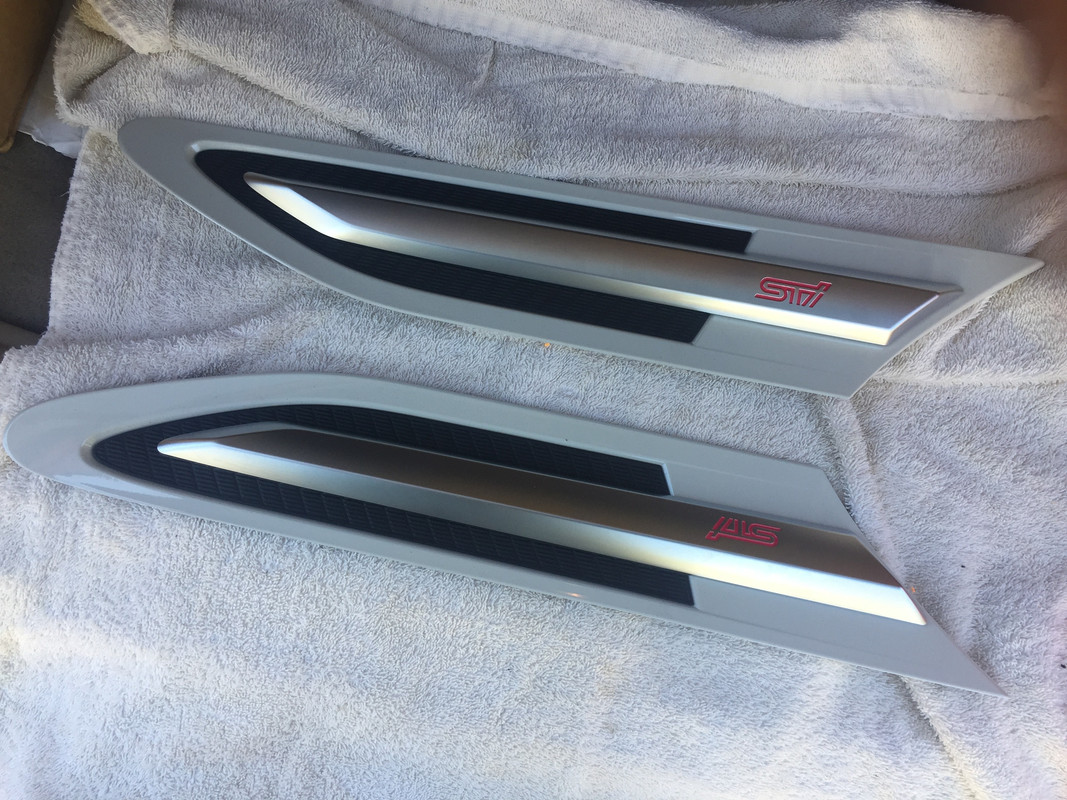
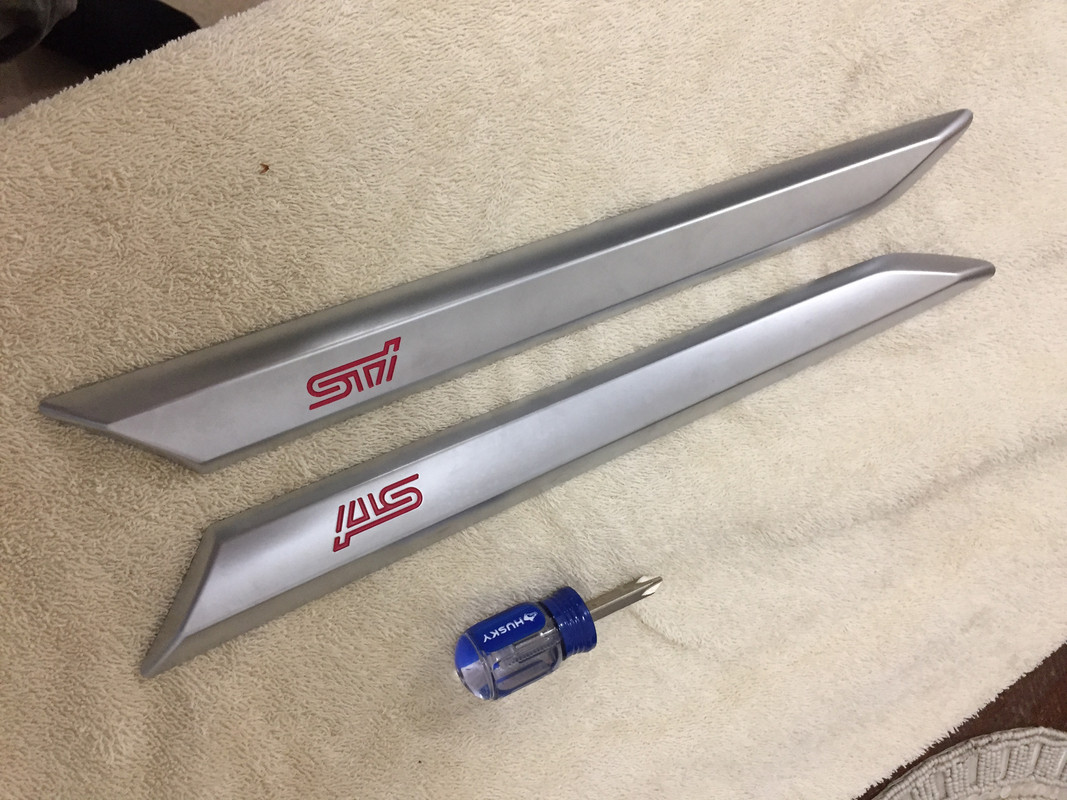
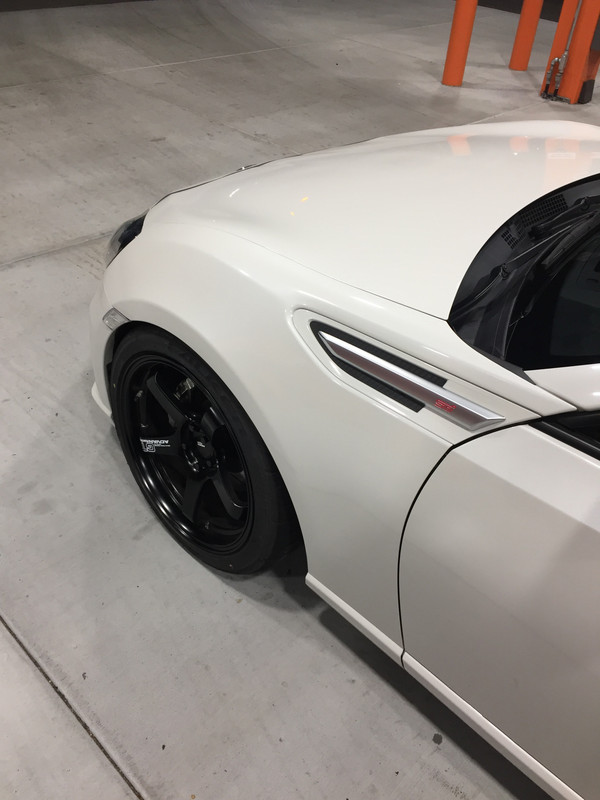
And there you have it! You're newly built color matched STI garnishes. Make sure to re-attach these to your car afterwards! Cut up some more 3M tape to match the weird triangle piece that the factory used. If you wanted to be extra, you can buy these 3M pieces from the dealer, but the price was like 9 bucks each. Not worth it!
Slow But Steady
10/21/2018:
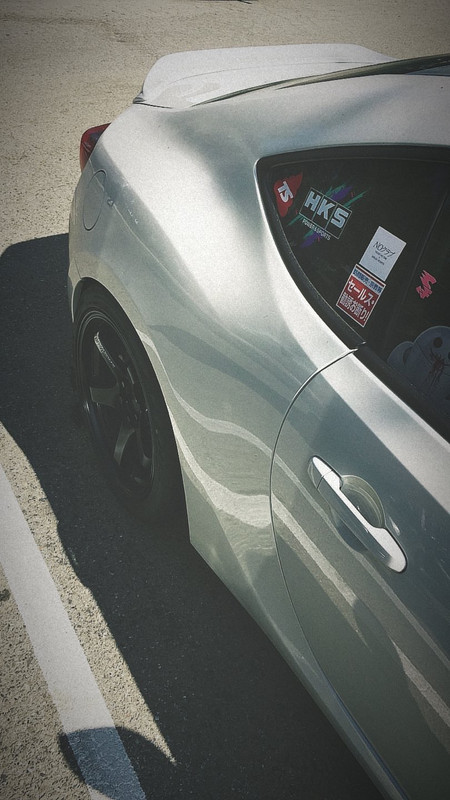
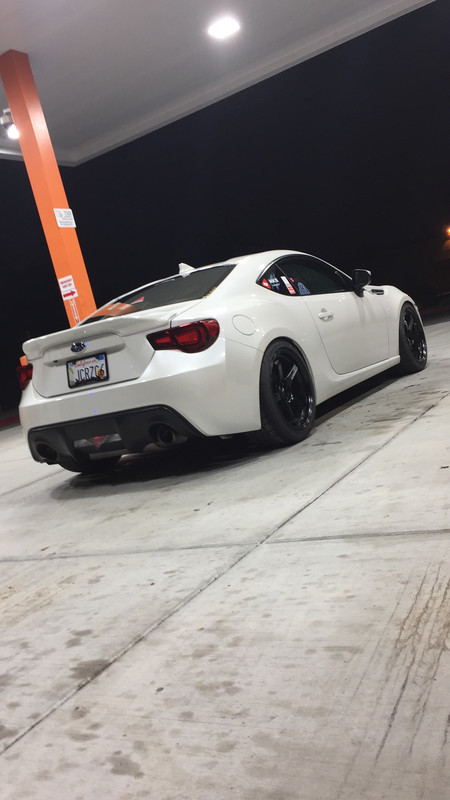
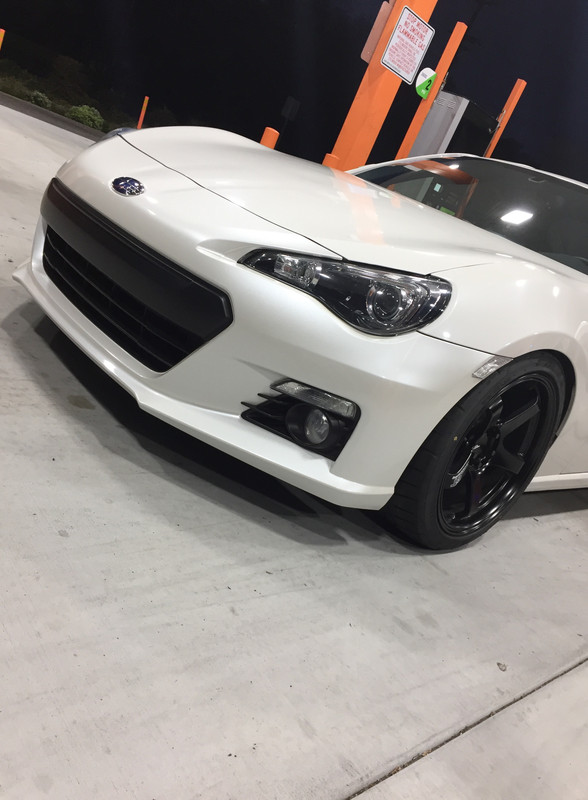
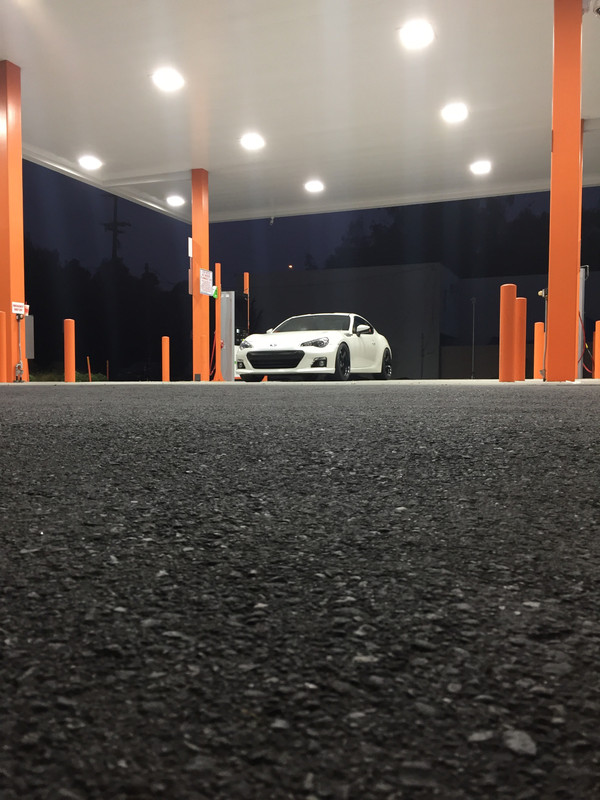
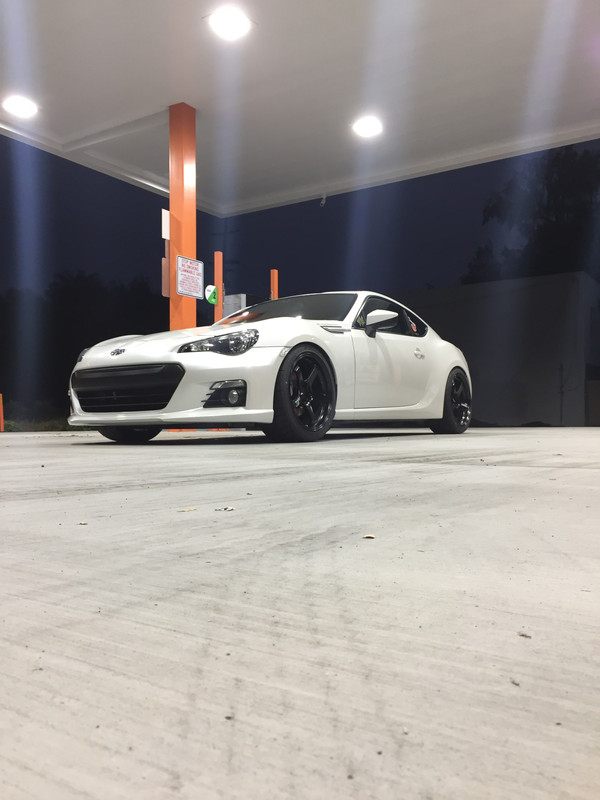
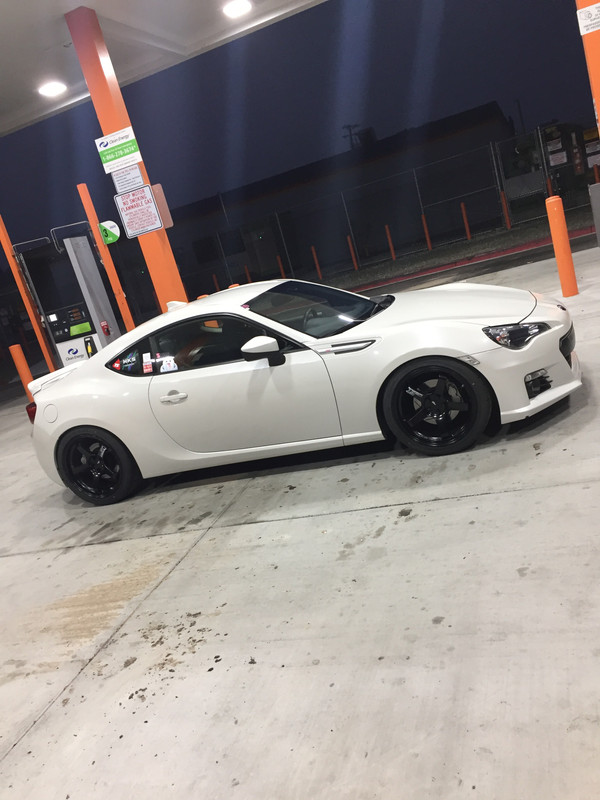
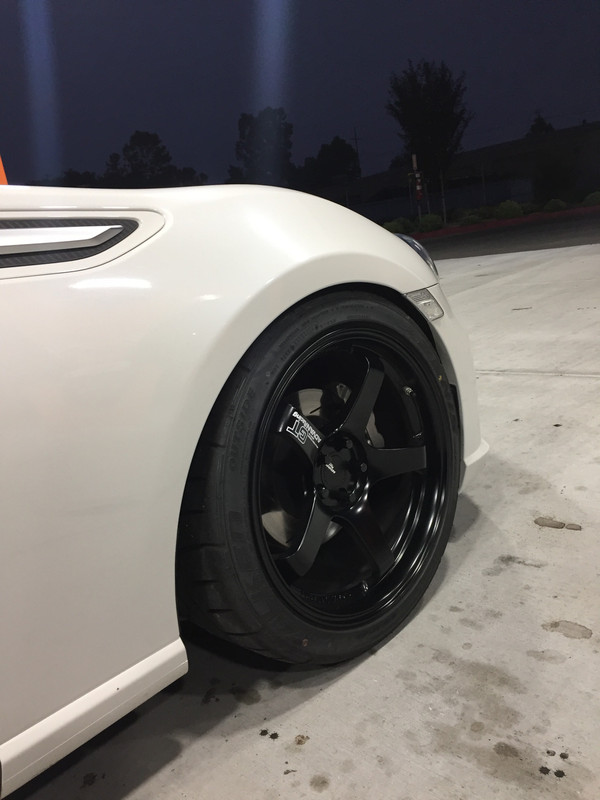
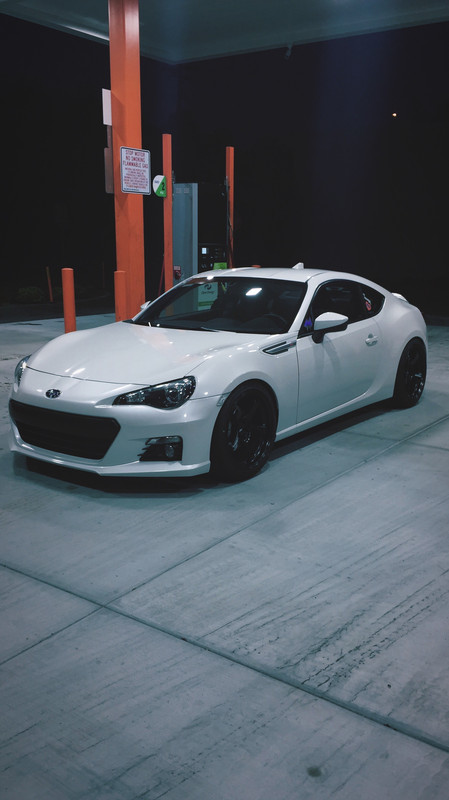
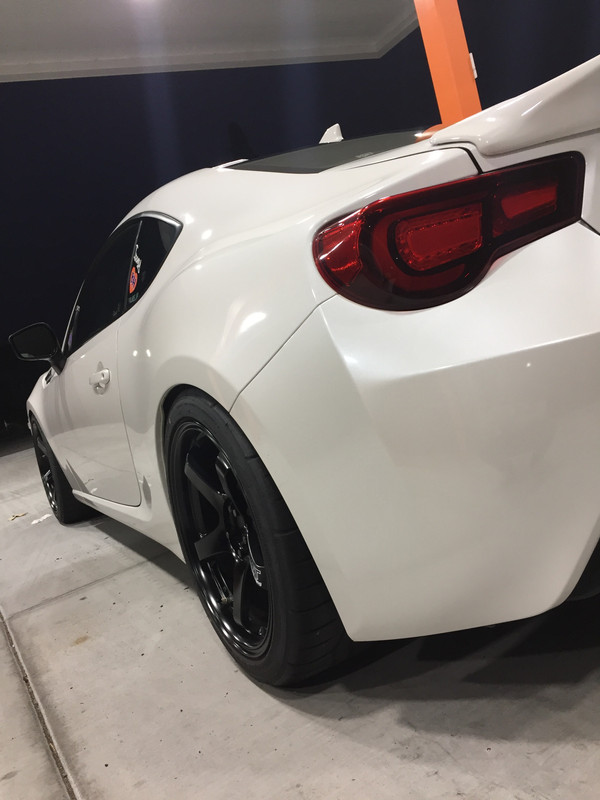
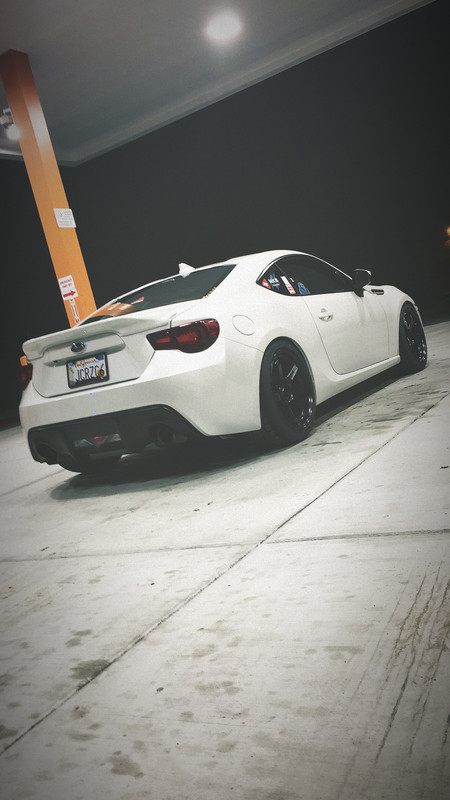
Woke up at like 4 AM to wash my car so I could meet up with @
spike021 and do a photo shoot. Stupid me forgot to charge my camera. Doh! I took a few shots with my cell phone and Josh had his camera so it wasn't all bad!

 New beginnings
01/09/2019:
New beginnings
01/09/2019:
2019 started with a bang and a crash. Literally. My truck was stolen and the police found it smashed into a pole and a tree. Apparently there were some witnesses though so the police have been looking to find who took it. Luckily, most of my belongings that were in the truck, were still in the truck. Really not how I wanted to start the year! That truck has been in my family since new in 2006 so it has a lot of sentimental value. Insurance totaled it out. I have full coverage on the vehicle though. I learned that lesson the hard way with previous vehicles I have owned. I don't care if it seems silly or a waste of money, I am so glad I had full coverage. I did not have any money saved or budgeted for a new car right now, so insurance cutting me a check for the value will help cover the cost of a replacement vehicle.
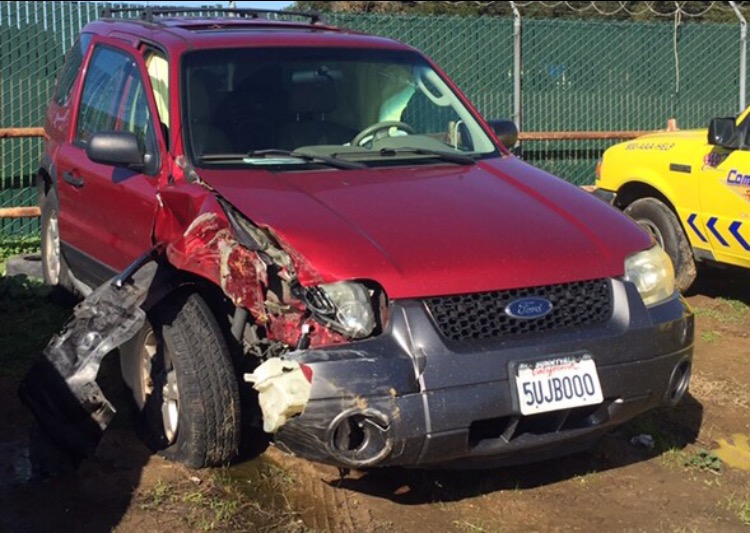
As you can see, all the airbags deployed and the front right strut was demolished and pushed back. I wasn't planning on replacing this vehicle for another year or two. I have a few projects i'm working on for the BRZ that I had to pull funding from in order to purchase a new vehicle. The BRZ is my weekend/fun car and not my daily driver. I don't think it's a fun car to daily drive and it's certainly not a comfortable car to daily drive (After the mods I have done, I mean) so just being a one-vehicle person isn't in the cards for me. Being an adult sucks. #firstworldproblems
I am not one to dawdle or waste time. My brother let me borrow a truck to drive while I hunt for a new vehicle. But what to get? I knew my budget, 10K max. I know, it's not much. But this isn't an expense I needed right now, and I have my BRZ payments still. A more expensive vehicle will cut into my savings/car parts fund way more than I would be comfortable with.
My brother has a pretty nice 2016 Toyota Tacoma Sport. He bought it new with a manual gearbox. I knew this was way out of my price range, but replacing my "truck" (A ford escape is not really a truck, lets be clear) with another truck seems like my only option.
I should note; I don't really like domestic/american cars. So an f-150 or a silverado or something of that nature is out of the question. Toyota makes the worlds best trucks in my opinion, so I needed to start looking at their offerings and seeing what I could afford.
As much as I would like a crew cab tacoma, I need something that is enclosed so I can haul stuff and/or store stuff out of the elements. I think camper shells are ugly and tacky so a truck is out of the question. I needed another SUV. That leaves us with a few different options; 4runner, sequoia, or land cruiser. I've always loved 3rd gen 4runners. 4wd, strong v6, great looks, tons of aftermarket and a big community to boot. Only problem is they are starting to show their age and rust/bad paint is a problem with them. I didn't want to buy a money pit right off the bat, or another project car. I needed something that I could daily from the get go and just do the usual maintenance with upgrades to suit my life down the line.
What I needed from this new vehicle:
Something strong and reliable that I could daily drive, and also take on trips.
Something that could go high mileage without a hiccup, as I am not one to replace cars that frequently. I would rather fix up and keep running a car I enjoy than swap it out for the latest and greatest.
Something that was 4wd like my escape was.
Something automatic so my girlfriend could drive it too.
Something that was a V8 so I could tow my BRZ to the track.
Well this narrowed my search down quite a lot. I started looking at Land Cruisers but I felt it was more car than I needed. A buddy of mine told me that the 4th gen 4runners came V8. Not sure how I didn't know this already, but it's probably because I think they are the ugliest generation of 4runner, haha!
Either way, I am an adult and sometimes you have to make adult decisions. So I bit the bullet.
I combed craigslist and cargurus to find a 4runner in the configuration that I wanted. This proved to be a difficult task. Most of these vehicle are higher mileage by now and in places with a lot of road salt; ie rust. I had trouble getting dealerships to take pictures of the undercarriage for me. Pro tip: if you want someone to buy a car and they ask for pictures, send them pictures.
I had found one at a toyota dealership in Chicago and they would NOT do a vehicle inspection for me. They told me I would have to find a local shop to do it. This proved difficult as well so I took it as a sign and looked elsewhere. I ran into this same issue at a number of dealerships so it raised some flags for me. Eventually I tried looking for a west coast vehicle.
There was one up in Seattle that wasn't the color I wanted (It was grey, not black) but ticked all the right boxes AND the sales person was willing to send me a video of the undercarriage. It looked good from the video as far as I could tell, and I sent it to a couple friends to check over to make sure. The car fax came out alright, it has a clean title but there was some damage reported. The exterior looks mint and so did the undercarriage from what I could tell so I used that to talk down the price down 2.5k from what they were asking. Well the dealer accepted my offer so now I am the proud owner of a 2006 Toyota 4Runner Sport V8 4x4!

This is the only picture I have of it on my phone right now. It's from the dealers site and there are more but i'll post them up later!
I wanted black but hey, the grey is not too bad! I could only find 3 black 4runners in this configuration on cargurus and they all probably had rust issues. Grey or red were my next two color choices. Sure I could of held out longer in hopes that I find a black one, but I am on borrowed time with my brothers truck so I needed to just make a decision. Sometimes you just need to not overthink it and take a chance!
Back to the program
01/23/2019:
The BRZ is "almost" track ready. One could argue it is track ready from the factory, but my abilities as a driver far exceed the cars in stock form. I'm not trying to come off as cocky or anything like that, i'm a really humble guy actually. I've read enough threads on here to see that other people had quickly reached the limit the car in stock form is capable of. If I am paying money to go round a track, I don't want to have to hold back or worry my car won't make it back home. I can easily drive below my and the cars limits on mountain roads near home, so why drive hours away and spend money to do it elsewhere?
Things left to do before the car is track ready:
Oil Cooler
Oil Pressure Gauge
Optional: 86 Nanny
Doesn't seem like much right? Well buying this "new" truck bit into my fund (and my tax return) a bit so it has delayed these a bit.
HOWEVER! I must get to the track this year. I've owned the car officially for two years now and only tracked it in 2017. 2018 was spent upgrading the brakes and a few other things but I never got around to getting on the track. I had already reached the limitations of the stock oil system so an upgrade is needed before I can drive the car any harder.
I've decided to go with the Jackson Racing Dual Radiator/Oil Cooler setup. It's a very clean, easy install, and made to be a straight drop in bolt on affair. I am all for innovative products that work well. What I like about this setup is that it helps brings the oil temps up faster (ie less year and tear on cold starts) and it keeps the oil/water temps in symbiosis with each other. Also; shorter oil cooler lines = less drop in oil pressure. This radiator is track proven, even on boosted cars so I feel it is the perfect choice for my needs.
But, if i'm being responsible, it's not budget right now. I am focusing on the other couple items on the list; oil pressure gauge, 86 Nanny.
Adding gauges to the brz is something i've thought about a lot. I bought one of those crappy joying headunits from china just so I could run Torque Pro and monitor stuff straight from the ODB. Sadly, you cannot monitor oil pressure from the ODB so I am resorting to other means.
I really enoy this
Gauge Pod Setup by ortizcustompods. It's very clean and OEM looking, which is what I am going for with the interior.
They offer it in a single pod version as well so I went ahead and put the order in for that! It's about a 5-6 week lead time since they are made to order so I have a little bit of time before it arrives.

I hit up the trusty autoharnesshouse to build me a jumper harness so I can easily run power to my gauge without having to cut or splice or tap my stock wiring. Something I am adamant about is not cutting into or splicing any of the stock wiring harness, so hooking up electronics takes a bit more effort but very worth while in the end to have something built right without fear of failure (or fire).
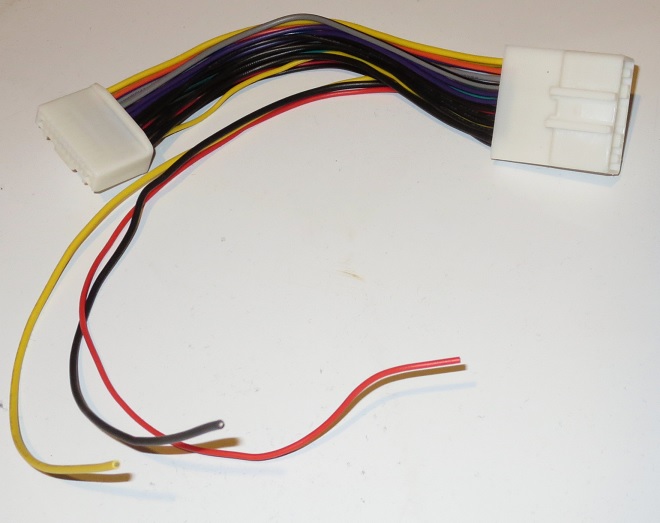
(Not the one I ordered but very very similar, will take and post a picture once I receive it)
I used Defi Racer Gauges in my 240sx and loved them, so it seemed fitting to carry that tradition over to this new car. I'll be purchasing a Defi Red Racer Oil Pressure Gauge

Simple and it will match the red interior lights well!
For the the 86 Nanny, this is more of a want than a need. I have been getting by with just "holding down the button for 3 seconds" but I know that doesn't fully disable the TC, nor does it affect the ABS.
I need something that could be turn off with the flick of a switch. Sadly getting an 86 Nanny seems tough these days. As luck would have it though, I came across someone on the forums who was thinking about selling theirs so I told them I would buy it when they were ready. Well I got the message I had been waiting for last week and he was ready to sell!
Originally I was planning to run a couple toggle or rocker switches to control it. I bought the the really nice
Toggle Switch Insert in blank form, as I was still hashing out the plans for the Nanny. I am all about clean, functional, and oem looking interiors so this fit the bill.
However! Plans change. The owner of the 86 Nanny I was buying informed me his was a custom model that uses a single monetary push button switch to control everything instead of toggles or rockers. This is actually a huge benefit in my book! Since I own a push-to-start brz, I have a blank spot where my ignition would be! I plan to attach this button to that spot. I feel like this is the perfect place for something of this nature. It's out of the way and will not accidentally be pushed by anyone. It is programmed for: 1 press = pedal dance + TPMS disable, 2 press = PD + TPMS + ABS off, 1 hold = fans on high until held again.
Simple and easy!
I am pretty excited for it and will document the install so expect some updates in the next week or two.
To be continued..