I've noticed there are no threads on how to install Inner Tie Rods, and there are many people asking for one (including me up until a few days ago), so here is my little contribution.
The most likely scenario is that you want to replace your stock inner tie rods for Megan Racing inner tie rods, which have a spacer built in them which allows for a little extra steering angle (less than I thought to be honest). At least that's why I did it.
Tools you will need:
- Jack
- Jackstands
- 19mm wrench
- Adjustable wrench (or some open wrench bigger than 19mm)
- Various sizes of flat screwdrivers
- Needle nose pliers
- WD40
- Hammer
- Zip ties
- and the most important, if you don't want this to be way more difficult than it needs to be... an inner tie rod removal tool.
These tools are made in several sizes, and because Megan Racing's inner tie rods are a bit thicker than the standard ones, most tool brands won't fit.
Now, I didn't wanna pay 100 bucks for a tool I was going to use once, so I tried 'Tool rentals' or 'Loaner tools' from various hardware store chains. Here are my findings:
- The brand they rent out at AutoZone doesn't fit (none of the 3 sizes does).
- The brand they rent out at O'Reillys doesn't fit (same)
- The brand they rent out at Pep Boys doesn't fit (same)
- The brand they rent out at Advance Auto Parts (almost) DOES FIT
It is just wide enough on the stem to fit through, but the smallest of the 3 sizes is still too big to grab on perfectly. However, using some cardboard and a quarter, like I'll show later, you can make it work.

So on to the job.
- Jack up your car, put it on jackstands, and take of your front wheels
- Using a small screwdriver and needle nose pliers, remove the pin preventing the nut holding the outer tie rod to the knuckle from spinning.


- Using a 19mm wrench, remove the nut, and put it back on upside down until it sits flush with the top of the bolt.
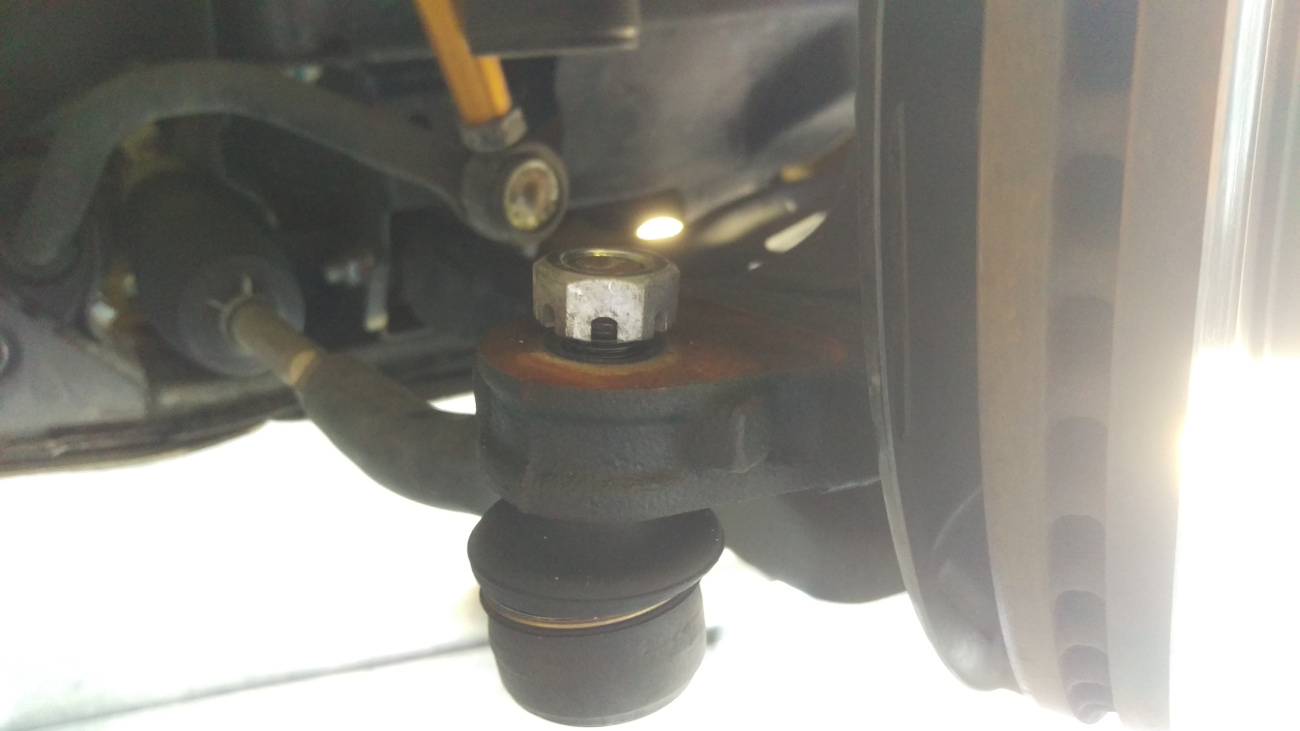
- Spray some WD40 on the base of the bolt, and hammer it out.
- Use a marker to mark up how far in the outer tie rods are screwed into the inner tie rods.
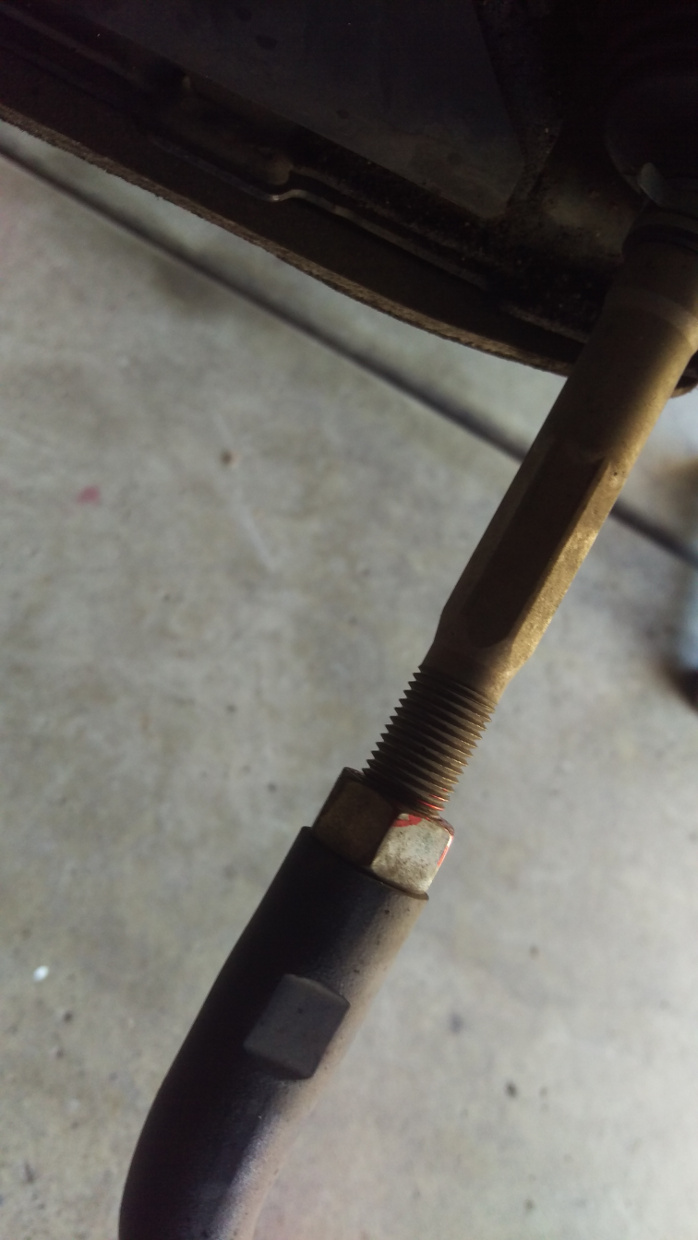
- Using an open 19mm wrench, losen the locking nut.
- Unscrew the outer tie rod from the inner tie rod, and remove the locking nut too.

- Using the needle nose pliers, remove the metal clamp holding the outermost end of the dust boot.
- Using a small screwdriver, lift up the dust boot and spray some WD40.

- Get under the car, find the metal clamp holding the other end of the dust boot, and losen it prying it with a screwdriver. It is not reusable, so don't be afraid to bend it.
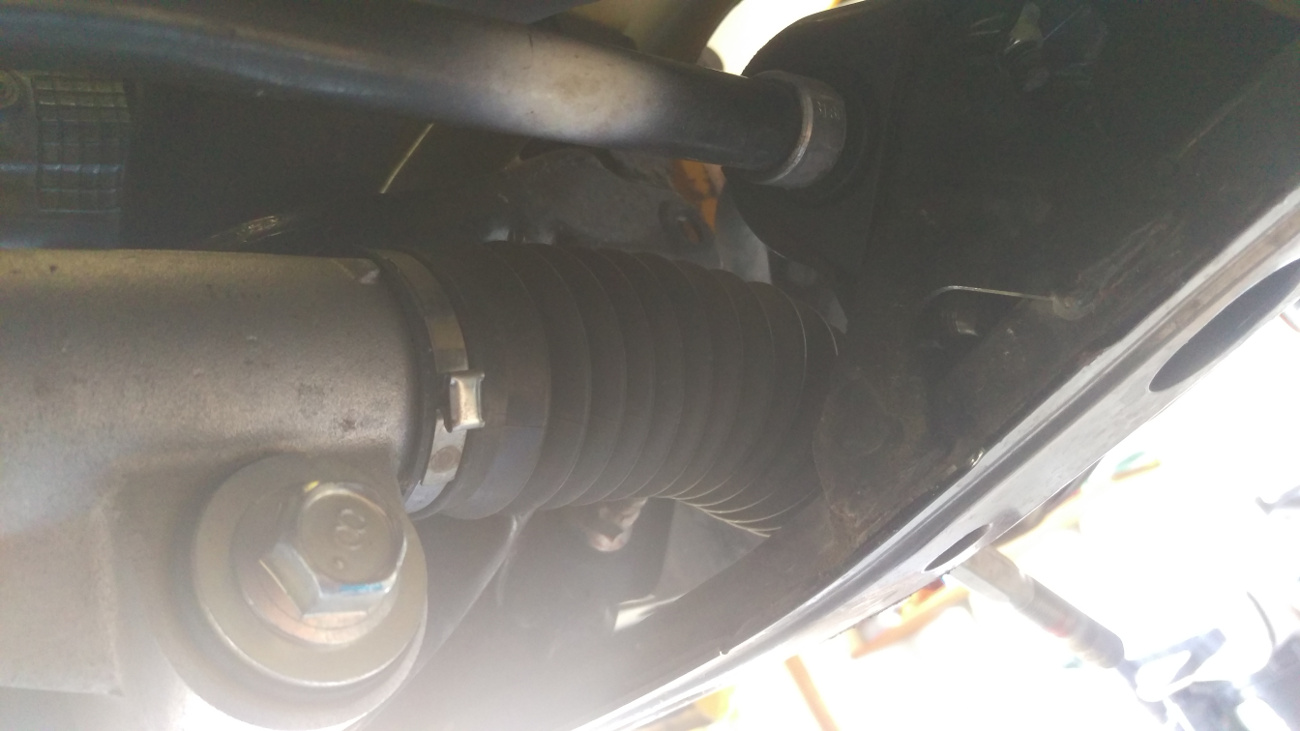
- Remove the dust boot

- Place your inner tie rod removal tool into the inner tie rod, and use a breaker bar to losen it. At this point, you might want to put some cardboard between the sway bar brackets and the tool so that it stays centered, and a quarter or something flat inside the tool to make it fit the tie rod better.


- Once losened, unscrew the inner tie rod completely, and compare lenghts with the new one to mark up how far to screw in the outer tie rod.

- Revert all the steps to replace the new inner tie rods.
- Before putting the dust boot back in, put a zip tie around the crest where the metal clamp used to be, so that you don't have to struggle doing it under the car.

- Torque everything to spec, and enjoy your extra 45 degrees of steering wheel steering angle! (I didn't measure the steering angle difference on the wheels)
BEFORE:

AFTER:
