So I am in the process of attempting this project with a set of spare taillights I got. On that note, I highly recommend to use a set of spares, as this is not an easy project.
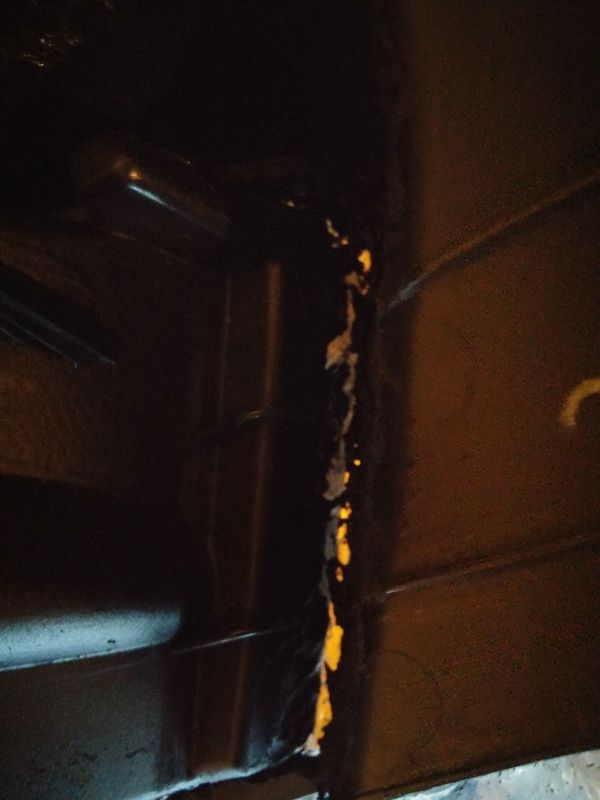
I found cutting extremely difficult in the area around the vanity cover. This is where I am cutting using the #125 bit as the OP suggested. However since this bit is shaped like a cone, it has a big footprint by the time you cut through the black. I made slow progress until I started using a higher speed on my dremel, at which point it cut better, but it started to cut into the side of the housing as well. Upon noticing this I gave up and used a soldering iron to melt the plastic (which is surprisingly easier/cleaner).
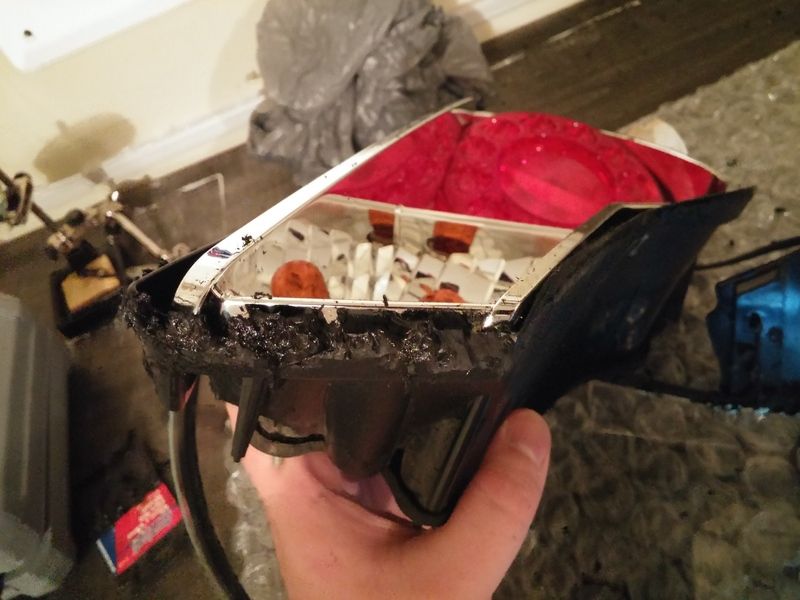
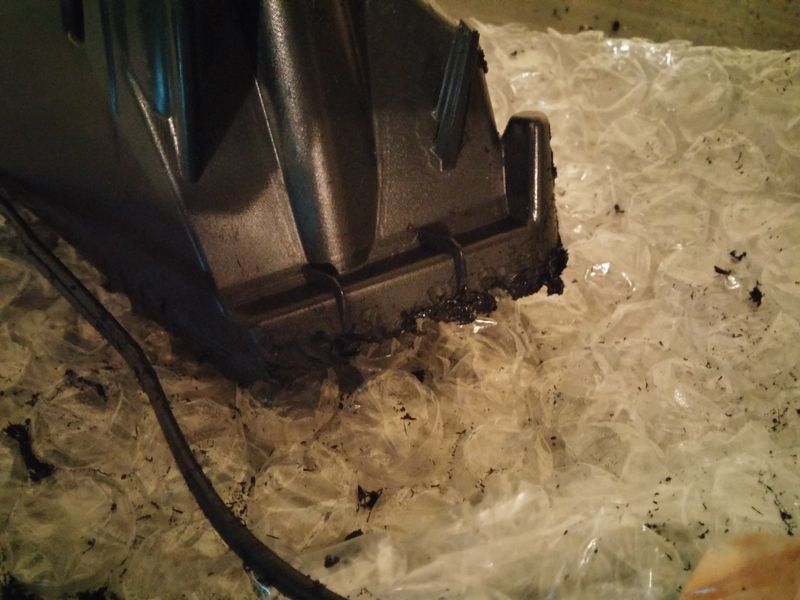
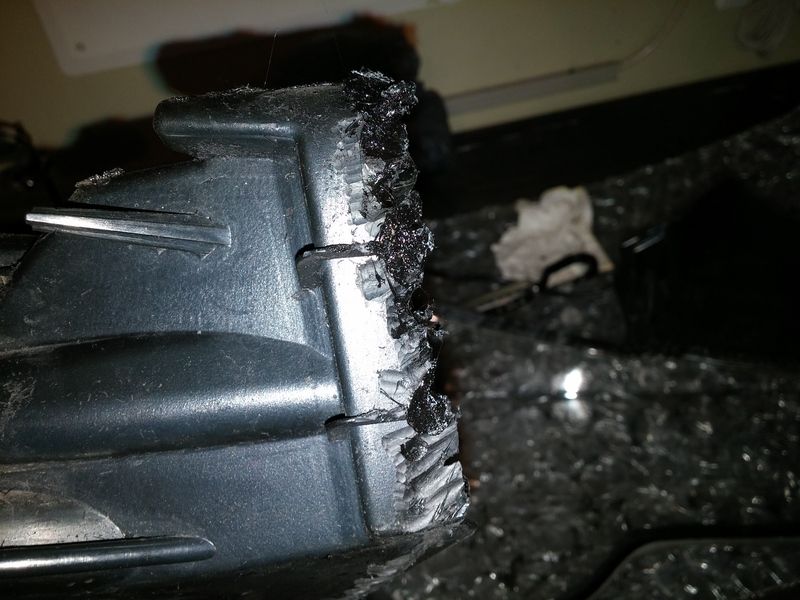
As you can see, the inner housing is pretty messed up as a result of using bit 125 in a tight space. Any chance of salvaging it? I suppose it will take a lot of RTV silicone in there, but I'm nervous now about water leaking in and/or it being noticable from the outside.
This was taillight #1, holding off on the second until I decide if I want to proceed with this project