Another weekend, another mod!
Since i've JUST returned to work and have yet to receive a decent paycheque yet, I'm doing everyone's favourite budget mod.....plasti-dip!
Now I'm not going to do a full write up on this one, I think there are about 20 diffrent video's on youtube if you need a walkthrough. I am going to throw in some tips though!
1) You can use a heat gun on LOW to quickly dry the plasti-dip between coats, cuts drying time down to about 1 min between coats.
2) Make sure the plasti-dip is warm! It flows better and more evenly out of the can. Use that heat gun on it for about 20-30 seconds....DO NOT OVERHEAT IT!
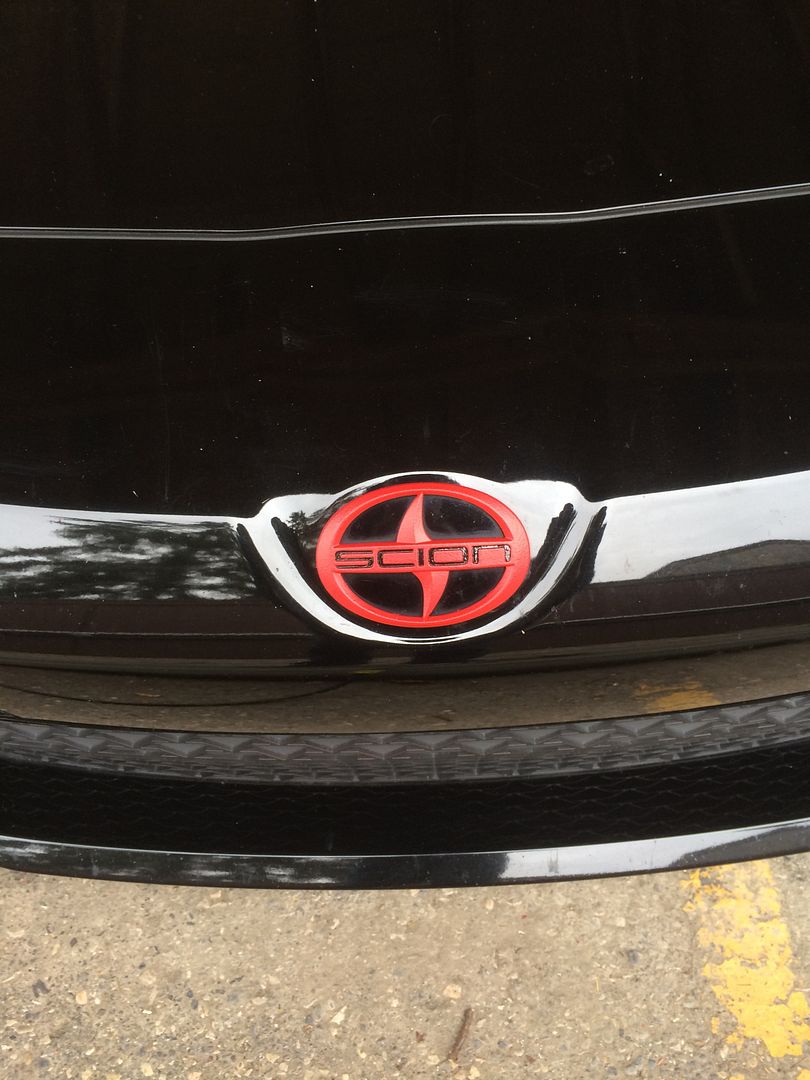
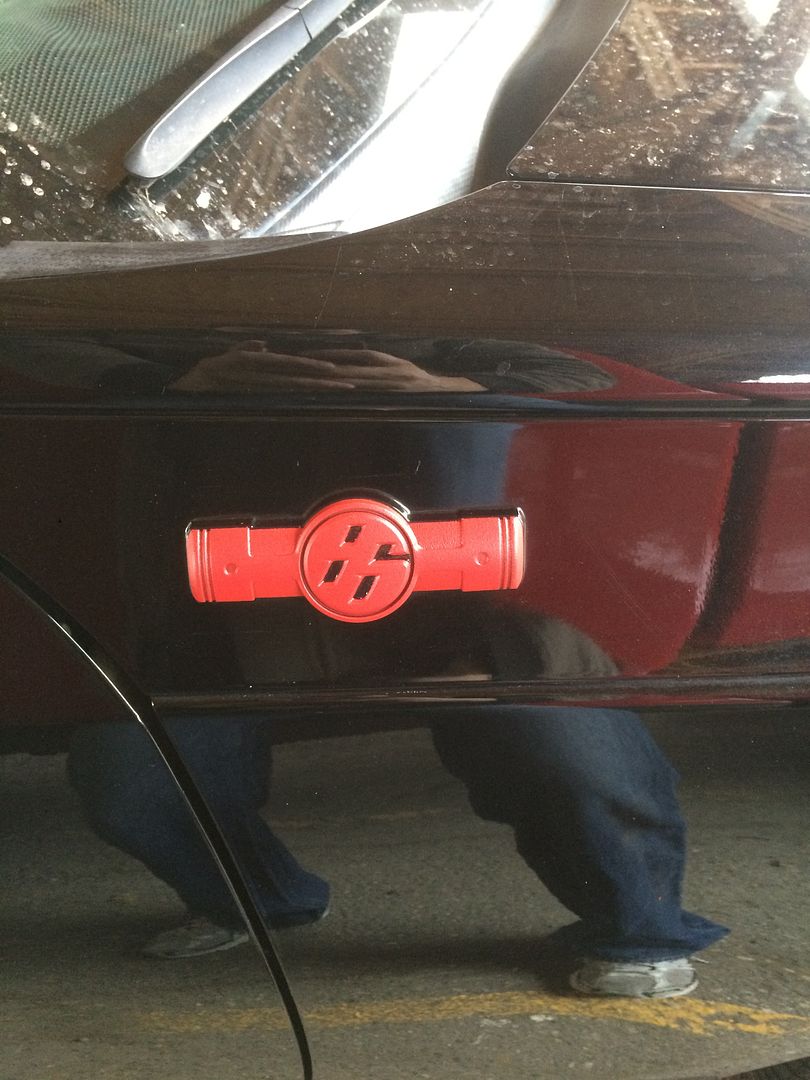
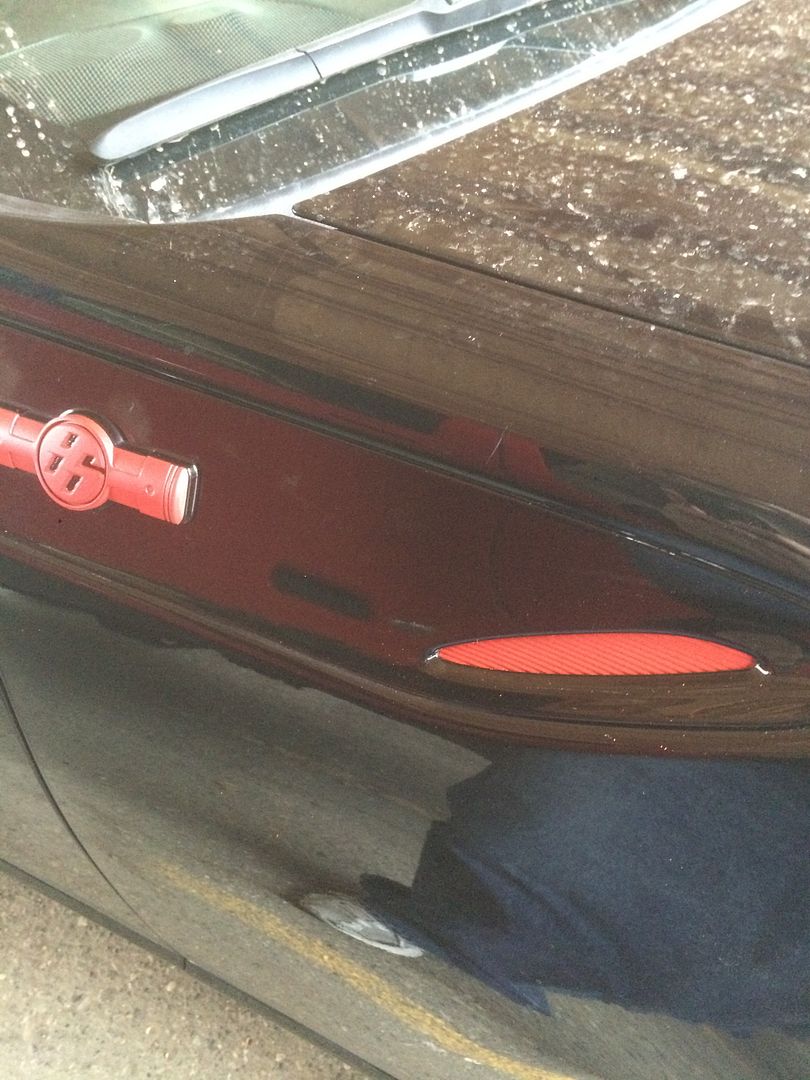
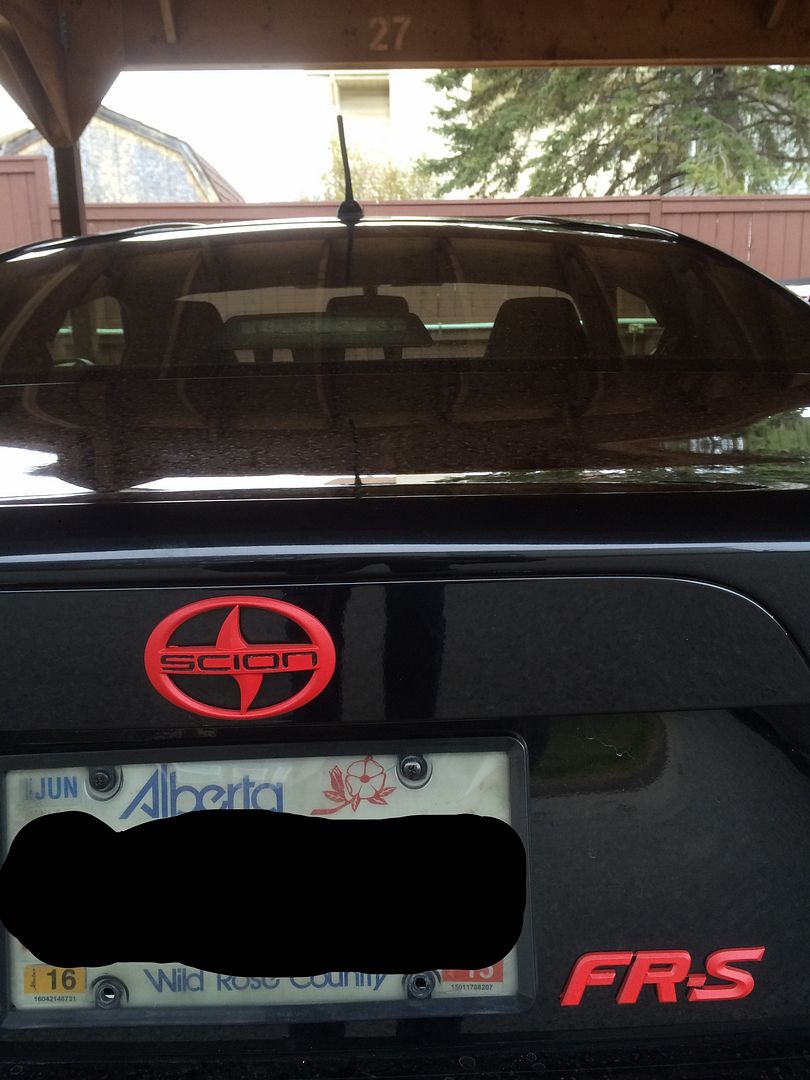
3)If you're planing on colouring in the accents like I did, nail polish works well! Don't try to use the brush that comes with it, its much too large, pick up a fine tip art brush from any craft store.
4) Q-Tips are your friends! If your colouring in the accents and "opps" use a Q-Tip to quickly remove the nail polish before it dries.
A quick note before the pictures, I'm an electrician not an artist, so if my line work seems a tad sloppy I apologize. This is meant as a budget mod, if you're after perfection you may be better off ordering a pre-painted logo from ebay or finding someone with some skill with a brush.
She goes in for detailing, oil and snow tires on monday! Stay tuned!
PS. Yes I know I need a car wash.