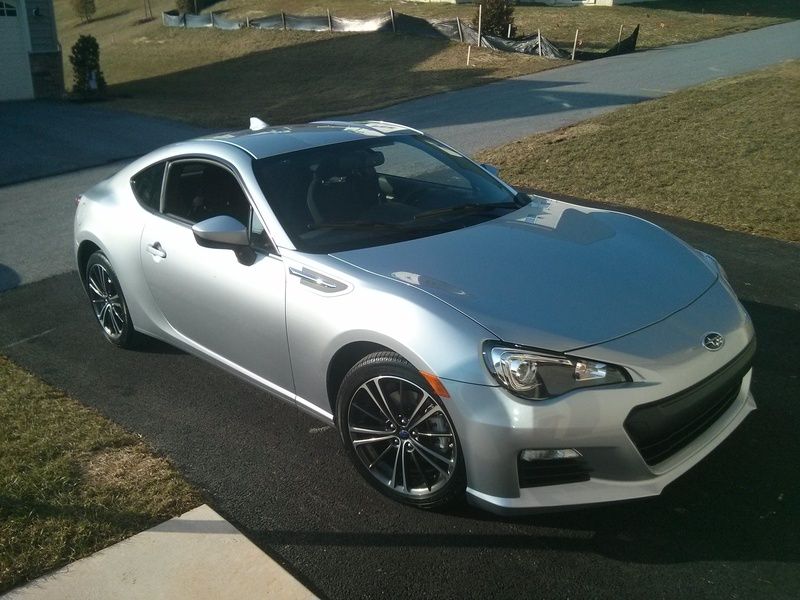
So I picked up my 2015 BRZ in March of this year and was immediately in love with the feel of driving. At least until around 4k rpms...
Having always wanted to turbo a car and not having the resources to even consider modding for the past 8ish years I had some pent up energy.
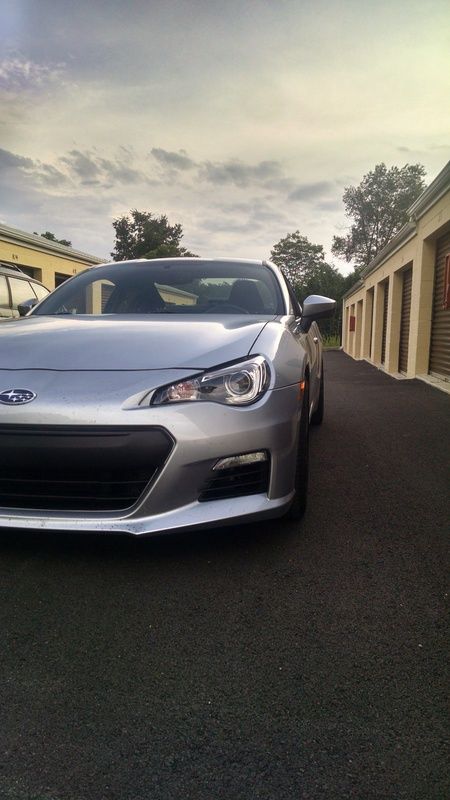
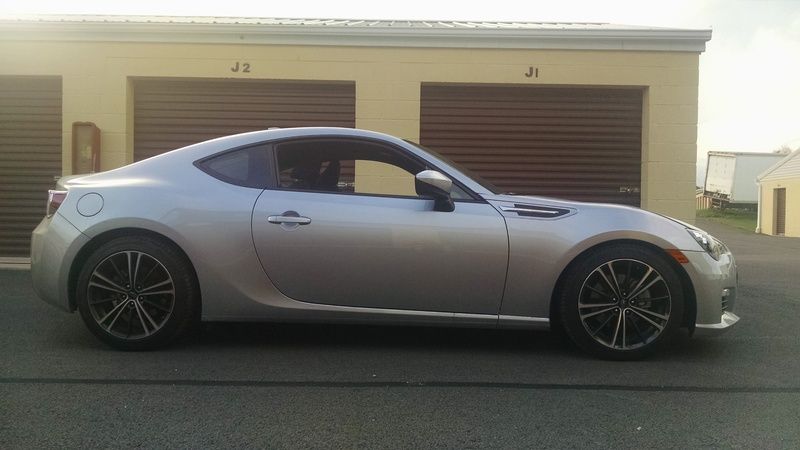
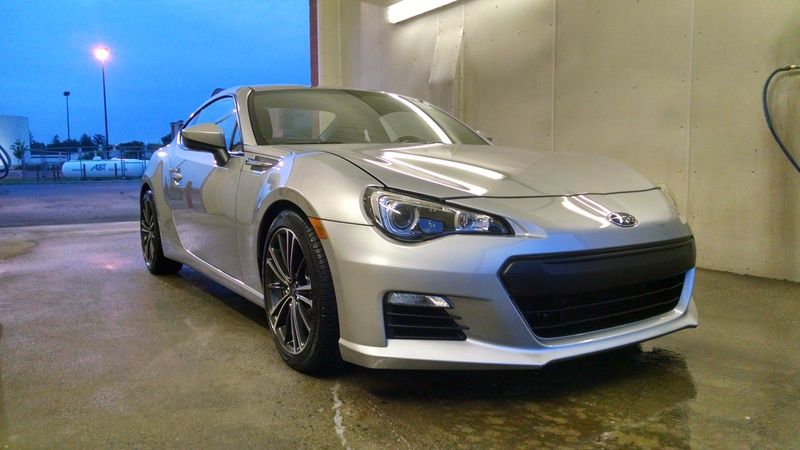
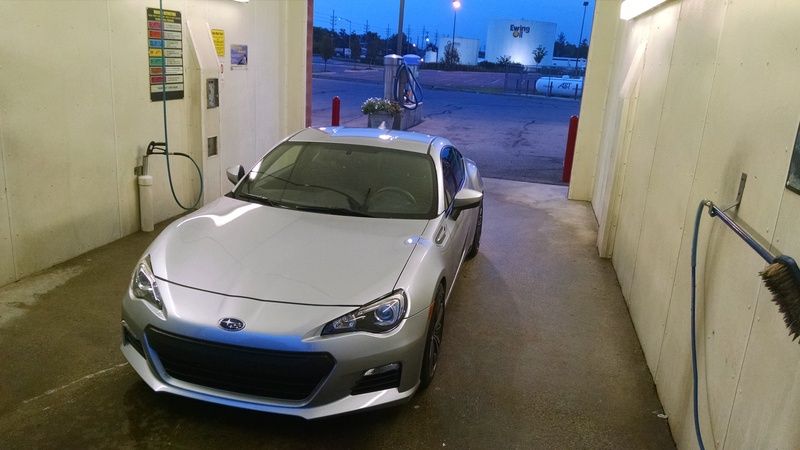
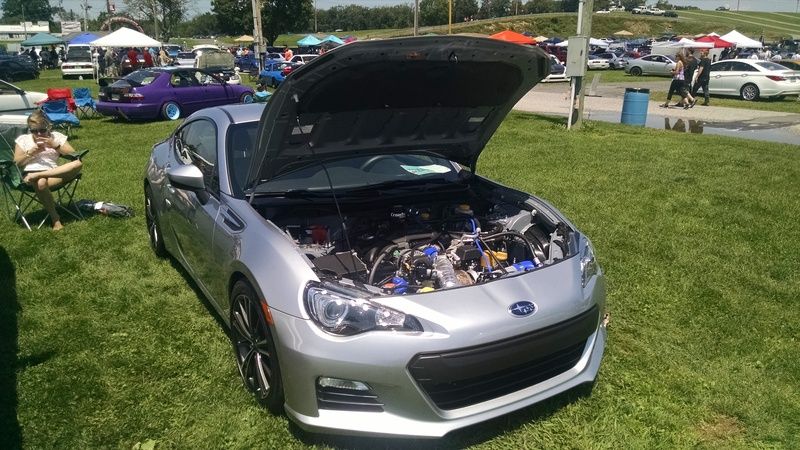
Here she is the day I brought her home:
In the past few months, I have made a lot of progress thanks to a couple shops, this forum, a couple tuners, and the SBD Turbo Kit owner's FB group.
As we all know the work is never finished though.
With my current life events this car will essentially be a good weather daily driver, and someday a weekend track warrior. My goals are to confine modifications to the underbody and engine bay to retain a close to stock appearance. It should be known that I have purchased a beater car for down time, bad weather, and hauling.
After struggling through the 1000 mile break in period I chose to adhere to, I decided it was time for some changes...

I picked up a used P&L overpipe and matched that with a motive front pipe and Invidia N1 Ti exhaust and a Speed by Design 20g Turbo kit. I had originally chosen an OTS ecutek tune, which did not work out for me and ended up with a custom tune from John Visconti. I know some of you are probably choking on your popcorn at this point because I purchased an SBD kit and a tune from Visconti, and I want to let you know that I couldn't be happier with the service from either of them.

Let me preface by stating that I am a shitty mechanic, but arrogant enough to push my limits anyway. After lots of cursing, several trips to buy tools, and wishing I had my own garage and workbench I had rushed through install #1 and subsequently blew the PCV solenoid hose on test drive #1 resulting in idle hunting in parking lots with my newly loud exhaust lol.
In total I ended up adding 6 clamps and swapping the PCV valve for an STI PCV valve.
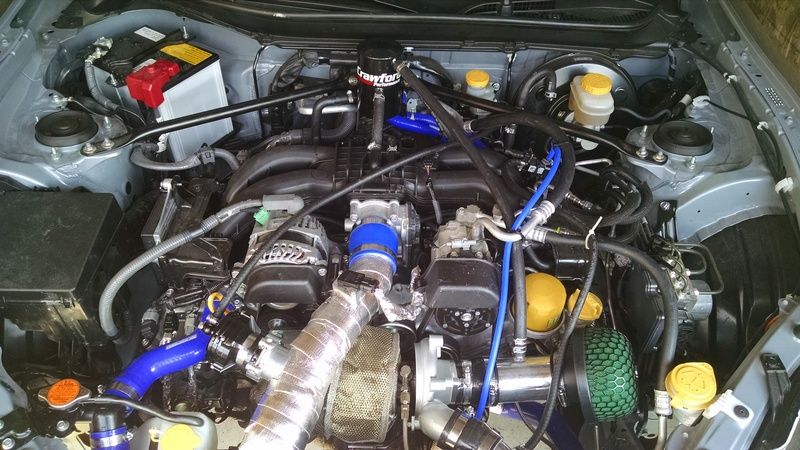
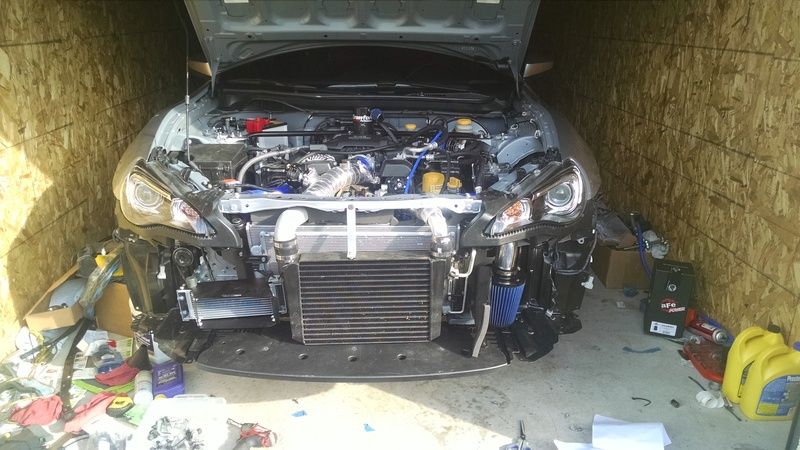
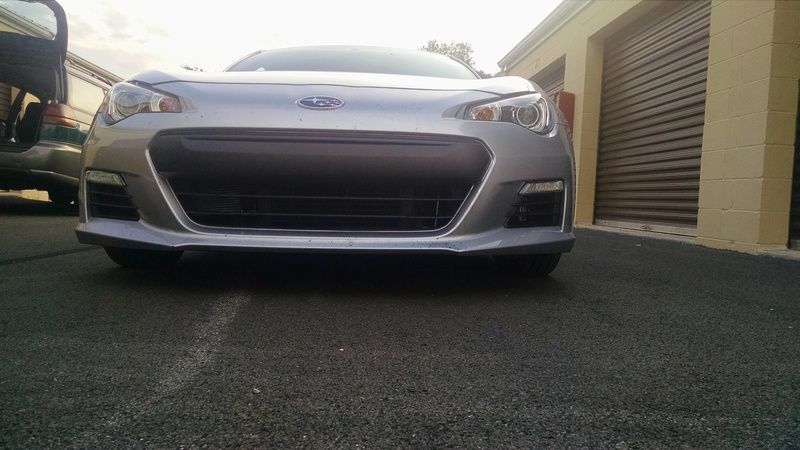
Here is the result of install #1:
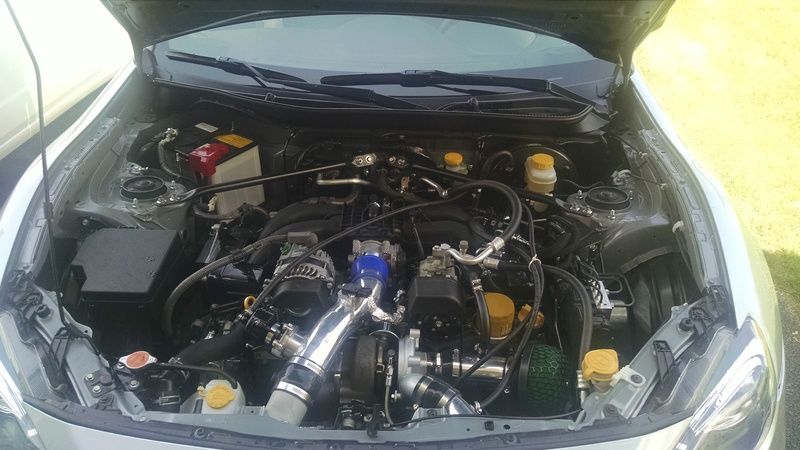
I also added the Whiteline trans mount stiffener bushing.
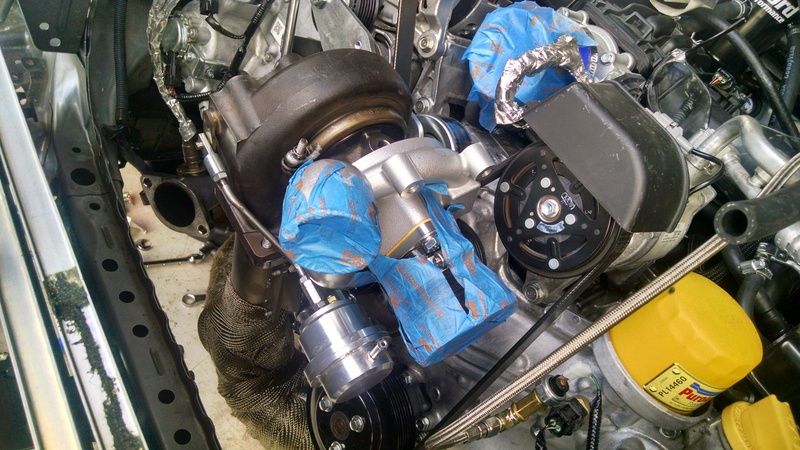
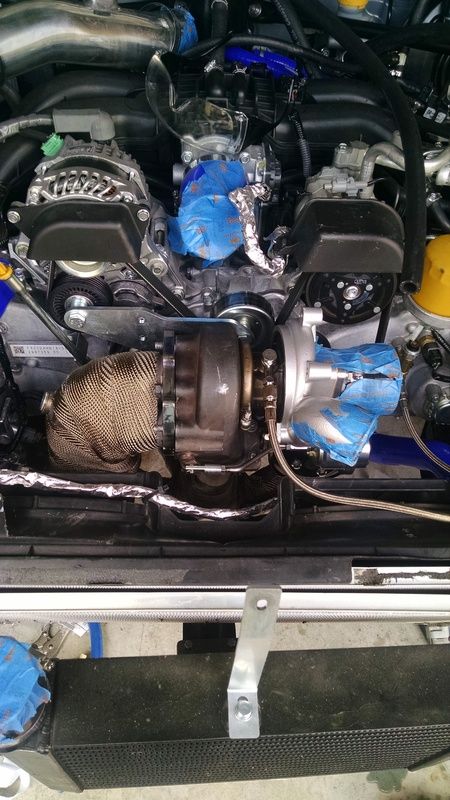
I quickly realized that with the Prodrive electronic boost controller and my catless setup that I needed my wastegate ported. Perfect opportunity to tear everything apart again! I shipped the exhaust housing off to Neal at The Racer's Line in Cali for a job well done with a super fast TA time. Thanks Neal! As a small aside the oil drain line works best without a hole in it from the exhaust manifold...


I later realized that marking how the turbo was clocked would've probably been smart

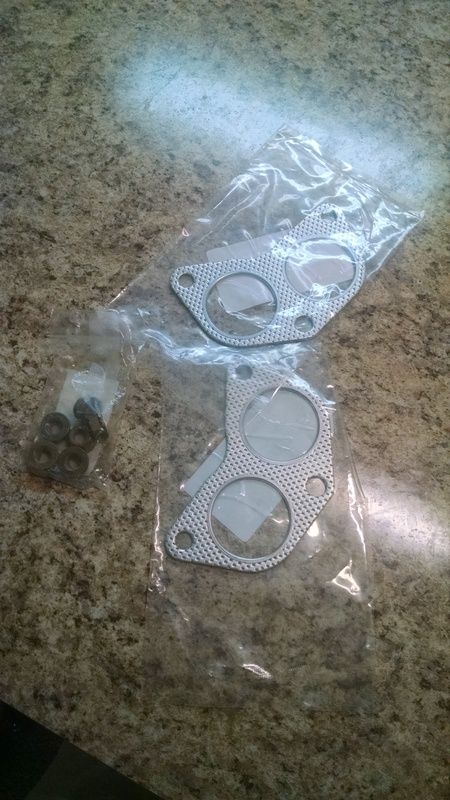
I took the opportunity to go over the install correctly, with fresh gaskets, new exhaust manifold nuts, anti seize everywhere.
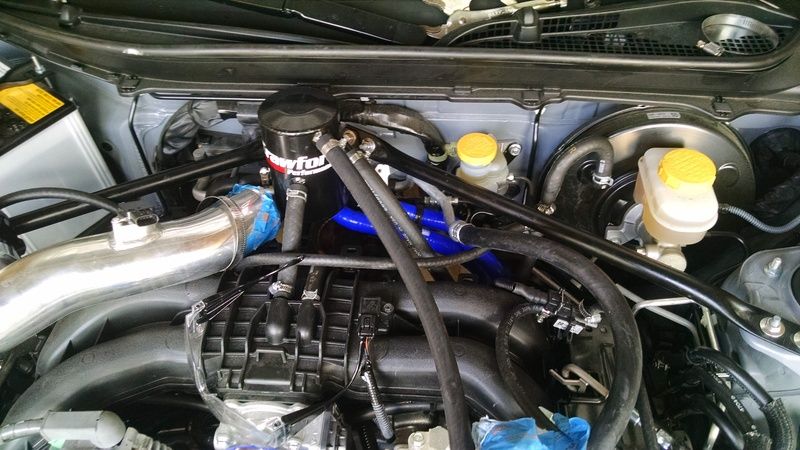
Went ahead and added some cheap silicone radiator hoses for more blue and the Crawford AOS (sans zip ties...):
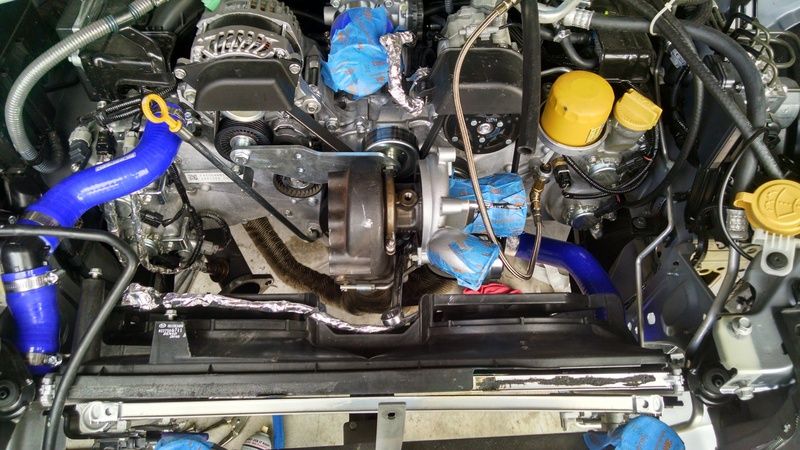
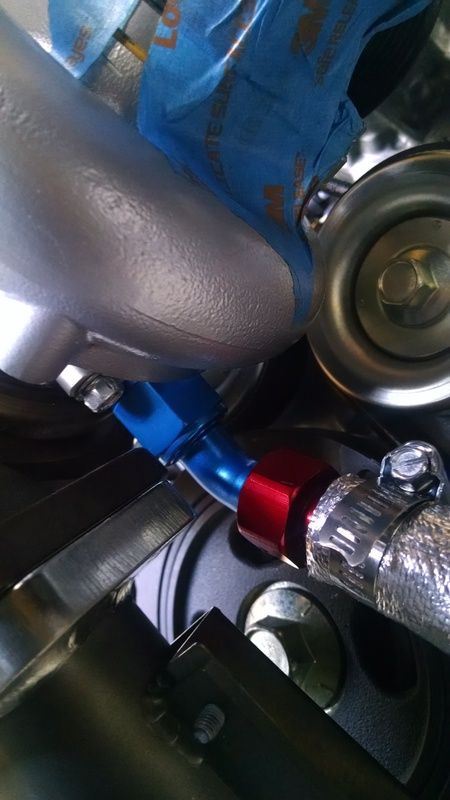
I also took the opportunity to replace the oil return with something a little nicer:
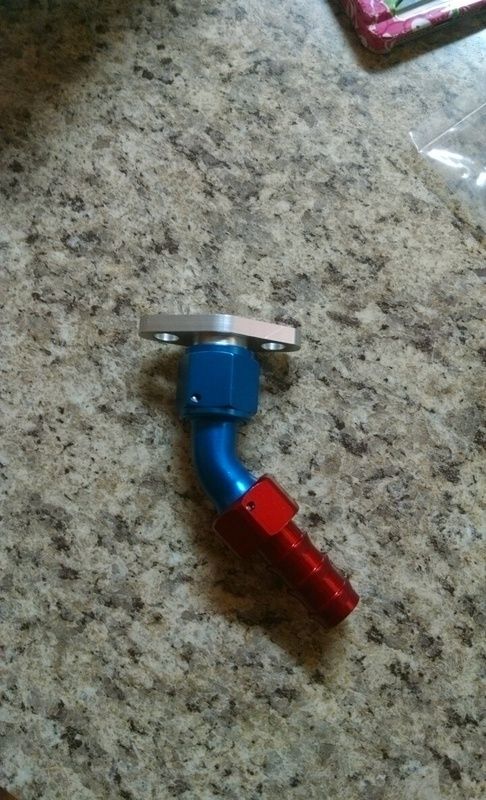
I used blue pushlock hose as well:
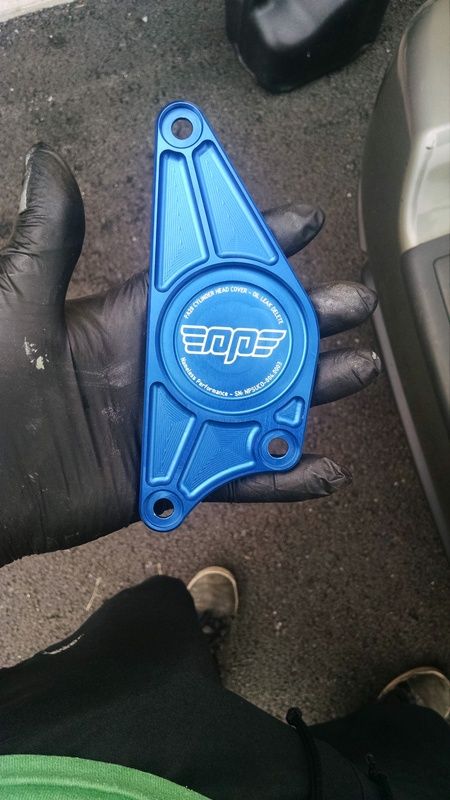
And threw on the Nameless Cam block off plate:
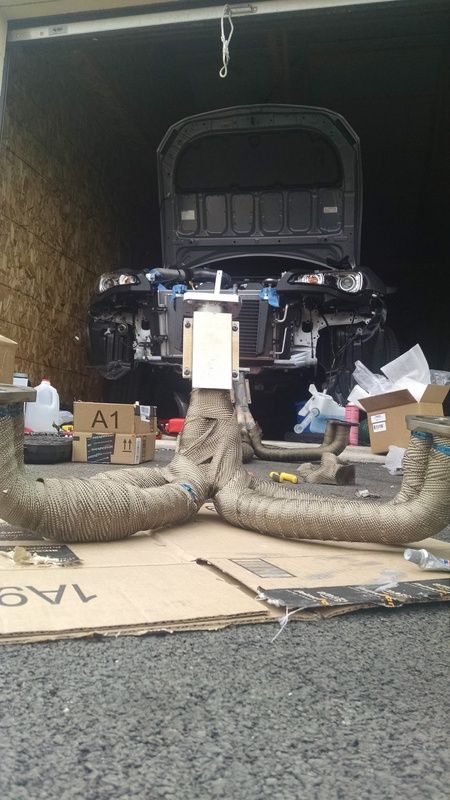
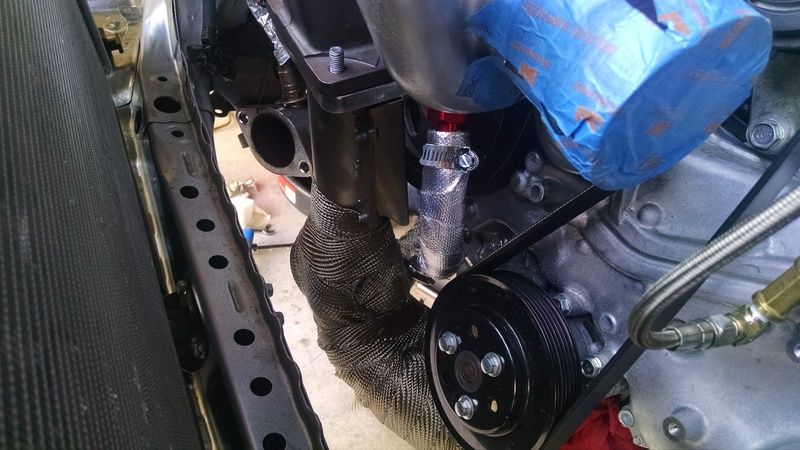
Extra Heat wrap and turbo blanket this time around too:
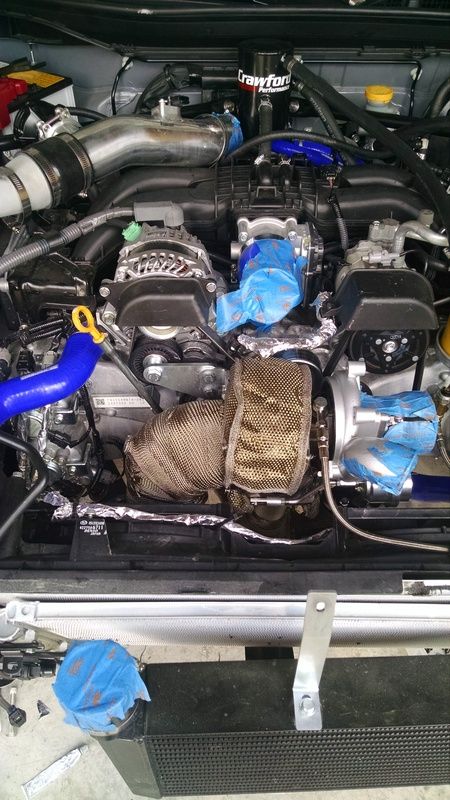
aaaaand more heat management (There is also some sound deadening rubber material underneath the thermal barrier to prevent damage from the front cross member).

Starting to look better:
And I've got to do something with this air filter...
I did something...not sure if it was good though:
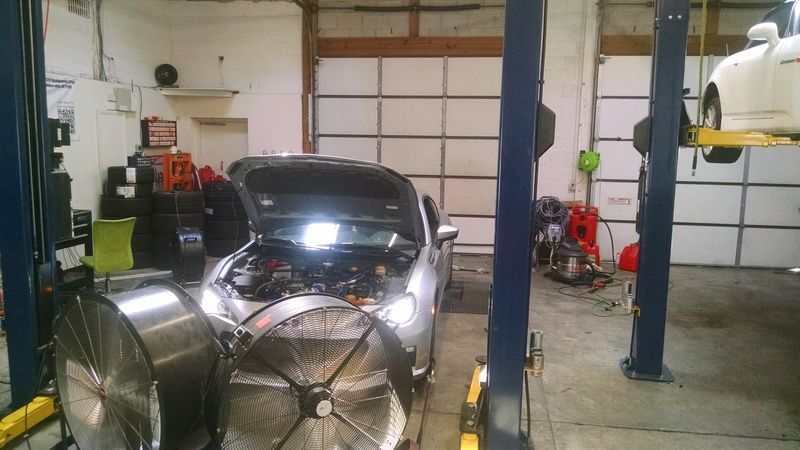
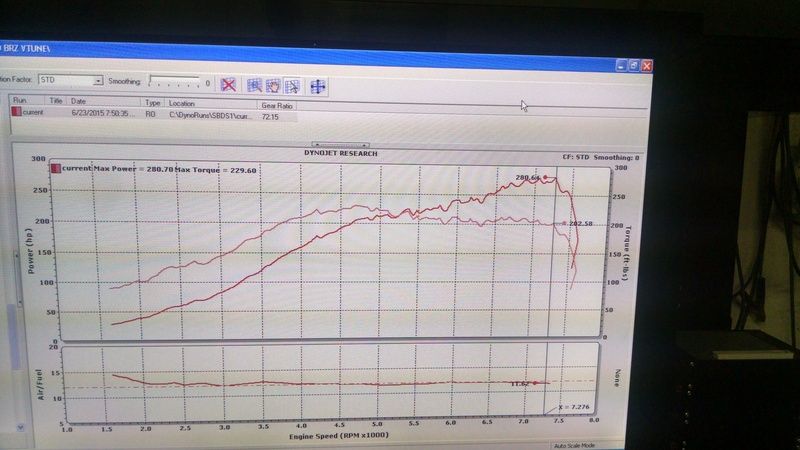
Ready for some Dyno time at Pure Automotive Performance out of Millersville, MD with John Visconti of Visconti Tuning. Thanks for squeezing me in between the Twin Turbo Z car and GTR!
[ame]http://www.youtube.com/watch?v=MABMY7ga6BA[/ame]
So now I should be happy right?

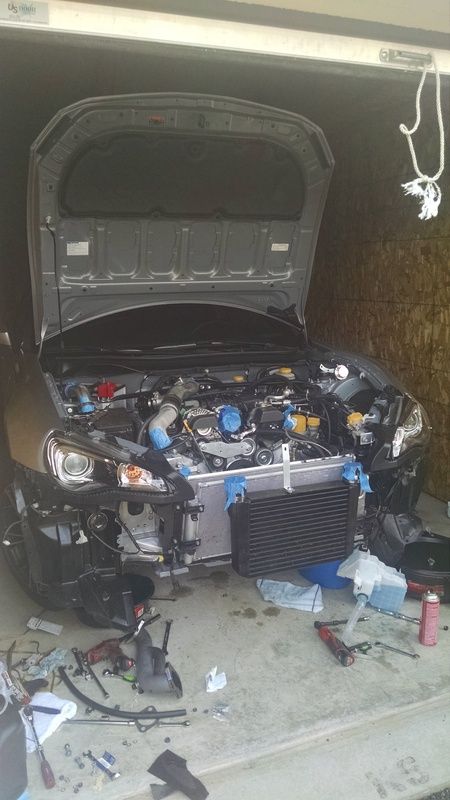
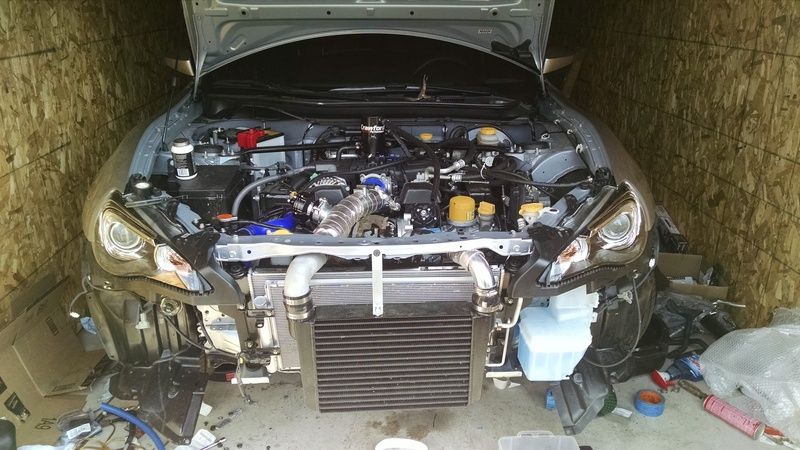
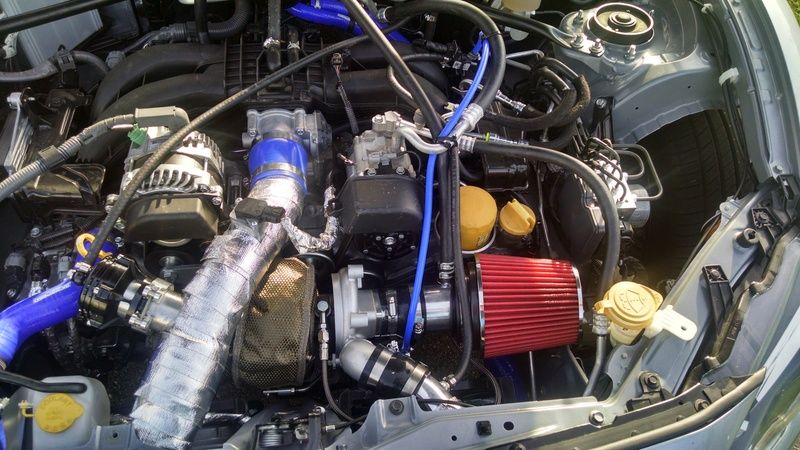
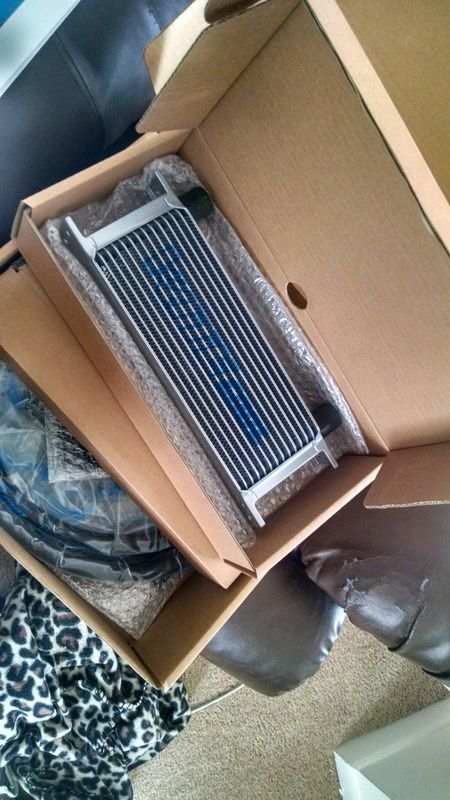
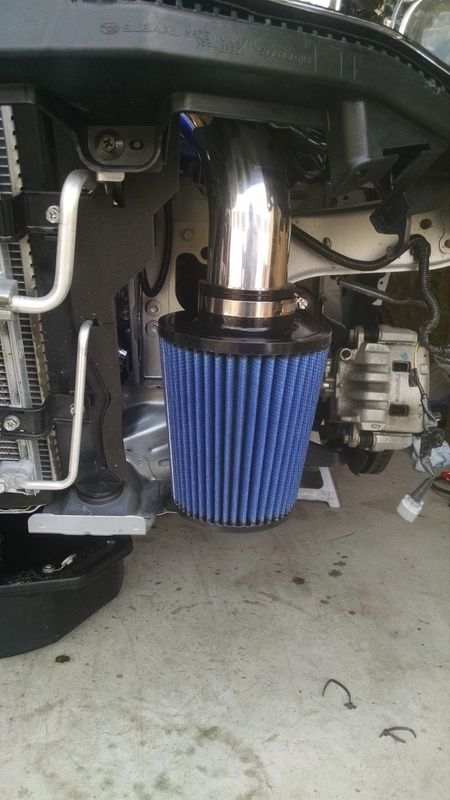
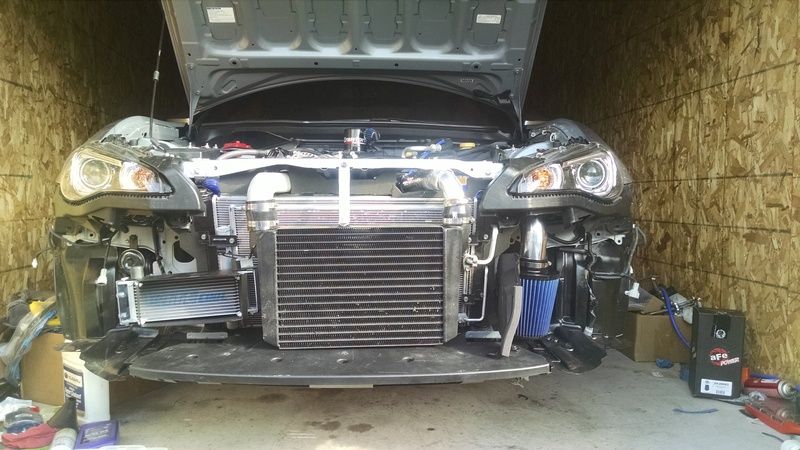
Went to build a cold air intake, install oil cooler, and finally put back all the underbody panels and missing pop clips:
I went with an AFE filter custom sized to be as large as I could get:
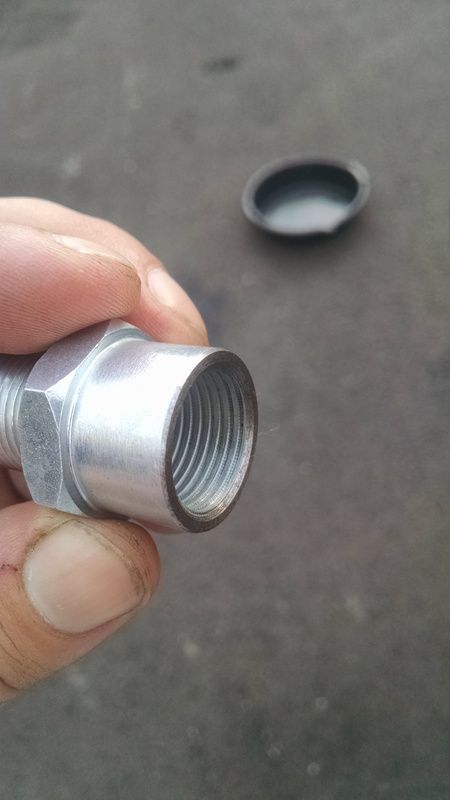
Not sure if you can see this, but I ran into a slight QC problem that prevented me from installing oil cooler until new parts come from manufacturer:
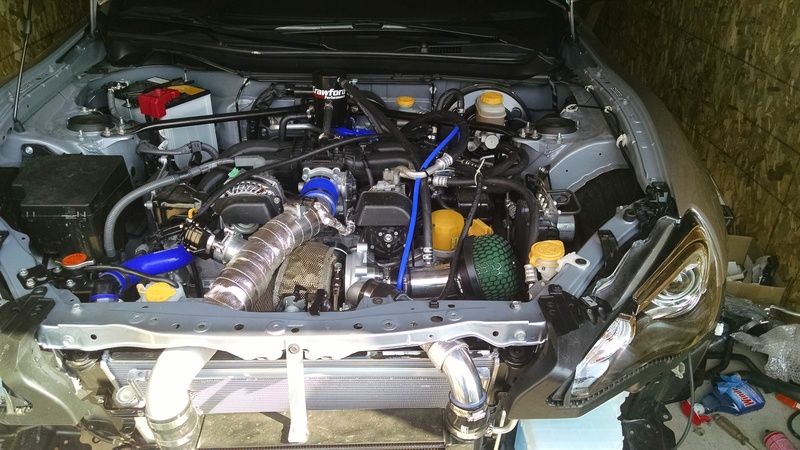
I did not end up using the hard plastic tray here (could not get this on with intercooler) or the partition next to the air filter on the right (Although I now get scared driving in heavy rain if I get caught). Also need to fab up and paint a mount for the right side of the oil cooler:
yes the oil cooler looks like ass lol but

it is secured for now.

I still need to polish the new intake and finish the vent 2 Atmosphere setup for the Air Oil Separator.

Tough to see, but this is what has me afraid to drive in heavy rain without that previously mentioned gaurd:
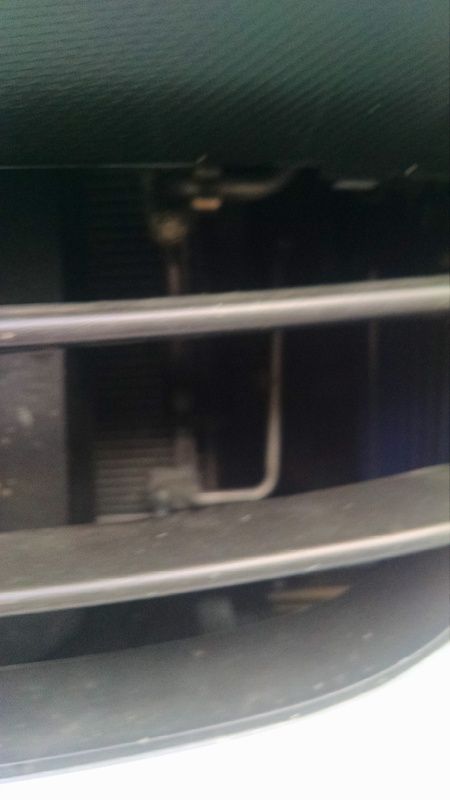
Still stealthy enough, but a little too direct for my liking.
I also modified the fake vents to make them functional on this side. Still needs to be sanded and finished. Again, really hard to see, but was running out of time:
While everything was down I also installed some used BC BR coilovers and 20/25mm spacers for that little touch of flushness without attracting too much attention.
Down 1.5" in front 1" in rear stiffness set dead center all around
This poor car is dirty as hell, but I soon discovered a more pressing issue after the cold air intake:
[ame]http://www.youtube.com/watch?v=ozqYJ6dCcwU[/ame]
My poor clutch

Apparently when they say you'll need a clutch with a couple thousand miles that means your clutch will slip like hell after 300 miles and give you a heart attack the first time it happens...
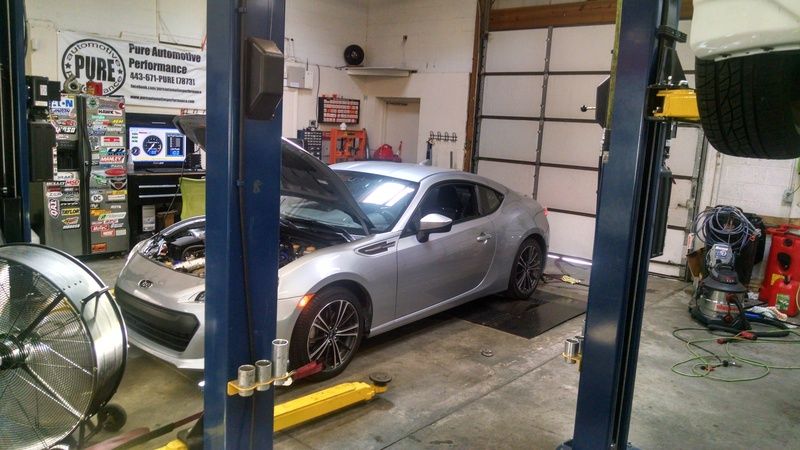
Back to Pure Auto!
I went with the ACT SB7-HDG6 with a torque capacity of 345ft/lbs. This has the streetlite flywheel and not the prolite. FYI a full weight flywheel is not offered by ACT, although the effects of the LWFW are bearable.
Now that the clutch is mostly broken in I love it. The noise, the harshness, the increased pedal effort, the shortened pedal travel are all because racecar, and I love it. With the coilovers, clutch, and trans bushing I am really loving these "inconveniences."
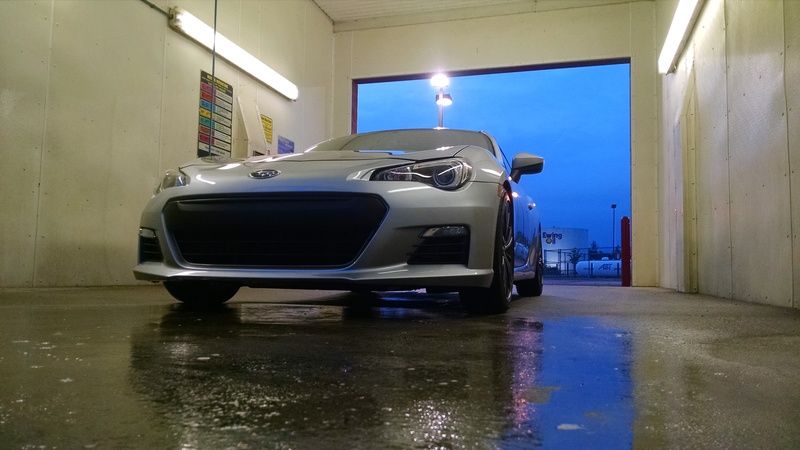
Now it was time for a well deserved bath! Waited until the night before the car show...


What turbo?
Time for a dinner break before I wax
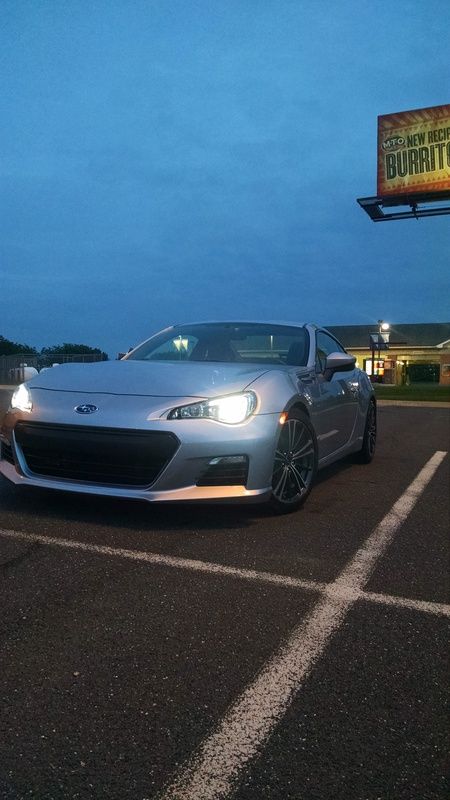

The next morning:

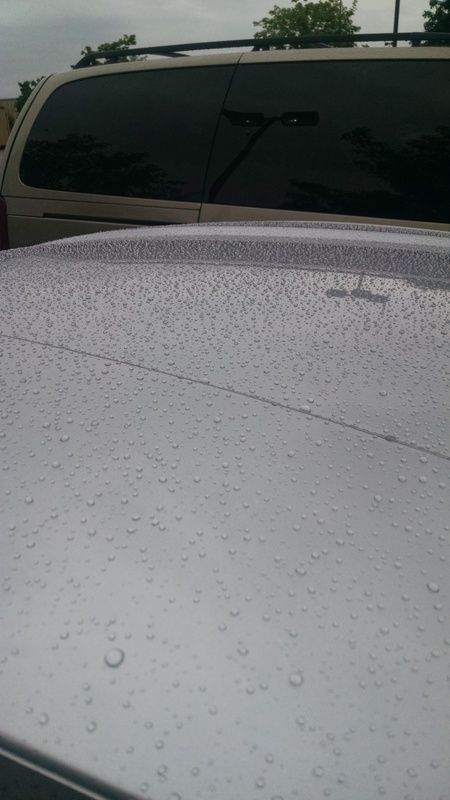
At least the wax is beading the water nicely...
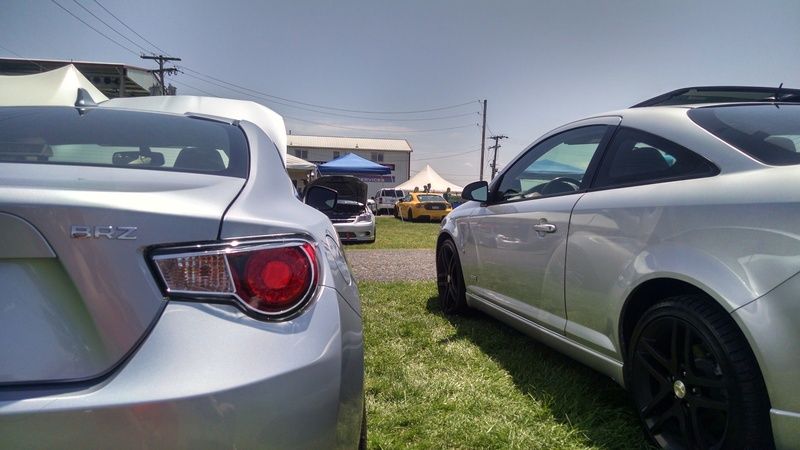
At the show:
Up next, alignment, misc bushings, gauges, finishing touches on intake and vent bezel, finish oil cooler, Spencer Fabrications Crash Bar, finish AOS vent 2 atmosphere, more blue, track wheels/tires, and heavy focus on driver mod.
Thanks for reading and yes I did have to rent a storage unit to work on my car. I should probably build a work bench in there, so it doesn't always look like a bomb went off with my tools all over the ground...
