So you bought a FR-S or BRZ Premium without push start specifically because you wanted to hold more than a book of matches in that little dash pocket. But alas, you are a product of the 21st century and therefore have a big smartphone. Some smartphones will fit well sideways in the pocket. Some fit too well. (I'm looking at you iPhone 6. That sucker fits so perfect in the tray that you need to use a card or something to get it out.) For me, however, I keep my iPhone 6 in a case, and it doesn't fit too well in the pocket. That, coupled with coming from an 08 Lancer that had a nice phone holder right behind the shifter, made me want to do something.
What we're going to do it cut out the back of the tray and put some blocker in the back to keep the phone from falling into your dash, making for a bad day.
Tools/Materials you'll need:
- Dremel with various attachments
- Epoxy for Plastics
- Sandpaper (~150-300 grit)
- Donor Plastic (see below)
- Something soft on one side and sticky on the other.
1) First things first, you need to get the tray out. The easiest way to do this is remove the plastic panel below the passenger knee pad, then reach up and push out the USB/Aux port. It just snaps right out. Unplug the harness, the. In the hole, stick a couple fingers from your right hand (that's what she said), and with you left hand, in the tray, pull evenly but firmly. That sucker should pop right out.
2) Next measure how wide/tall your phone is, and mark it on the back of the tray. You want it to be a bit taller and wider than your phone, but not too wide that your phone can go in at an angle. Also, I chose to put the hole closest to the driver so that I could get my phone in and out while easily avoiding the shifter.
3) Using the cutting wheel attachment, cut out your hole. Be careful and for the love of God, wear eye protection. Those cutting wheels like to break a lot and I had a piece of one fly up and hit me in the safety goggles right where my eye is. I would be at the hospital right now if I was an idiot.
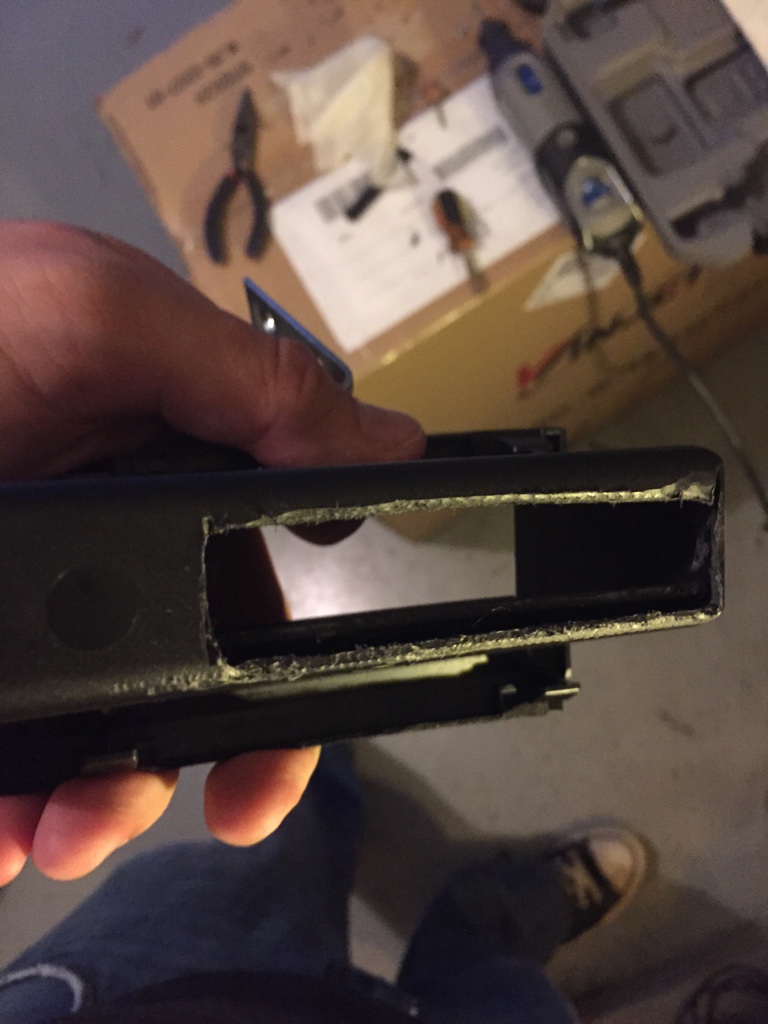
4) Using a sanding attachment on the Dremel, smooth out the edges of the hole. You may need to finish up by hand, especially in the corners.
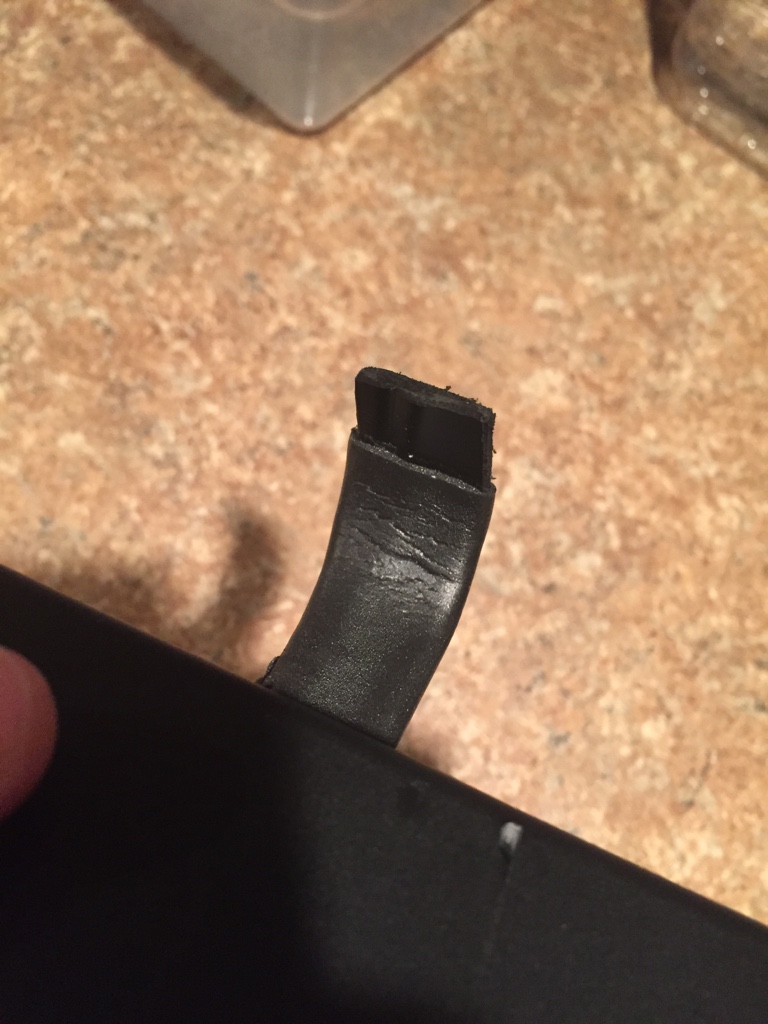
5) Now we need to find some donor plastic to create a stopper. You can get creative here, and I did the "lite" version by just creating an L to stop the phone. You can do more work to make the extension completely enclosed, and even to the point of 3D printing an extension. I, however, like to use genuine Toyot...Subaru parts, and I happened to have some extra plastic I had chopped off a while back...
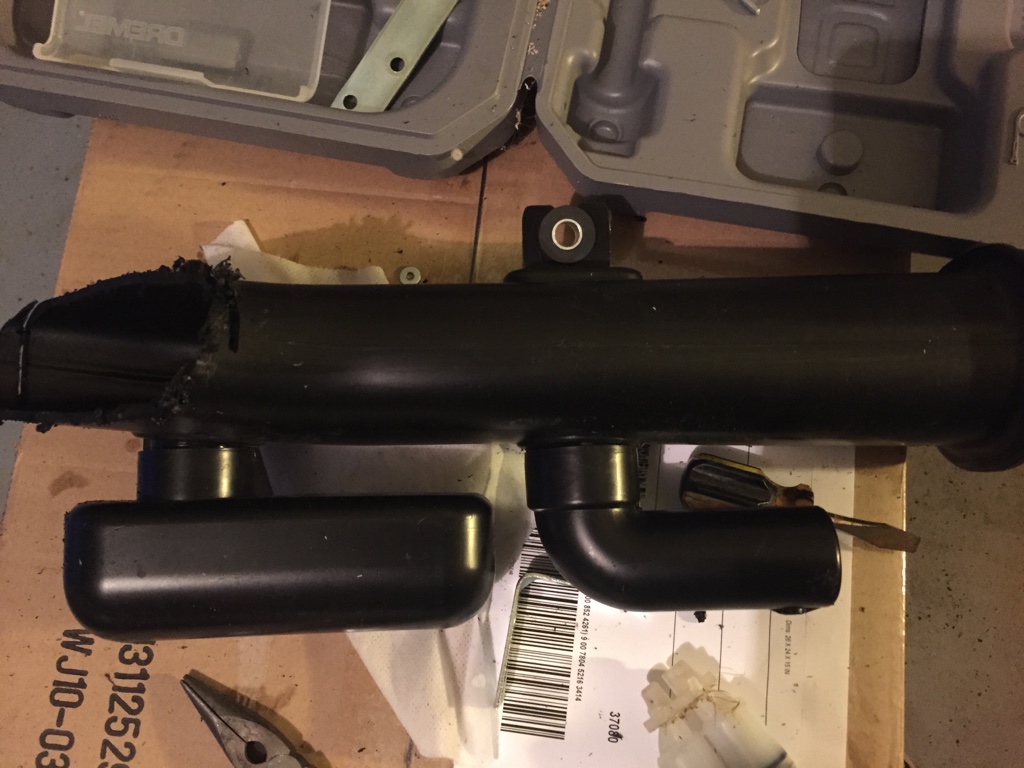
Yep. The good old intake snorkel. I'll specifically be using the larger of the two resonators.
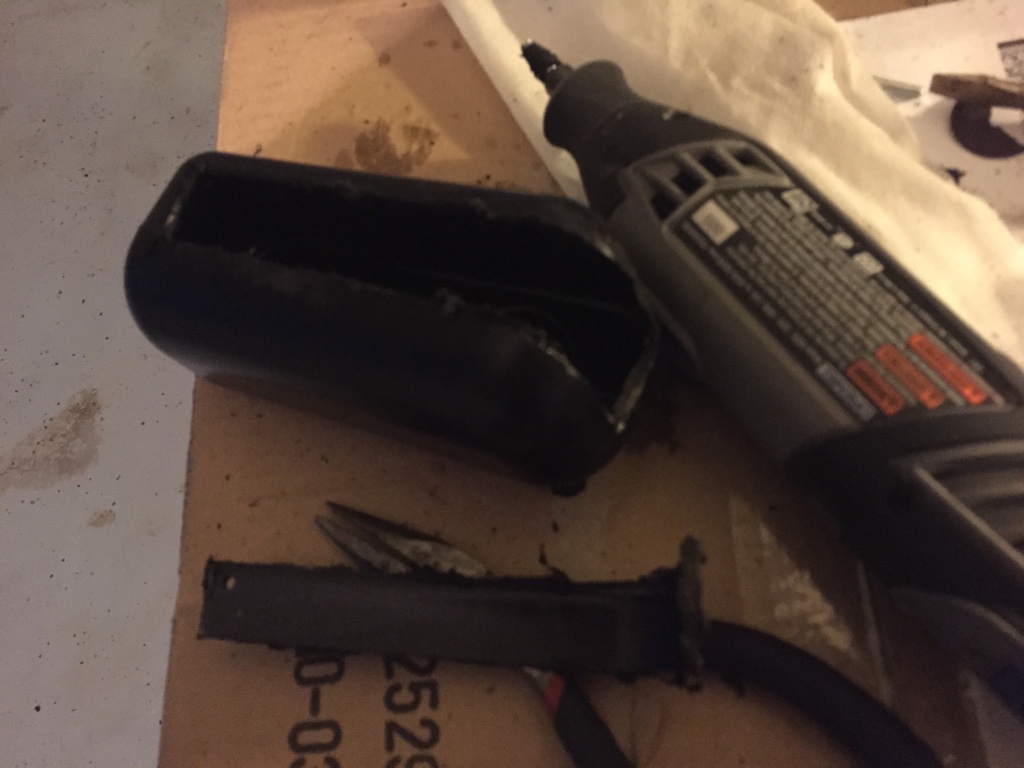
6) I used the bottom and one side (shorter side) of the resonator to create my L. Cut that sucker out and smooth down the edges.
7) Now, it helps to tape the L on and do a test fit in the car. If it doesn't fit, you may have to do some trimming.
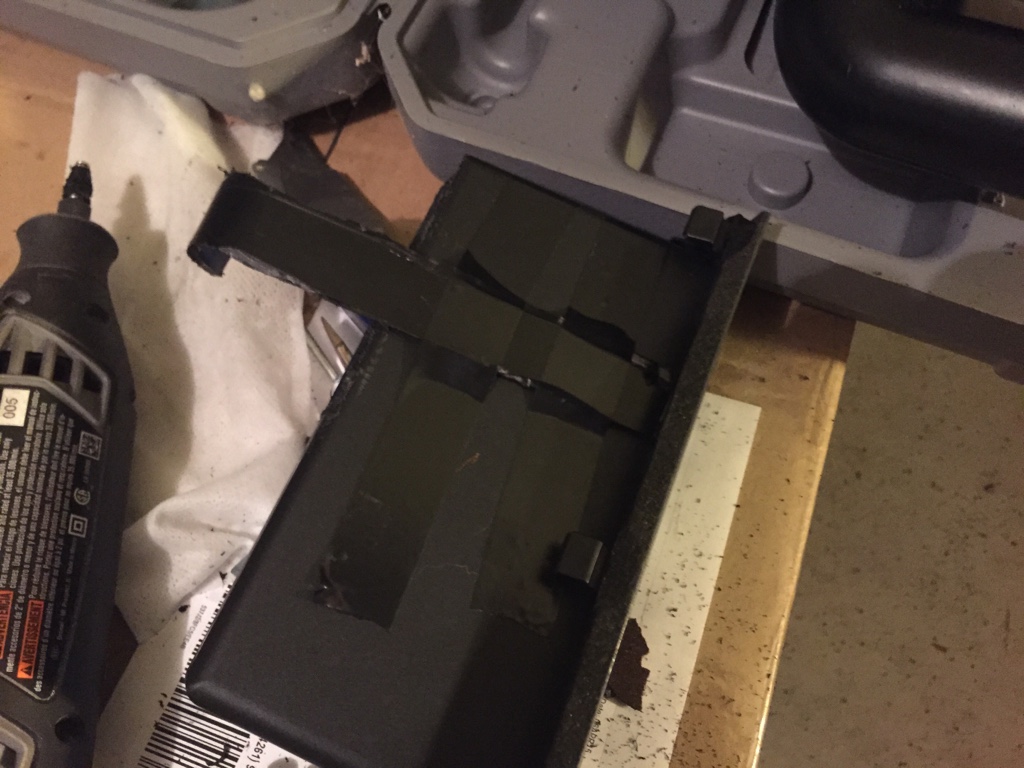
8) It fit for me, so time to prepare to epoxy. Using your sandpaper, scratch up both mating surfaces.
9) Now epoxy that sucker together. Read the instructions on the epoxy for proper working temperatures and curing time. Use some tape to hold it together while it cures.
10) Use something soft on the end of the L where your phone will touch. This just helps keep rattles away and your phone/case scratch-free. I had some 3M rubber sticker things that came with a rear-view mirror kit.
11) Once the epoxy is cured, you're free to reassemble your ride. Test her out.
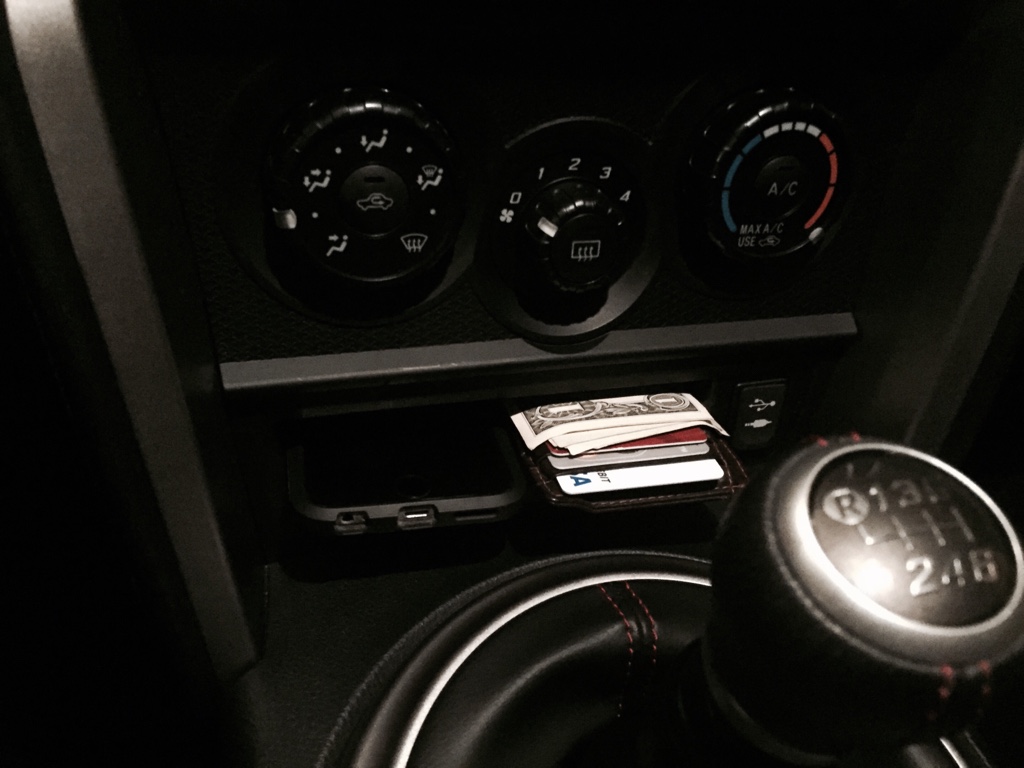
I can fit my cased iPhone 6 and money-clip style wallet side-by-side. Winning!