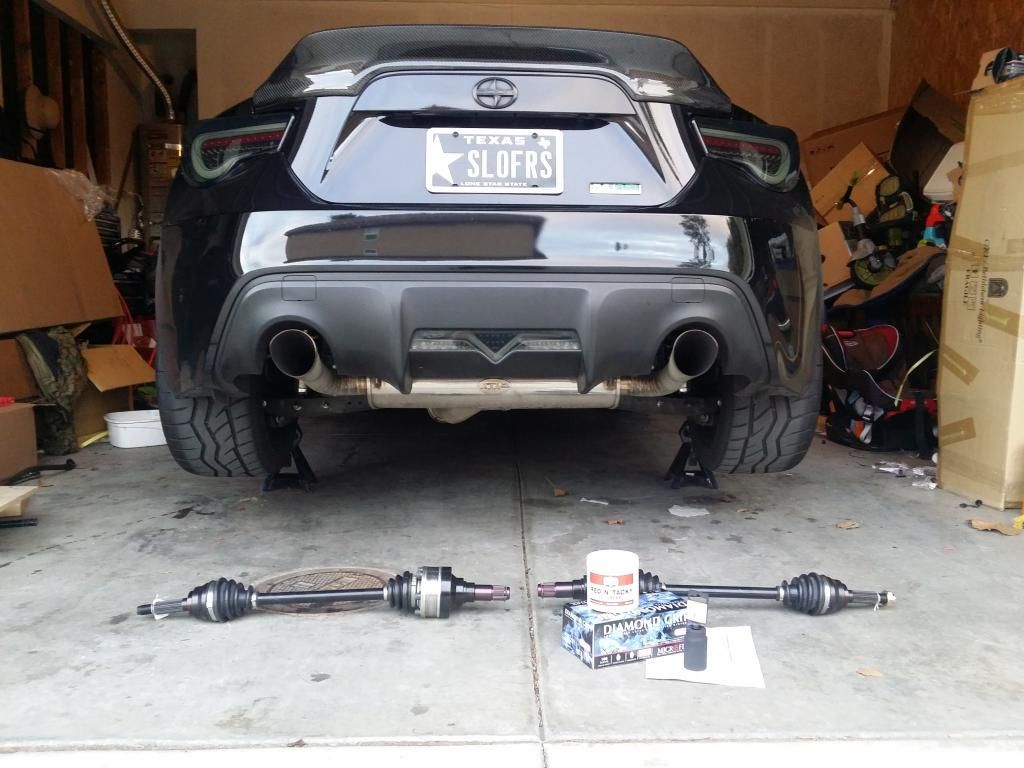
Okay this job really isn't that hard. What you really need is the TQ's for the axle nut. All the others were just tightened by hand.
Tools:
- 20-150 ftlb torque wrench
- 32mm socket (axle nut)
- 17mm socket
- 12mm socket (brake line bolt)
- 10mm socket (brake line bolt)
- High temp grease
First step is to take off the wheel and then the axle nut. It's pretty tough so if you are not heavy set or strong I'd recommend either a longer cheater bar or some assistance.
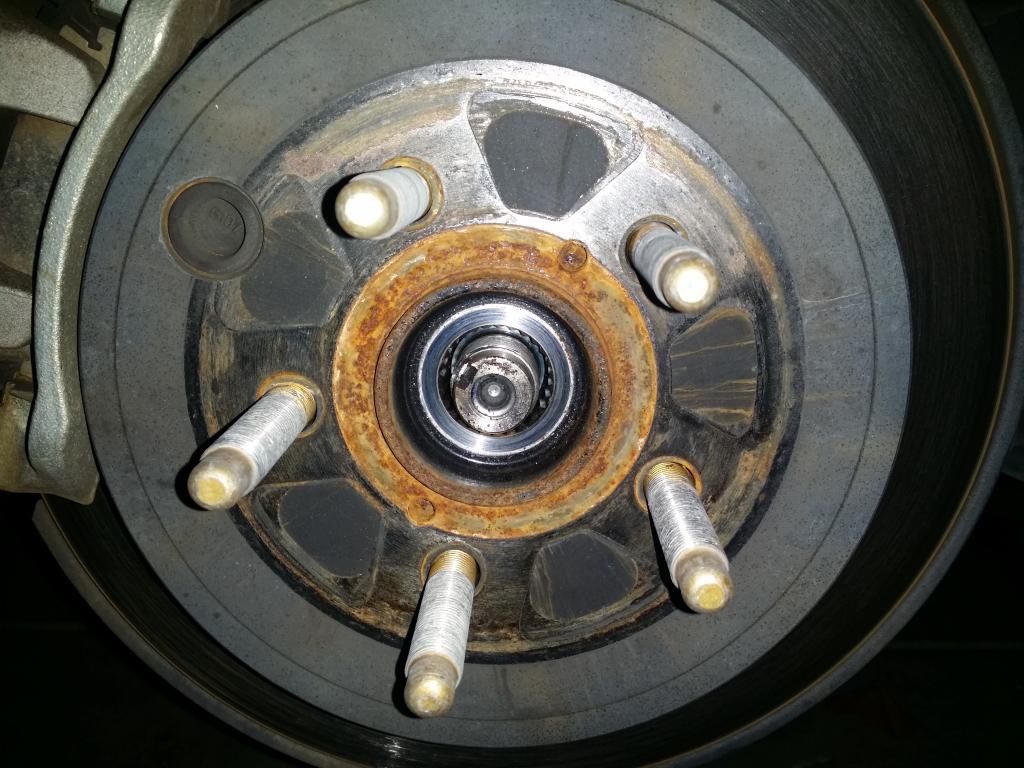
Next you need to remove the brake line bolts. There is one further in which isn't pictured, that requires the 10mm.
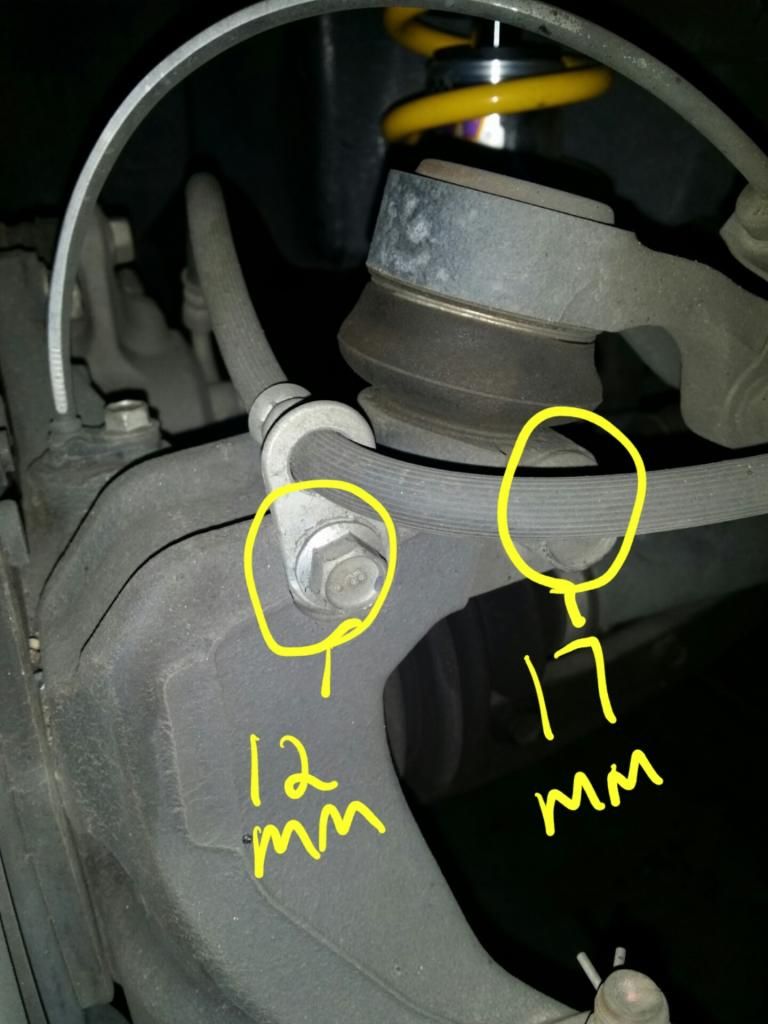
Here are the other 2 bolts you need to remove. Put a light coat of High temp grease on the driveshaft side of the axle. Make sure that when you go to install the new axle that you leave the nut flush on the wheel side and tap it in with a hammer (after the gears are aligned). After you torque the axle nut to 140ftlbs, use a flat tip screwdriver and hammer to peen the axle nut.
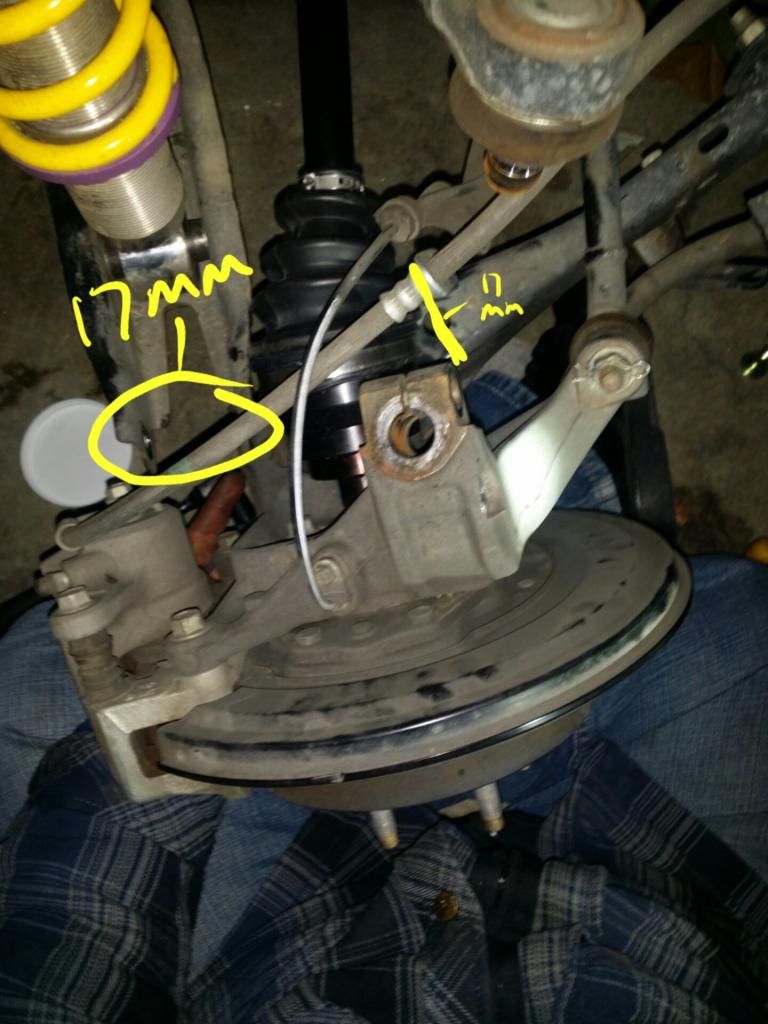
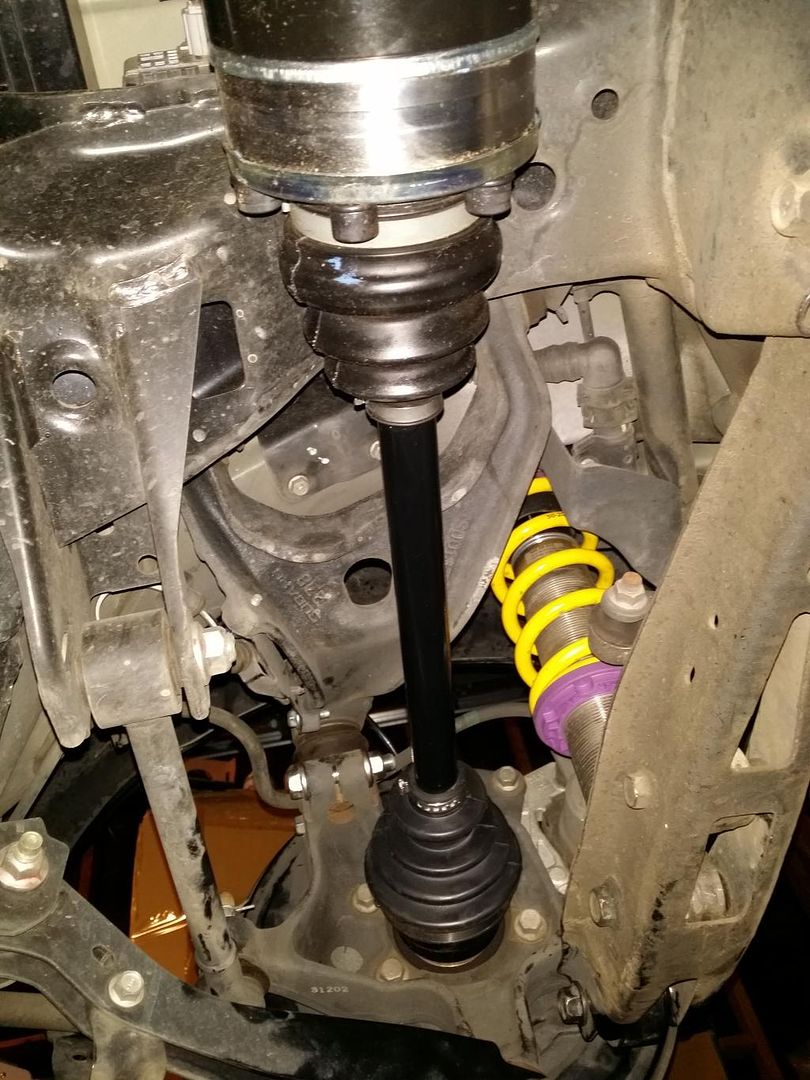
This is my first DIY so sorry if it's not perfect lol. Message me if you guys have any questions.