This special DIY is sponsored by Visconti Tuning.
Flex Fuel kit link!
Installation video
Flex fuel V2 kit install video here!
[ame="https://www.youtube.com/watch?v=0AQzr6UnjKM"]Visconti Flex Fuel V2 Kit[/ame]
[ame="http://www.youtube.com/watch?v=ZKTYgDTAnMU&hd=1"]Visconti Flex Fuel kit for FRS and BRZ install video - YouTube[/ame]
Updated parts install click here.
 Flex-Fuel-1
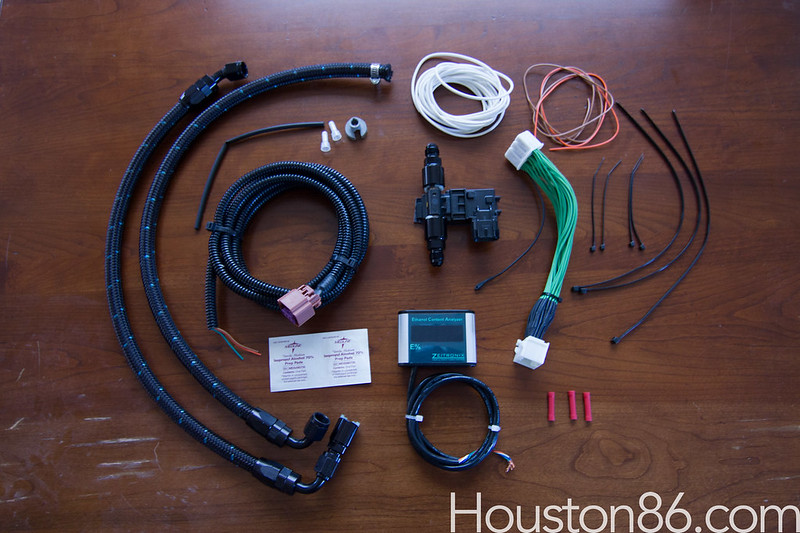
Before starting the installation of this kit know that you'll be working with the main fuel line under the hood of the car. This line
will be pressurized and runs the risk of spraying fuel out when removing the line. To try and negate this issue we suggest the following.
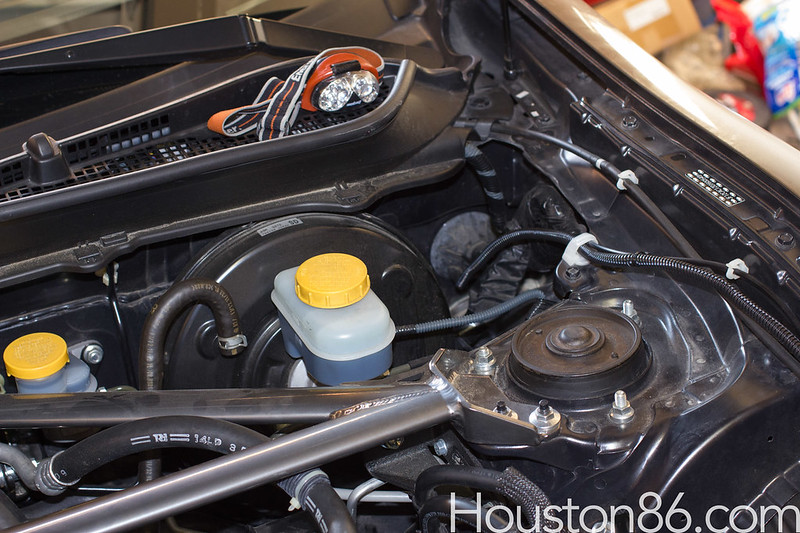
Remove fuse 34 from under the hood. This is a 20 A fuse that disables the fuel injection system. Turn the car over a few times, it should not start. Then remove the fuel cap to try and release any built up pressure. Put the fuel cap back on and at this point you can now disconnect the battery to start the installation.
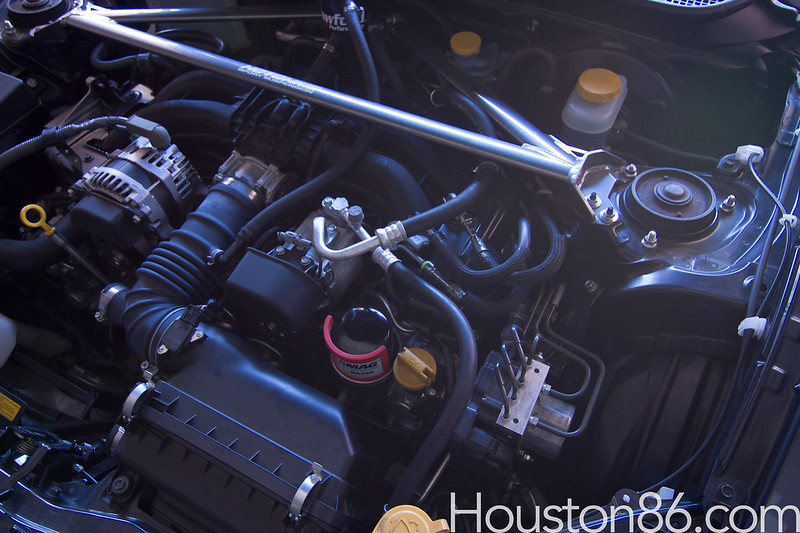
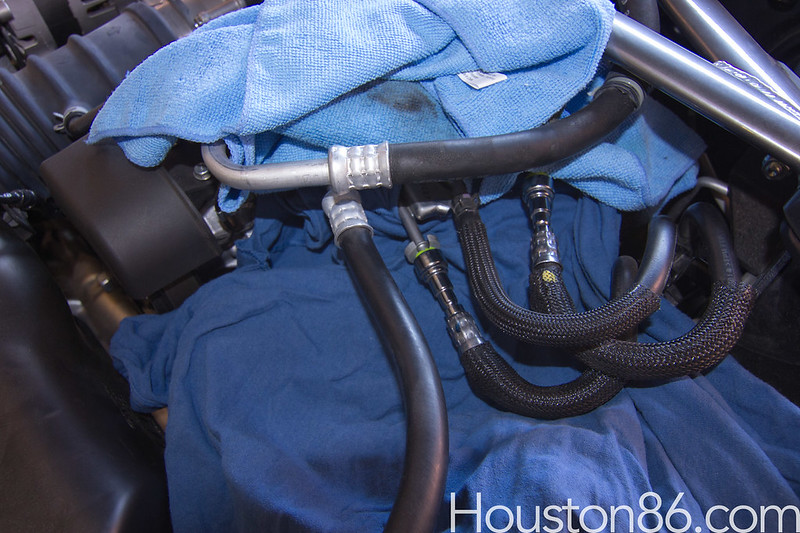
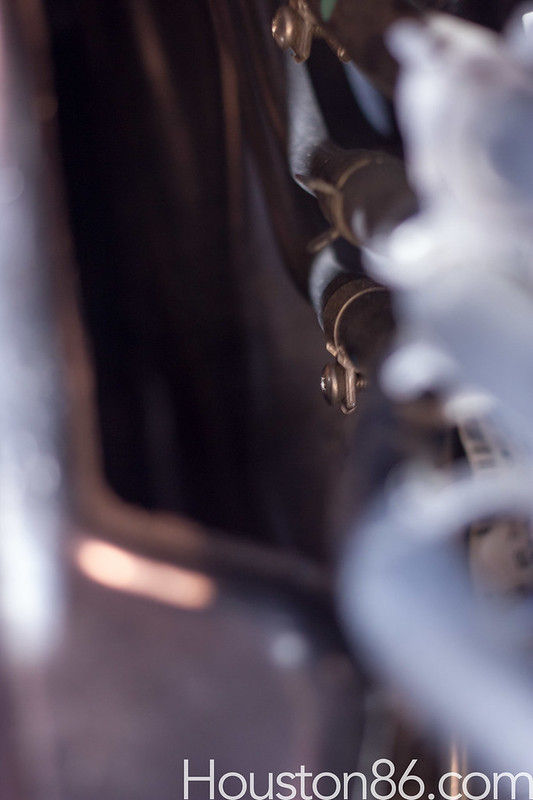
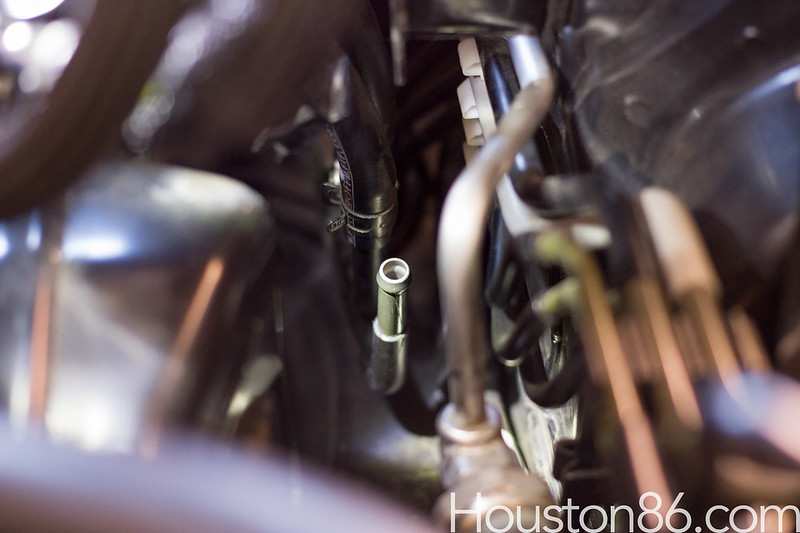
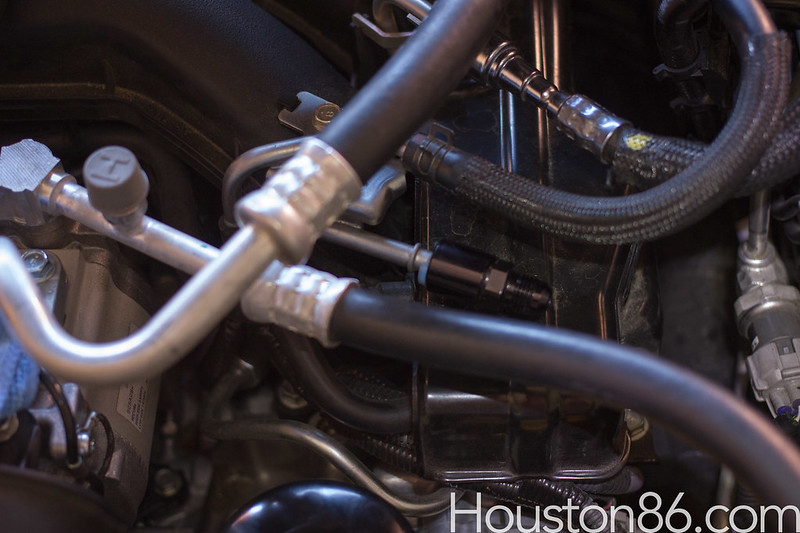
Start by looking at the picture below. The fuel line you will be removing is located closest to the hot side of the AC system.
 Flex-Fuel-2
 Flex-Fuel-3
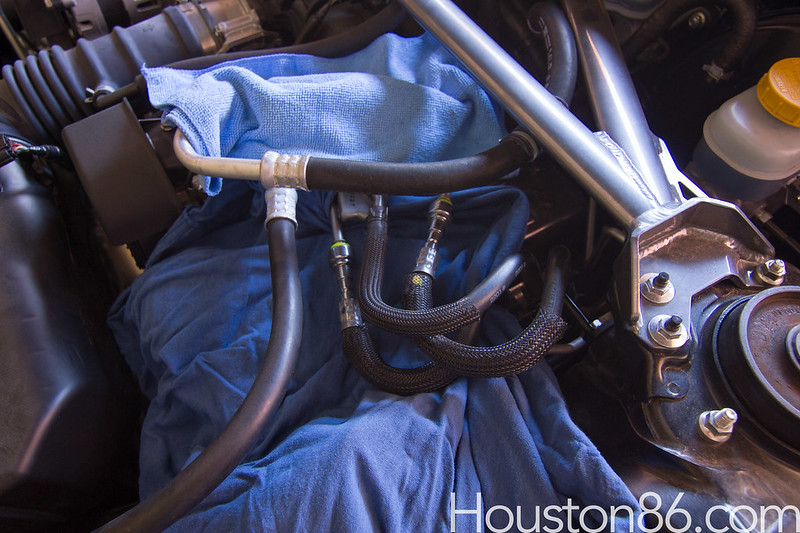
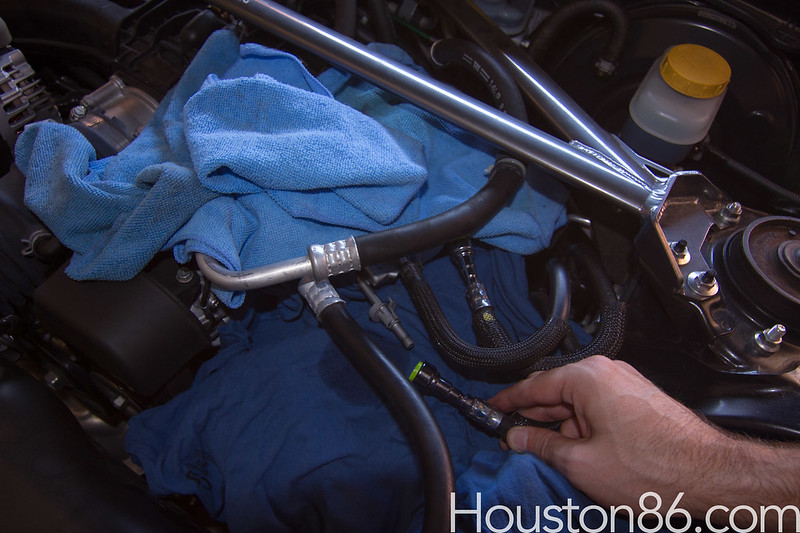
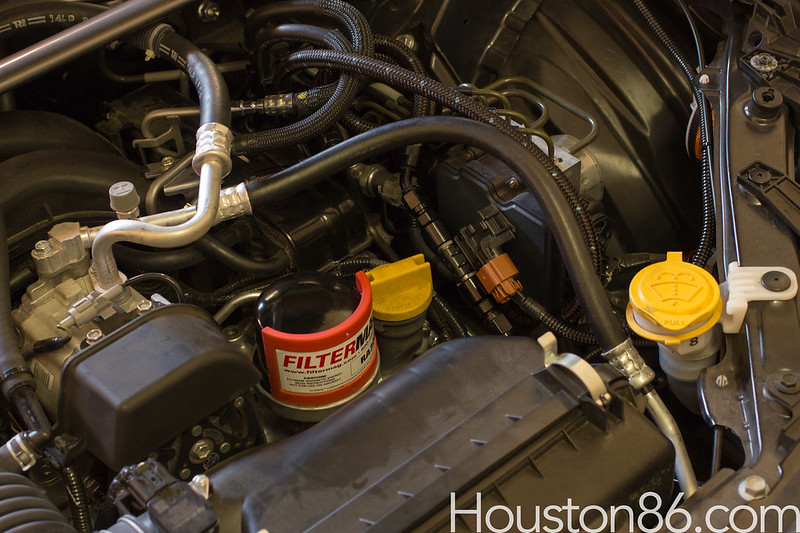
Put some towels under the fuel lines to protect it from spilled fuel. Again, there may be pressurized fuel in this line so be careful.
 Flex-Fuel-4
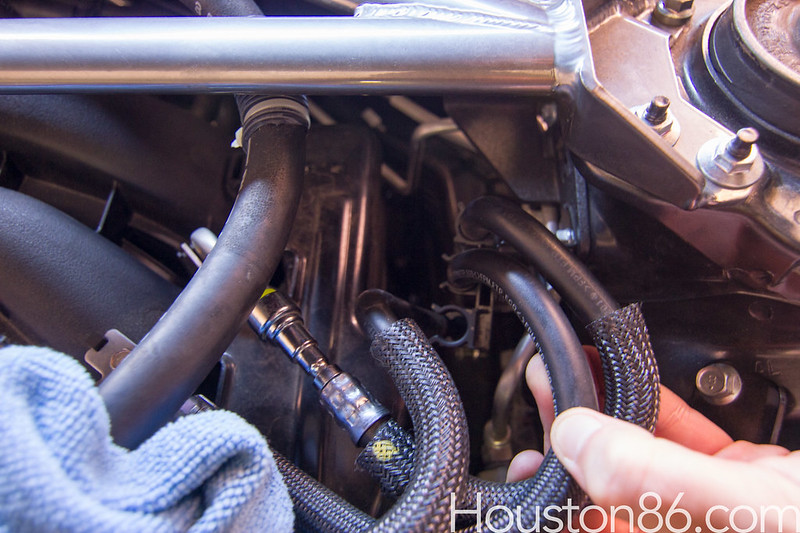
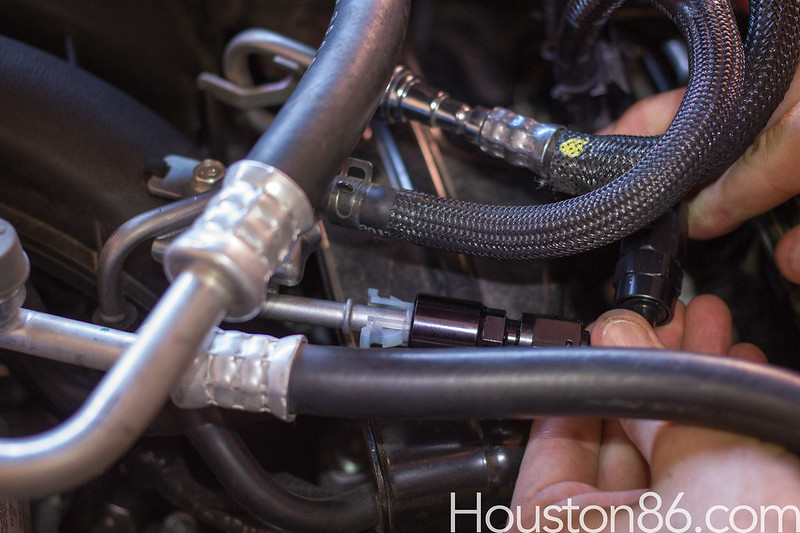
Insert the fuel disconnection tool into the fitting. The tool needs to go underneath the yellow/green plastic of the connector. Be careful not to break the fragile tool when sliding it over the fuel fitting.
 Flex-Fuel-6
The fuel fitting should pop off with relative ease. Carefully pull the fuel fitting off and then remove the special tool.
 Flex-Fuel-7
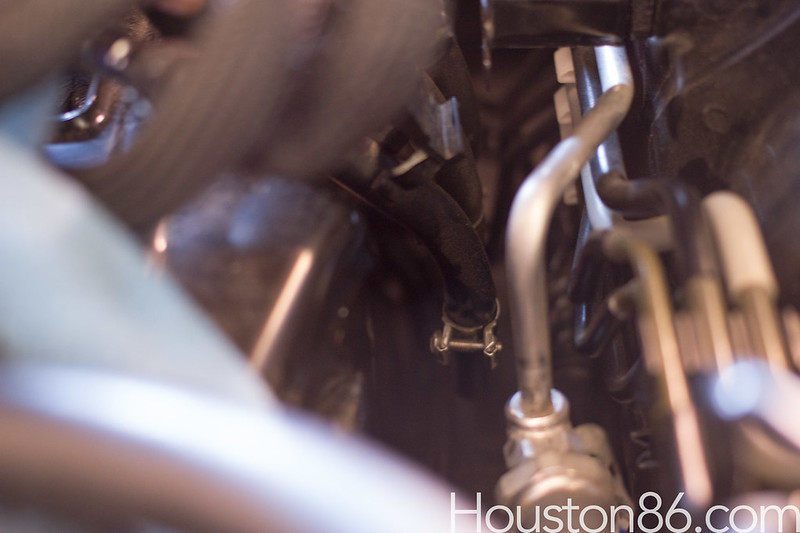
Disconnect the fuel line from the plastic hook.
 Flex-Fuel-9
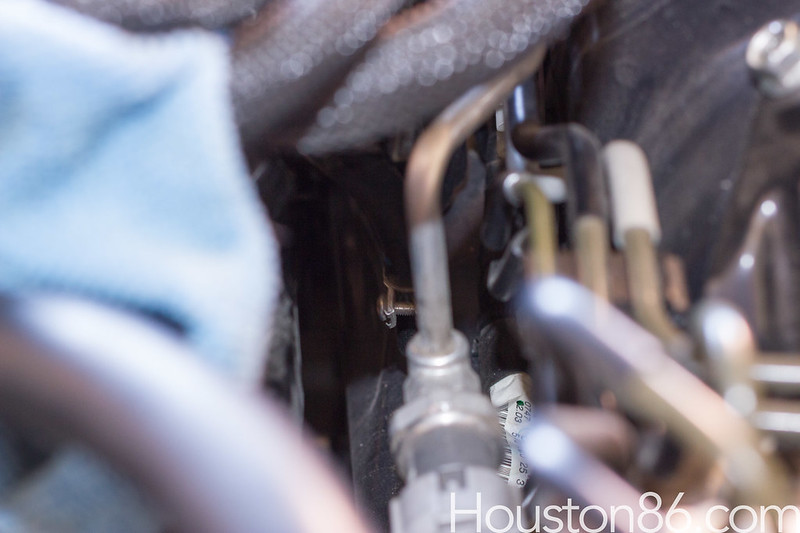
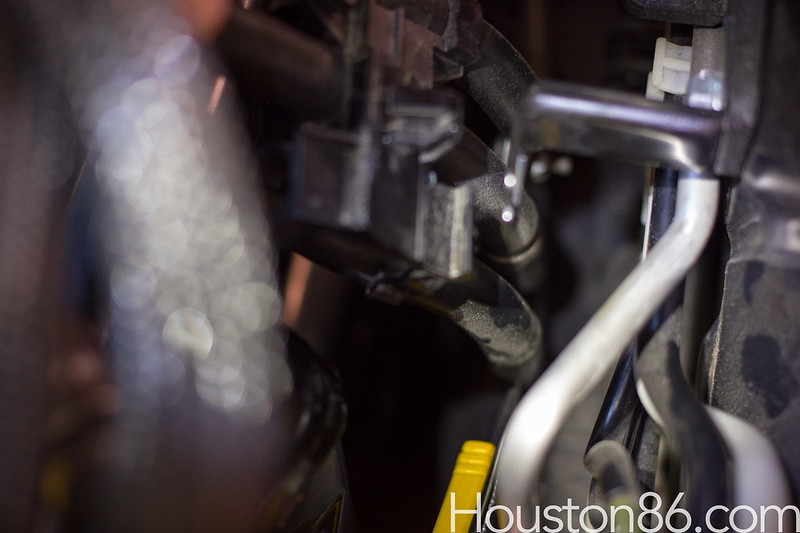
There is a single screw holding the fuel line to the metal piping. We were able to turn it by hand with a philips bit. You can also use long needle nose pliers to turn the screw. It's very tight in this area so be careful and take your time.
 Flex-Fuel-10
 Flex-Fuel-11
 Flex-Fuel-12
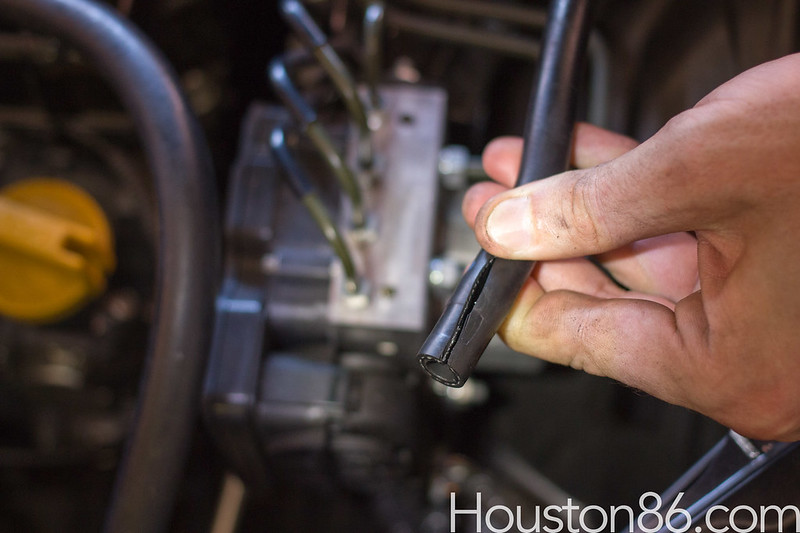
The hose was on the metal piping quite good so we took a blade and cut the hose from the end up until it popped off. You may be able to wrestle the hose off of the fitting without doing so.
 Flex-Fuel-13
 Flex-Fuel-14
 Flex-Fuel-15
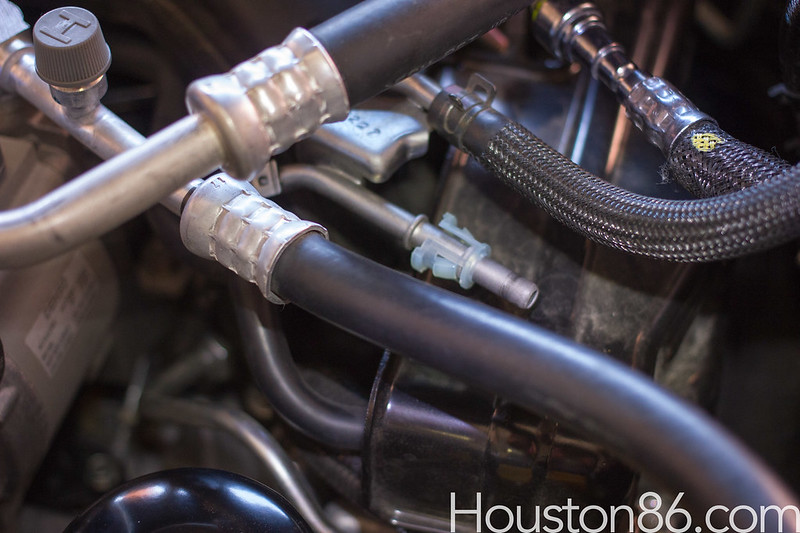
Push the fuel hose included with the kit that has a clamp down onto the metal fitting. Try and get as much onto the fitting as you can and then tighten it down.
 Flex-Fuel-16
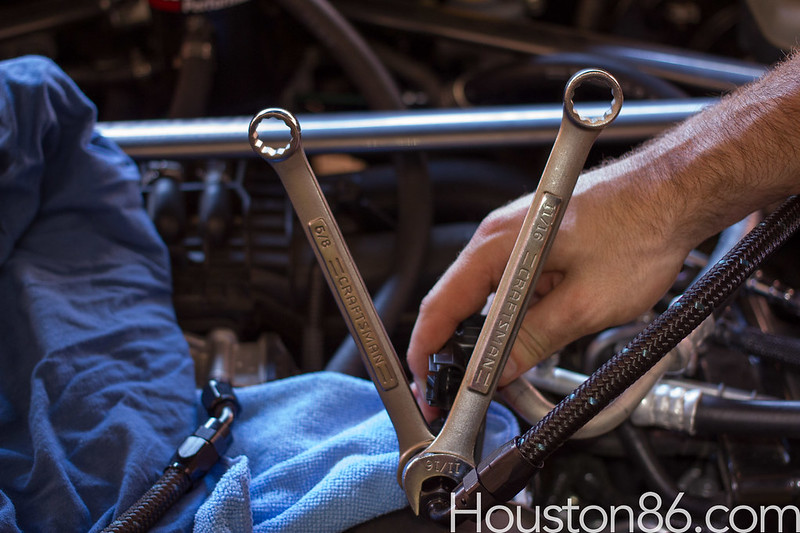
Using a 5/8's and 11/16's wrench tighten up the fittings.
 Flex-Fuel-18
Put the clear blue plastic piece onto the metal fitting. It will slide in and click when fully engaged.
 Flex-Fuel-19
 Flex-Fuel-20
Push the metal fitting into the plastic piece. It will be difficult to push on and twisting will help it seat.
 Flex-Fuel-23
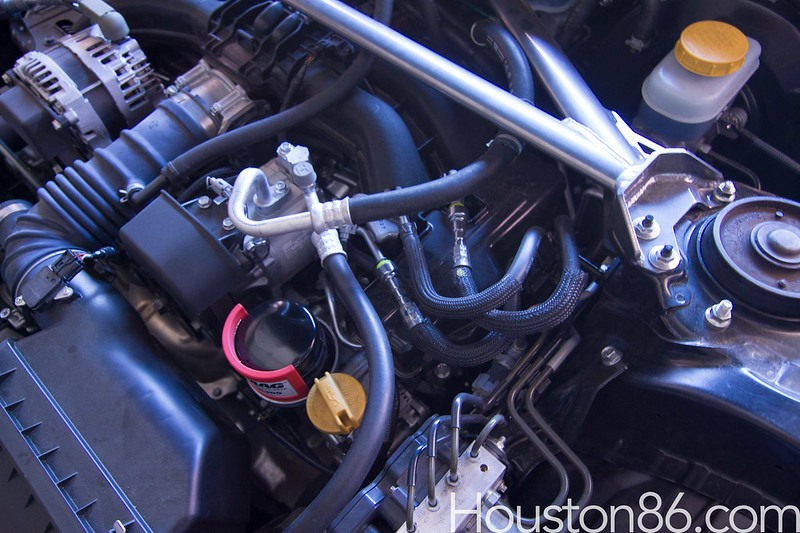
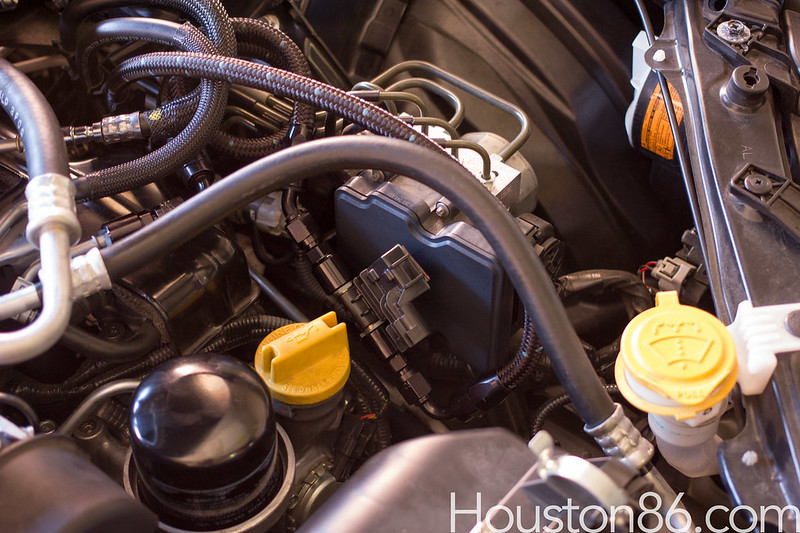
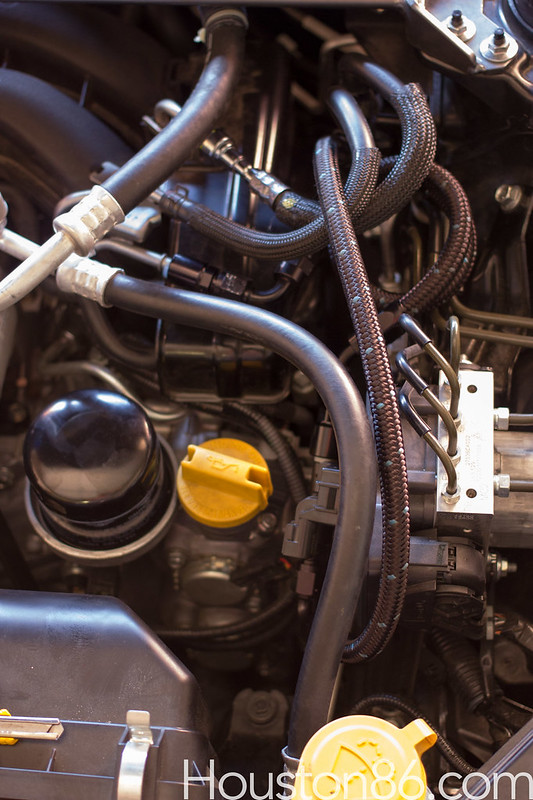
These photo just shows the route we took for the added fuel hose.
 Flex-Fuel-25
 Flex-Fuel-26
At this point with all connections tightened down you can reconnect your battery, replace fuse 34, and start the car to check for leaks. Once you've determined there are no leaks disconnect the battery again.
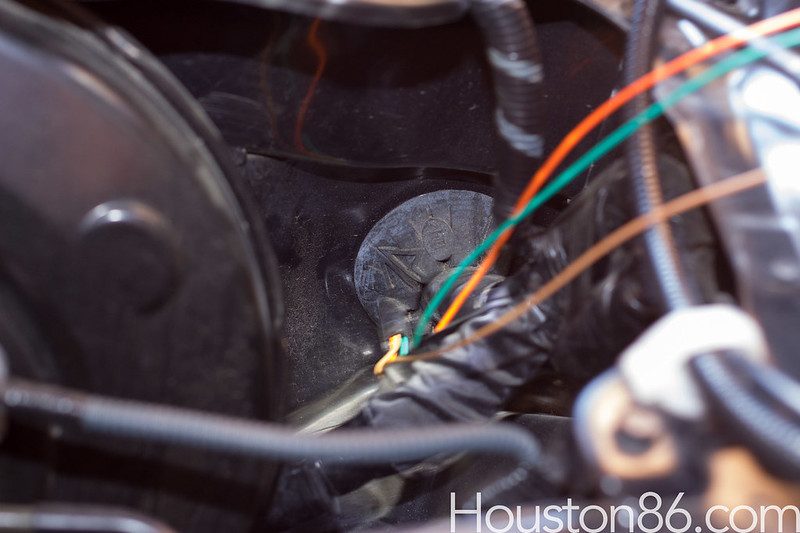
Now you need to get the loom and 3 wires into the cabin. There is a nipple on the drivers side grommet, simply cut off the end and you have an unrestricted path into the dash.
 Flex-Fuel-27
 Flex-Fuel-28
 Flex-Fuel-29
 Flex-Fuel-30
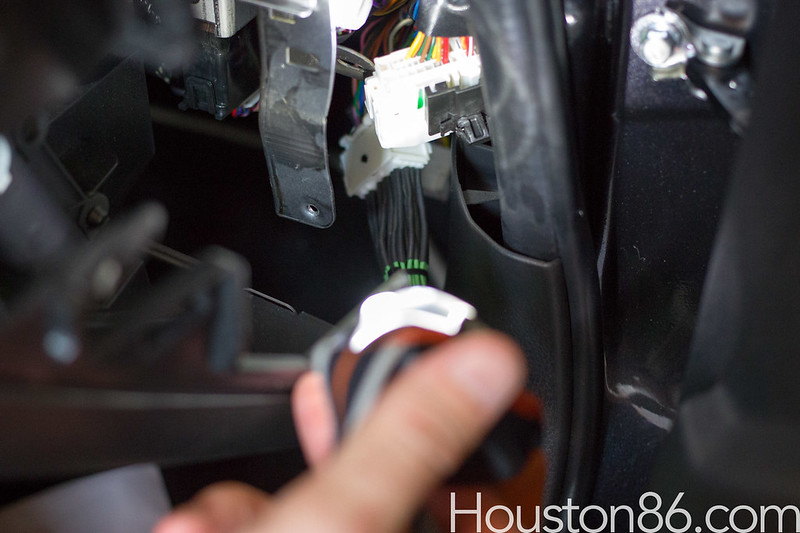
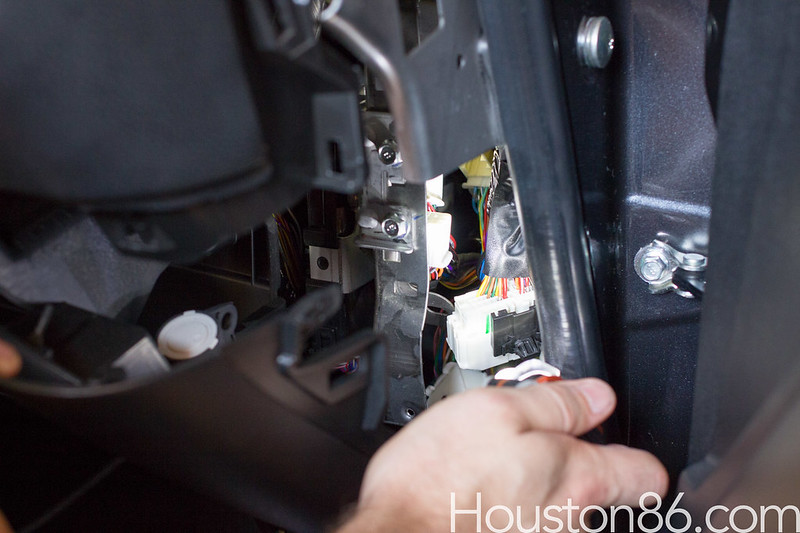
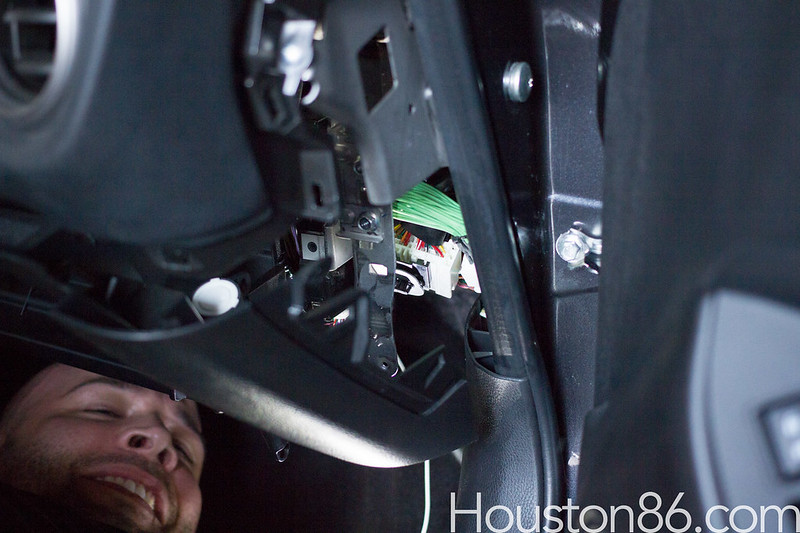
Now the difficult part. Connecting the ECU cable is a real pain. It's located under the passenger side dash. You will need to remove the glove box, and part of the dash section that surrounds the glove box. You can get away with simply pulling the dash surround out a bit as we did in the photos. You are going to find that the cables you need to get to are slanted at an angle towards you. The connector you need is the bottom most, however you will need to remove the top two to access it.
 Flex-Fuel-31
 Flex-Fuel-32
 Flex-Fuel-33
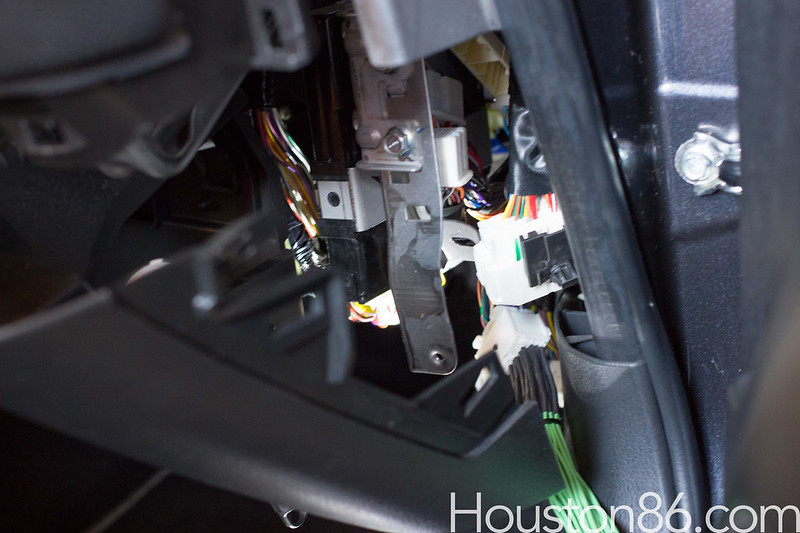
This photo shows the three connections. Again, you are going to be plugging into the bottom most connector.
 Flex-Fuel-35
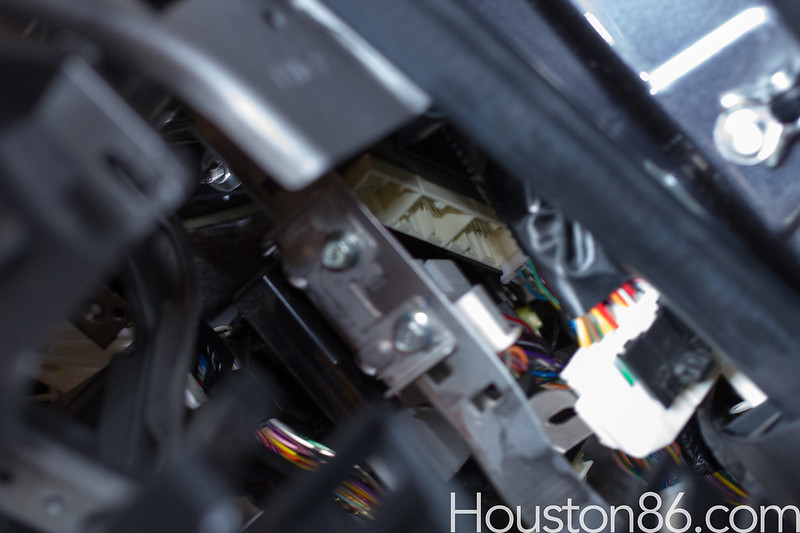
Once you have it connected reconnect all the cables. This is the most difficult thing to take photos of but we did our best.
 Flex-Fuel-36
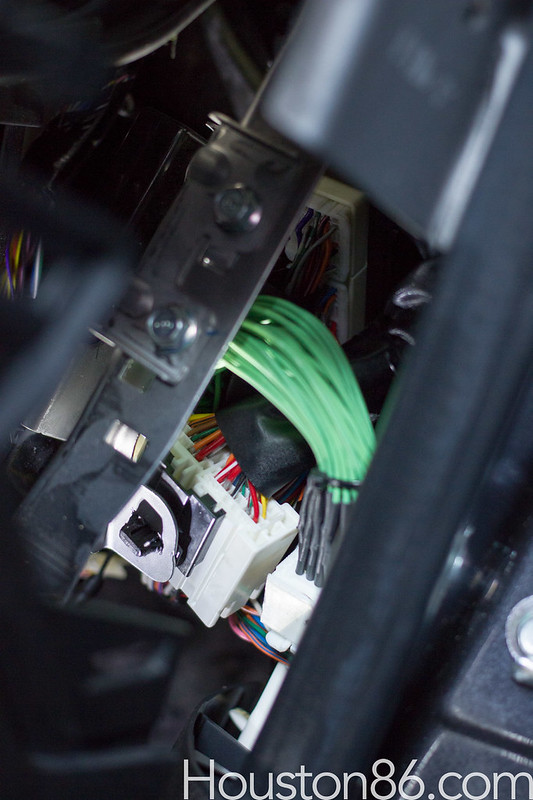
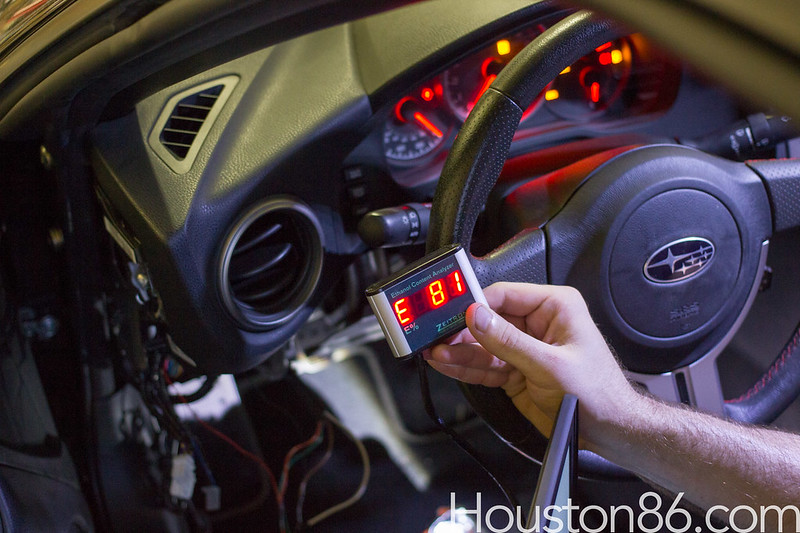
This is what you'll be doing once you get everything connected properly.
 Flex-Fuel-37
Included with the kit is a long white wire. That wire will be connected to the black break out connector on that green harness. It needs to go from the passenger side to the drivers. You will need to work it under the dash over to the fuse box. There is no way to document this with photos. We used a stiff wire to poke its way over and then pull it through. This white wire connects to the black wire on the ecu cable, and then connects to the WHITE BLUE cable on the E85 display.
On the drivers side things are a lot less complicated. Brown is ground, so you will need to connect the brown from the engine bay to the brown on the E85 gauge and then a third brown (included in the kit) to a ground point on the car. The next is orange which is 12v. Connect the orange from the engine bay to the orange on the E85 display and then tap a 12v source under the dash. You can use an add a fuse or tap from a harness.
The two other wires on the E85 display ARE NOT USED.
 Flex-Fuel-38
Now that you have everything connected reconnect your battery, flash the flex fuel tune, and you will be good to go.
 Flex-Fuel-39