


 09-14-2017, 09:00 PM
|
#71 |
|
Senior Member
Join Date: Apr 2013
Drives: 2014 BRZ
Location: Louisiana
Posts: 178
Thanks: 31
Thanked 122 Times in 67 Posts
Mentioned: 0 Post(s)
Tagged: 0 Thread(s)
|
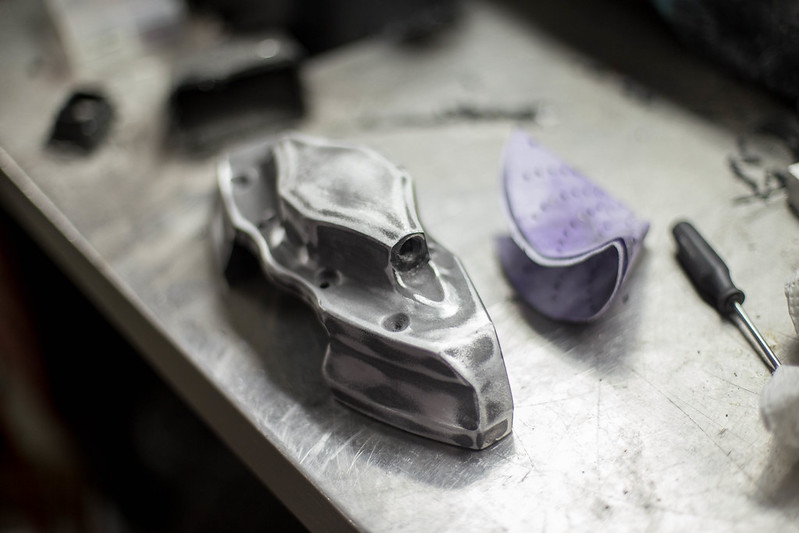
More of the same, one of these days these rear calipers will be rid of its previous coating and ready to send of to a friend of mine for a special little somethin somethin put on them.
 new computer (9 of 13)-2 by lawrx, on Flickr new computer (9 of 13)-2 by lawrx, on Flickr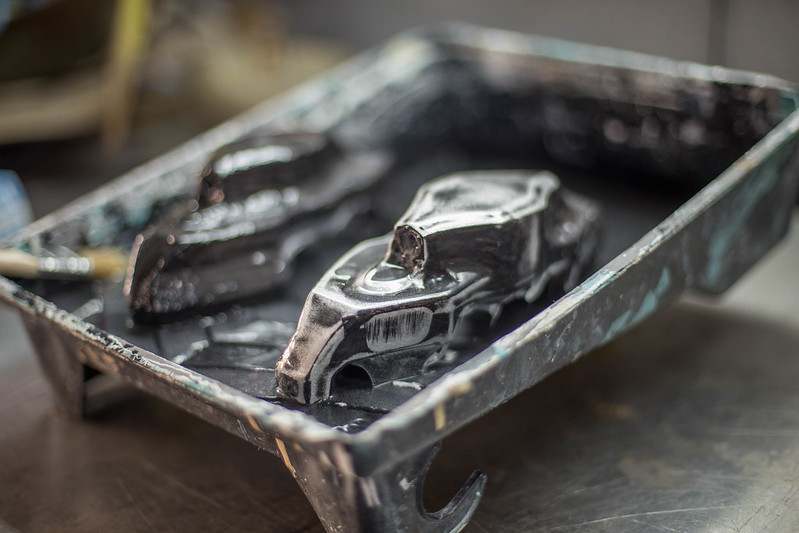 new computer (2 of 13)-2 by lawrx, on Flickr new computer (2 of 13)-2 by lawrx, on Flickr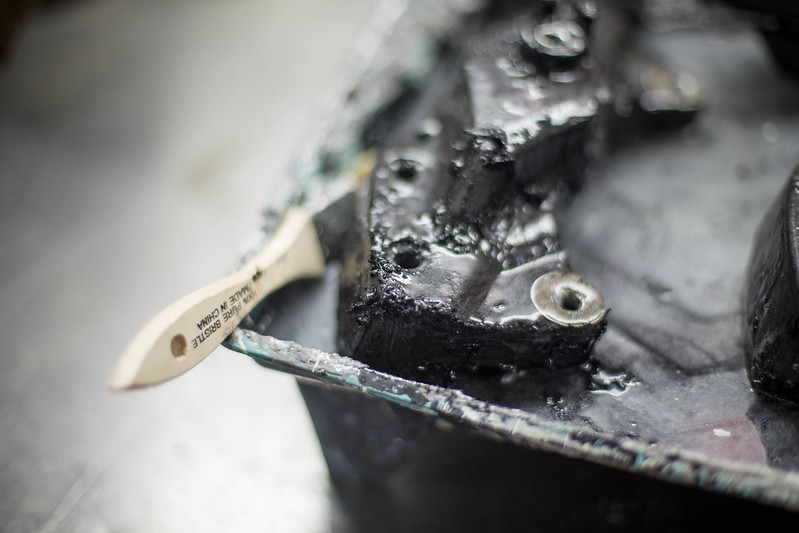 new computer (10 of 13)-2 by lawrx, on Flickr new computer (10 of 13)-2 by lawrx, on Flickr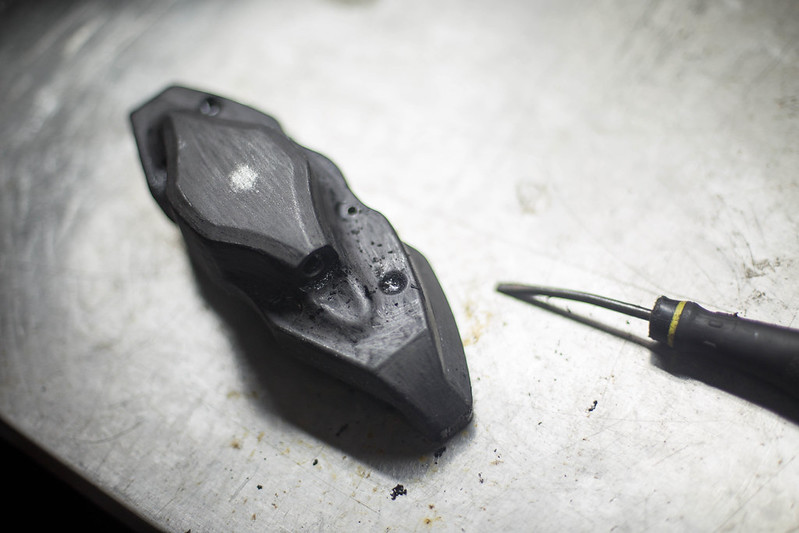 new computer (8 of 13)-2 by lawrx, on Flickr new computer (8 of 13)-2 by lawrx, on Flickr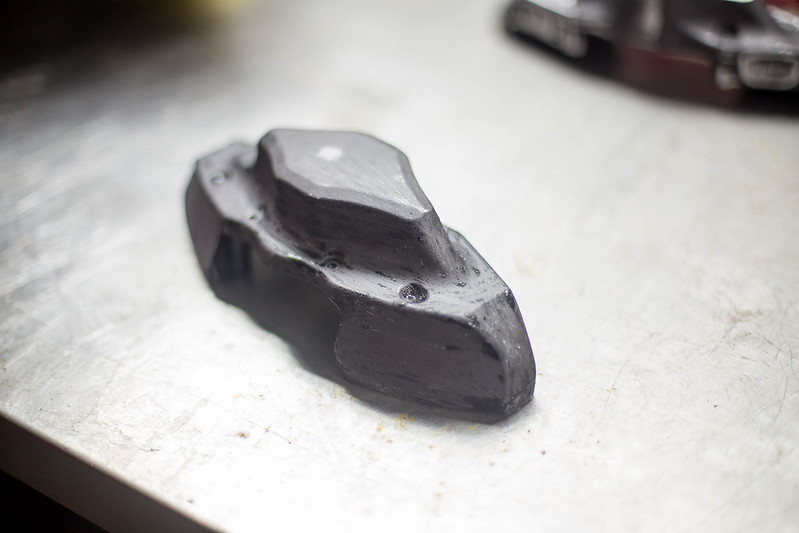 new computer (7 of 13)-2 by lawrx, on Flickr new computer (7 of 13)-2 by lawrx, on FlickrFor a change of pace as im getting sick of stripping paint, I started trimming up a center console I purchased. Plan is to delete the cup holder area as to me its kind of an awkward design, and then buy two universal cup holders to drop in. Will give a much more clean look, rid of the awkward centerconsolecupholderthingamagig they came up with. It will also allow me to add in some foam underneath the material im going to wrap it in as on long drives I rest my elbow there and being a hard surface it starts to hurt over time. With the cupholder area cut out I cut a section out of it to use as a blank to start creating the mounting area for the Tein EDFC controller. 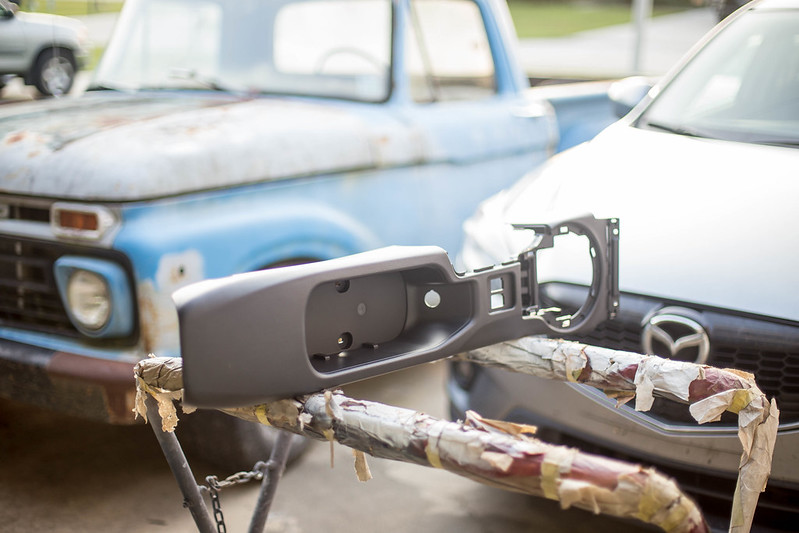 new computer (3 of 13)-2 by lawrx, on Flickr new computer (3 of 13)-2 by lawrx, on Flickr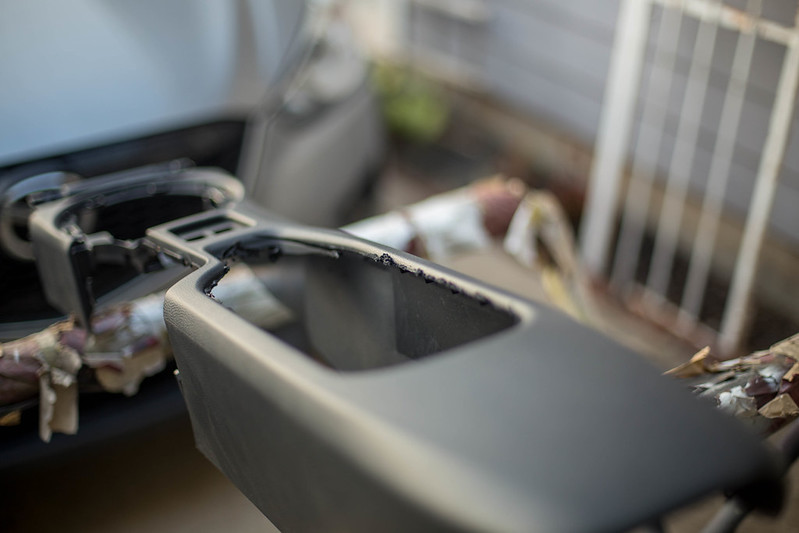 new computer (4 of 13)-2 by lawrx, on Flickr new computer (4 of 13)-2 by lawrx, on Flickr new computer (5 of 13)-2 by lawrx, on Flickr new computer (5 of 13)-2 by lawrx, on Flickr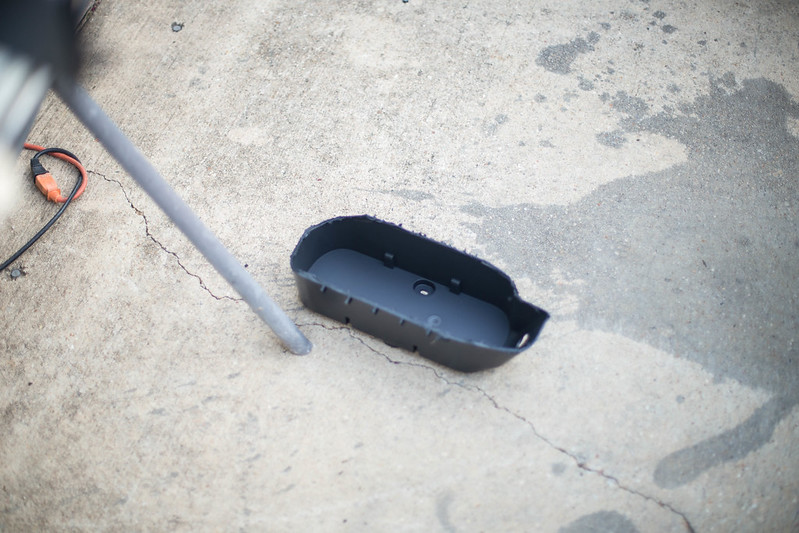 new computer (6 of 13)-2 by lawrx, on Flickr new computer (6 of 13)-2 by lawrx, on Flickr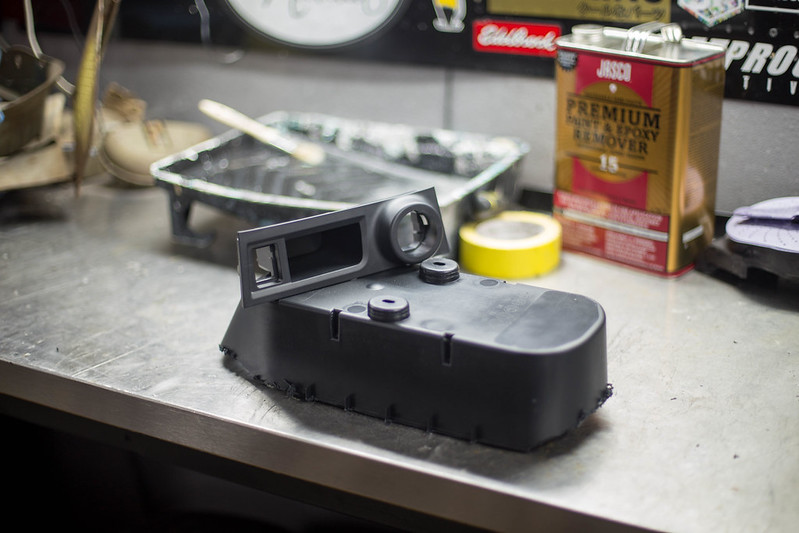 new computer (11 of 13)-2 by lawrx, on Flickr new computer (11 of 13)-2 by lawrx, on Flickr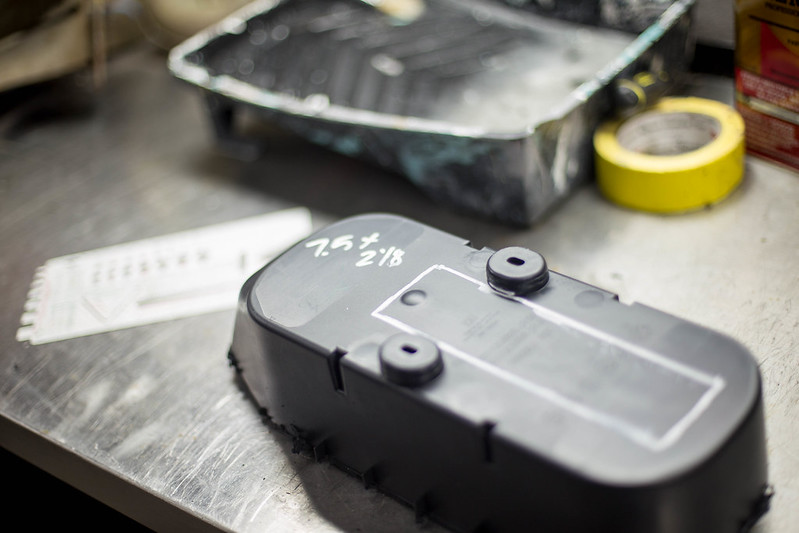 new computer (12 of 13)-2 by lawrx, on Flickr new computer (12 of 13)-2 by lawrx, on Flickr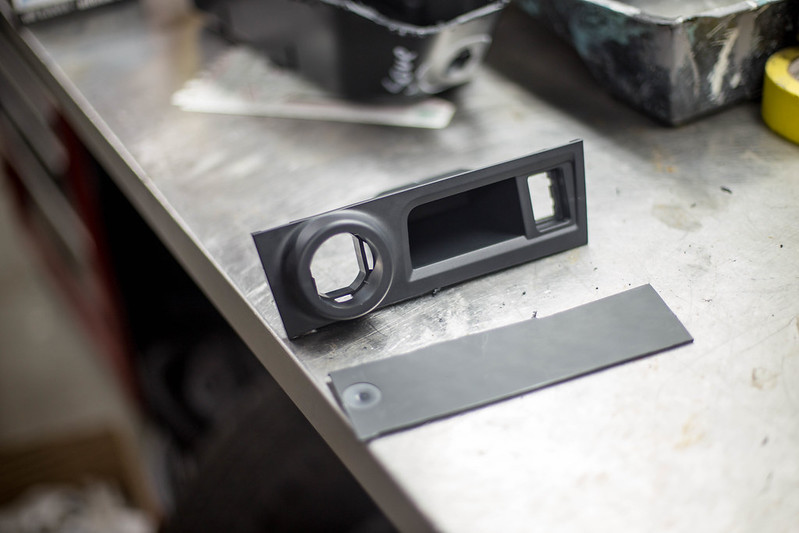 new computer (13 of 13)-2 by lawrx, on Flickr new computer (13 of 13)-2 by lawrx, on Flickr
|

|

|
|
09-19-2017, 08:51 PM
|
#72 |
|
Senior Member
Join Date: Apr 2013
Drives: 2014 BRZ
Location: Louisiana
Posts: 178
Thanks: 31
Thanked 122 Times in 67 Posts
Mentioned: 0 Post(s)
Tagged: 0 Thread(s)
|
FINALLY DONE STRIPPING THE REAR CALIPERS TO MY LIKING. Fuck powder coat, that took way too many sessions of stripping and scraping. The outer portions will now are boxed up and shipped out to a buddy for some work.
 new computer (20 of 20) by lawrx, on Flickr new computer (20 of 20) by lawrx, on Flickr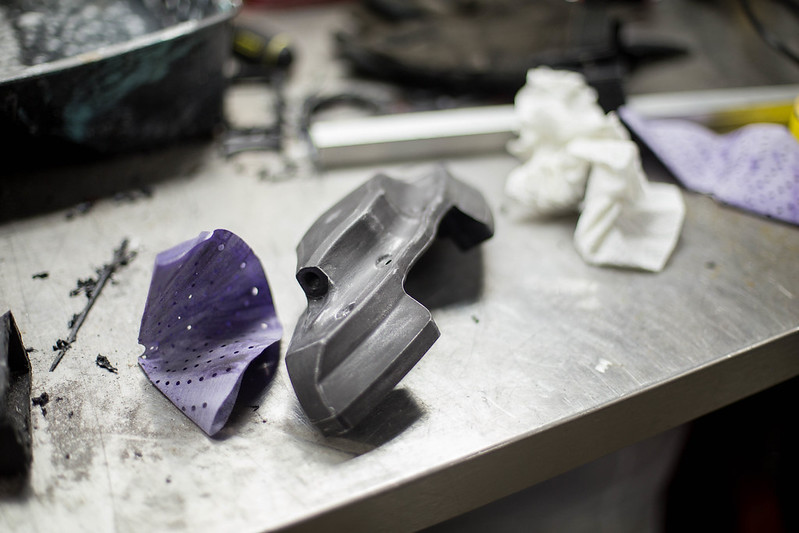 new computer (19 of 20) by lawrx, on Flickr new computer (19 of 20) by lawrx, on FlickrWith the calipers taken care of I turned my attention back to the interior pieces. I picked up some new cutting disk for my Dremel and went to town on chopping it up. First I cut the heated seat button mounts out so I could reuse them in the front portion of the console. I then trimmed up. the cut line of the main center console to get it ready to grafted in the center section.  new computer (1 of 20) by lawrx, on Flickr new computer (1 of 20) by lawrx, on Flickr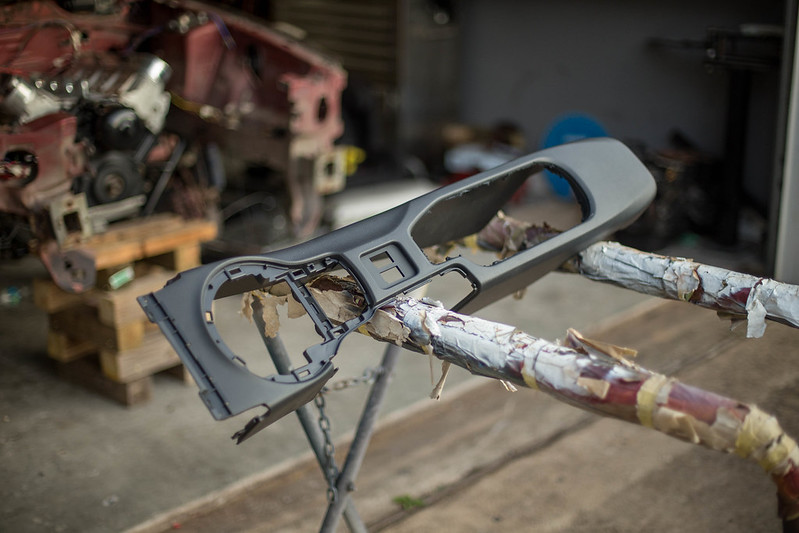 new computer (2 of 20) by lawrx, on Flickr new computer (2 of 20) by lawrx, on Flickr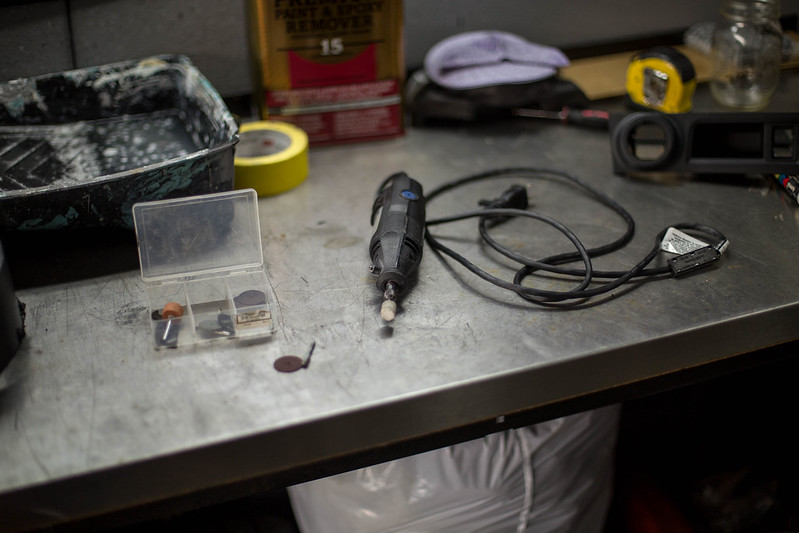 new computer (3 of 20) by lawrx, on Flickr new computer (3 of 20) by lawrx, on Flickr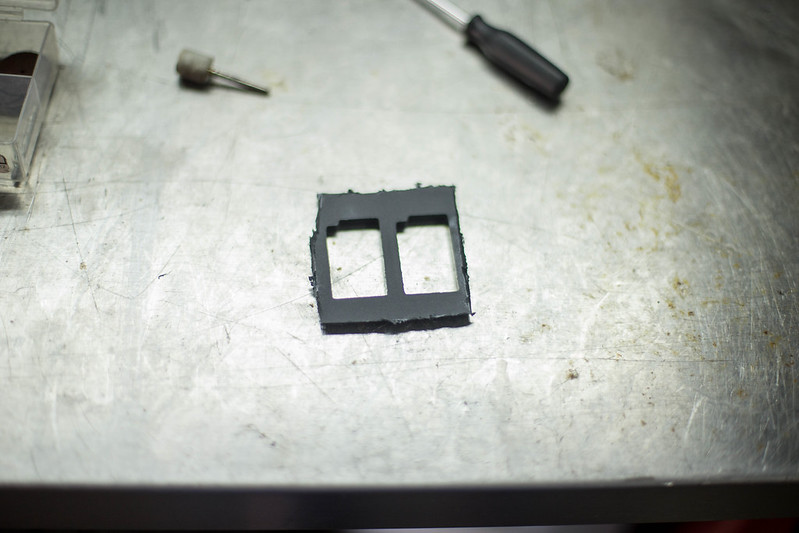 new computer (4 of 20) by lawrx, on Flickr new computer (4 of 20) by lawrx, on Flickr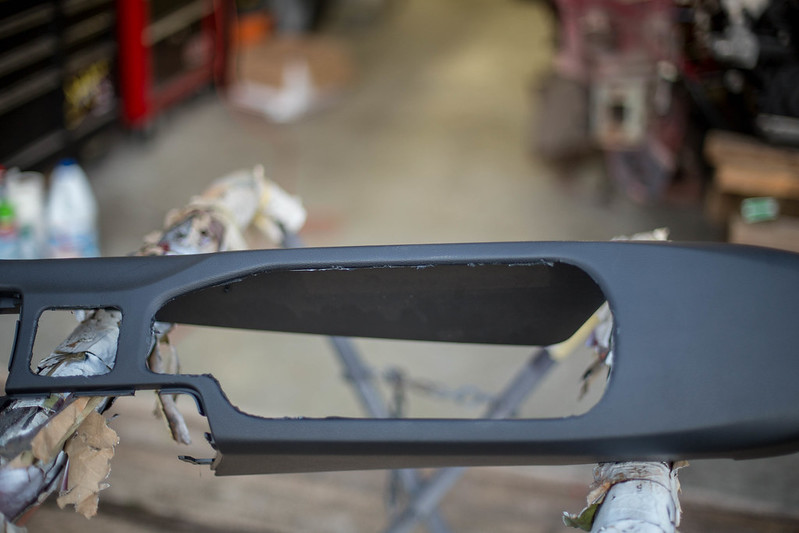 new computer (6 of 20) by lawrx, on Flickr new computer (6 of 20) by lawrx, on Flickr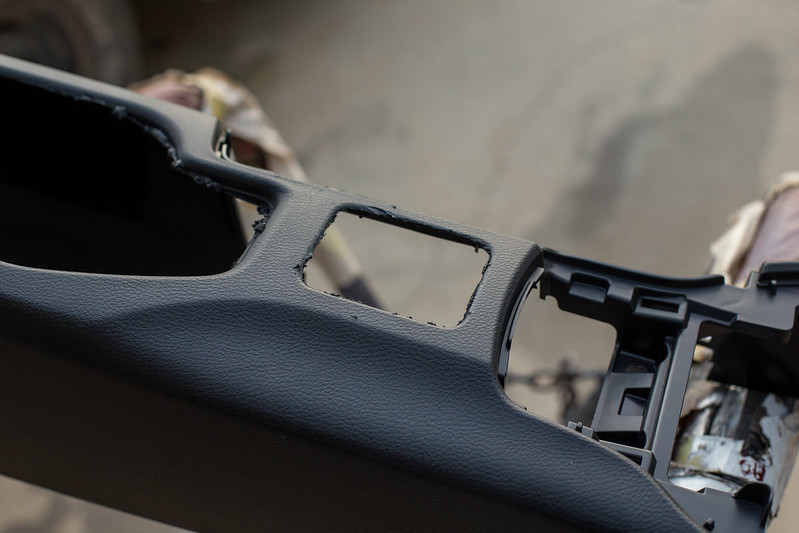 new computer (5 of 20) by lawrx, on Flickr new computer (5 of 20) by lawrx, on FlickrNext up I got to work on the push button trim. I cut out the push button mounting so I could use it to mount into the shifter trim. With it out of the way I was able to trim up the flat section id cut from the cup holder area to create a blank to plastic weld in. 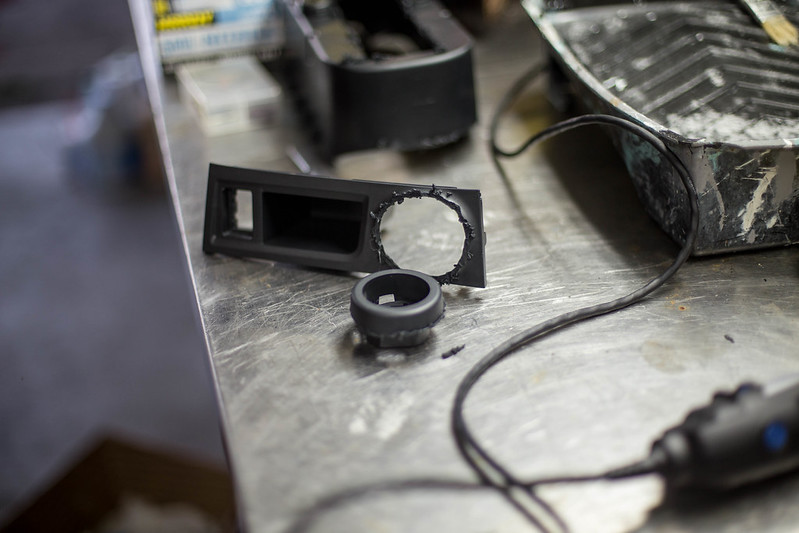 new computer (7 of 20) by lawrx, on Flickr new computer (7 of 20) by lawrx, on Flickr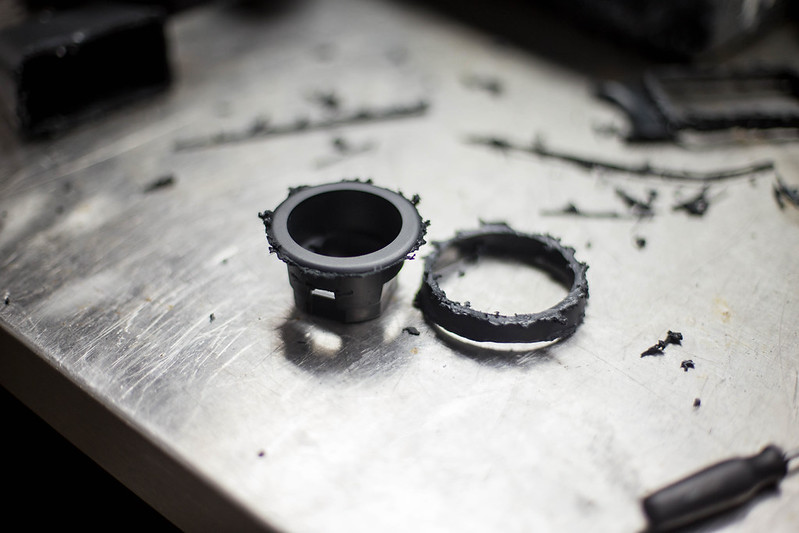 new computer (14 of 20) by lawrx, on Flickr new computer (14 of 20) by lawrx, on Flickr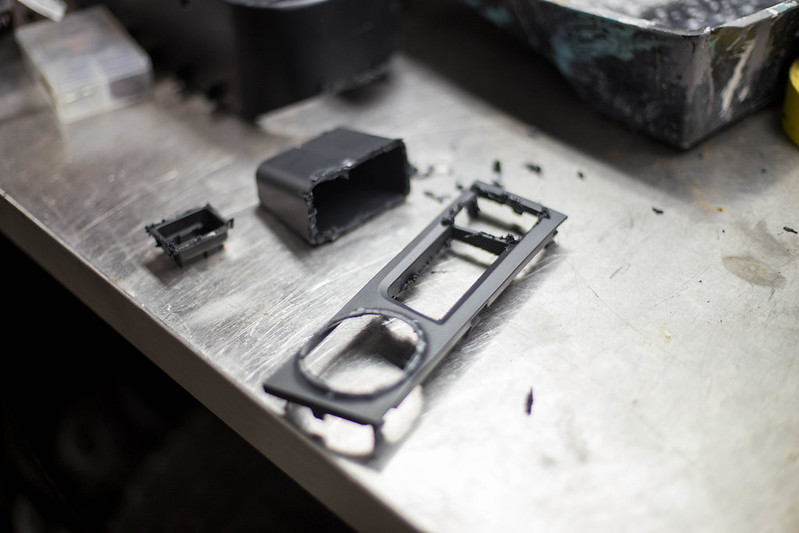 new computer (9 of 20) by lawrx, on Flickr new computer (9 of 20) by lawrx, on Flickr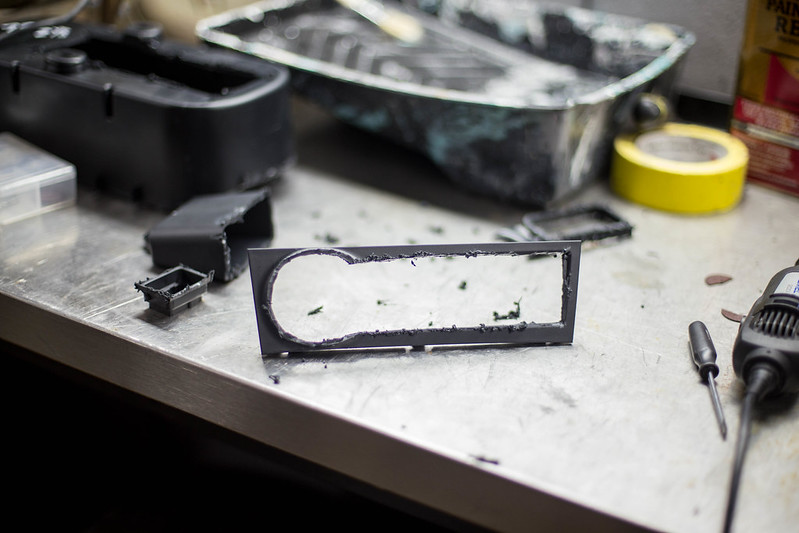 new computer (10 of 20) by lawrx, on Flickr new computer (10 of 20) by lawrx, on Flickr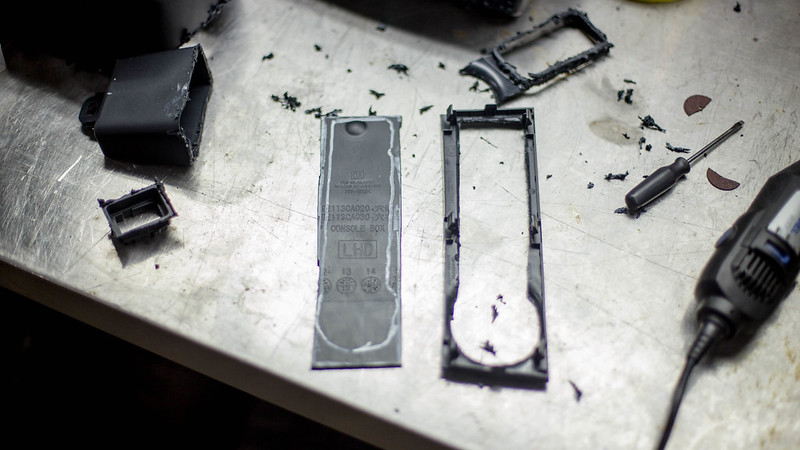 new computer (11 of 20) by lawrx, on Flickr new computer (11 of 20) by lawrx, on Flickr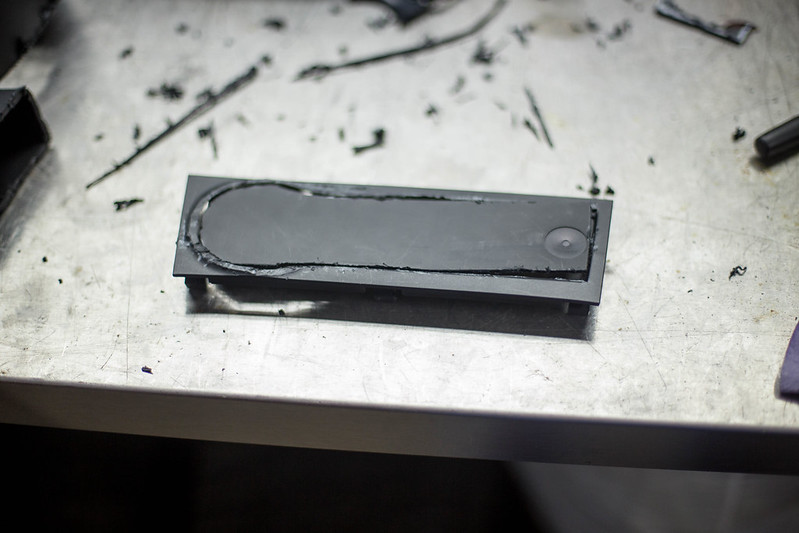 new computer (12 of 20) by lawrx, on Flickr new computer (12 of 20) by lawrx, on Flickr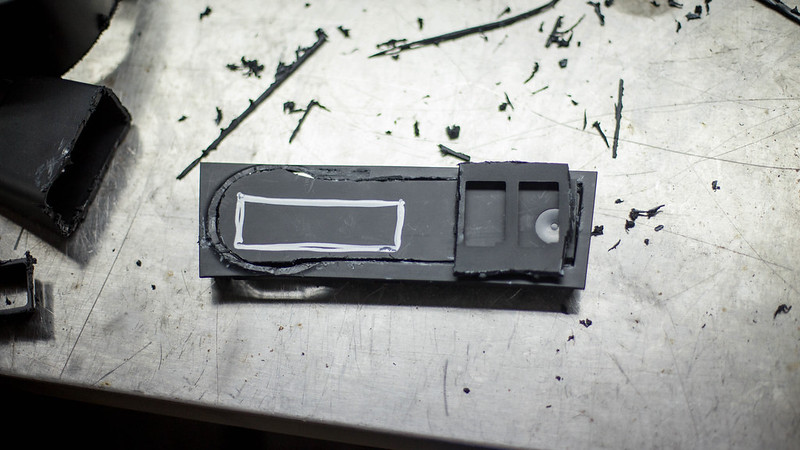 new computer (13 of 20) by lawrx, on Flickr new computer (13 of 20) by lawrx, on FlickrWith the trimming of the blank completed, and ready for the plastic welder which I will have to bring it to work for, I turned my attention to actually mounting the EDFC controller into the blank area I just created. I took some square aluminum tubing and cut it into two 90* angles. Ill be cutting out another set and two small sections to glue to the bezel as the actual mount itself. new computer (13 of 20) by lawrx, on Flickr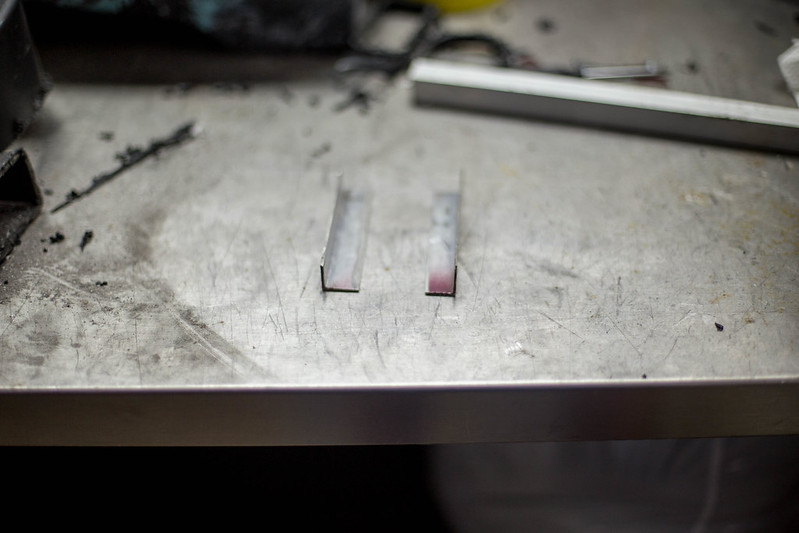 new computer (16 of 20) by lawrx, on Flickr new computer (16 of 20) by lawrx, on Flickr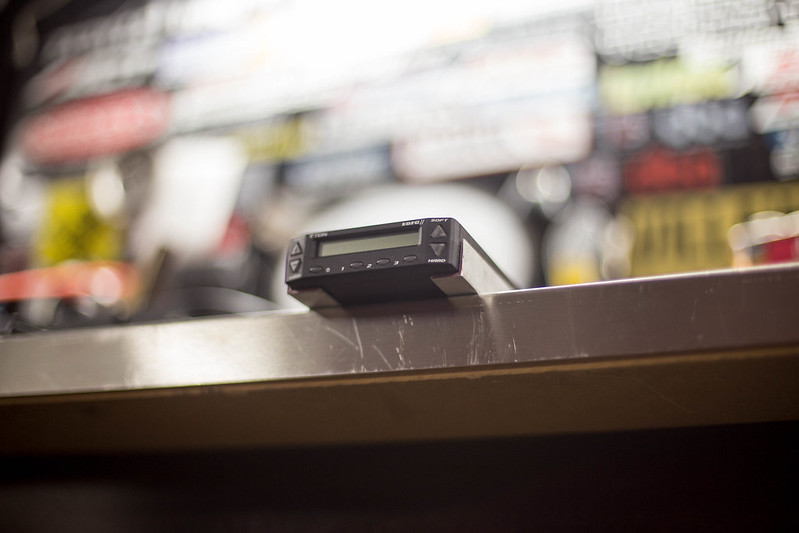 new computer (17 of 20) by lawrx, on Flickr new computer (17 of 20) by lawrx, on Flickr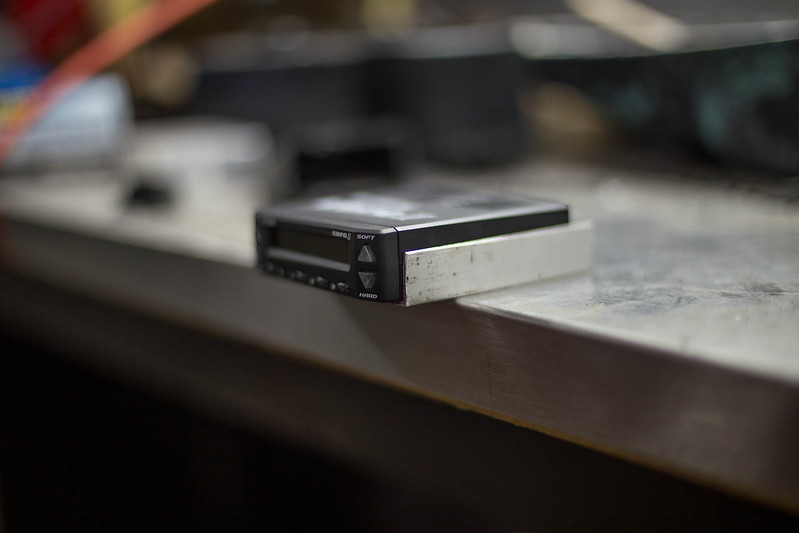 new computer (18 of 20) by lawrx, on Flickr new computer (18 of 20) by lawrx, on Flickr
|
|
|
|
| The Following 2 Users Say Thank You to laextreme5 For This Useful Post: | Irace86.2.0 (01-10-2018), jubella2 (01-10-2018) |
|
09-30-2017, 11:41 PM
|
#73 |
|
Senior Member
Join Date: Apr 2013
Drives: 2014 BRZ
Location: Louisiana
Posts: 178
Thanks: 31
Thanked 122 Times in 67 Posts
Mentioned: 0 Post(s)
Tagged: 0 Thread(s)
|
Alright, decent sized update.
This past week I was away on work in Chicago for a Management conference so I was unable to post about my Ti parts coming in for my calipers. Well, they finally came in from Russia. Shipping took forever, as expected, and the actual making of the parts took much longer than I was initially lead to believe. But they are here and thats all that matters. Now to decide if I should get matching hardware for the rear calipers since I've started on those now.... 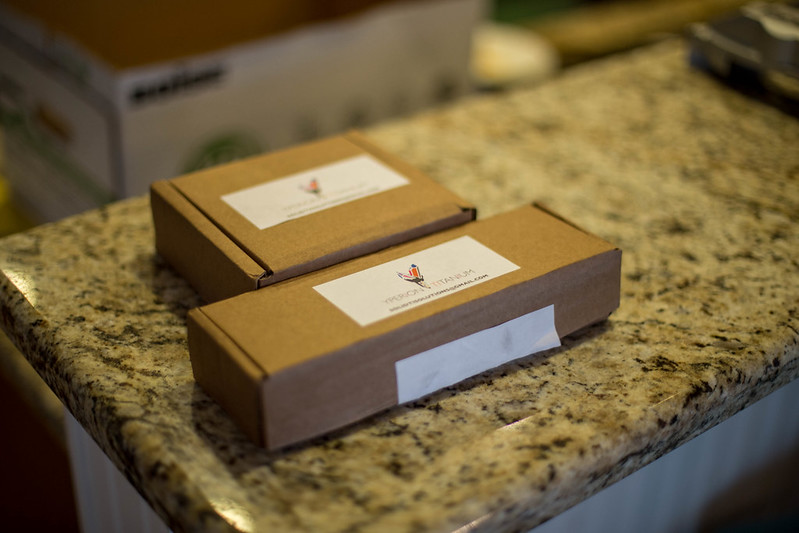 new computer (1 of 35) by lawrx, on Flickr new computer (1 of 35) by lawrx, on Flickr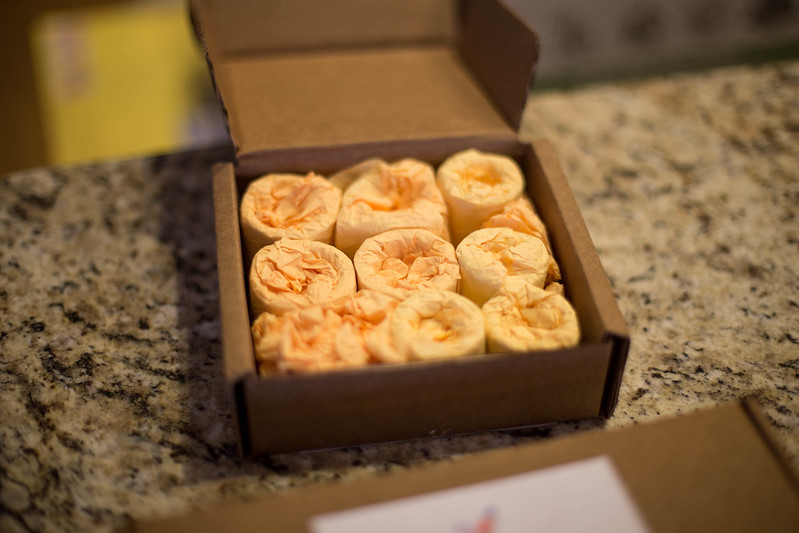 new computer (2 of 35) by lawrx, on Flickr new computer (2 of 35) by lawrx, on Flickr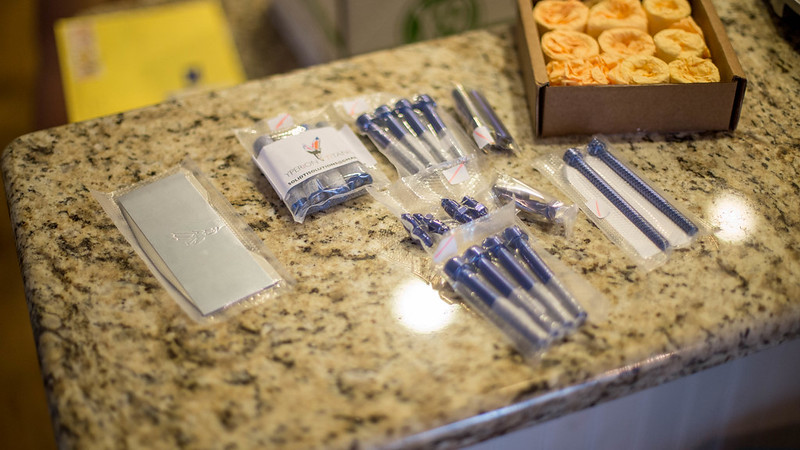 new computer (3 of 35) by lawrx, on Flickr new computer (3 of 35) by lawrx, on Flickr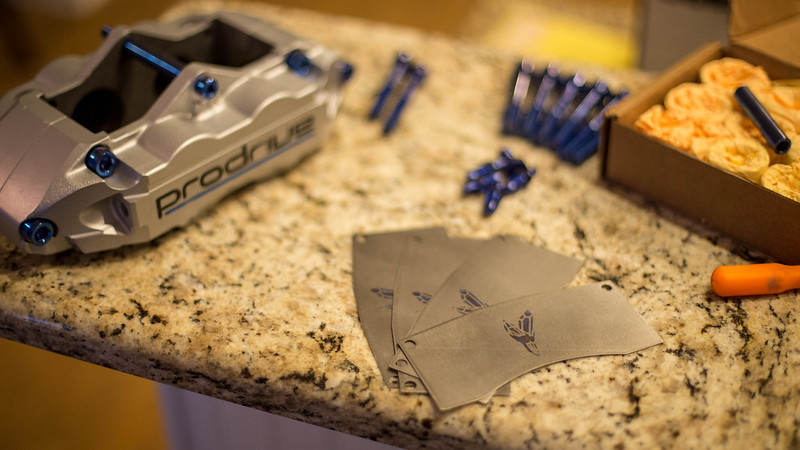 new computer (5 of 35) by lawrx, on Flickr new computer (5 of 35) by lawrx, on Flickr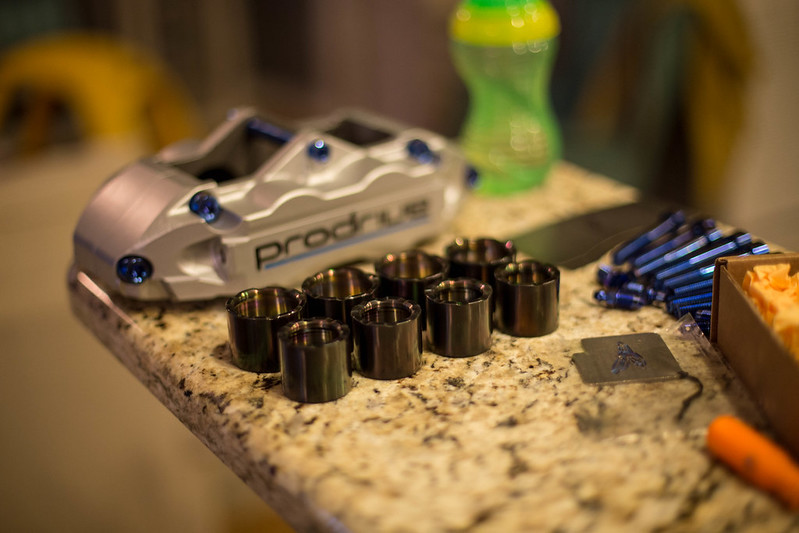 new computer (6 of 35) by lawrx, on Flickr new computer (6 of 35) by lawrx, on FlickrWith the parts in I finally had enough in that I could assemble the calipers. There were a few minor issues with the Ti parts, part there issue, part mine, and I was unable to use a few components due to incorrect thread pitch ( trying to speak to someone in russia who's 2mr or 3rd language isn English has its difficulties). But they were easily overcome by using my existing hardware. With the Ti parts, and new aluminum mount brackets I was able to shave 1.8 lbs from the as factory condition of these calipers, which translates to a 4.2 lbs saving over the box factory calipers. This weight doesn't include the rotors.  new computer (7 of 35) by lawrx, on Flickr new computer (7 of 35) by lawrx, on Flickr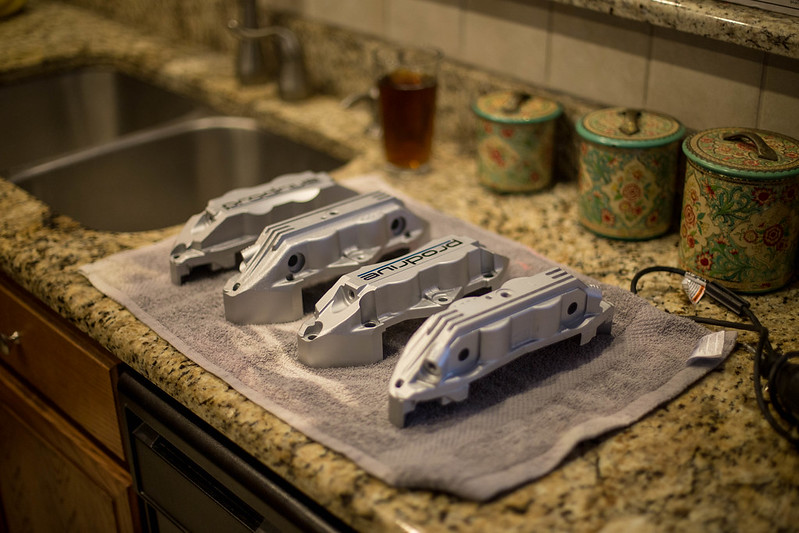 new computer (8 of 35) by lawrx, on Flickr new computer (8 of 35) by lawrx, on Flickr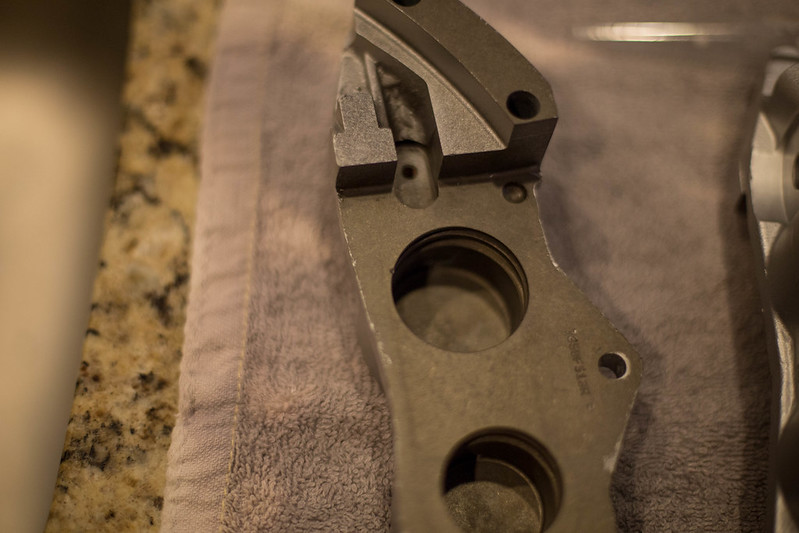 new computer (9 of 35) by lawrx, on Flickr new computer (9 of 35) by lawrx, on Flickr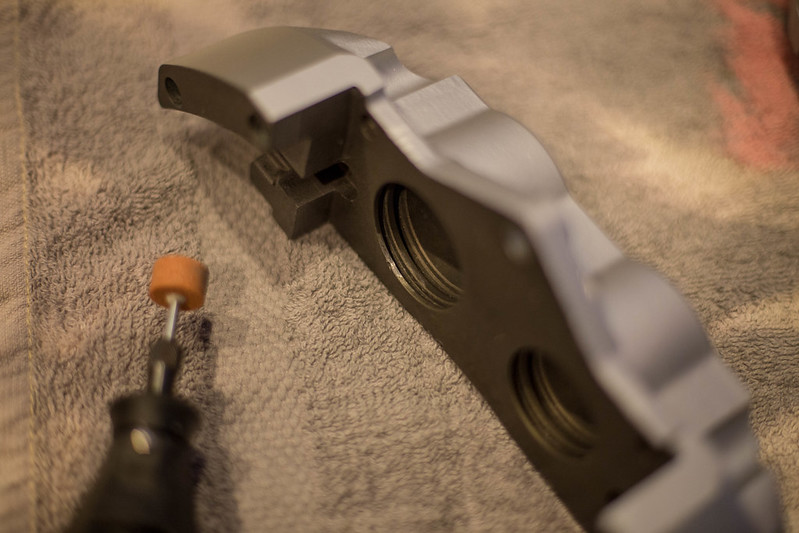 new computer (10 of 35) by lawrx, on Flickr new computer (10 of 35) by lawrx, on Flickr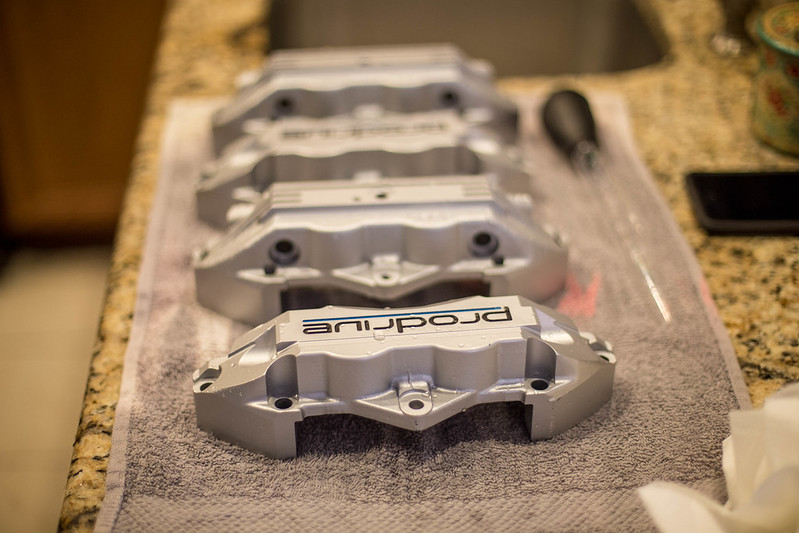 new computer (11 of 35) by lawrx, on Flickr new computer (11 of 35) by lawrx, on Flickr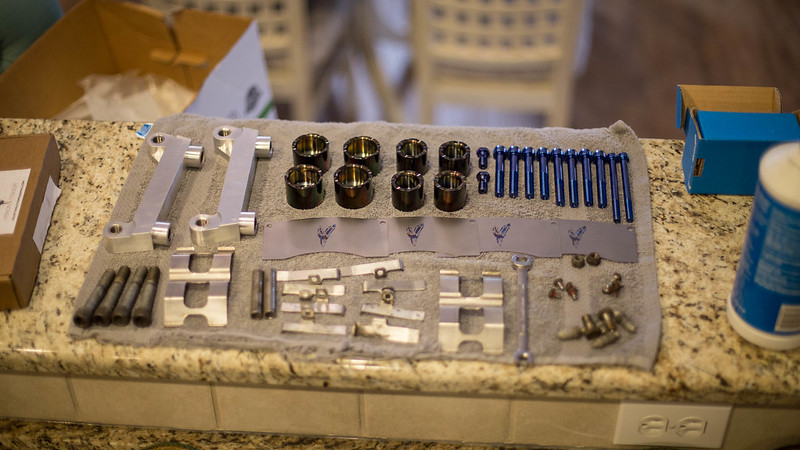 new computer (12 of 35) by lawrx, on Flickr new computer (12 of 35) by lawrx, on Flickr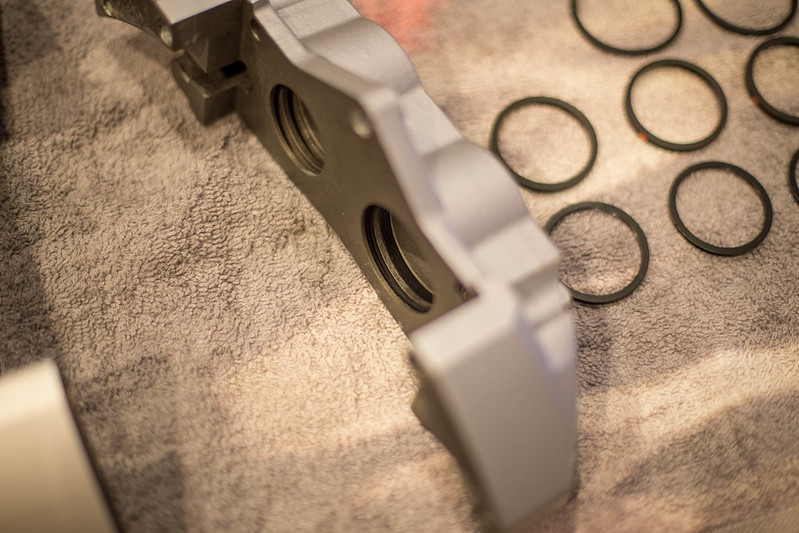 new computer (13 of 35) by lawrx, on Flickr new computer (13 of 35) by lawrx, on Flickr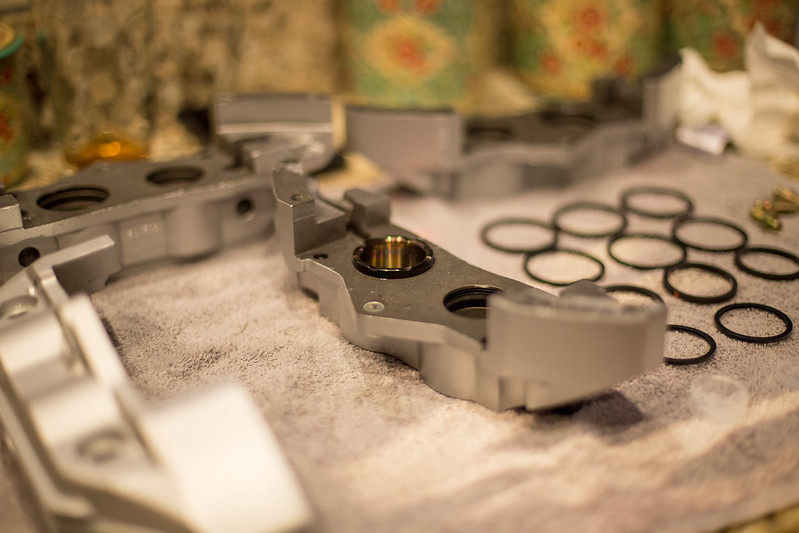 new computer (14 of 35) by lawrx, on Flickr new computer (14 of 35) by lawrx, on Flickr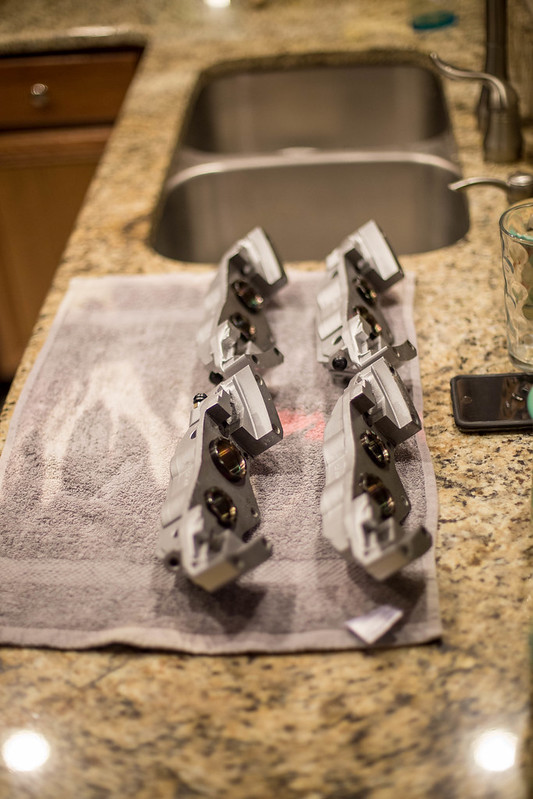 new computer (17 of 35) by lawrx, on Flickr new computer (17 of 35) by lawrx, on Flickr new computer (18 of 35) by lawrx, on Flickr new computer (18 of 35) by lawrx, on Flickr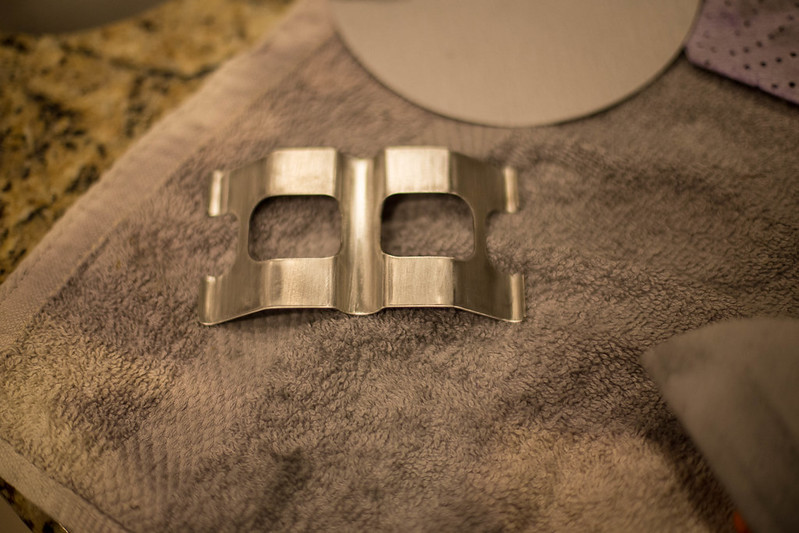 new computer (19 of 35) by lawrx, on Flickr new computer (19 of 35) by lawrx, on Flickr new computer (20 of 35) by lawrx, on Flickr new computer (20 of 35) by lawrx, on Flickr new computer (22 of 35) by lawrx, on Flickr new computer (22 of 35) by lawrx, on Flickr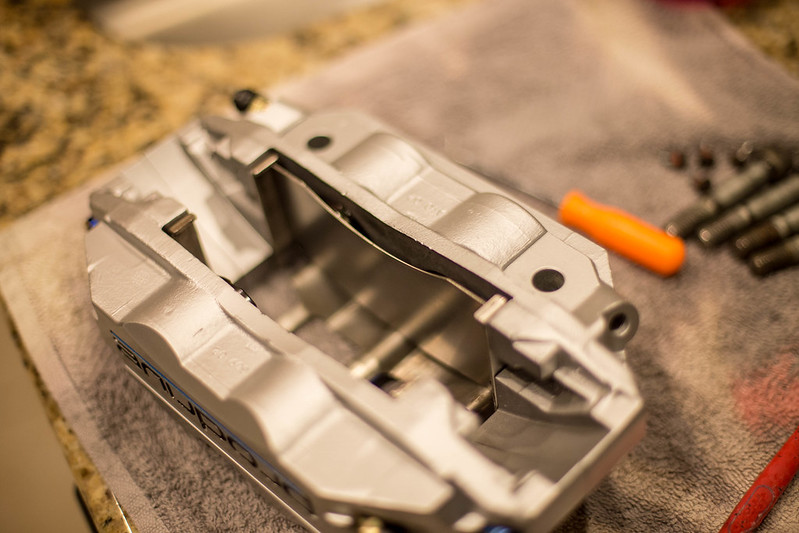 new computer (23 of 35) by lawrx, on Flickr new computer (23 of 35) by lawrx, on Flickr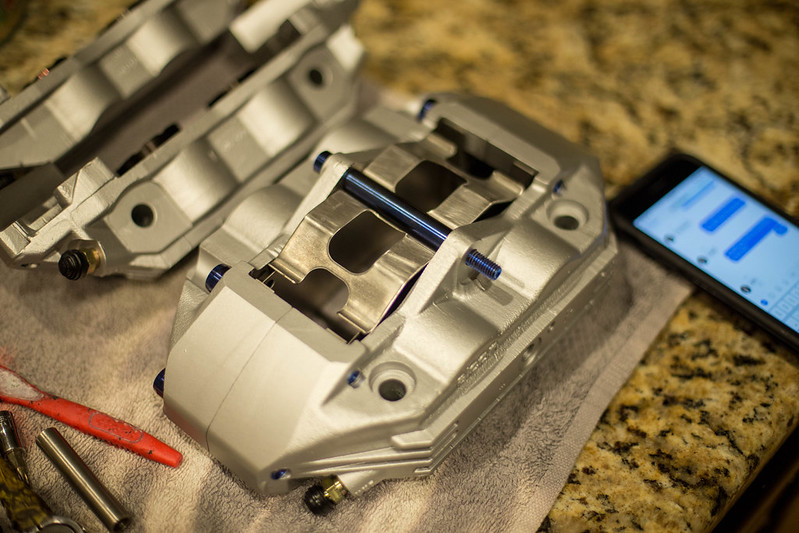 new computer (24 of 35) by lawrx, on Flickr new computer (24 of 35) by lawrx, on Flickr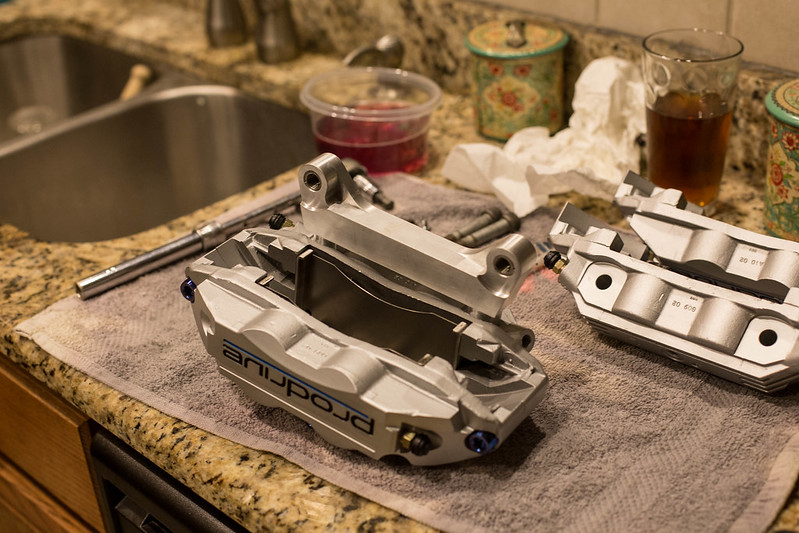 new computer (25 of 35) by lawrx, on Flickr new computer (25 of 35) by lawrx, on Flickr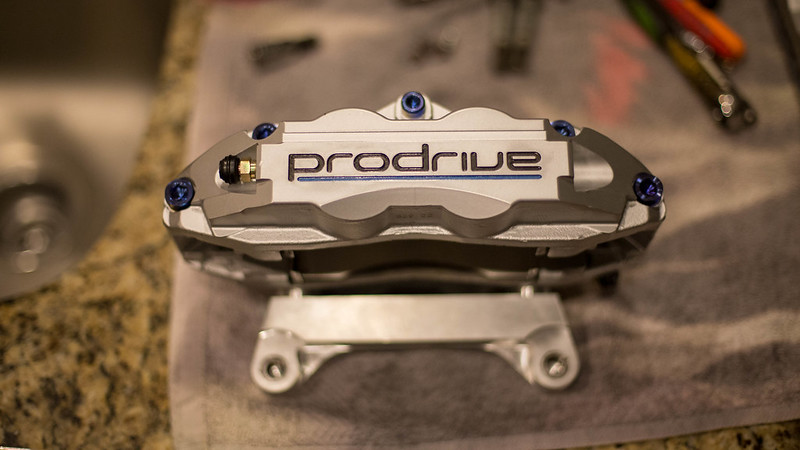 new computer (27 of 35) by lawrx, on Flickr new computer (27 of 35) by lawrx, on Flickr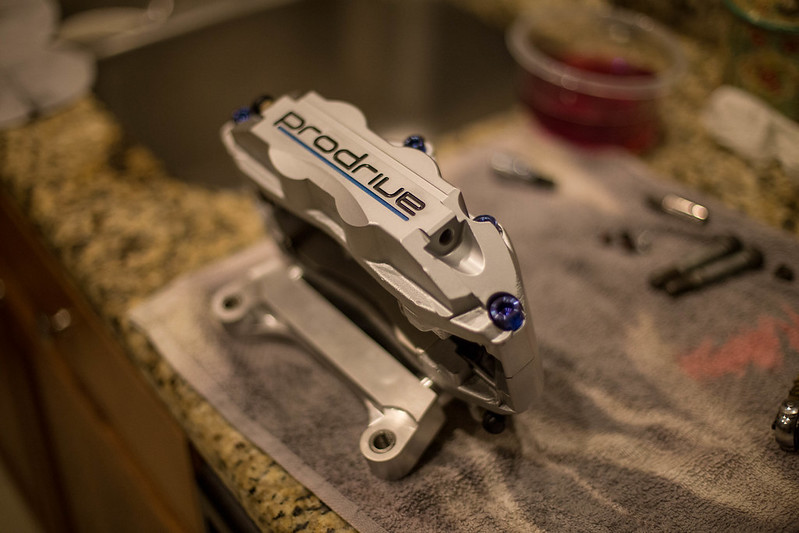 new computer (29 of 35) by lawrx, on Flickr new computer (29 of 35) by lawrx, on Flickr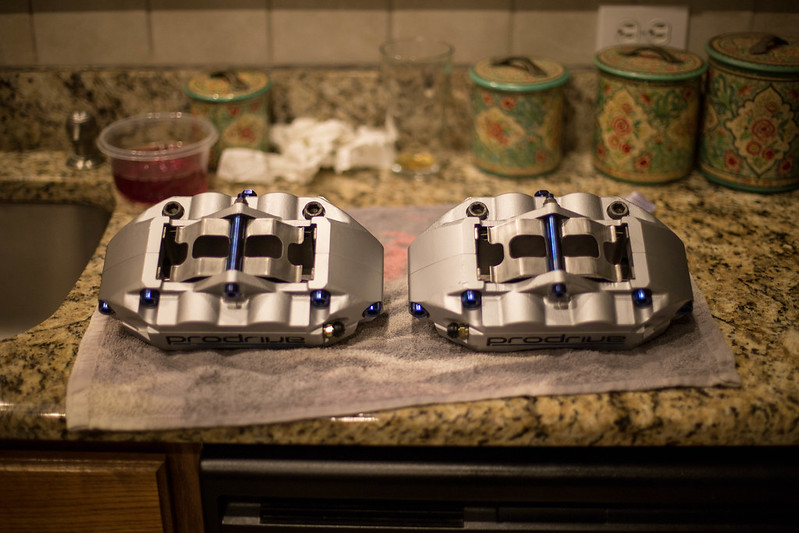 new computer (31 of 35) by lawrx, on Flickr new computer (31 of 35) by lawrx, on Flickr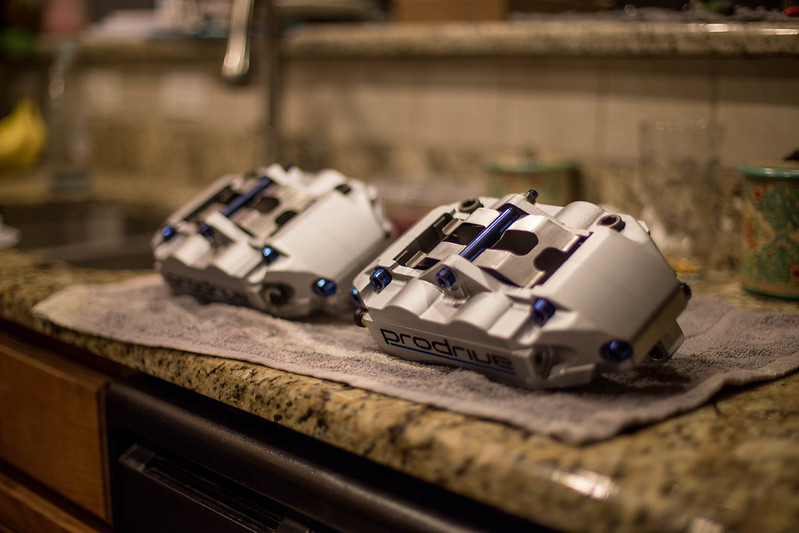 new computer (32 of 35) by lawrx, on Flickr new computer (32 of 35) by lawrx, on Flickr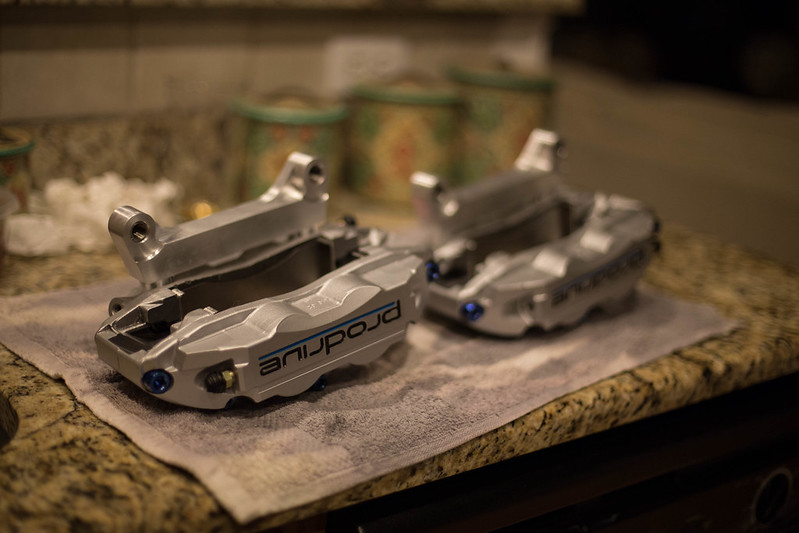 new computer (33 of 35) by lawrx, on Flickr new computer (33 of 35) by lawrx, on Flickr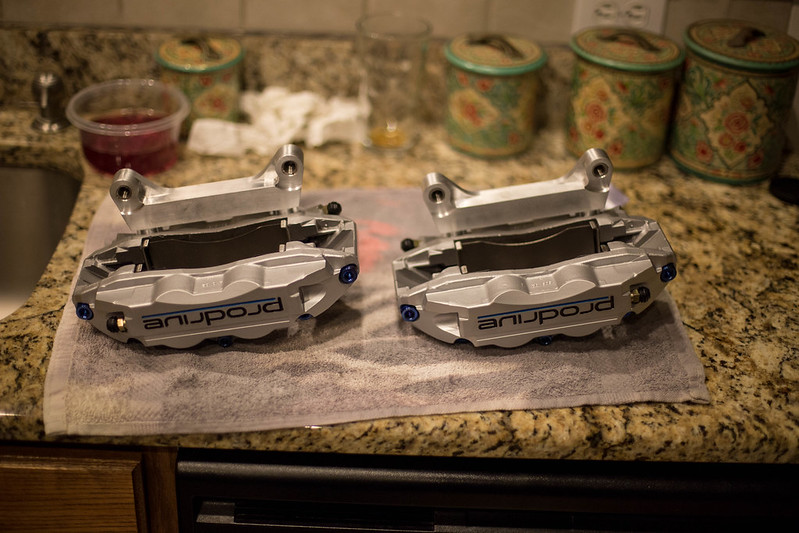 new computer (34 of 35) by lawrx, on Flickr new computer (34 of 35) by lawrx, on Flickr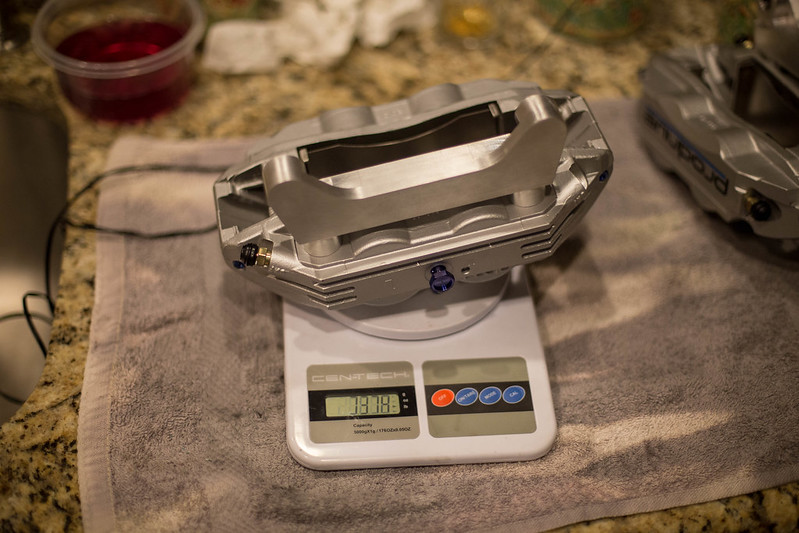 new computer (35 of 35) by lawrx, on Flickr new computer (35 of 35) by lawrx, on Flickr
|
|
|
|
|
10-22-2017, 08:55 PM
|
#74 |
|
Senior Member
Join Date: Apr 2013
Drives: 2014 BRZ
Location: Louisiana
Posts: 178
Thanks: 31
Thanked 122 Times in 67 Posts
Mentioned: 0 Post(s)
Tagged: 0 Thread(s)
|
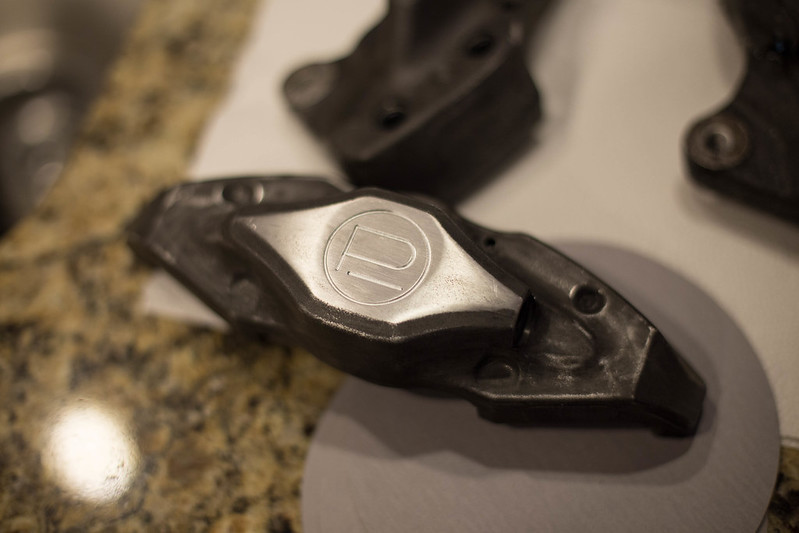
Few weeks back I had sent out the rear calipers to a buddy of mine. Reasoning behind that was for him to do some engraving for me. As some of you may be aware, there was never a Prodrive rear brake set made to match the front setup. Being a stickler about details, I wanted them to match and flow together. So I sent them to my buddy Jami Schnakengburg at Bombsquad Performance (shameless shoutout, they do amazing work, look them up on fb and IG, ti welding, engraving, inc work the lot, awesome guys). Needless to say ill let the pictures do the talking. OH yeah, once they came in I painted them too Which I need to redo as so spots I thought would come out ok did not.
 new computer (2 of 11) by lawrx, on Flickr new computer (2 of 11) by lawrx, on Flickr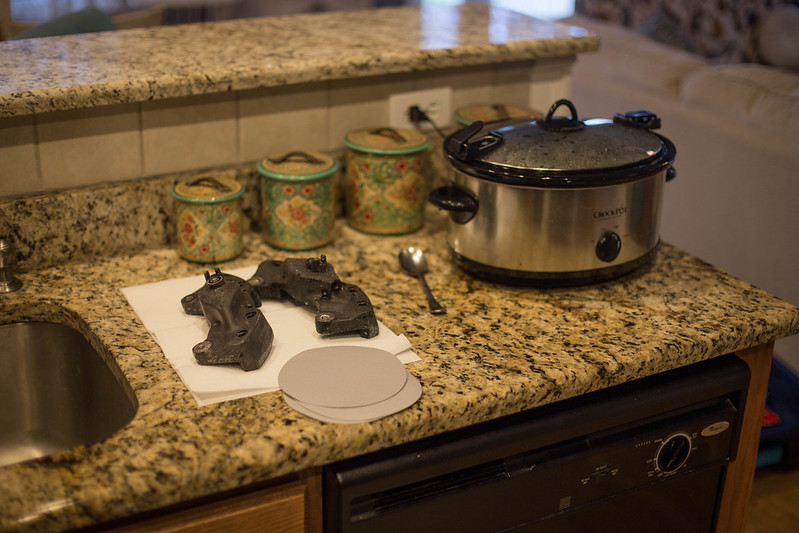 new computer (1 of 11) by lawrx, on Flickr new computer (1 of 11) by lawrx, on Flickr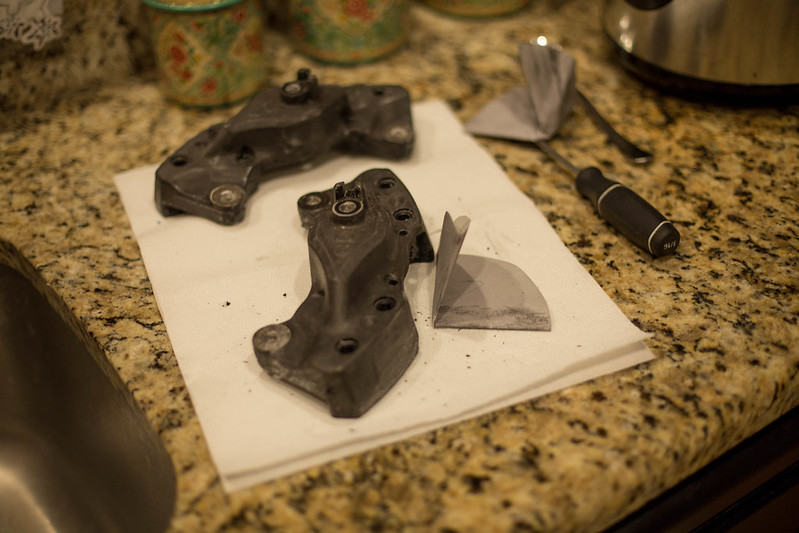 new computer (3 of 11) by lawrx, on Flickr new computer (3 of 11) by lawrx, on Flickr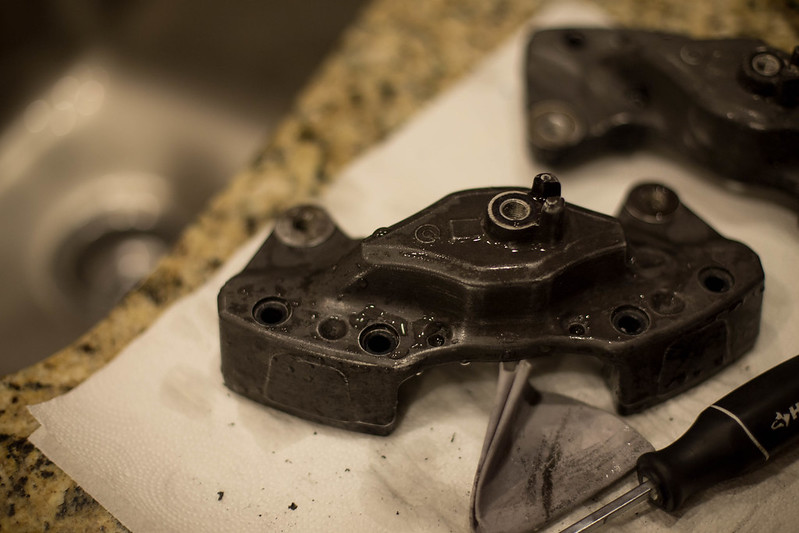 new computer (4 of 11) by lawrx, on Flickr new computer (4 of 11) by lawrx, on Flickr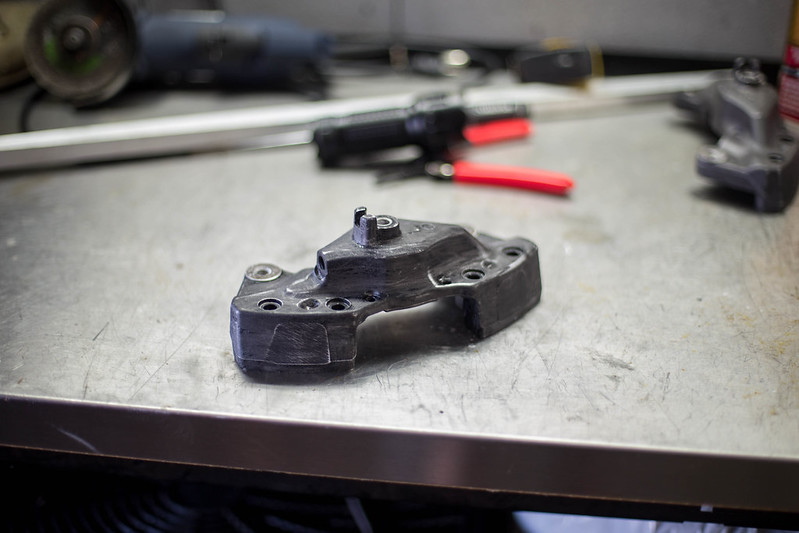 new computer (5 of 11) by lawrx, on Flickr new computer (5 of 11) by lawrx, on Flickr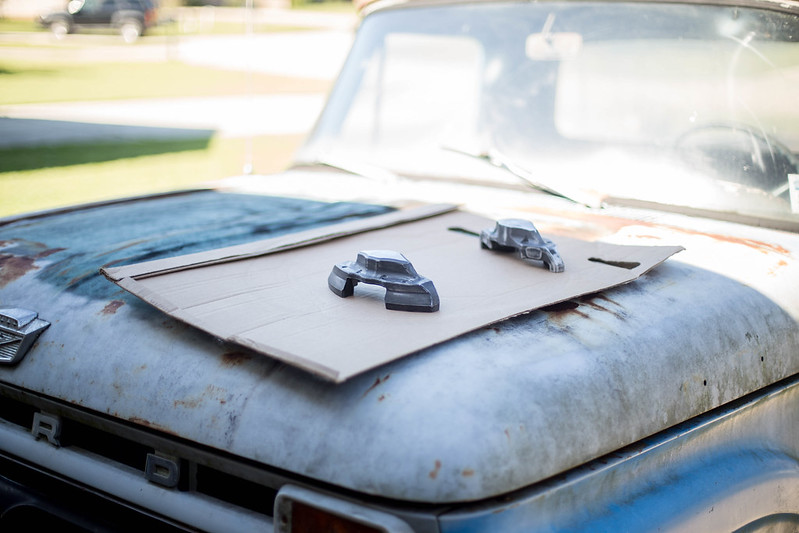 new computer (7 of 11) by lawrx, on Flickr new computer (7 of 11) by lawrx, on Flickr new computer (8 of 11) by lawrx, on Flickr new computer (8 of 11) by lawrx, on Flickr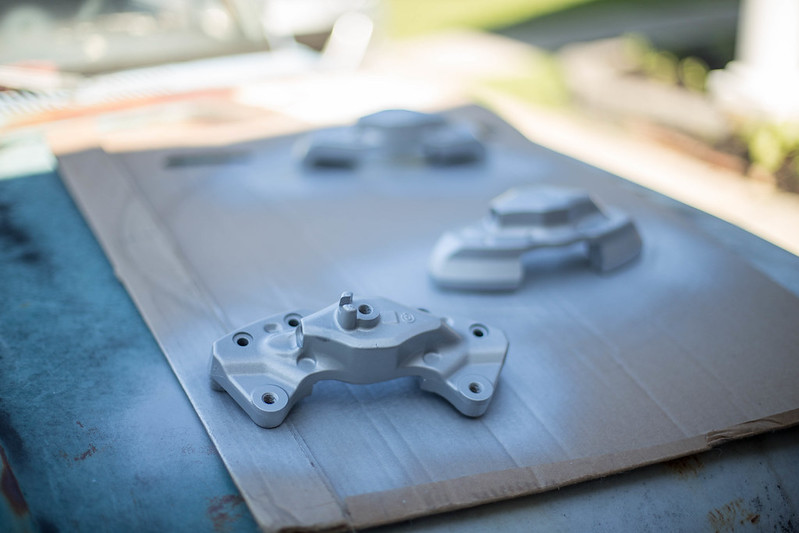 new computer (9 of 11) by lawrx, on Flickr new computer (9 of 11) by lawrx, on Flickr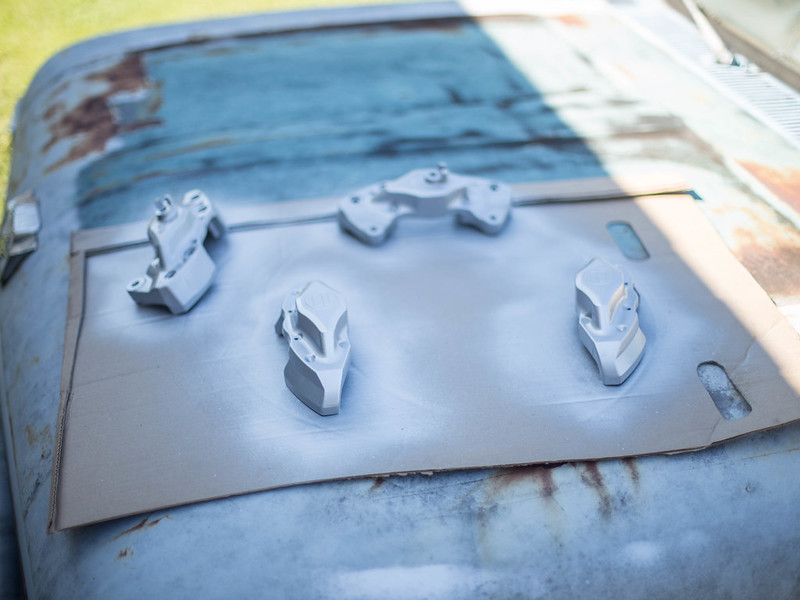 new computer (10 of 11) by lawrx, on Flickr new computer (10 of 11) by lawrx, on Flickr new computer (11 of 11) by lawrx, on Flickr new computer (11 of 11) by lawrx, on Flickr
|
|
|
|
| The Following 2 Users Say Thank You to laextreme5 For This Useful Post: | dowroa (10-22-2017), Irace86.2.0 (01-10-2018) |
|
12-08-2017, 10:20 PM
|
#75 |
|
Senior Member
Join Date: Apr 2013
Drives: 2014 BRZ
Location: Louisiana
Posts: 178
Thanks: 31
Thanked 122 Times in 67 Posts
Mentioned: 0 Post(s)
Tagged: 0 Thread(s)
|
Alright, bit of an update. Been a while due to holidays, vacations, work etc.
Anyway, lets get big one out of the way. I picked up another set of wheels, albeit not able to currently use them. They are genuine used FIA GT3 Nismo GTR centerlock rays off of a GT500 GTR from last season. Rubber stuck to the inner barrels and all. Im super stoked about them, even if they never make it onto the car. Obviously these won't fit without wide body which has always been in the future plans. Ill just sit on these wheels till the time comes. Going to have to do some engineering and parts building to make them work, but I feel it will be worth it. 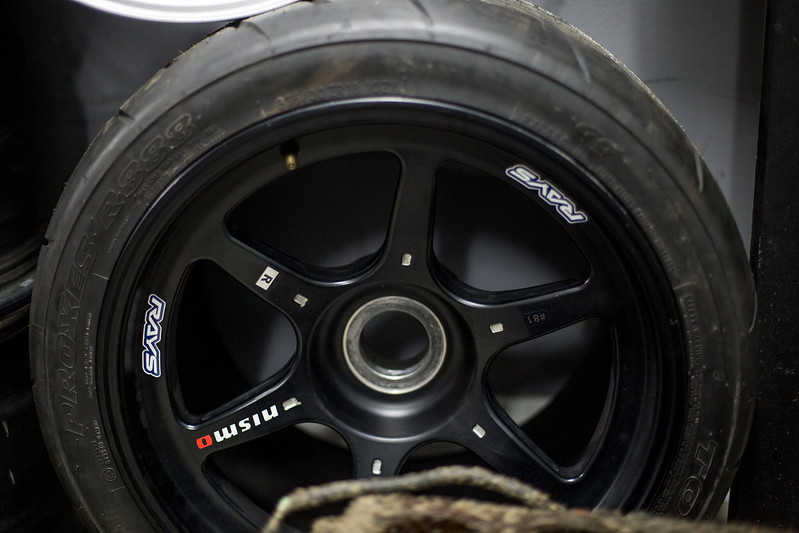 IMG_7710 by lawrx, on Flickr IMG_7710 by lawrx, on Flickr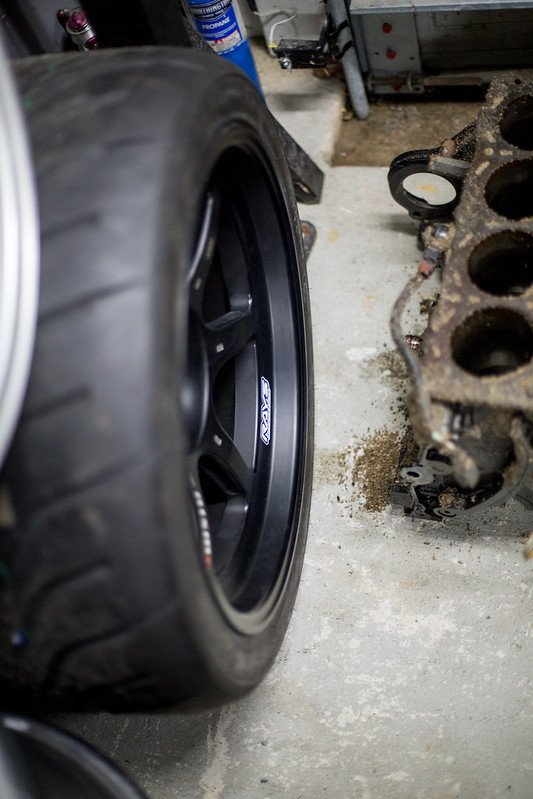 IMG_7708 by lawrx, on Flickr IMG_7708 by lawrx, on Flickr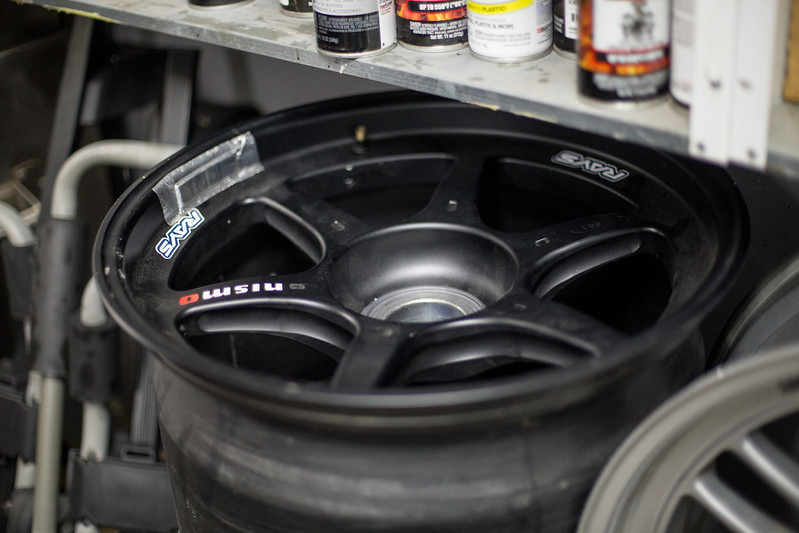 IMG_7707 by lawrx, on Flickr IMG_7707 by lawrx, on Flickr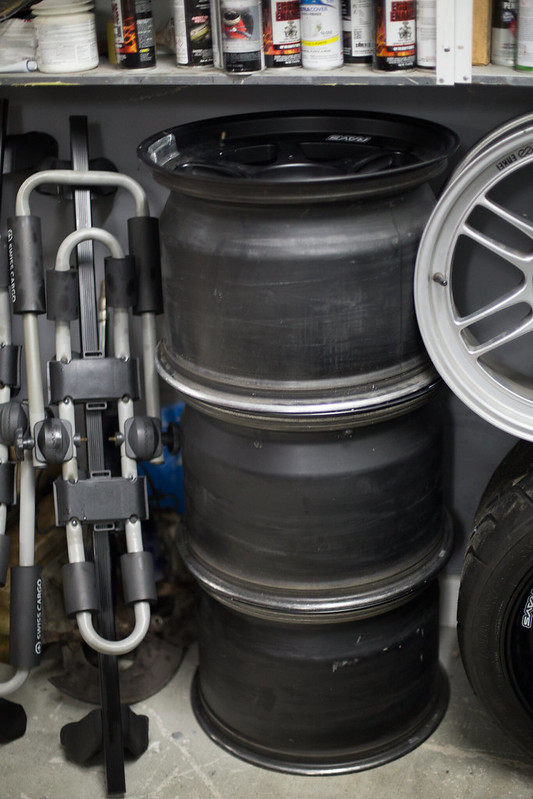 IMG_7706 by lawrx, on Flickr IMG_7706 by lawrx, on Flickr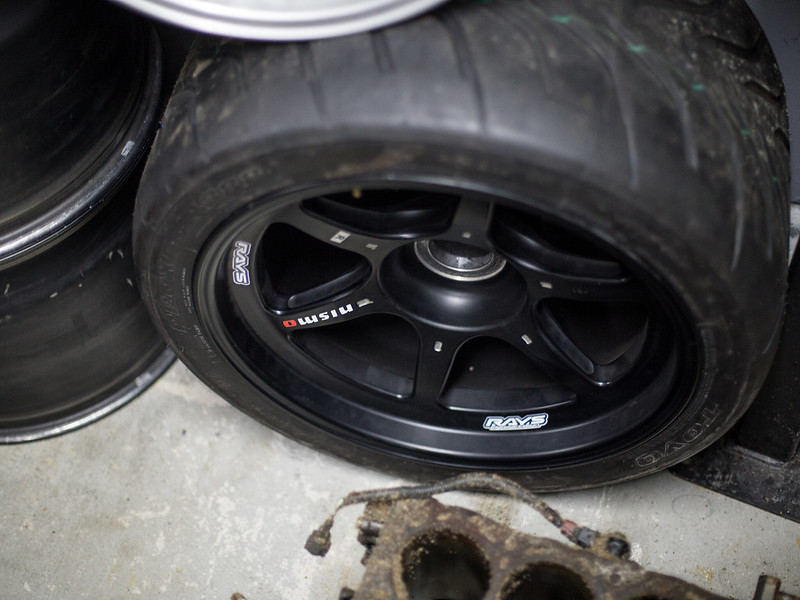 IMG_7705 by lawrx, on Flickr IMG_7705 by lawrx, on FlickrNext up I've upgraded my steering wheel. Jumped on the Greddy Black Friday sale and got their Ken Gushi edition sterring wheel. Also picked up an OMP wheel spare. Due to the Greedy wheel being shallower I wanted the spacer to move the wheel a little closer. In short it moved it closer by about .5'' which was perfect. Need to pick up some black button head screws to hold the adaptor to the quick release as the silver OMP provided sticks out like a sore thumb. 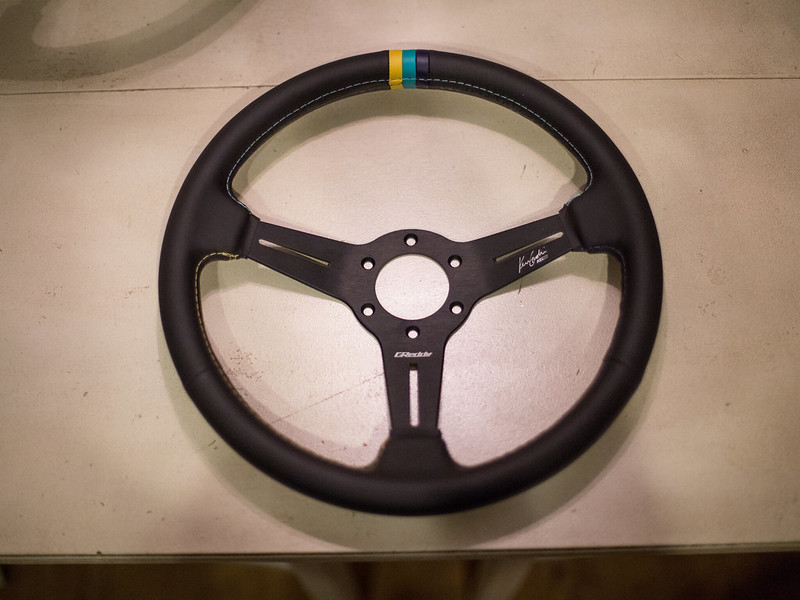 IMG_7693 by lawrx, on Flickr IMG_7693 by lawrx, on Flickr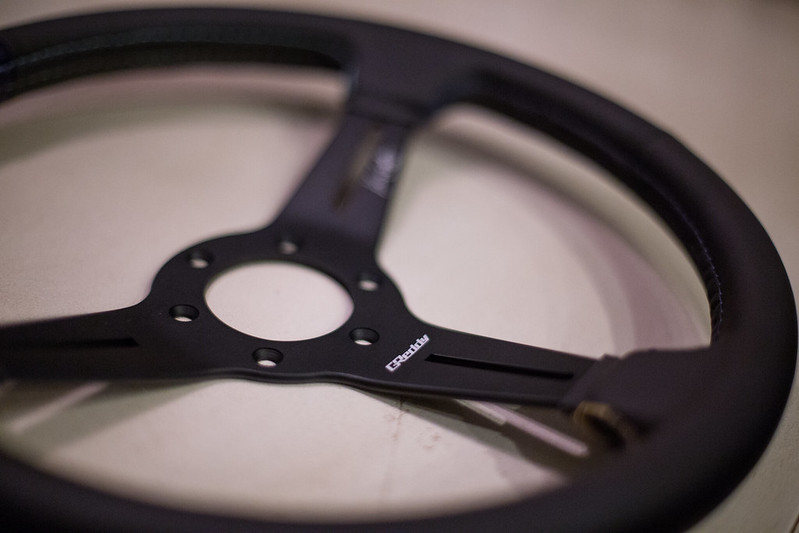 IMG_7694 by lawrx, on Flickr IMG_7694 by lawrx, on Flickr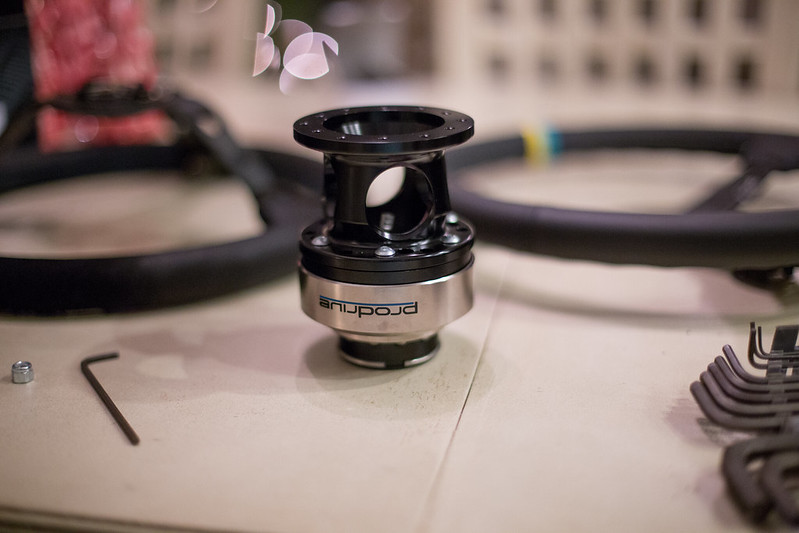 IMG_7696 by lawrx, on Flickr IMG_7696 by lawrx, on Flickr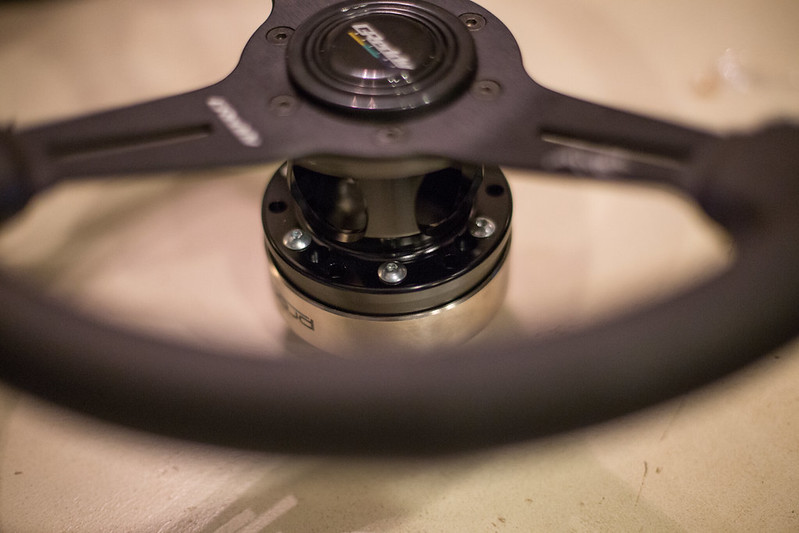 IMG_7699 by lawrx, on Flickr IMG_7699 by lawrx, on Flickr
|
|
|
|
|
12-10-2017, 11:22 PM
|
#76 |
|
Senior Member
Join Date: Apr 2013
Drives: 2014 BRZ
Location: Louisiana
Posts: 178
Thanks: 31
Thanked 122 Times in 67 Posts
Mentioned: 0 Post(s)
Tagged: 0 Thread(s)
|
Had some time over the weekend so I put some more work in on the suspension.
I got the Wisefab rear suspension all mocked up for checking clearances, and to take some measurements. Due to the knuckle design, my desired ride height, the subframe and diff bushings moving each component from its original place there may be some interference issues with the axles. Im also taking some measurements to see how much I can push the track width out within the limits of the arms adjustability as well as axle allowance. Lastly ill also be measuring roll center and seeing where its placement will be in reference to the front and looking for ways to adjust it accordingly to how I want it if needed. Also in its current state there is 9'' of wheel travel. ID say thats plenty sufficient and ill likely use only around half that, but good to know its there if I need it. 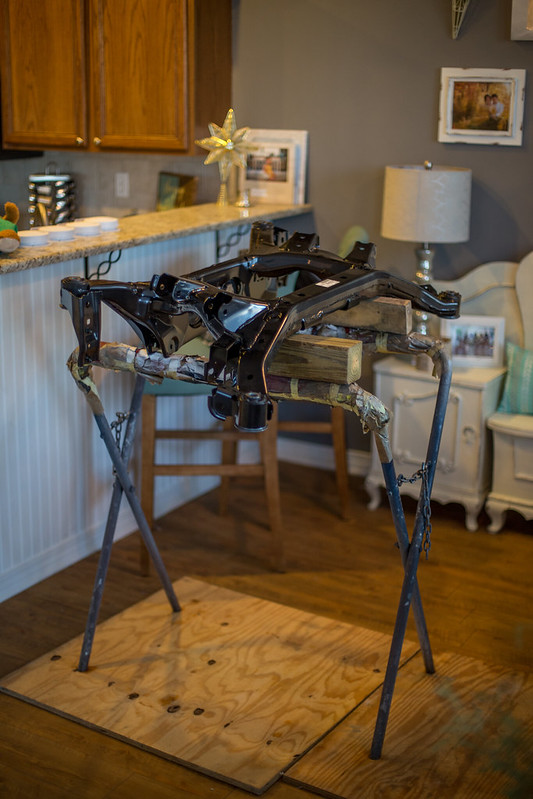 IMG_7785 by lawrx, on Flickr IMG_7785 by lawrx, on Flickr IMG_7786 by lawrx, on Flickr IMG_7786 by lawrx, on Flickr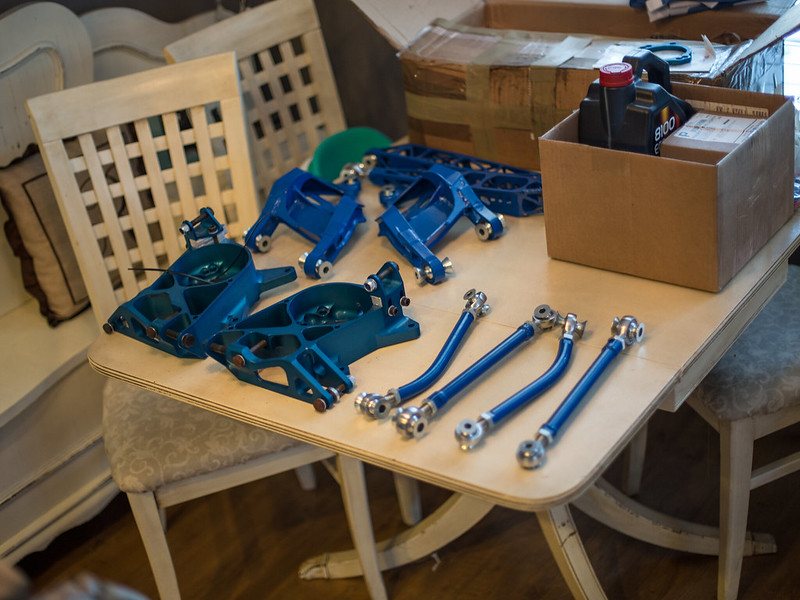 IMG_7787 by lawrx, on Flickr IMG_7787 by lawrx, on Flickr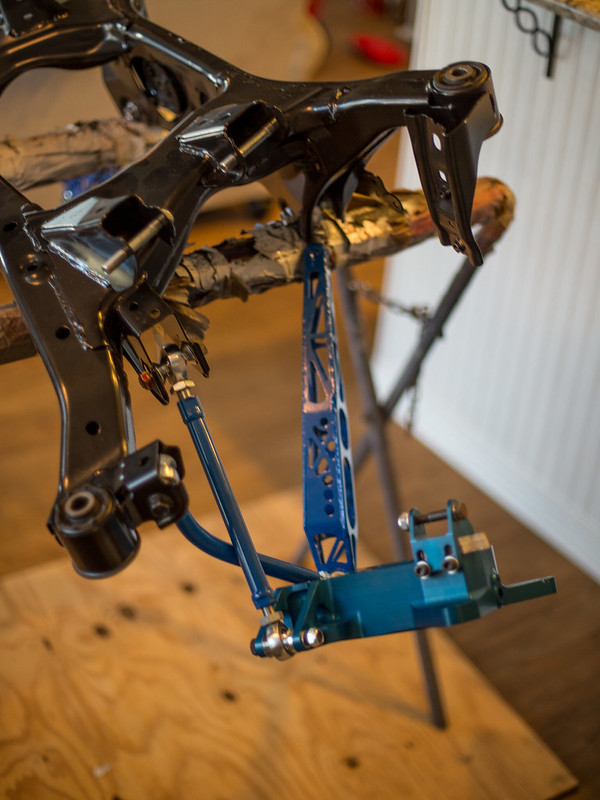 IMG_7788 by lawrx, on Flickr IMG_7788 by lawrx, on Flickr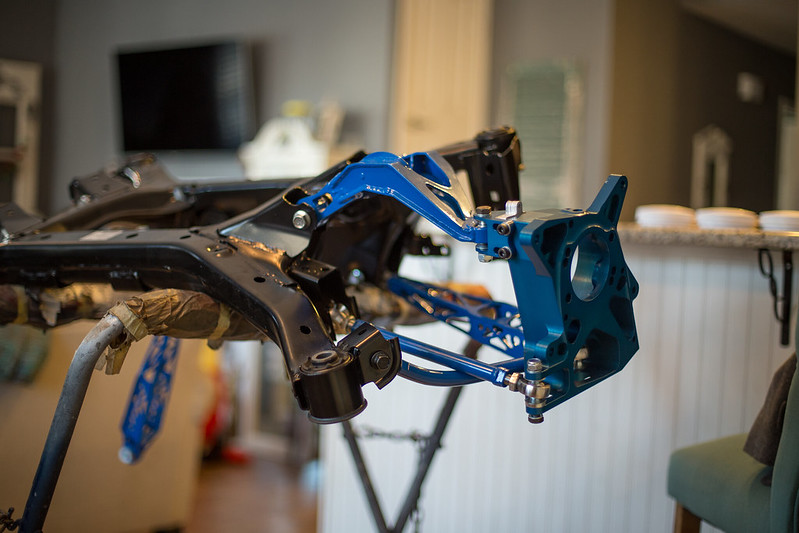 IMG_7789 by lawrx, on Flickr IMG_7789 by lawrx, on Flickr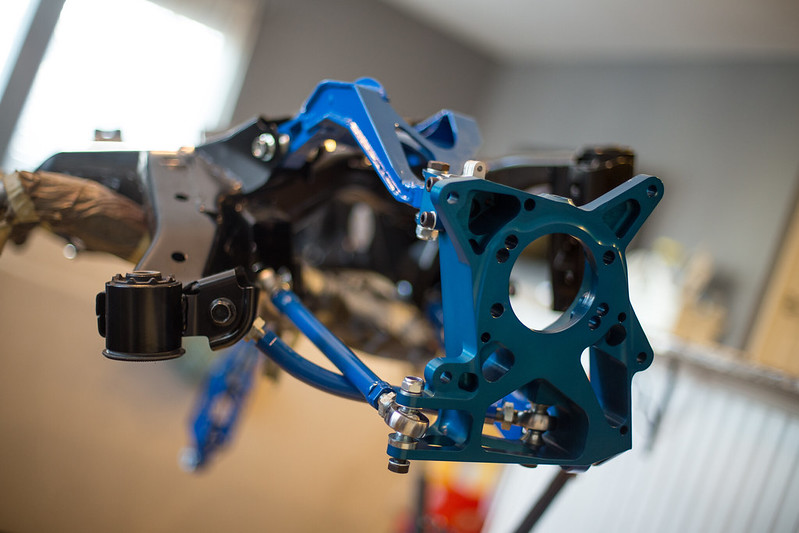 IMG_7790 by lawrx, on Flickr IMG_7790 by lawrx, on Flickr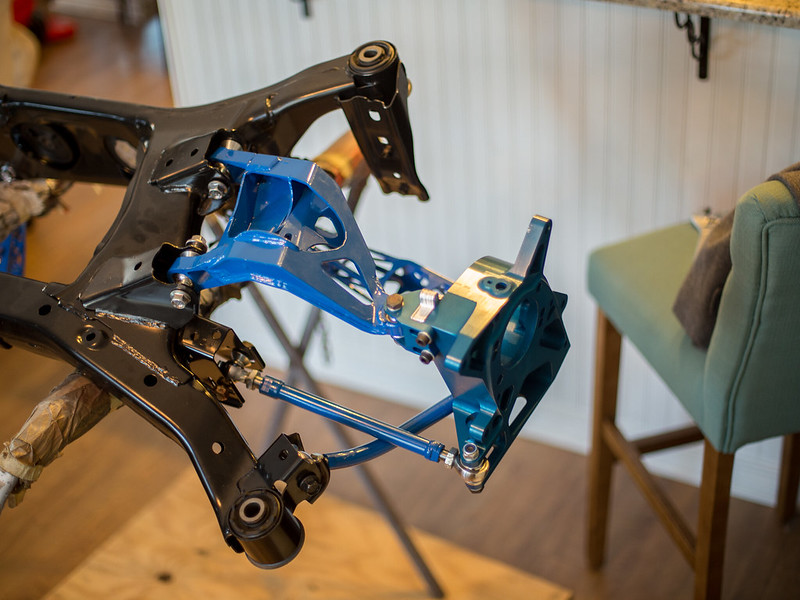 IMG_7791 by lawrx, on Flickr IMG_7791 by lawrx, on Flickr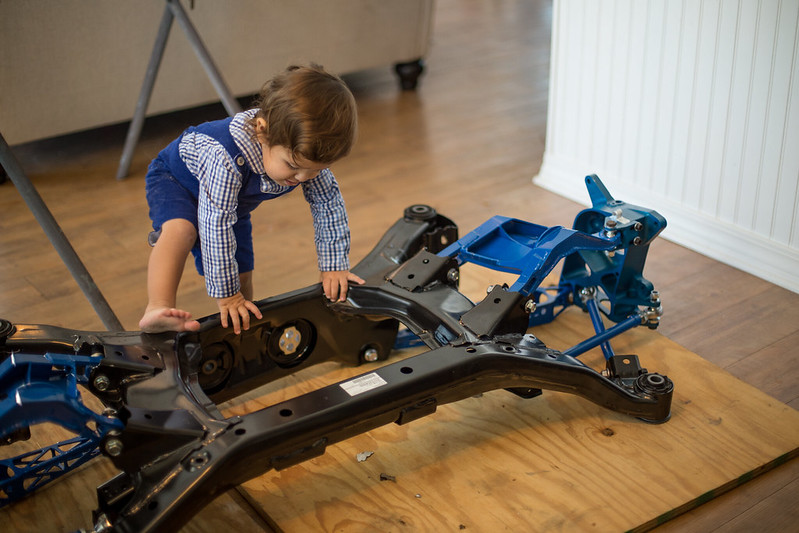 IMG_7794 by lawrx, on Flickr IMG_7794 by lawrx, on Flickr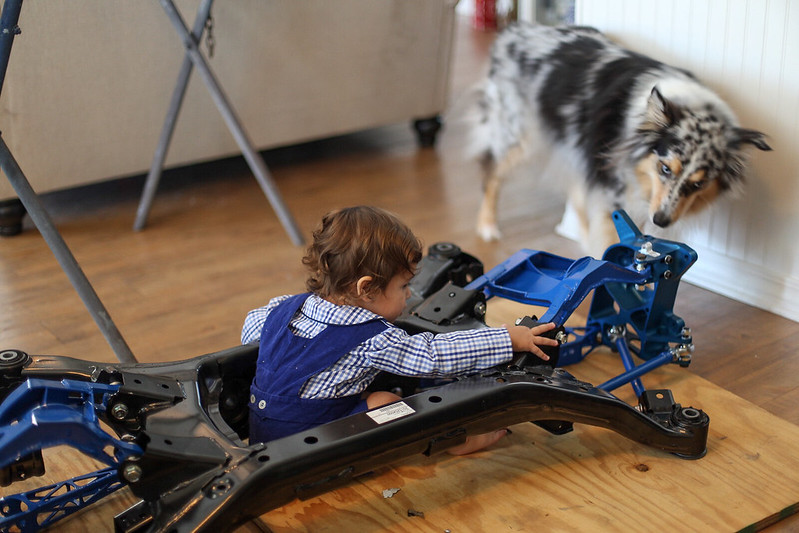 IMG_2226 by lawrx, on Flickr IMG_2226 by lawrx, on Flickr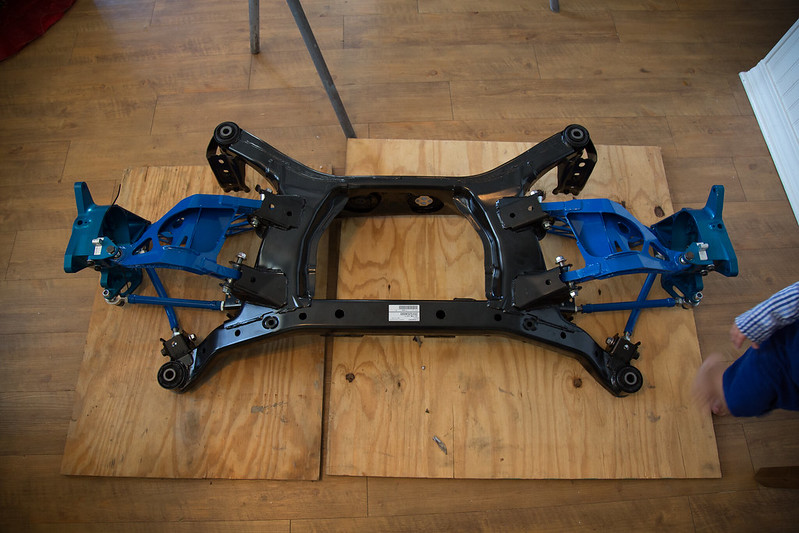 IMG_7800 by lawrx, on Flickr IMG_7800 by lawrx, on FlickrAlso being a total idiot after looking back at these pictures I mounted the upper control arms upside down. They should be curved down, so as the bend is curving away from the chassis as to provide clearance. Ill swap em over before I take my measurements. |
|
|
|
| The Following 2 Users Say Thank You to laextreme5 For This Useful Post: | DustinS (01-05-2018), Irace86.2.0 (01-10-2018) |
|
01-03-2018, 08:20 PM
|
#77 |
|
Senior Member
Join Date: Apr 2013
Drives: 2014 BRZ
Location: Louisiana
Posts: 178
Thanks: 31
Thanked 122 Times in 67 Posts
Mentioned: 0 Post(s)
Tagged: 0 Thread(s)
|
Well, has it been a whirlwind last few months. Between traveling for work, a weeks vacation, the holidays and then a week out with the flu. Its been fucking non stop.
With all that was going on, I somehow found a break and was able to do a little work. Now my original plan was to assemble every last suspension piece and throw it ALL on at once. But that plan didn't work out. Still have several thousands to spend, with money going to other projects/ trying to buy a new house etc it just didn't happen this year like I wanted. Another pushing factor is the wife is tiring of the factory harsh ride on the brz. Its no the harshest but its not also the most pleasant. Cant really blame her. So fast forward to New Years eve. Hear in Louisiana it was about 22* (fucking cold when you have high humidity all damn year) and like 20mph winds. It sucked. So wife and I stayed home to keep our 1.5 year old out of the cold and just watch the fireworks from the windows. I ended up pulling the coilovers out, setting the ride height and bump travel via Teins specs (for now till I install all the other suspension goodies) and installed the EDFC motors. Wife only complained a few times that I was working on the kitchen counter, kitchen bar, and dining table lol......  IMG_8691 by lawrx, on Flickr IMG_8691 by lawrx, on Flickr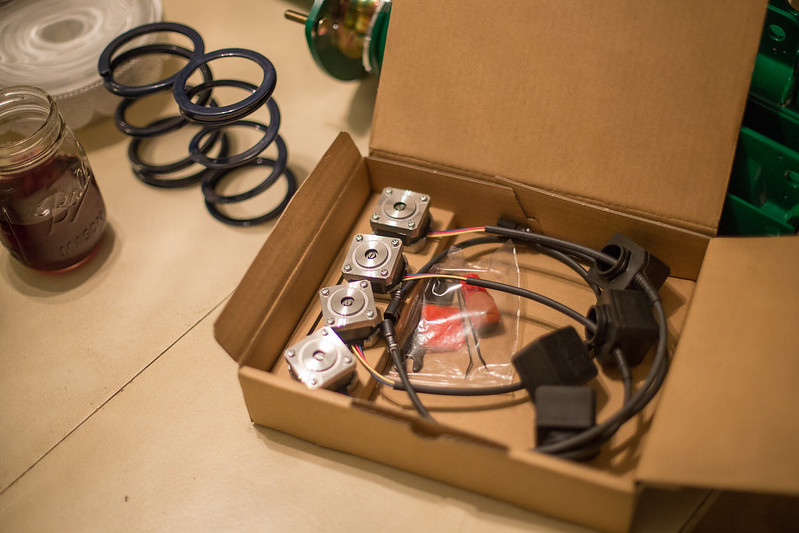 IMG_8692 by lawrx, on Flickr IMG_8692 by lawrx, on Flickr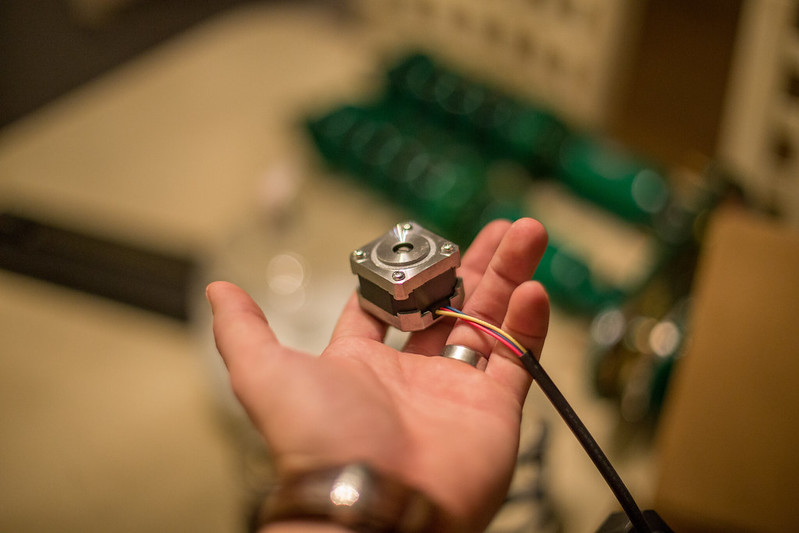 IMG_8694 by lawrx, on Flickr IMG_8694 by lawrx, on Flickr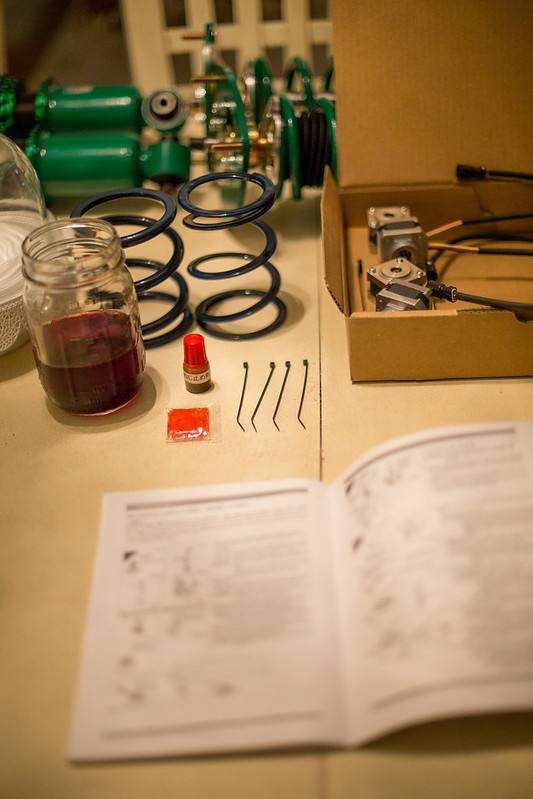 IMG_8695 by lawrx, on Flickr IMG_8695 by lawrx, on Flickr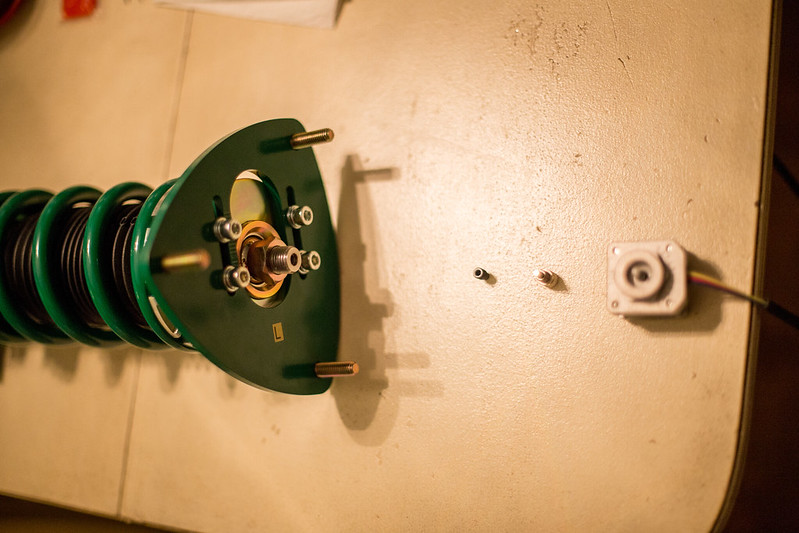 IMG_8696 by lawrx, on Flickr IMG_8696 by lawrx, on Flickr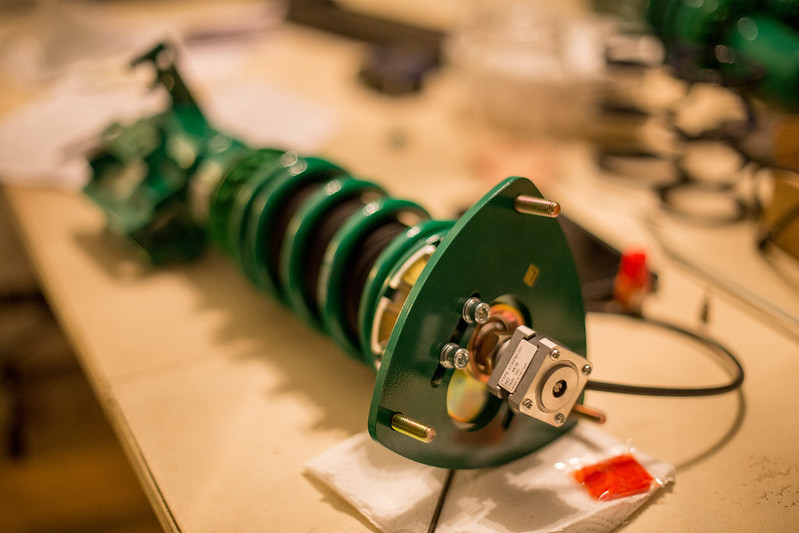 IMG_8698 by lawrx, on Flickr IMG_8698 by lawrx, on Flickr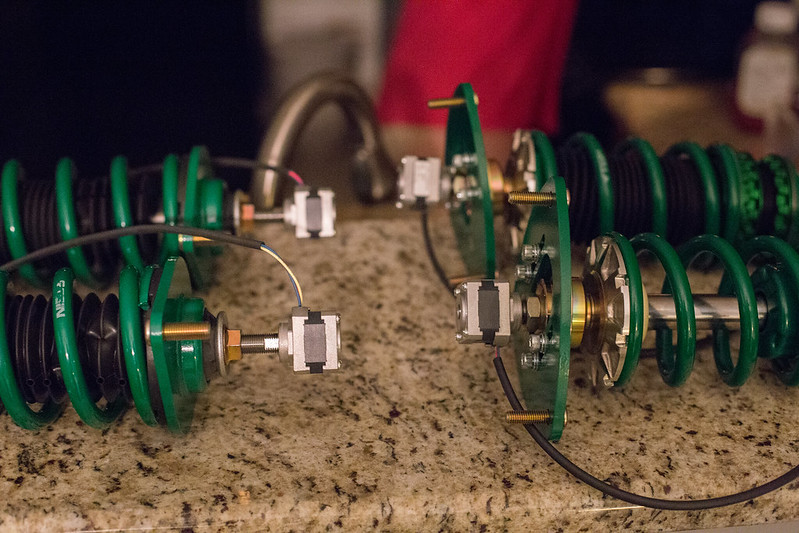 IMG_8702 by lawrx, on Flickr IMG_8702 by lawrx, on FlickrWith New Years day on a Monday work was closed. I had no plans. And having been sitting inside the past week doing nothing due to the flu. I wanted to work on something. HEY WHY DONT I INSTALL THE COILS I JUST GOT READY TO INSTALL LAST NIGHT. Being the impatient fool I am, there were a few issues with that. My lug nuts aren't here yet. They come in later this week. OK autozone special cheapies to hold me over. OK Rays valve stems aren't in yet either. TF do I do about that. Ok cheap rubber ones I have at work. Problems solved. Lets install some wheels and coils and shit. OH yeah, got my paint shop to finally paint my whees for me. We recreated Rays Magnesium Blue as closely as we could. I think we came pretty damn close. 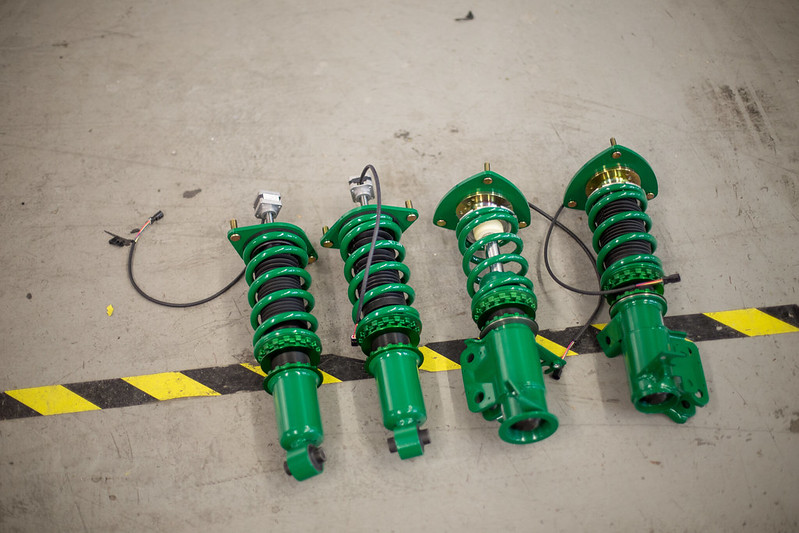 IMG_8704 by lawrx, on Flickr IMG_8704 by lawrx, on Flickr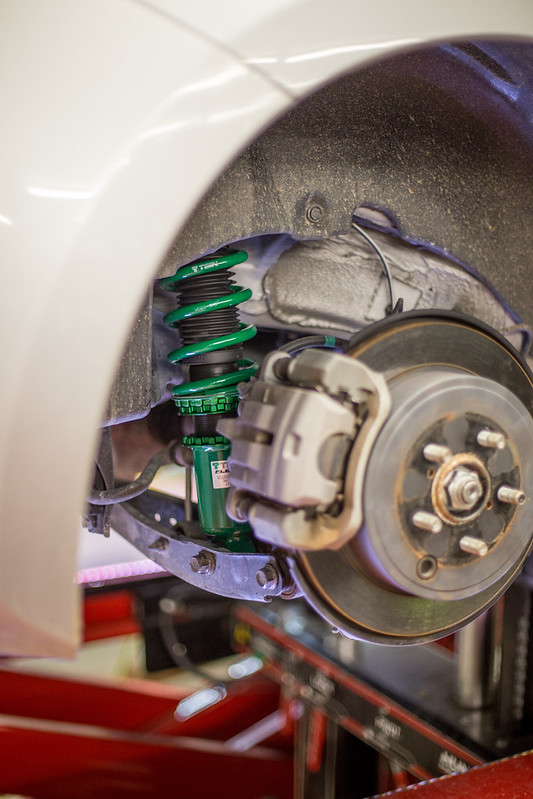 IMG_8706 by lawrx, on Flickr IMG_8706 by lawrx, on Flickr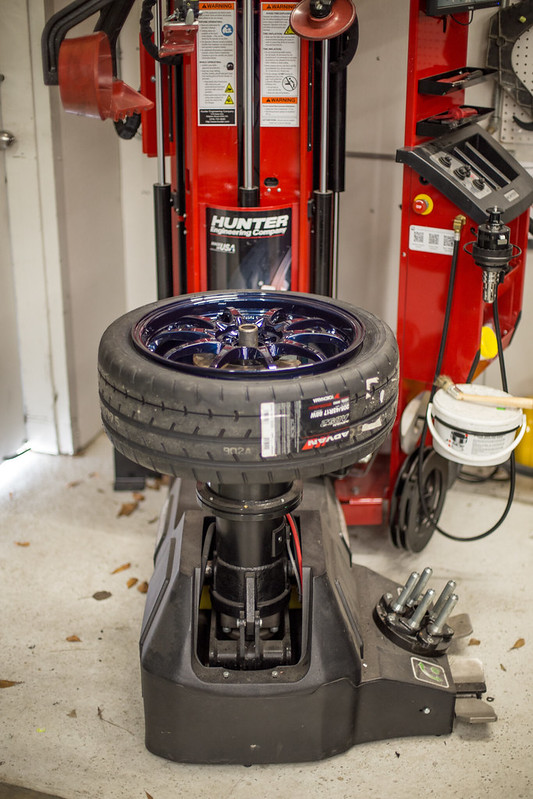 IMG_8707 by lawrx, on Flickr IMG_8707 by lawrx, on Flickr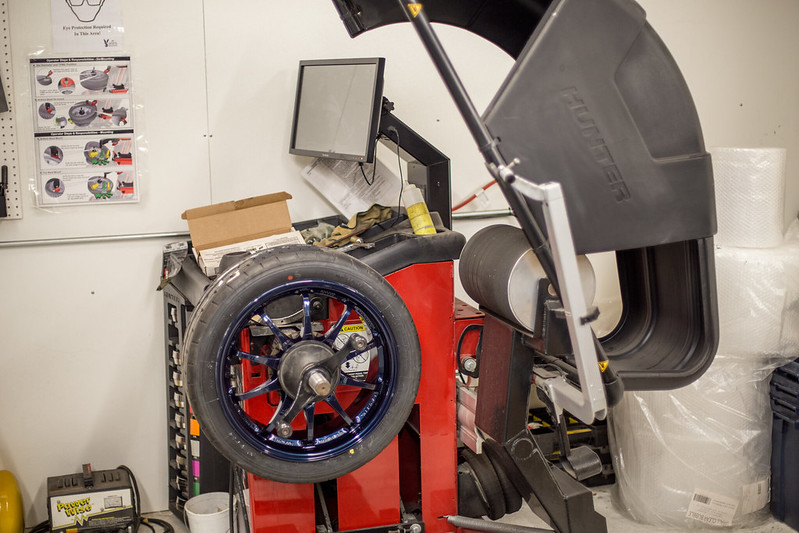 IMG_8709 by lawrx, on Flickr IMG_8709 by lawrx, on Flickr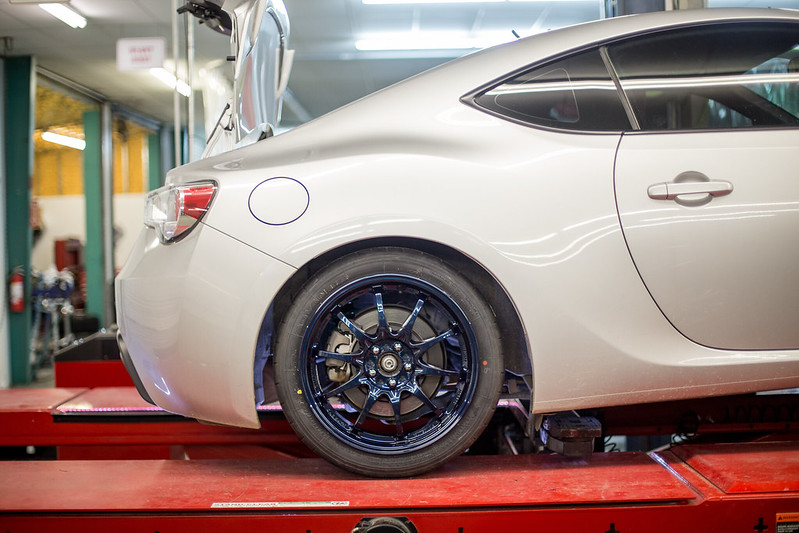 IMG_8710 by lawrx, on Flickr IMG_8710 by lawrx, on Flickr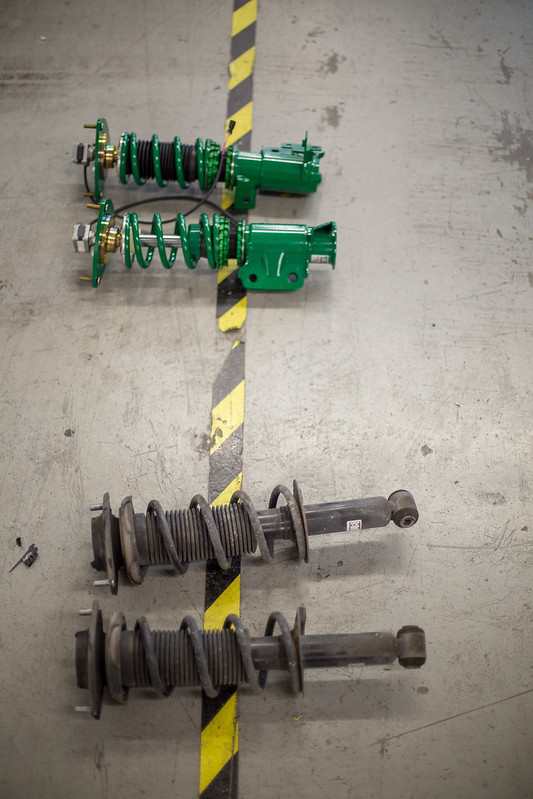 IMG_8711 by lawrx, on Flickr IMG_8711 by lawrx, on Flickr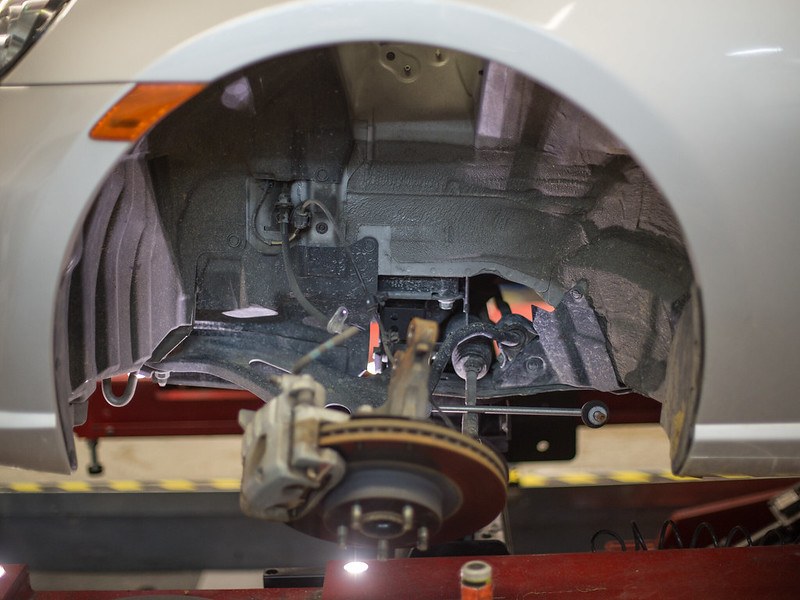 IMG_8712 by lawrx, on Flickr IMG_8712 by lawrx, on Flickr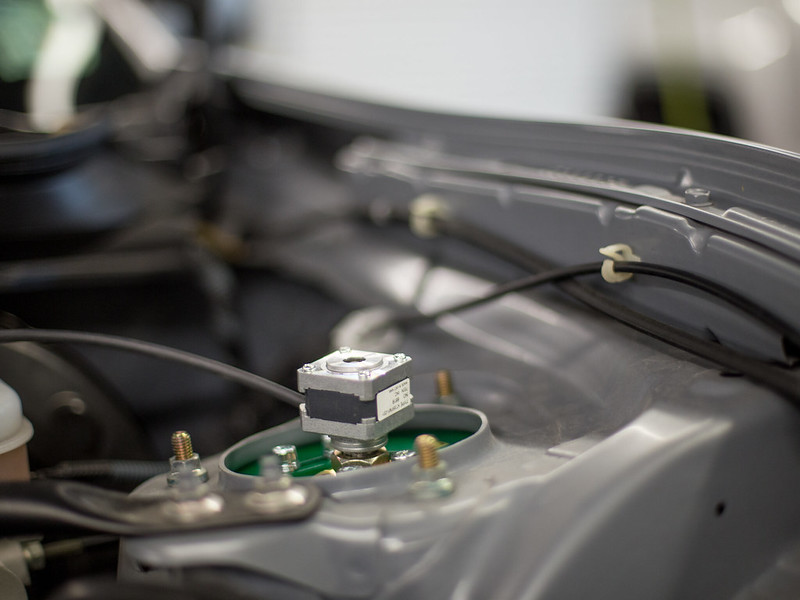 IMG_8713 by lawrx, on Flickr IMG_8713 by lawrx, on Flickr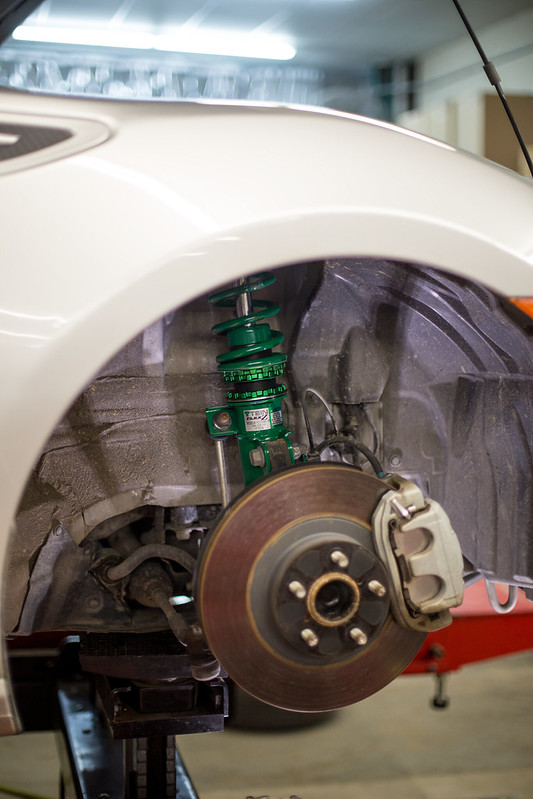 IMG_8714 by lawrx, on Flickr IMG_8714 by lawrx, on FlickrWith the coils all installed, I ran out of time to run the wiring for the EDFC. So for now they are just manually adjustable via the screw atop the motor, ill run the wiring later when I have time. Which seems like never between side work I have lined up and travel for work. Regarding the alignment I just did a super quick toe adjustment and off I went. Going to let them settle over the next 2 weeks, then I will come back. Finalize height, gunna go a little bit lower. May pick up some cheap used LCAS to correct the rear camber so im not running HELLA STANCE Yo -3 plus degrees when I lowered it a tad more. I like my grip. Will also be dialing the front camber to about -2.5 on the realign as well. So far super impressed with the coils. Ride superb. The lower wheel weight is also very noticeable. Turning effort is much easier. among other things. I also love the color combination. Really pops in the sun. And again temporary till I install the full suspension goodies I've got some 25mm spacers on the way to flush them up a bit.  IMG_8715 by lawrx, on Flickr IMG_8715 by lawrx, on Flickr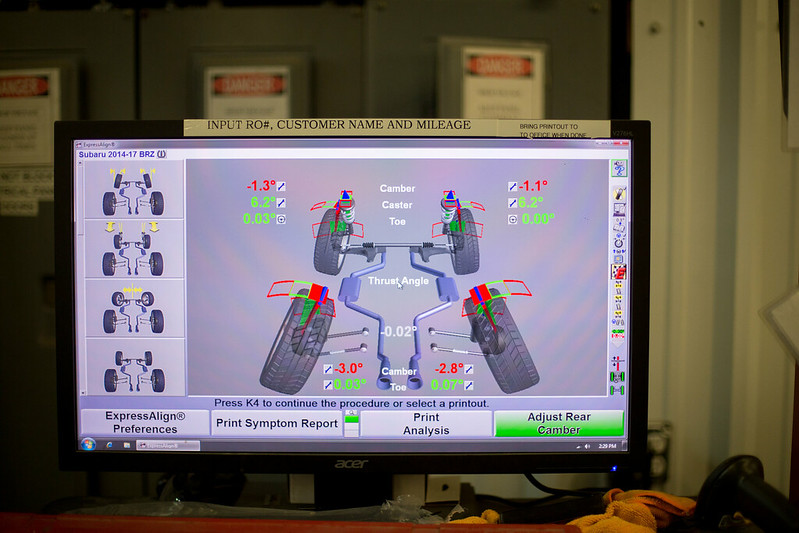 IMG_8716 by lawrx, on Flickr IMG_8716 by lawrx, on Flickr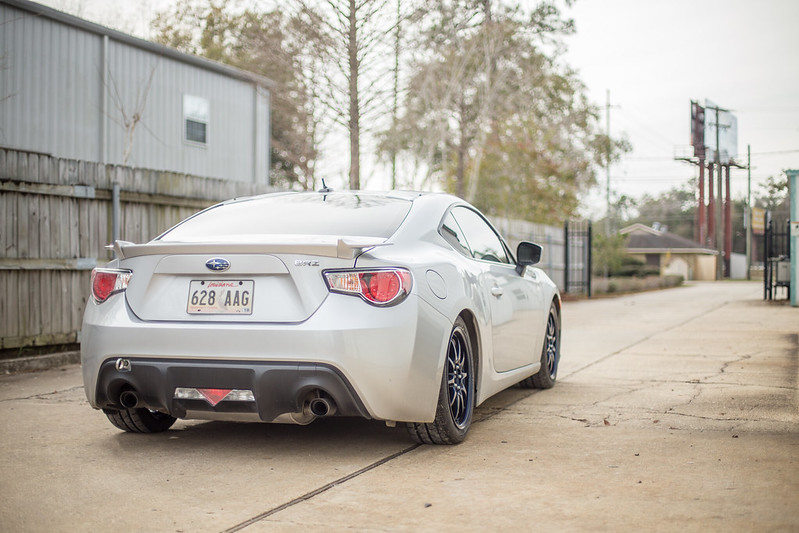 IMG_8718 by lawrx, on Flickr IMG_8718 by lawrx, on Flickr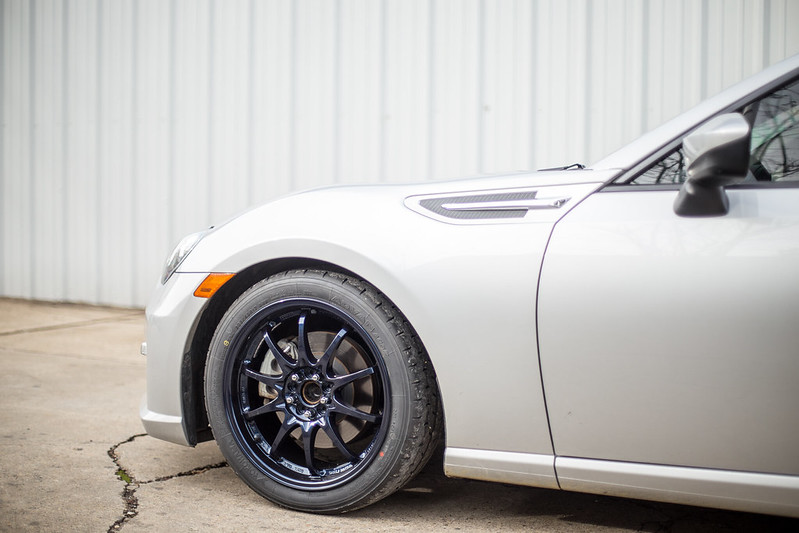 IMG_8720 by lawrx, on Flickr IMG_8720 by lawrx, on Flickr
|
|
|
|
| The Following 4 Users Say Thank You to laextreme5 For This Useful Post: |
|
01-04-2018, 10:49 AM
|
#78 |
|
Driver
Join Date: Aug 2016
Drives: 2013 Whiteout FRS
Location: Toronto/GTA
Posts: 539
Thanks: 427
Thanked 237 Times in 159 Posts
Mentioned: 8 Post(s)
Tagged: 0 Thread(s)
|
Im amazed by the detail you put into the build and the effort in photography in this thread
__________________
|
|
|
|
|
01-04-2018, 10:58 AM
|
#79 | |
|
Senior Member
Join Date: Apr 2013
Drives: 2014 BRZ
Location: Louisiana
Posts: 178
Thanks: 31
Thanked 122 Times in 67 Posts
Mentioned: 0 Post(s)
Tagged: 0 Thread(s)
|
Quote:
|
|
|
|
|
|
01-04-2018, 07:30 PM
|
#80 |
|
Member
Join Date: Nov 2017
Drives: 2014 BRZ Limited.
Location: SE Louisiana
Posts: 61
Thanks: 9
Thanked 6 Times in 6 Posts
Mentioned: 0 Post(s)
Tagged: 0 Thread(s)
|
Great build and awesome detail. Im between Slidell and Covington. What area of Louisiana are you?
|
|
|
|
|
01-05-2018, 09:30 AM
|
#81 | |
|
Senior Member
Join Date: Apr 2013
Drives: 2014 BRZ
Location: Louisiana
Posts: 178
Thanks: 31
Thanked 122 Times in 67 Posts
Mentioned: 0 Post(s)
Tagged: 0 Thread(s)
|
Quote:
|
|
|
|
|
|
01-05-2018, 02:49 PM
|
#82 | |
|
Member
Join Date: Nov 2017
Drives: 2014 BRZ Limited.
Location: SE Louisiana
Posts: 61
Thanks: 9
Thanked 6 Times in 6 Posts
Mentioned: 0 Post(s)
Tagged: 0 Thread(s)
|
Quote:
Lacombe!! We should get together. Im up near hwy36 on 434. Love to see the car. Im picking up an 03 wrx this afternoon also. |
|
|
|
|
|
01-10-2018, 11:56 AM
|
#83 |
|
Senior Member
Join Date: Oct 2016
Drives: DGM BRZ
Location: MN
Posts: 176
Thanks: 126
Thanked 78 Times in 60 Posts
Mentioned: 0 Post(s)
Tagged: 0 Thread(s)
|
Great progress!
|
|
|
|
|
01-10-2018, 01:18 PM
|
#84 |
|
Senior Member

Join Date: Mar 2017
Drives: Q5 + BRZ + M796
Location: Santa Rosa, CA
Posts: 7,884
Thanks: 5,668
Thanked 5,805 Times in 3,299 Posts
Mentioned: 70 Post(s)
Tagged: 0 Thread(s)
|
Car porn. Thank you.
|
|
|
|
|
|
|
|
 |
|
|
 Similar Threads
|
||||
| Thread | Thread Starter | Forum | Replies | Last Post |
| Red GT86 from Europe - Slow build - Daily+track. | Iceman | Member's Car Journals | 53 | 12-22-2020 02:59 PM |
| Matey's BReeZy. Slow and steady | Matey | Member's Car Journals | 23 | 08-23-2015 05:43 PM |
| FRS slow daily/ drift build | SciOnDrifTtSlIdeR | Member's Car Journals | 7 | 04-19-2015 01:50 AM |
| Slow and Steady | Simok | Member's Car Journals | 5 | 02-06-2015 04:26 PM |
| Mr. Sociable's BRZ Daily Driver (slow) Build | Mr. Sociable | Member's Car Journals | 23 | 11-01-2012 09:46 AM |


