


 08-08-2012, 11:17 PM
|
#29 |
|
Photo Specialist

Join Date: Feb 2012
Drives: 2013 Toyota 86 DGM 6MT
Location: Texas
Posts: 1,152
Thanks: 587
Thanked 1,802 Times in 420 Posts
Mentioned: 94 Post(s)
Tagged: 0 Thread(s)
|
Roughed her up pretty good. She's in the shop now. Scraped a pole while backing in, was malnourished hence the lack of concentration.
Staying positive though...the body shop will professionally debadge my car for me. The postal service with the Toyota badges needs to hurry up! 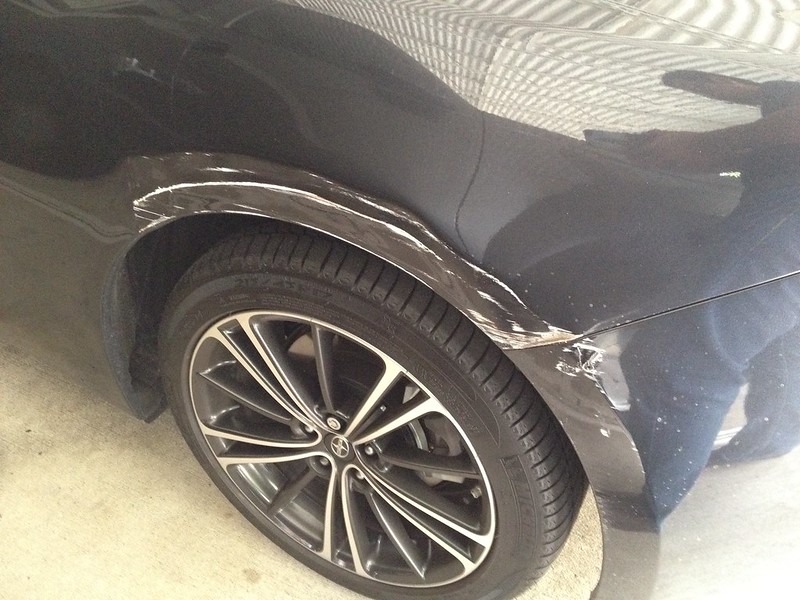 201208Accident by VictorN07, on Flickr Last edited by F1point4; 08-11-2012 at 07:08 PM. Reason: Huge picture |

|

|
|
08-09-2012, 03:47 AM
|
#30 |
|
Dark Prince

Join Date: Aug 2012
Drives: Kluger/Highlander
Location: Brisbane, Australia
Posts: 11
Thanks: 0
Thanked 3 Times in 1 Post
Mentioned: 0 Post(s)
Tagged: 0 Thread(s)
|
awwww dam that sux
__________________
 Toyota 86- The revolution begins with a turn of the ignition Toyota 86- The revolution begins with a turn of the ignition |
|
|
|
|
08-09-2012, 05:57 AM
|
#31 |
|
Senior Member

Join Date: Jul 2012
Drives: Bagged RB8Six
Location: Las Vegas/Edwards AFB, CA
Posts: 191
Thanks: 109
Thanked 64 Times in 33 Posts
Mentioned: 9 Post(s)
Tagged: 2 Thread(s)
|
Damn that sucks! I feel like when i get mine, im bound to hit something in a short time...its the curse man!
|
|
|
|
|
08-09-2012, 07:54 AM
|
#32 |
|
Photo Specialist
Join Date: Feb 2012
Drives: 2013 Toyota 86 DGM 6MT
Location: Texas
Posts: 1,152
Thanks: 587
Thanked 1,802 Times in 420 Posts
Mentioned: 94 Post(s)
Tagged: 0 Thread(s)
|
Another positive note. I was chatting with @DarrenDriven about wheel flushness. In this case I'm glad Subaru didn't set up the wheels flushed or I'd have one messed up wheel.
The shop told me to fix this was about a 3 out of 10 so I'm fairly optimistic everything will be fine. I've used them before on a different car my family still has and they do good work. |
|
|
|
|
08-11-2012, 07:07 PM
|
#33 |
|
Photo Specialist
Join Date: Feb 2012
Drives: 2013 Toyota 86 DGM 6MT
Location: Texas
Posts: 1,152
Thanks: 587
Thanked 1,802 Times in 420 Posts
Mentioned: 94 Post(s)
Tagged: 0 Thread(s)
|
Car is still in the shop. The techs told me they had to order a bracket that held the bumper to the car and called around to get paint codes since the car is so new. I took this as a positive sign that they are not half-assing the repair.
In the meanwhile these came in the mail. (Toyota emblems not pictured. Gave them to the body shop) Thanks Luis at Carson Toyota for the side markers and emblems  201208UpcomingMods by VictorN07, on Flickr Thanks Grimmspeed for the wonderful oil filler cap. 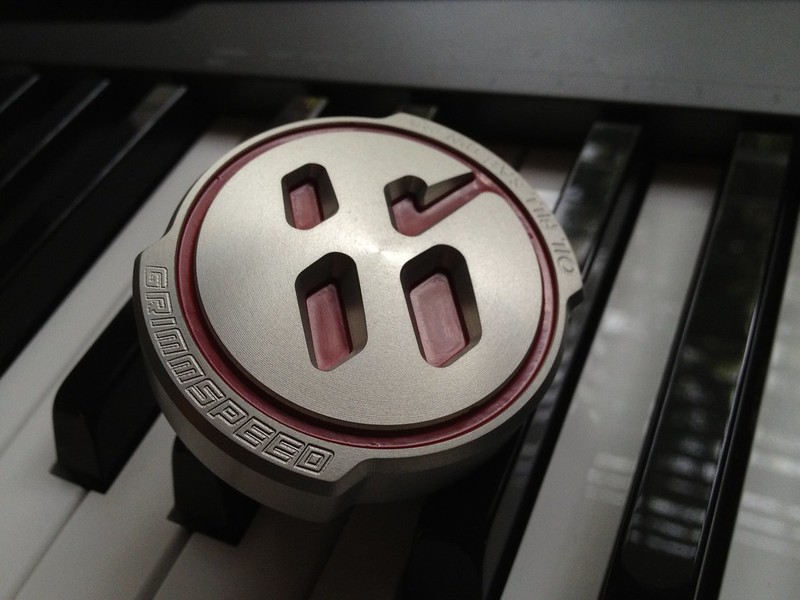 GrimmCapCloseup by VictorN07, on Flickr  GrimmCapLimitedEdition by VictorN07, on Flickr |
|
|
|
|
08-15-2012, 02:16 PM
|
#34 |
|
Photo Specialist
Join Date: Feb 2012
Drives: 2013 Toyota 86 DGM 6MT
Location: Texas
Posts: 1,152
Thanks: 587
Thanked 1,802 Times in 420 Posts
Mentioned: 94 Post(s)
Tagged: 0 Thread(s)
|
Got my car back from the body shop. For those in the Houston Area, I recommend Tennison Automotive to get your car fixed. Here is a pic of the before and after. I'm so glad to have the car back.
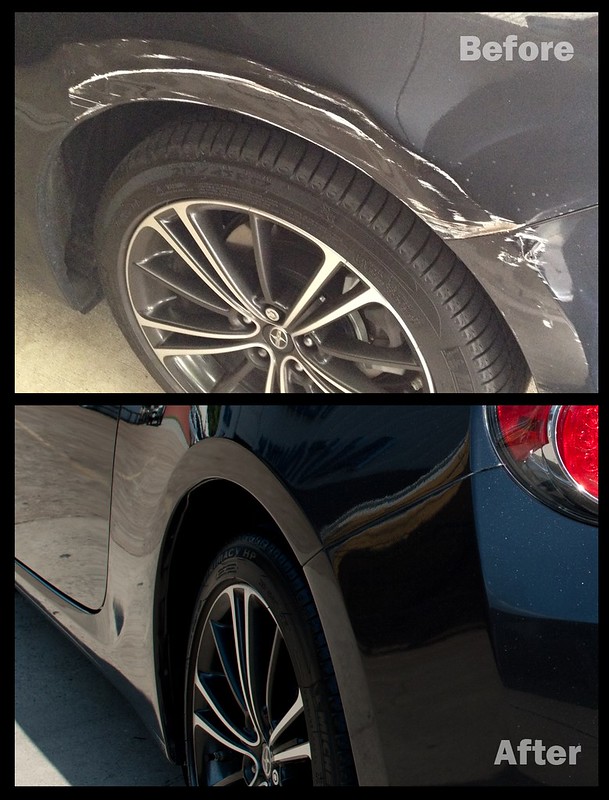 TennisonRepair by VictorN07, on Flickr The shop even re-badged the car for me. I used Toyota emblems purchased from Carson Toyota. For those who want to know Here are the emblems. 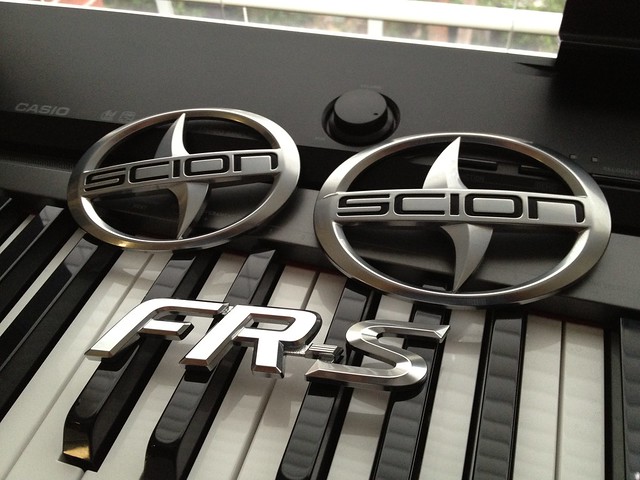 ReBadge - Family by VictorN07, on Flickr My favorite picture 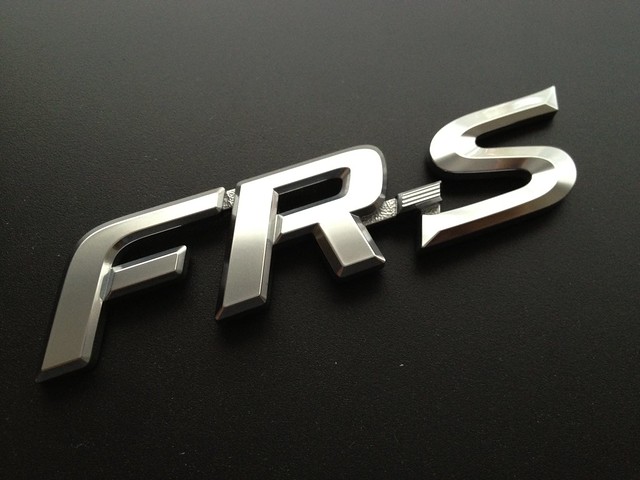 ReBadge - FRdashS by VictorN07, on Flickr Front emblem is slightly larger than the rear emblem. The badge is not filled in.  ReBadge - Front by VictorN07, on Flickr 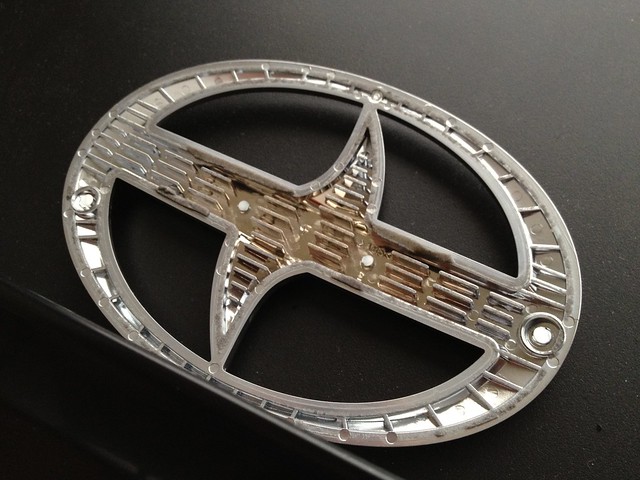 ReBadge - Front Back by VictorN07, on Flickr The rear emblem 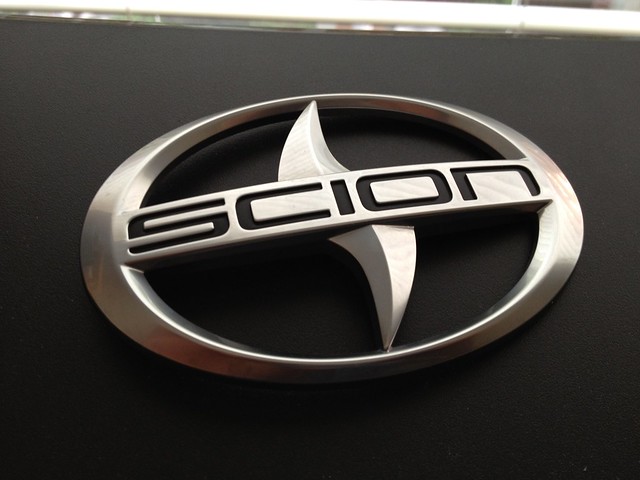 ReBadge - Rear by VictorN07, on Flickr 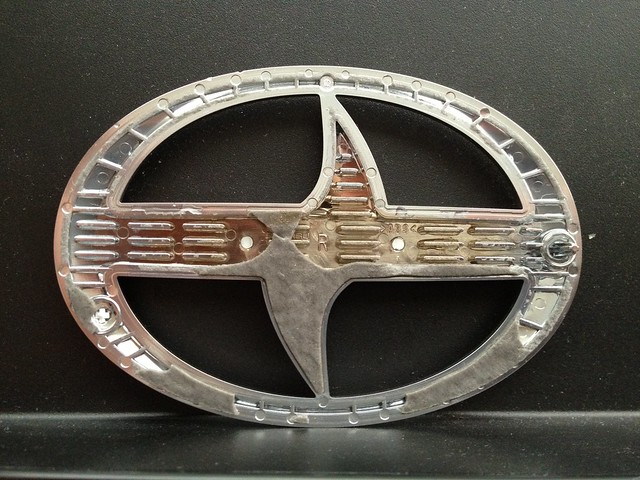 ReBadge - Rear Back by VictorN07, on Flickr I drive a Toyota now. 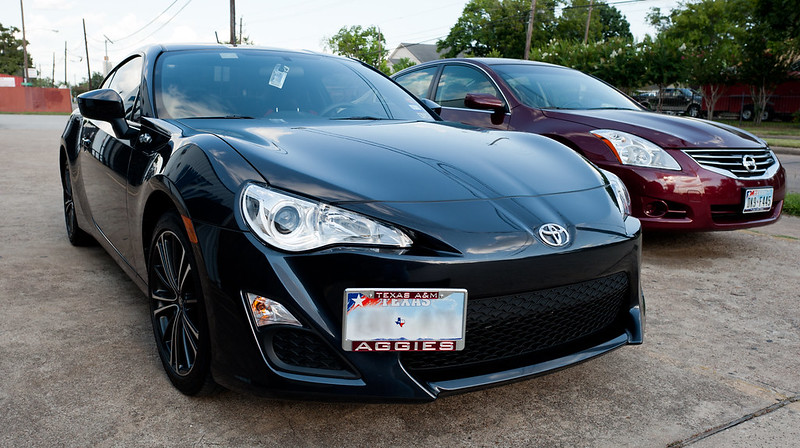 20120814-PostCollisionRepairDamage-11 by VictorN07, on Flickr  20120814-PostCollisionRepairDamage-2 by VictorN07, on Flickr |
|
|
|
|
08-15-2012, 03:21 PM
|
#35 |
|
Senior Member

Join Date: Jun 2012
Drives: Raven FRS MT
Location: Queens, NY
Posts: 965
Thanks: 76
Thanked 249 Times in 125 Posts
Mentioned: 1 Post(s)
Tagged: 1 Thread(s)
|
how much for the repair? was it just a paint job?
|
|
|
|
|
08-15-2012, 03:37 PM
|
#36 |
|
Senior Member
Join Date: Jun 2012
Drives: argento frs at
Location: fremont ca
Posts: 579
Thanks: 177
Thanked 76 Times in 71 Posts
Mentioned: 10 Post(s)
Tagged: 0 Thread(s)
|
 very nice ! very nice !
|
|
|
|
|
08-15-2012, 03:41 PM
|
#37 |
|
Photo Specialist
Join Date: Feb 2012
Drives: 2013 Toyota 86 DGM 6MT
Location: Texas
Posts: 1,152
Thanks: 587
Thanked 1,802 Times in 420 Posts
Mentioned: 94 Post(s)
Tagged: 0 Thread(s)
|
I was quoted 1200 out of pocket. Lots of R&I (remove and install), materials, reshaping, labor.
Ended up filing a claim. -- F1point4
__________________
|
|
|
|
|
08-15-2012, 11:56 PM
|
#38 |
|
Photo Specialist
Join Date: Feb 2012
Drives: 2013 Toyota 86 DGM 6MT
Location: Texas
Posts: 1,152
Thanks: 587
Thanked 1,802 Times in 420 Posts
Mentioned: 94 Post(s)
Tagged: 0 Thread(s)
|
1702 miles and did my first oil change. My items used were
Subaru 130 OEM Oil Filter Filtermag SS 300 Fumoto F-108 Oil Drain Valve and Spring Clip Amsoil 0W-20 Signature Oil ESCO Curved Saddle Jack stand Harbor Freight Floor Jack and Wheel Chocks Block of wood Grimmspeed Oil Filler Cap Tools, gloves, funnels, etc to do the job. Observations and Notes + Following Grimm's DIY (link) I used the block of wood with the jack to lift the front end of the car. At the highest point the Jackstands at the lowest height would not slide under the pinch welds. I had to remove the pin and just let the saddle rest in the stand. Fortunately the post was long enough that in this setting it was touching on the ground for somewhat added support + 30 minutes for cooldown after some distance driving, the oil drain bolt is still super hot + The Subaru OEM filter came pregreased. I did not add apply oil to the ring seal. Hopefully i can remove it + Hand tightened the filter only + The Filtermag SS300 fits on the #130 Subaru filter well. + Took a few tries but Grimm's oil filler cap screwed in. Looks beautiful. Since it is made of Aluminium it does get hot during engine operation. + The Fumoto Drain Valve fits on like a champ. I torqued it down using a 19mm open ended wrench. Tightened to my satisfaction. + The drain valve is inset the skid pan. Its fairly close to flush though. I would say 1/4" to 1/2" just by looking at it. + I had to use big pliers to open the spring clip to get it on. My bare hands would not do it. + I initially put in 5.1 quarts of oil. Let the engine run for a few minutes, then added 0.4 more quarts. My dipstick read 2/3 up between the two dots. I'll check again in a few days. + The disposed oil filled up a 5 quart jug good. I didn't think to get a precise measurement. Here is a photo of the valve with the clip in place 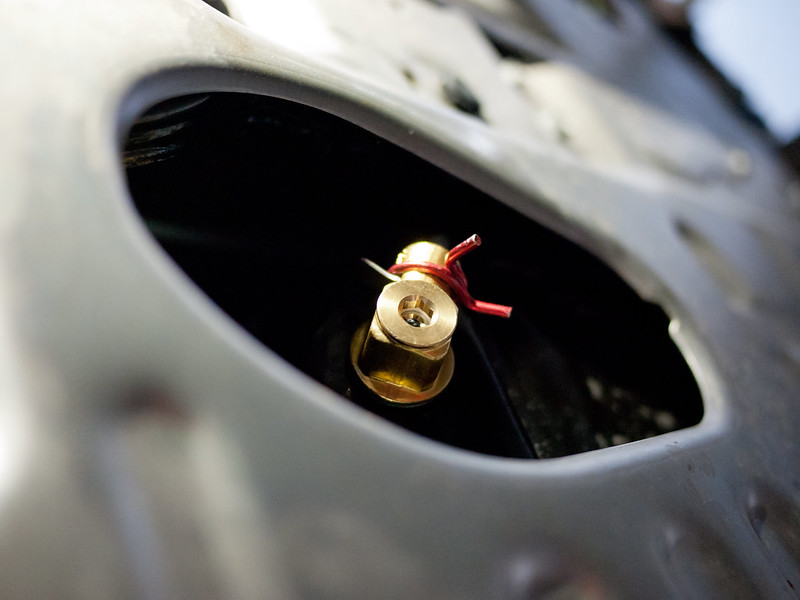 20120815-FirstOilChange-3 by VictorN07, on Flickr Direction the Oil will drain from the car.  20120815-FirstOilChange-1 by VictorN07, on Flickr From far away the end of the spring clip barely sticks out. I think I can rotate it so nothing sticks out. 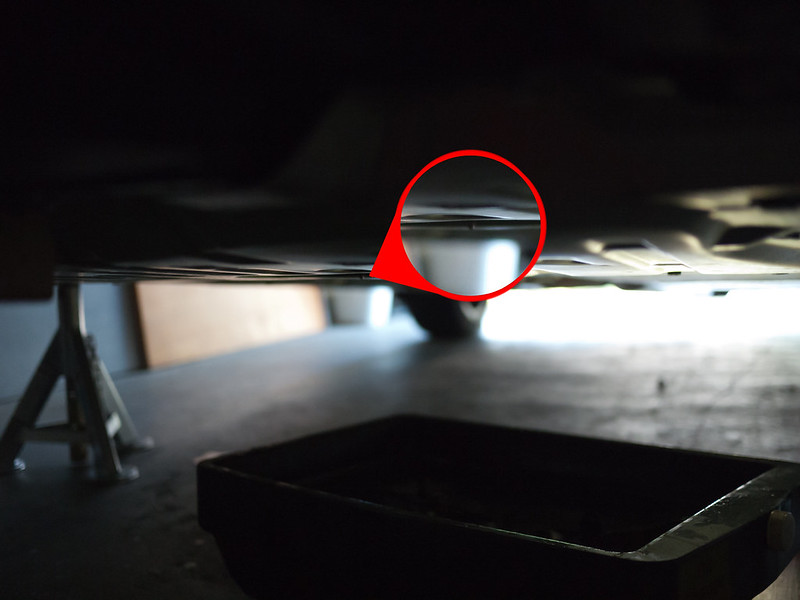 20120815-FirstOilChange-6 by VictorN07, on Flickr Filtermag Fitment on the #130 Filter (rare bad photo) 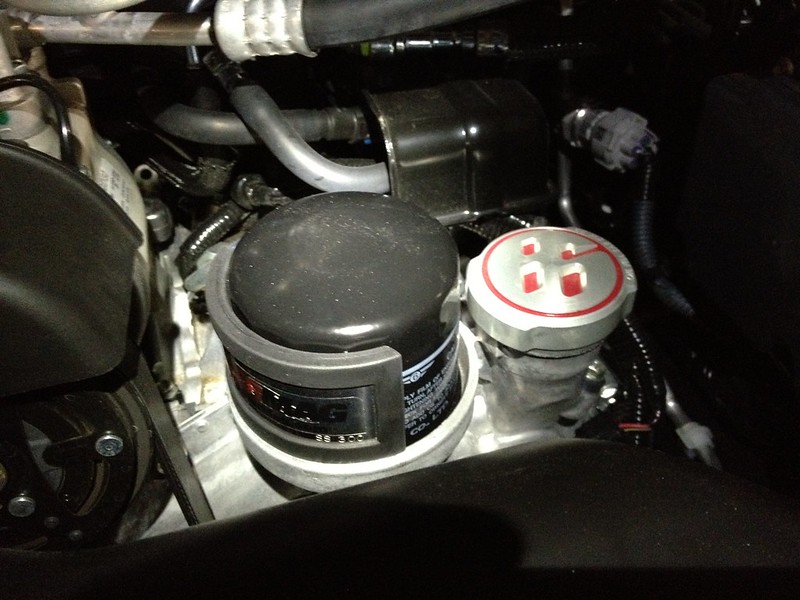 Filtermag by VictorN07, on Flickr Last edited by F1point4; 08-16-2012 at 12:11 AM. |
|
|
|
| The Following User Says Thank You to F1point4 For This Useful Post: | Bristecom (09-23-2012) |
|
08-16-2012, 02:51 AM
|
#39 |
|
Senior Member

Join Date: Mar 2012
Drives: 2013 Subaru BRZ
Location: PA
Posts: 683
Thanks: 106
Thanked 248 Times in 133 Posts
Mentioned: 10 Post(s)
Tagged: 0 Thread(s)
|
Thanks for the info. Would you recommend that jack? Or maybe there's one that would let you jack the car up a bit higher? I tried my small craftsman jack today but I can't reach the jackpoint in the middle of the car...can you with that harbor freight jack?
|
|
|
|
|
08-16-2012, 08:39 AM
|
#40 | |
|
Photo Specialist
Join Date: Feb 2012
Drives: 2013 Toyota 86 DGM 6MT
Location: Texas
Posts: 1,152
Thanks: 587
Thanked 1,802 Times in 420 Posts
Mentioned: 94 Post(s)
Tagged: 0 Thread(s)
|
Quote:
- get a floor jack that could lift higher - get stands that are smaller (I have tall stands) - find a thicker block of wood to place between the jack and frame (could be unsafe) I think I'd try a thicker block of wood next time. As for sliding the jack under the center jack points, mine doesn't fit either in its resting position. I had to pump and hold the handle all the way down for the jack to clear the front lip. Even in this position I probably had like 1/2" to 1" of space between the jack and the front lip. This is probably why I wont buy a larger floor jack. If my car was lowered I'm afraid I'd have to buy one of those long flat jacks to lift it. -- F1point4
__________________
|
|
|
|
|
|
08-16-2012, 10:02 AM
|
#41 | |
|
Corner Junkie

Join Date: Feb 2012
Drives: 13 BRZ, 11 STI, 99 RS
Location: Ohio
Posts: 2,908
Thanks: 129
Thanked 1,519 Times in 701 Posts
Mentioned: 11 Post(s)
Tagged: 0 Thread(s)
|
I like those jack stands.
Quote:
|
|
|
|
|
|
08-16-2012, 10:12 AM
|
#42 | |
|
Photo Specialist
Join Date: Feb 2012
Drives: 2013 Toyota 86 DGM 6MT
Location: Texas
Posts: 1,152
Thanks: 587
Thanked 1,802 Times in 420 Posts
Mentioned: 94 Post(s)
Tagged: 0 Thread(s)
|
Quote:
|
|
|
|
|
|
|
|
|
 |
|
|
 Similar Threads
|
||||
| Thread | Thread Starter | Forum | Replies | Last Post |
| Asphalt Scion FR-S | aznsensazian | FR-S & 86 Photos, Videos, Wallpapers, Gallery Forum | 21 | 03-17-2014 01:13 PM |
| Asphalt FR-S pics | Rob_g | CANADA | 24 | 09-03-2012 05:01 AM |
| Asphalt in the snow | Double4Free | Scion FR-S / Toyota 86 GT86 General Forum | 5 | 06-10-2012 01:56 PM |
| Asphalt 6MT FR-S | Symbiont | Southern California | 22 | 06-06-2012 07:47 AM |
| ant08 Asphalt MT | ant08 | Member's Car Journals | 3 | 06-04-2012 04:16 PM |


