|
||||||
| DIY (Do-It-Yourself) Guides For all DIYs. |
 |
|
|
Thread Tools | Search this Thread |
 04-05-2015, 12:52 AM
|
#29 | |
|
Senior Member
Join Date: May 2012
Drives: 2013 BRZ SWP
Location: Canada
Posts: 172
Thanks: 26
Thanked 29 Times in 19 Posts
Mentioned: 2 Post(s)
Tagged: 0 Thread(s)
|
Quote:
|
|

|

|
|
04-05-2015, 01:05 AM
|
#30 |
|
Senior Member
Join Date: Dec 2013
Drives: BRZZZ
Location: clovis
Posts: 438
Thanks: 35
Thanked 39 Times in 34 Posts
Mentioned: 6 Post(s)
Tagged: 0 Thread(s)
|
For those that have done this, how hard would it be to just paint the chrome stars black and leave the original blue background?
|
|
|
|
|
02-23-2016, 11:41 AM
|
#31 |
|
Junior Member
Join Date: Feb 2016
Drives: 2015 WRX
Location: Cali
Posts: 1
Thanks: 0
Thanked 0 Times in 0 Posts
Mentioned: 0 Post(s)
Tagged: 0 Thread(s)
|
i royally screwed this up.. but i tried. harder than it looks..
[ame="https://www.youtube.com/watch?v=vVpriRwGMQs"]2015 Subaru WRX Minisode 298: Sunday Evening Failures - YouTube[/ame] |
|
|
|
|
03-08-2020, 08:57 PM
|
#32 |
|
Senior Member

Join Date: Jan 2015
Drives: 14 Limited BRZ
Location: Long Island NY
Posts: 144
Thanks: 74
Thanked 27 Times in 21 Posts
Mentioned: 0 Post(s)
Tagged: 0 Thread(s)
|
Sorry to bump an old thread, but I guess its better than posting a new one? Just to be because I saw some say its held in my clips and you need to remove the front bumper and I saw some there's no need to remove the front bumper. How exactly do you remove the front emblem? Is it just like the rear? Just use floss or a plastic tool? Thanks
|
|
|
|
|
03-08-2020, 09:09 PM
|
#33 | |
|
Senior Member
Join Date: Jan 2015
Drives: 14 Limited BRZ
Location: Long Island NY
Posts: 144
Thanks: 74
Thanked 27 Times in 21 Posts
Mentioned: 0 Post(s)
Tagged: 0 Thread(s)
|
Quote:
|
|
|
|
|
|
03-08-2020, 09:19 PM
|
#34 | |
|
ProCrastinationConsultant

Join Date: Sep 2013
Drives: '14 Ranger, '18 Tacoma 4Dr LB
Location: chicago-ish
Posts: 11,330
Thanks: 35,240
Thanked 13,673 Times in 6,781 Posts
Mentioned: 98 Post(s)
Tagged: 0 Thread(s)
|
Quote:
__________________
"The time you enjoy wasting is not wasted time"
 |
|
|
|
|
|
03-08-2020, 09:32 PM
|
#35 | |
|
Senior Member
Join Date: Jan 2015
Drives: 14 Limited BRZ
Location: Long Island NY
Posts: 144
Thanks: 74
Thanked 27 Times in 21 Posts
Mentioned: 0 Post(s)
Tagged: 0 Thread(s)
|
Quote:
|
|
|
|
|
|
03-08-2020, 09:52 PM
|
#36 |
|
ProCrastinationConsultant
Join Date: Sep 2013
Drives: '14 Ranger, '18 Tacoma 4Dr LB
Location: chicago-ish
Posts: 11,330
Thanks: 35,240
Thanked 13,673 Times in 6,781 Posts
Mentioned: 98 Post(s)
Tagged: 0 Thread(s)
|
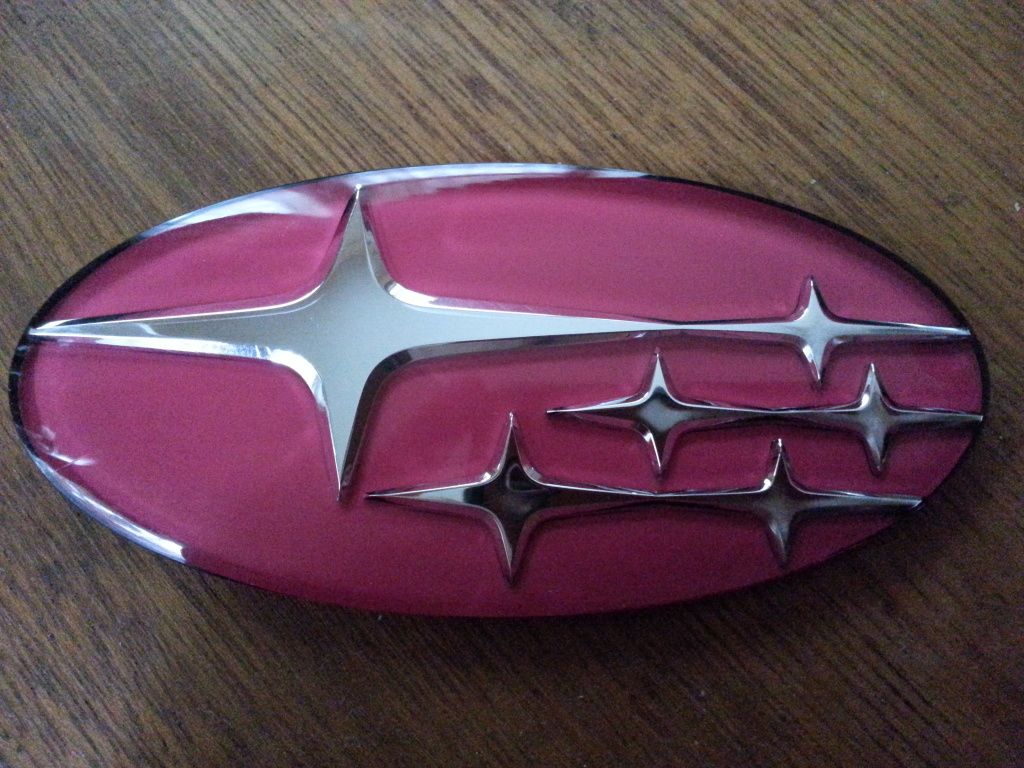
in the images you linked, the black portion that he sprayed is the backing color to the stars. note in the first image the red stars are on a 'clear' background.
his instructions are to paint the back of the emblem 'backwards' of how you would paint, say racing stripes onto sheet metal. i believe you're misunderstanding that he is painting the backing color onto the secondary portion, that is not how i interpret his instructions. the way i read it, all of the paint is on the clear/star piece, and no paint is being applied to the other piece.
__________________
"The time you enjoy wasting is not wasted time"
|
|
|
|
| The Following User Says Thank You to soundman98 For This Useful Post: | Slade (03-08-2020) |
|
03-08-2020, 10:04 PM
|
#37 | |
|
Senior Member
Join Date: Jan 2015
Drives: 14 Limited BRZ
Location: Long Island NY
Posts: 144
Thanks: 74
Thanked 27 Times in 21 Posts
Mentioned: 0 Post(s)
Tagged: 0 Thread(s)
|
Quote:
|
|
|
|
|
|
03-08-2020, 10:25 PM
|
#38 |
|
ProCrastinationConsultant
Join Date: Sep 2013
Drives: '14 Ranger, '18 Tacoma 4Dr LB
Location: chicago-ish
Posts: 11,330
Thanks: 35,240
Thanked 13,673 Times in 6,781 Posts
Mentioned: 98 Post(s)
Tagged: 0 Thread(s)
|
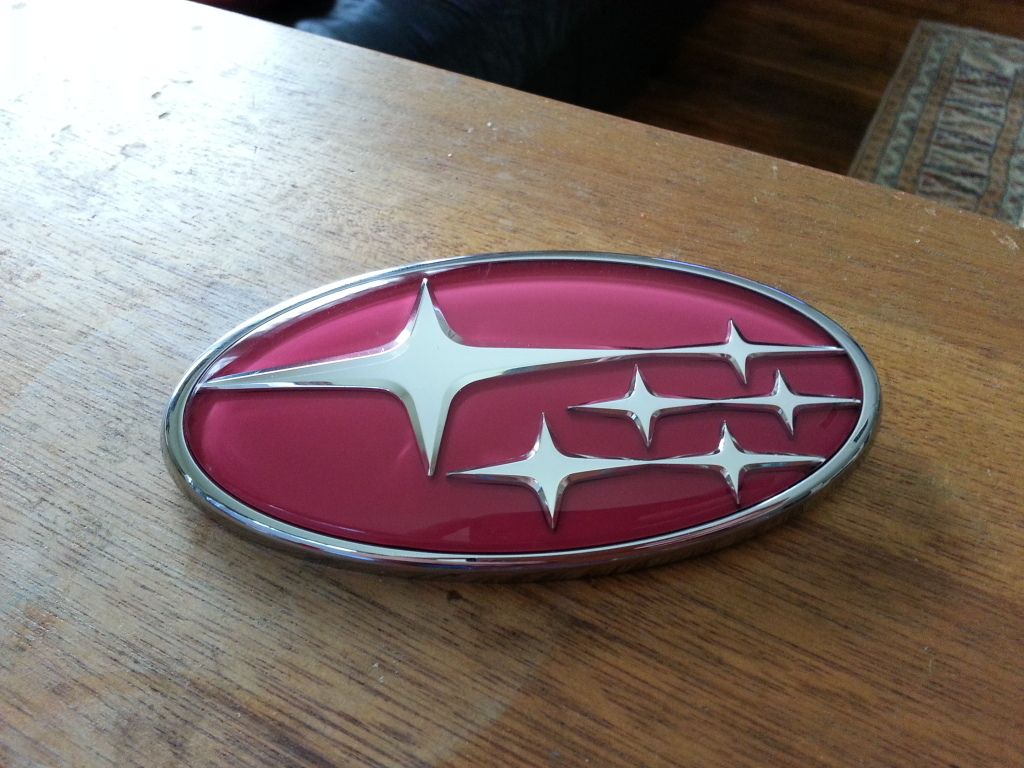
the post you quoted is essentially painting this like an rc car body. you work from the details backwards to the base coat.
so he sanded out the chrome in the stars, filled them in with red, and after masking, he covered over the red with the black. here's the same technique: [ame]https://www.youtube.com/watch?v=jzAednzmklg[/ame]
__________________
"The time you enjoy wasting is not wasted time"
|
|
|
|
|
03-08-2020, 11:14 PM
|
#39 | |
|
Senior Member
Join Date: Jan 2015
Drives: 14 Limited BRZ
Location: Long Island NY
Posts: 144
Thanks: 74
Thanked 27 Times in 21 Posts
Mentioned: 0 Post(s)
Tagged: 0 Thread(s)
|
Quote:
|
|
|
|
|
|
03-09-2020, 07:47 PM
|
#40 |
|
Senior Member
Join Date: Jan 2015
Drives: 14 Limited BRZ
Location: Long Island NY
Posts: 144
Thanks: 74
Thanked 27 Times in 21 Posts
Mentioned: 0 Post(s)
Tagged: 0 Thread(s)
|
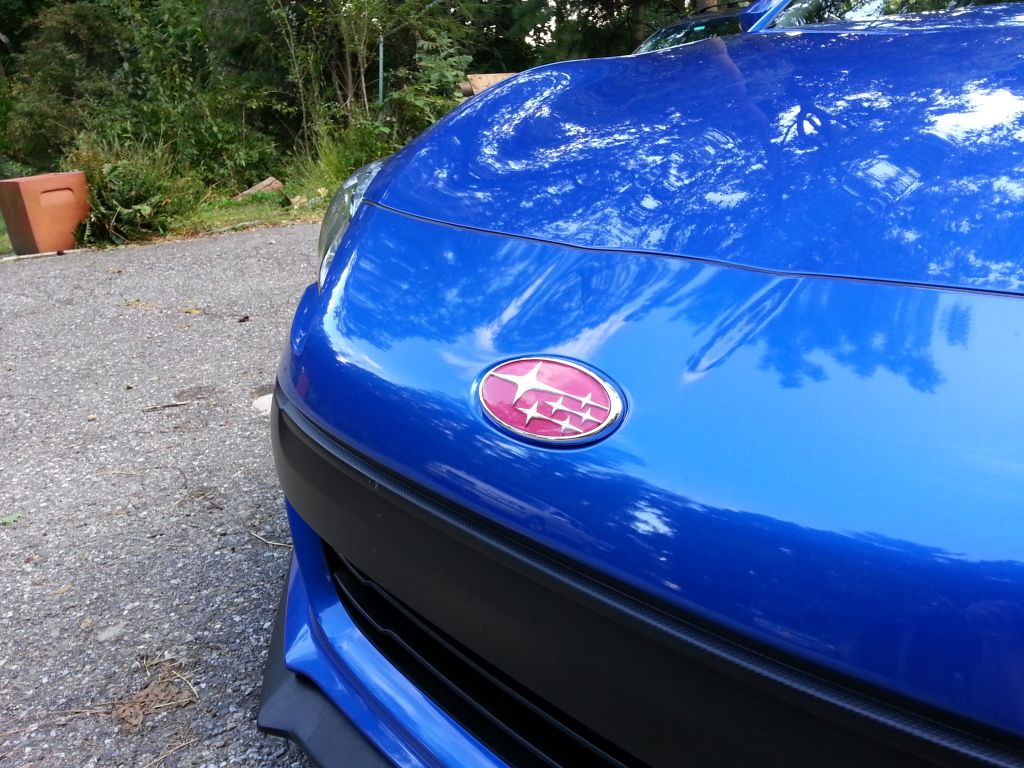
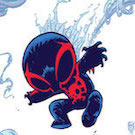
Finally figured it out. It is as hard as everyone says it is. Removing the blue back paint is fairly easy. Nail polish remover will do the trick, but it will also ruin the plastic. Plastx polisher seems to do the trick in restoring it back to normal though. The chrome in the stars is the real hard part. Gonna continue tomorrow.
Last edited by Slade; 03-09-2020 at 11:11 PM. |
|
|
|
|
|
|
|
|
|
|
 Similar Threads
|
||||
| Thread | Thread Starter | Forum | Replies | Last Post |
| Subaru Badge? | 636 | BRZ First-Gen (2012+) -- General Topics | 33 | 12-09-2013 06:27 AM |
| Cool Subaru Badge Mod | iBRZ | Cosmetic Modification (Interior/Exterior/Lighting) | 8 | 03-13-2013 02:27 PM |
| Subaru badge v. Scion badge | finch1750 | Cosmetic Modification (Interior/Exterior/Lighting) | 3 | 11-23-2012 12:13 AM |
| paint restoration : Subaru WRX - bringing the paint back to life | brianc | Cosmetic Maintenance (Wash, Wax, Detailing, Body Repairs) | 7 | 06-25-2012 01:23 PM |
| EVO's Subaru BRZ test drive review - 5 Stars | JrunkenC | BRZ First-Gen (2012+) -- General Topics | 2 | 12-05-2011 01:22 AM |