


 02-24-2018, 11:30 PM
|
#57 |
|
Senior Member

Join Date: Jul 2016
Drives: BRZ, WRX
Location: Sydney, Australia
Posts: 291
Thanks: 105
Thanked 962 Times in 233 Posts
Mentioned: 2 Post(s)
Tagged: 0 Thread(s)
|
I have finished welding the top of the roll cage now. I was having some difficulty getting flashed with bright light when doing the final welds.
Turns out that because I was looking through gaps trying to get the last few welds that sometimes I was blocking the sensor on my auto-darkening helmet. Another rookie mistake I guess. 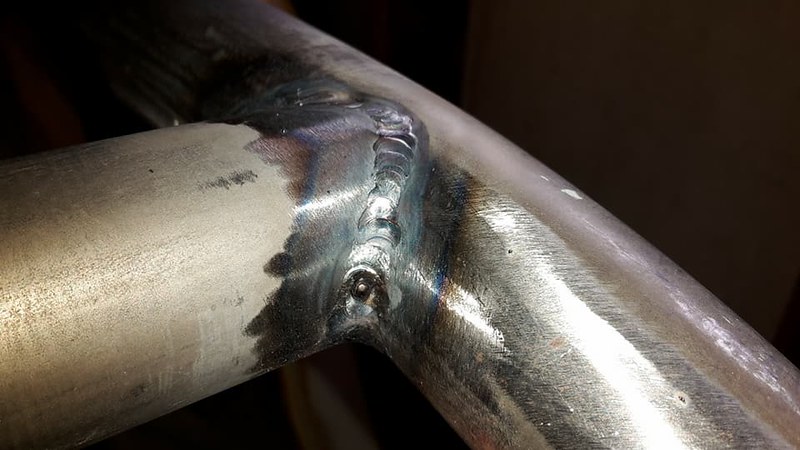 After I had finished I quickly ran over all the welds with a wire brush so they would be super clean for painting. I also wiped the whole thing down with some wax & grease remover. 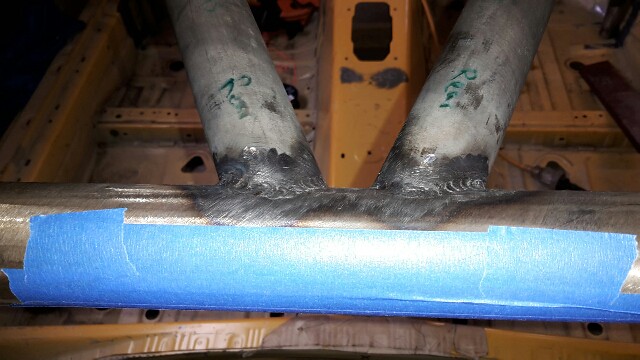 Finally I gave the whole top part of the roll cage a coat of weld through primer so I don't have to worry about it rusting any more. 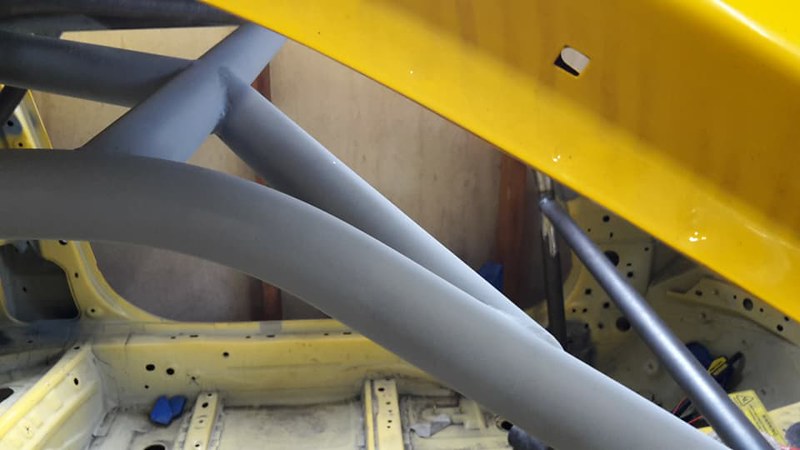  I ran out of argon today so I will have to go pick up a new bottle when the shops are open. Then I can get the cage back up into position and push on. |

|

|
| The Following 3 Users Say Thank You to DIY For This Useful Post: |
|
02-26-2018, 02:09 PM
|
#59 |
|
sleep, drive, eat, repeat
Join Date: Mar 2012
Drives: '13 BRZ, '12 Outback
Location: Sack of Potatoes
Posts: 4,431
Thanks: 2,630
Thanked 3,796 Times in 1,981 Posts
Mentioned: 188 Post(s)
Tagged: 4 Thread(s)
|
Love the updates. Keep on sharing!
|
|
|
|
|
02-26-2018, 03:58 PM
|
#60 |
|
Senior Member
Join Date: Jul 2016
Drives: BRZ, WRX
Location: Sydney, Australia
Posts: 291
Thanks: 105
Thanked 962 Times in 233 Posts
Mentioned: 2 Post(s)
Tagged: 0 Thread(s)
|
Thanks guys, I appreciate your support.
|
|
|
|
|
02-26-2018, 05:56 PM
|
#61 |
|
Wise old man

Join Date: Jun 2012
Drives: 86 GTS
Location: Sydney
Posts: 1,003
Thanks: 999
Thanked 240 Times in 161 Posts
Mentioned: 7 Post(s)
Tagged: 0 Thread(s)
|
this is super cool! What do you do for a living that enables you to be so adept at fabrication?
|
|
|
|
|
02-26-2018, 07:37 PM
|
#62 | |
|
Senior Member
Join Date: Jul 2016
Drives: BRZ, WRX
Location: Sydney, Australia
Posts: 291
Thanks: 105
Thanked 962 Times in 233 Posts
Mentioned: 2 Post(s)
Tagged: 0 Thread(s)
|
Quote:
I then went back to school at a technical college as a mature age student, following that I did a chemistry degree and now have a masters in scientific research. I work in a material science and engineering research position now and specialize in the use of electron microscopes and focused ion beam. |
|
|
|
|
| The Following 4 Users Say Thank You to DIY For This Useful Post: |
|
02-26-2018, 07:44 PM
|
#63 |
|
Wise old man
Join Date: Jun 2012
Drives: 86 GTS
Location: Sydney
Posts: 1,003
Thanks: 999
Thanked 240 Times in 161 Posts
Mentioned: 7 Post(s)
Tagged: 0 Thread(s)
|
very handy! i really look forward to seeing you run this car when complete.
it is a great chassis and works well with a lot of power. |
|
|
|
| The Following User Says Thank You to Surok For This Useful Post: | DIY (02-26-2018) |
|
03-07-2018, 02:52 AM
|
#64 |
|
Senior Member
Join Date: Jul 2016
Drives: BRZ, WRX
Location: Sydney, Australia
Posts: 291
Thanks: 105
Thanked 962 Times in 233 Posts
Mentioned: 2 Post(s)
Tagged: 0 Thread(s)
|
I got a bit done on Sunday and again today. The roll cage is now permanently attached to the chassis, all the tubes are completely welded and I have primed everything to prevent surface rust.
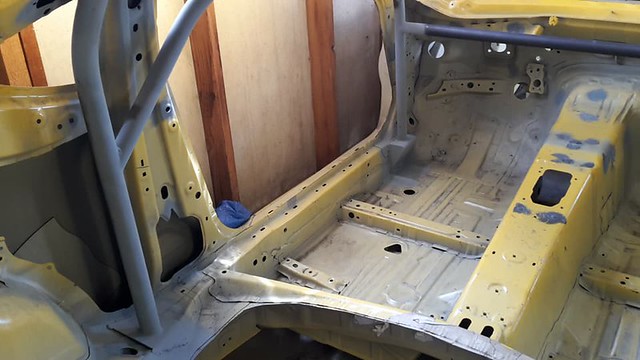 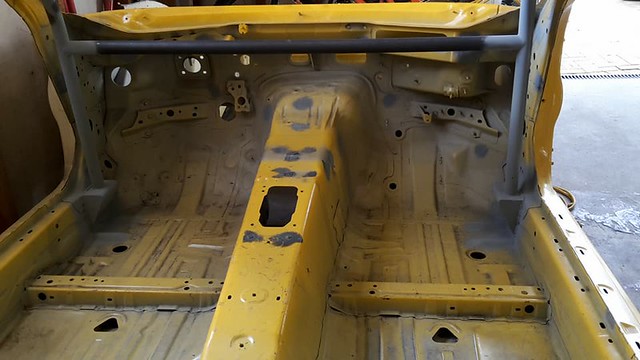 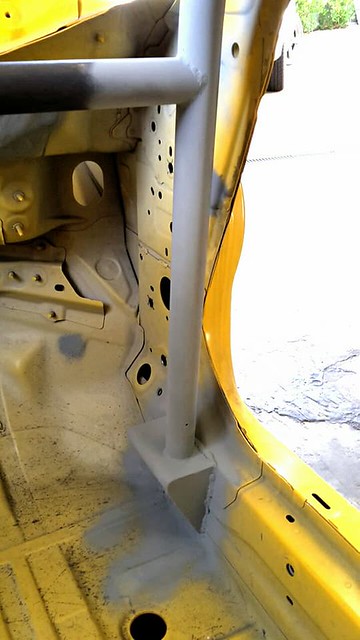 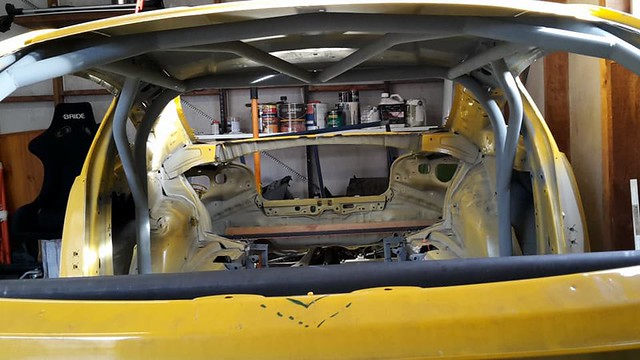 I will leave the door bars and main hoop diagonal off for now for easy access whilst I am building the rear suspension cradle. |
|
|
|
| The Following 3 Users Say Thank You to DIY For This Useful Post: |
|
03-07-2018, 01:57 PM
|
#65 | |
|
sleep, drive, eat, repeat
Join Date: Mar 2012
Drives: '13 BRZ, '12 Outback
Location: Sack of Potatoes
Posts: 4,431
Thanks: 2,630
Thanked 3,796 Times in 1,981 Posts
Mentioned: 188 Post(s)
Tagged: 4 Thread(s)
|
Quote:
|
|
|
|
|
|
03-07-2018, 04:17 PM
|
#66 | |
|
Senior Member
Join Date: Jul 2016
Drives: BRZ, WRX
Location: Sydney, Australia
Posts: 291
Thanks: 105
Thanked 962 Times in 233 Posts
Mentioned: 2 Post(s)
Tagged: 0 Thread(s)
|
Quote:
The photo below is my mock up of the rear end which will give you some idea of what it will look like. I plan on having 2 - 3 bolt hole options for the control arms to attach so I can adjust the ride height without affecting the suspension geometry. I need to do a bit more thinking about the lowest position before I start fabrication. 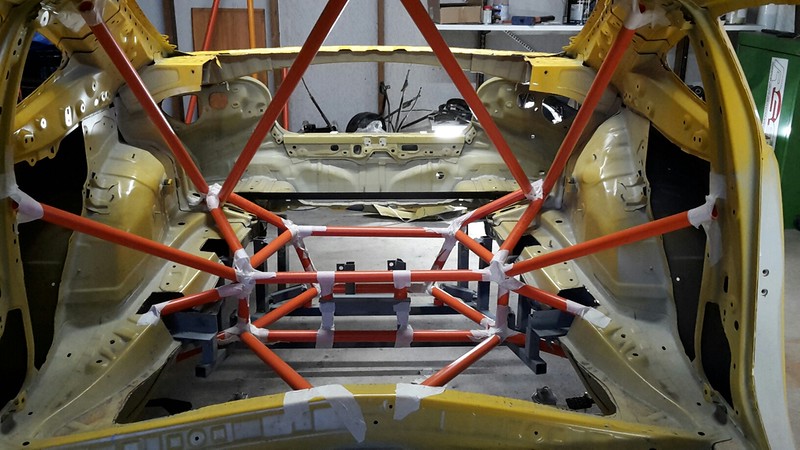
|
|
|
|
|
| The Following 4 Users Say Thank You to DIY For This Useful Post: |
|
03-07-2018, 04:54 PM
|
#67 |
|
Senior Member
Join Date: Dec 2013
Drives: 2013 FRS
Location: NL, Canada
Posts: 179
Thanks: 35
Thanked 35 Times in 27 Posts
Mentioned: 6 Post(s)
Tagged: 0 Thread(s)
|
Loving the progress - been watching for a while. Did you take any pictures before you took the body panels off the shell? The origin of the car fascinates me.
|
|
|
|
|
03-07-2018, 06:07 PM
|
#68 | |
|
Senior Member
Join Date: Jul 2016
Drives: BRZ, WRX
Location: Sydney, Australia
Posts: 291
Thanks: 105
Thanked 962 Times in 233 Posts
Mentioned: 2 Post(s)
Tagged: 0 Thread(s)
|
Quote:
It came with doors, fenders, boot and bonnet only. I have since bought a front and rear bumper. 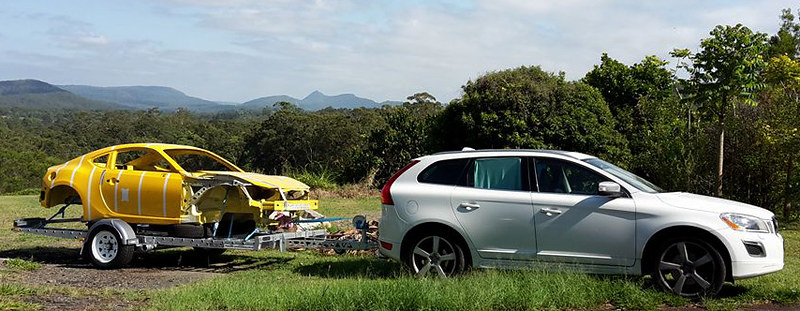
|
|
|
|
|
|
03-07-2018, 07:14 PM
|
#69 |
|
Senior Member
Join Date: Dec 2013
Drives: 2013 FRS
Location: NL, Canada
Posts: 179
Thanks: 35
Thanked 35 Times in 27 Posts
Mentioned: 6 Post(s)
Tagged: 0 Thread(s)
|
Cool stuff that's great! Did the subframes come with it too or did you pick up the rear one used for mockup seperately?
It's great that a chassis never destined for use will see the track! Edit! Nevermind I see you mentioned early on you needed to source the subframes. Keep the updates coming! Last edited by mhiscott; 03-07-2018 at 07:31 PM. |
|
|
|
|
03-07-2018, 07:36 PM
|
#70 | |
|
Senior Member
Join Date: Jul 2016
Drives: BRZ, WRX
Location: Sydney, Australia
Posts: 291
Thanks: 105
Thanked 962 Times in 233 Posts
Mentioned: 2 Post(s)
Tagged: 0 Thread(s)
|
Quote:
|
|
|
|
|
|
|
|
|
 |
| Thread Tools | Search this Thread |
|
|


