10-02-2013, 04:33 PM
|
#85 | |
|
Senior Member

Join Date: Aug 2012
Drives: FR-S
Location: IL
Posts: 2,857
Thanks: 519
Thanked 2,997 Times in 1,095 Posts
Mentioned: 159 Post(s)
Tagged: 1 Thread(s)
|
Quote:
__________________
|
|

|

|
| The Following User Says Thank You to Dezoris For This Useful Post: | Rick@Vortech (10-02-2013) |
|
10-02-2013, 06:12 PM
|
#86 | |
|
Member
Join Date: Aug 2013
Drives: Scion FR-S
Location: Channel Islands, CA
Posts: 55
Thanks: 51
Thanked 76 Times in 34 Posts
Mentioned: 15 Post(s)
Tagged: 0 Thread(s)
|
Quote:
|
|
|
|
|
|
10-03-2013, 04:27 AM
|
#87 |
|
GT86

Join Date: May 2012
Drives: Whiteout FR-S:(5/14/12)
Location: Fresno,CA.
Posts: 132
Thanks: 27
Thanked 32 Times in 18 Posts
Mentioned: 4 Post(s)
Tagged: 0 Thread(s)
|
Here's a little instaclip I made just after finishing my BOV install... This BOV surpassed my expectations and I couldn't be more happy with the great sound and quality. I'll post pics of my install as soon as I can get this security token error cleared, it's preventing me from uploading pics.
http://instagram.com/p/e_3G3hNjxa/
__________________
FR-S Whiteout
|
|
|
|
| The Following 5 Users Say Thank You to GUYVER116 For This Useful Post: | Brian@Vortech (10-03-2013), BRZPDX (10-03-2013), Froylavin (10-03-2013), Rick@Vortech (10-03-2013), v1ru5 (10-03-2013) |
|
10-03-2013, 05:22 AM
|
#88 |
|
Member
Join Date: Jun 2012
Drives: GT86
Location: Lebanon
Posts: 57
Thanks: 21
Thanked 14 Times in 13 Posts
Mentioned: 0 Post(s)
Tagged: 0 Thread(s)
|
Does this work on the Auto?
As an auto owner looking for FI, if the answer is yes, I'm sold on Vortech. |
|
|
|
| The Following User Says Thank You to Froylavin For This Useful Post: | GUYVER116 (10-03-2013) |
|
10-03-2013, 07:06 AM
|
#89 | |
|
Senior Member
Join Date: May 2013
Drives: BRZ D4S 6MT L Vortech
Location: Falls Church, VA
Posts: 387
Thanks: 168
Thanked 152 Times in 108 Posts
Mentioned: 30 Post(s)
Tagged: 2 Thread(s)
 |
Quote:
|
|
|
|
|
|
10-03-2013, 09:06 AM
|
#90 | |
|
Thupercharged

Join Date: Mar 2013
Drives: 2013 FR-S
Location: La Grange Park, IL.
Posts: 1,501
Thanks: 116
Thanked 751 Times in 439 Posts
Mentioned: 23 Post(s)
Tagged: 0 Thread(s)
|
Quote:
A much higher pitch sound than I expected
__________________
2013 FRS
Vortech V3 11psi Revworks UEL - PLM Overpipe - MOTIV catted frontpipe - Invidia Q300 2019 Series.Grey STI - Stage1+ SF |
|
|
|
|
| The Following 2 Users Say Thank You to DJCarbine For This Useful Post: | GUYVER116 (10-03-2013), Rick@Vortech (10-03-2013) |
|
10-03-2013, 01:20 PM
|
#91 | |
|
Boosted Member
Join Date: Jan 2013
Drives: 2013 SWP BRZ Limited
Location: Portland, OR
Posts: 1,979
Thanks: 524
Thanked 945 Times in 497 Posts
Mentioned: 129 Post(s)
Tagged: 0 Thread(s)
|
Quote:
__________________
Suzuki Swift GTI '89, Subaru Impreza L '96, Lancer OZ '03, Subaru Impreza WRX '06, Honda CBR600RR Graffiti, Volvo c30 T5 R '11, Subaru BRZ '13, Audi RS4 2007
SUV's: Mercedes Benz R500 '06, Mercedes Benz ML350 '12 |
|
|
|
|
| The Following User Says Thank You to BRZPDX For This Useful Post: | Froylavin (10-07-2013) |
|
10-03-2013, 01:23 PM
|
#92 | |
|
Senior Member

Join Date: Feb 2013
Drives: 2013 FRS
Location: Endor
Posts: 1,231
Thanks: 802
Thanked 349 Times in 212 Posts
Mentioned: 60 Post(s)
Tagged: 1 Thread(s)
|
Quote:
|
|
|
|
|
| The Following User Says Thank You to ft86me For This Useful Post: | GUYVER116 (10-03-2013) |
|
10-03-2013, 01:54 PM
|
#93 |
|
Member

Join Date: Apr 2013
Drives: 2007 Honda S2000, 2013 BRZ LMT
Location: California
Posts: 89
Thanks: 13
Thanked 33 Times in 18 Posts
Mentioned: 1 Post(s)
Tagged: 0 Thread(s)
|
Does the bov go off from regular daily driving or just when you give it a little push?
Sent from my Samsung Galaxy S3 using Tapatalk 2. |
|
|
|
|
10-03-2013, 02:19 PM
|
#94 | |
|
Senior Member
Join Date: May 2013
Drives: BRZ D4S 6MT L Vortech
Location: Falls Church, VA
Posts: 387
Thanks: 168
Thanked 152 Times in 108 Posts
Mentioned: 30 Post(s)
Tagged: 2 Thread(s)
|
Quote:
|
|
|
|
|
|
10-03-2013, 10:48 PM
|
#95 | |
|
Photo Specialist

Join Date: Feb 2012
Drives: 2013 Toyota 86 DGM 6MT
Location: Texas
Posts: 1,152
Thanks: 587
Thanked 1,803 Times in 420 Posts
Mentioned: 94 Post(s)
Tagged: 0 Thread(s)
|
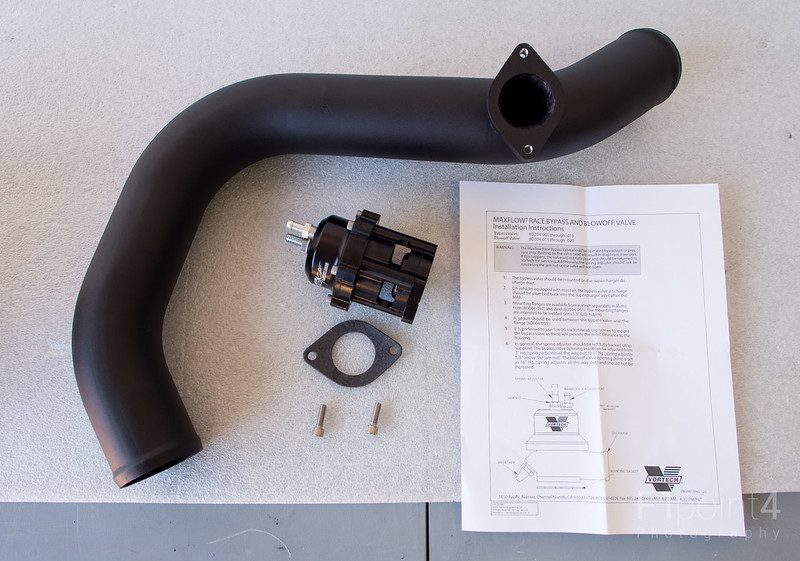
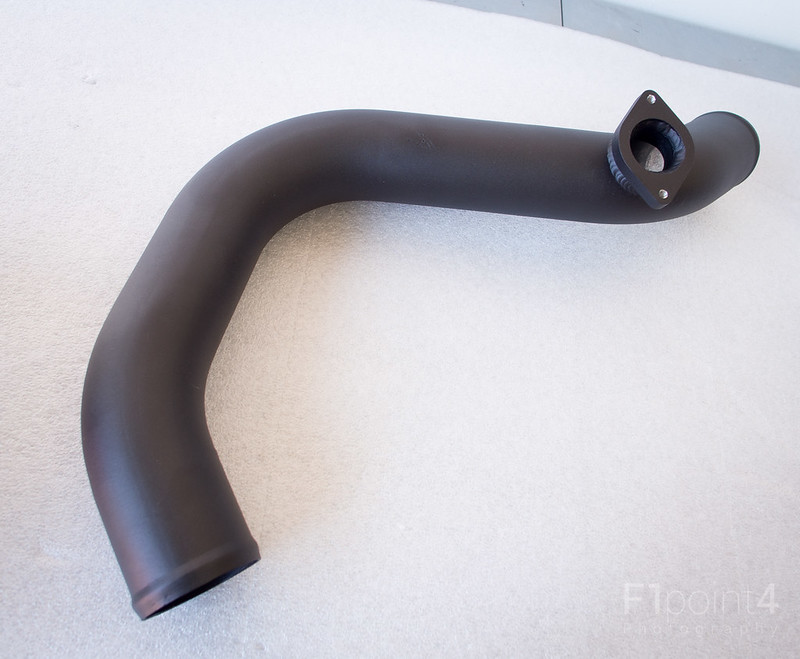
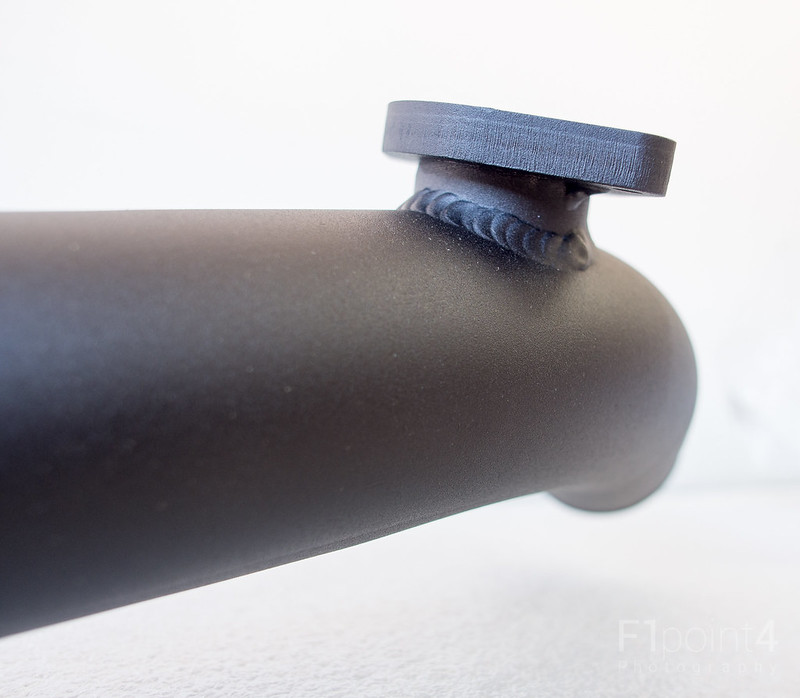
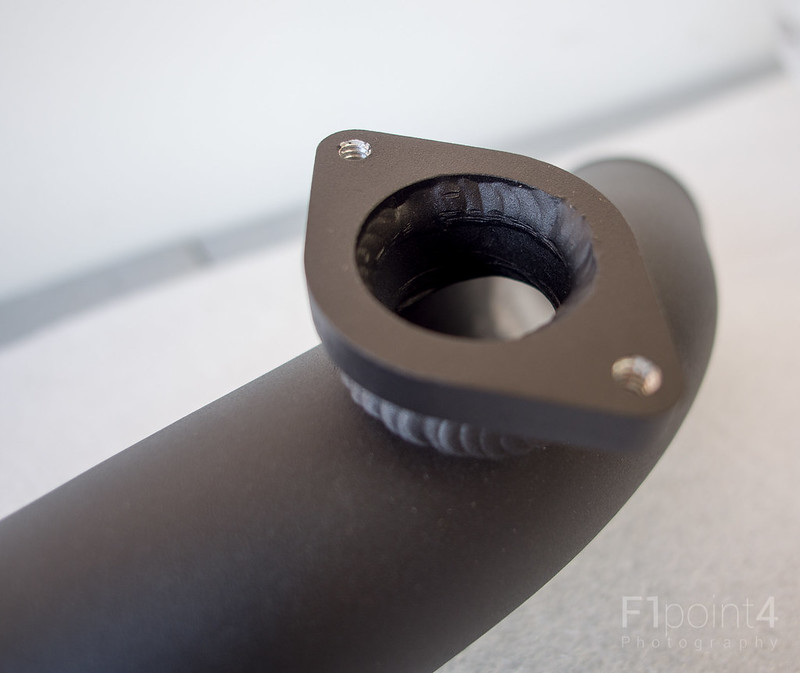
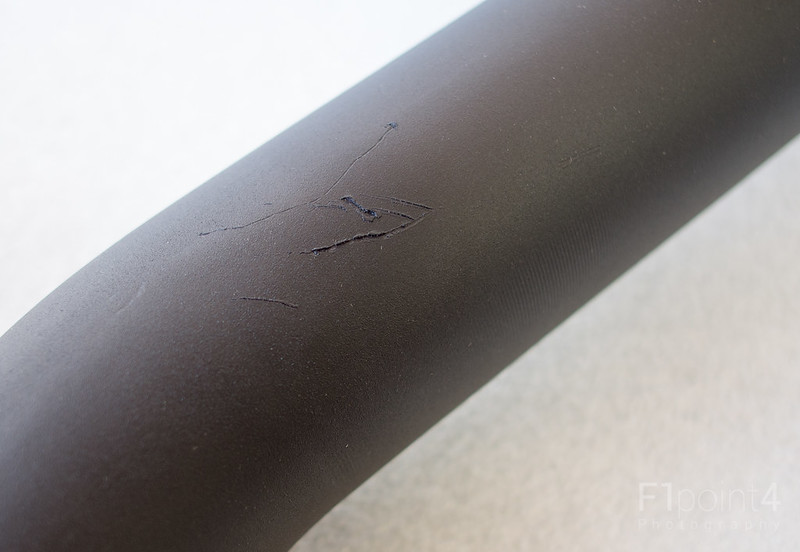
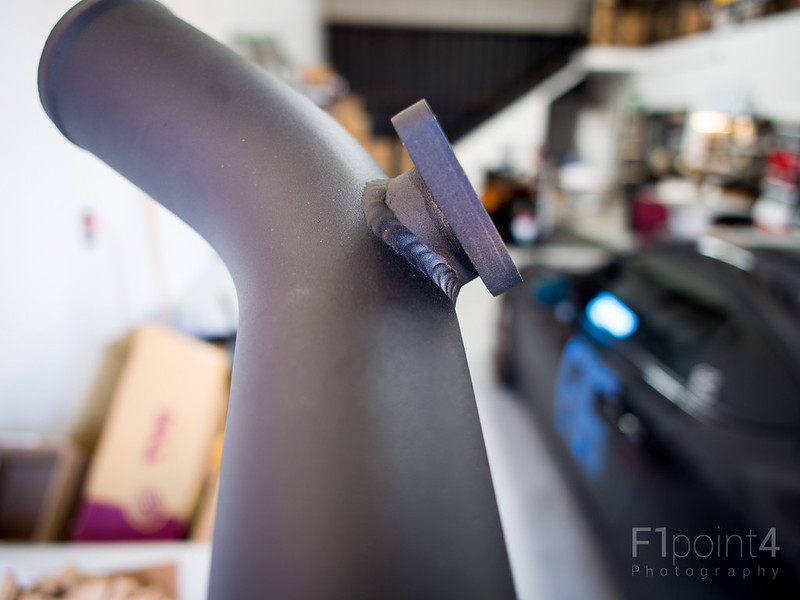
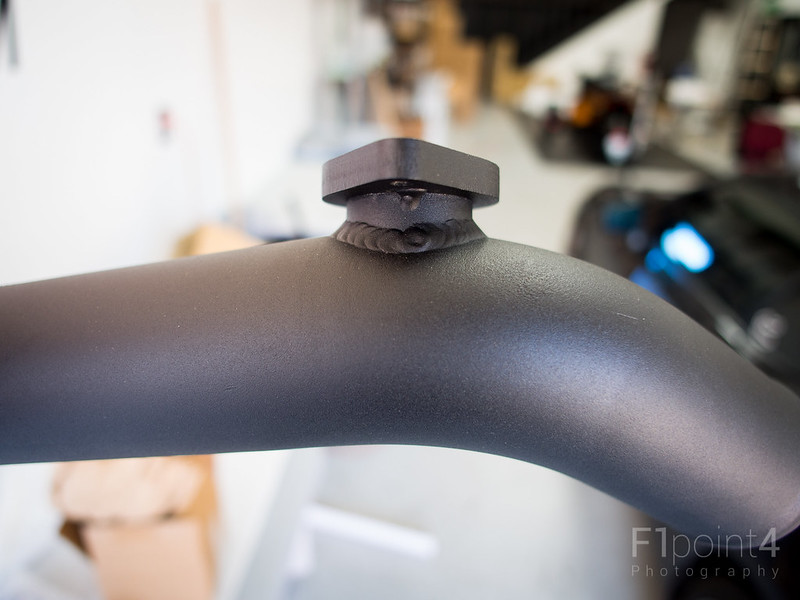
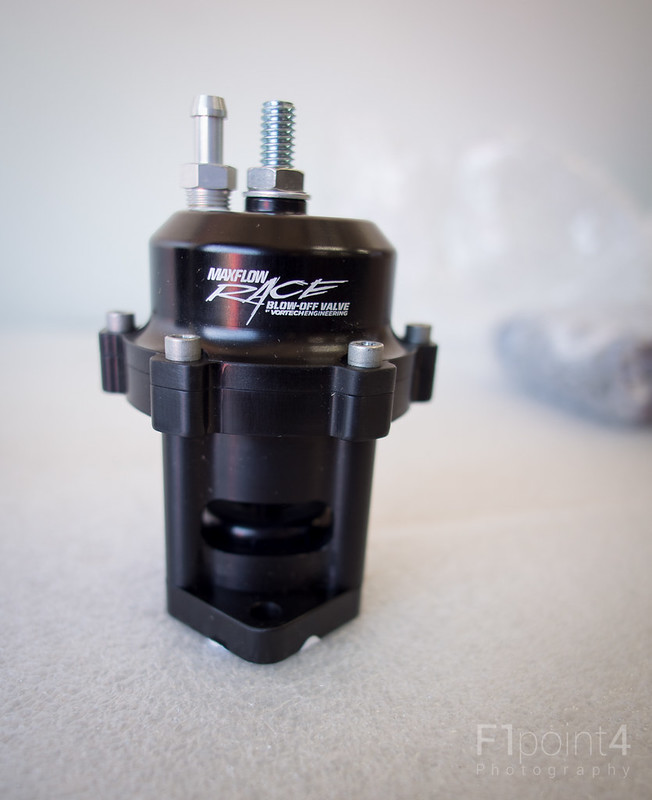
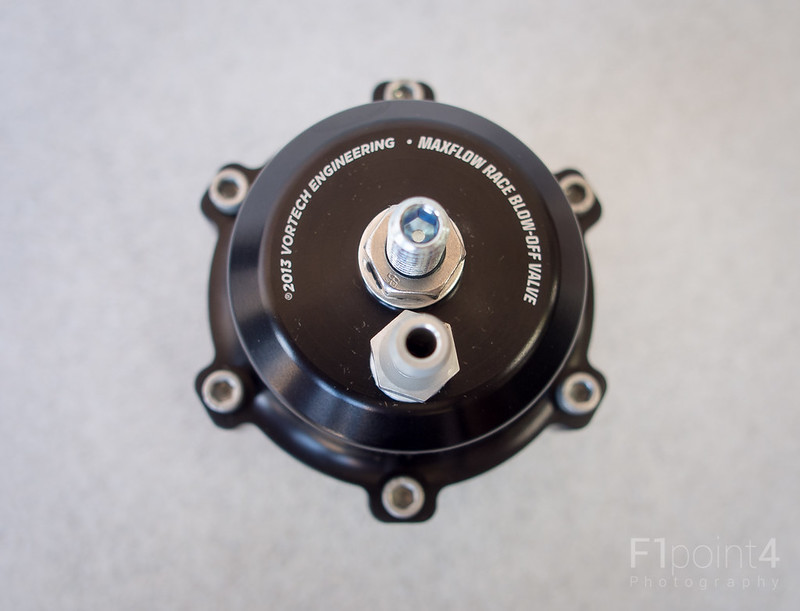
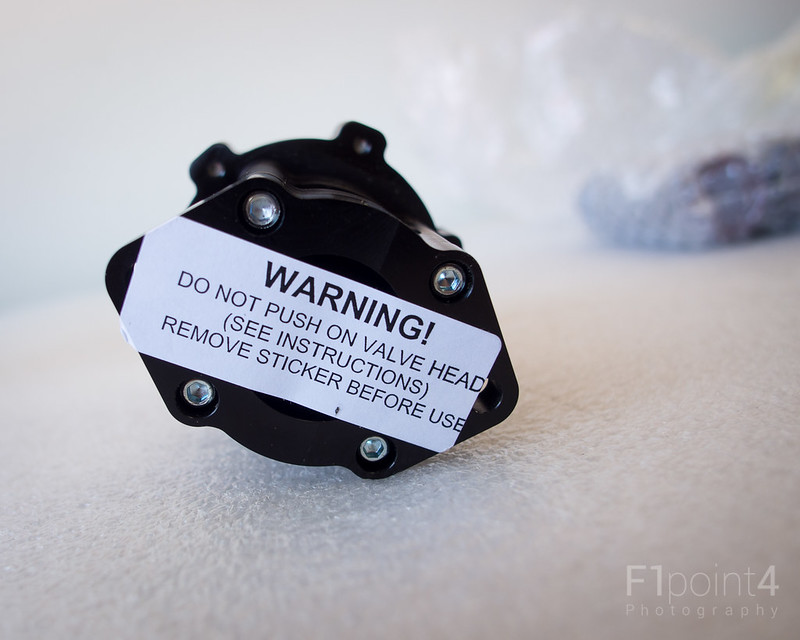
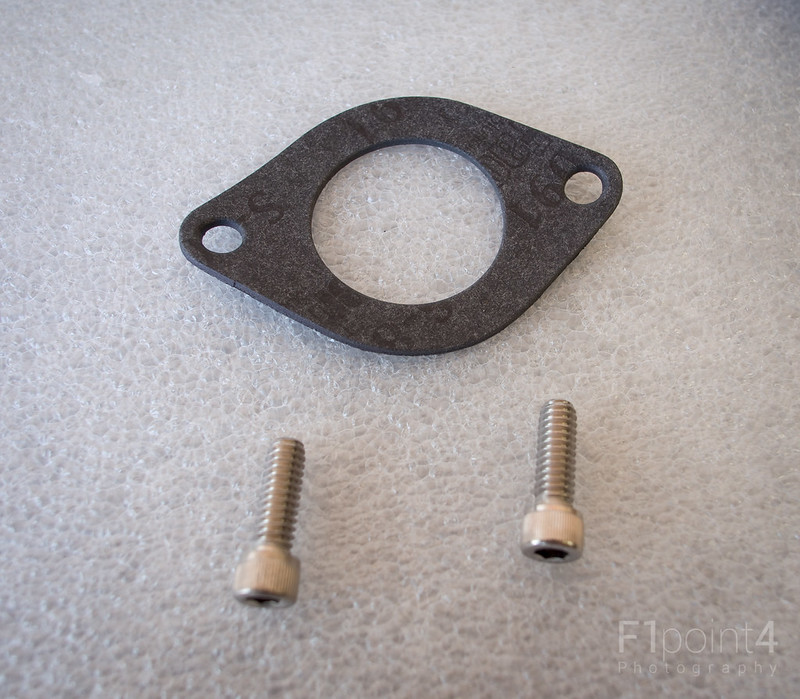
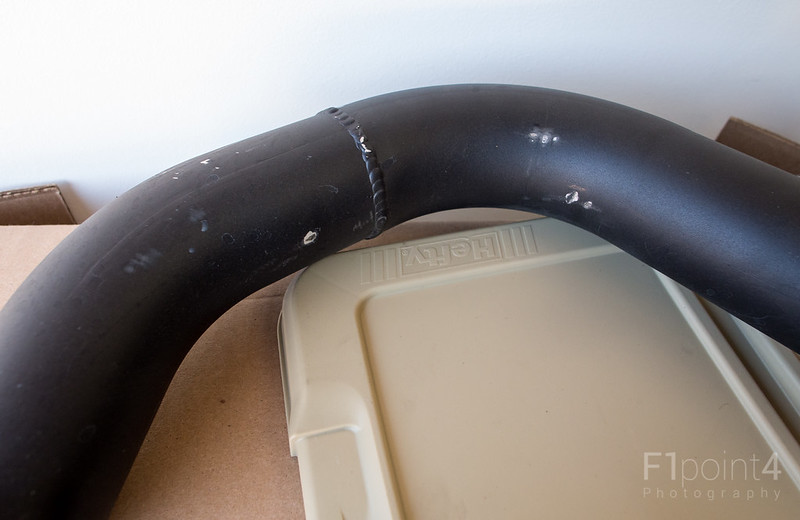
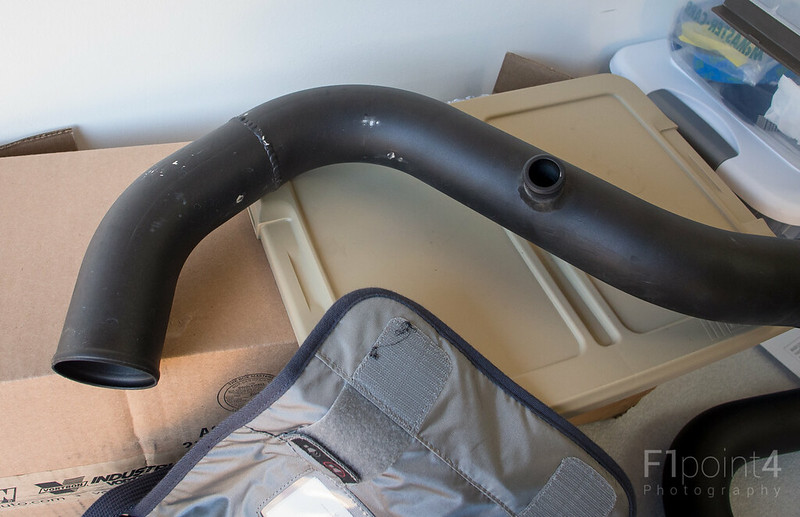
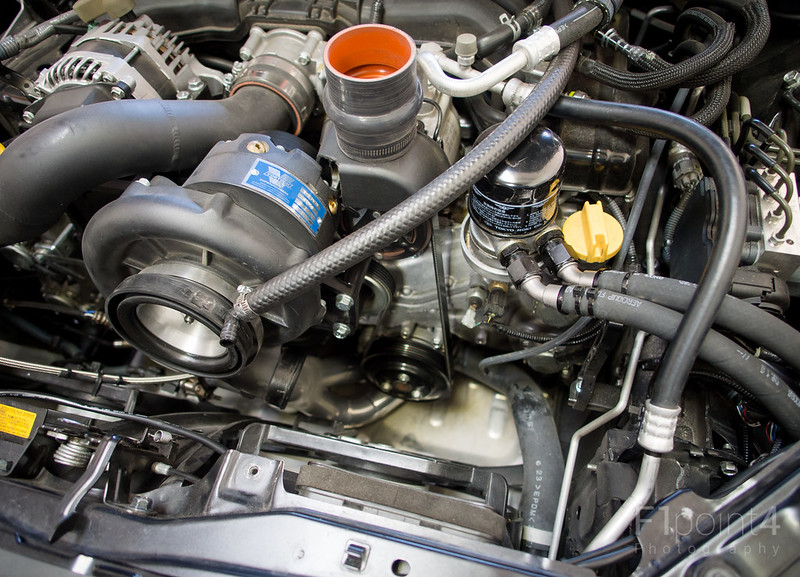
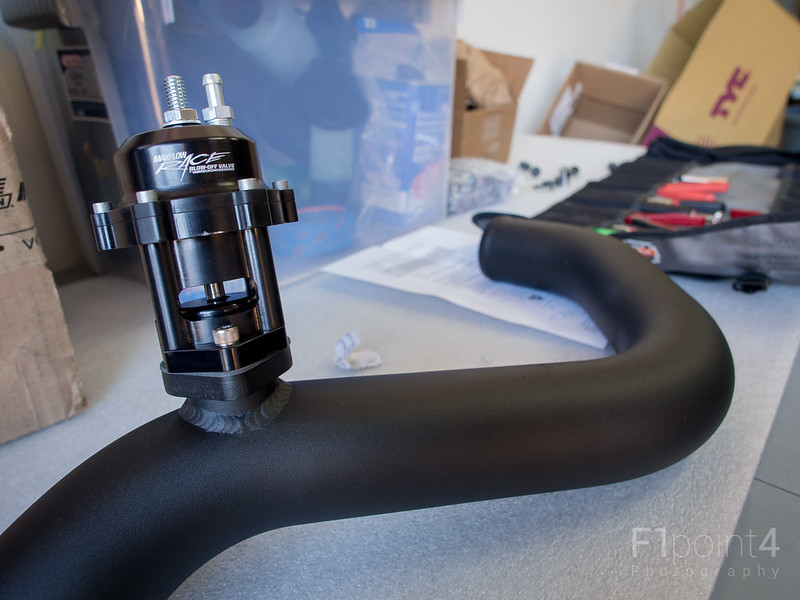
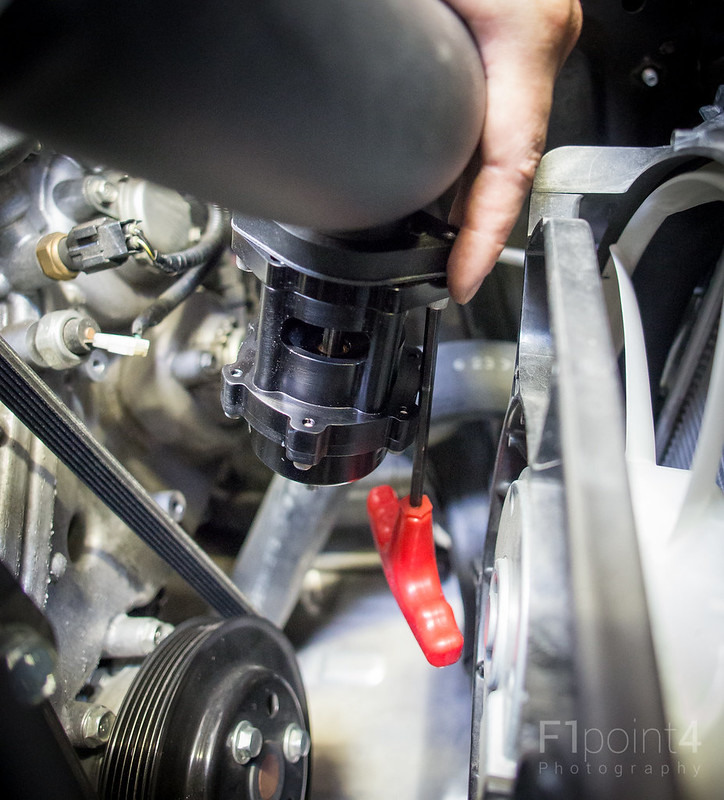
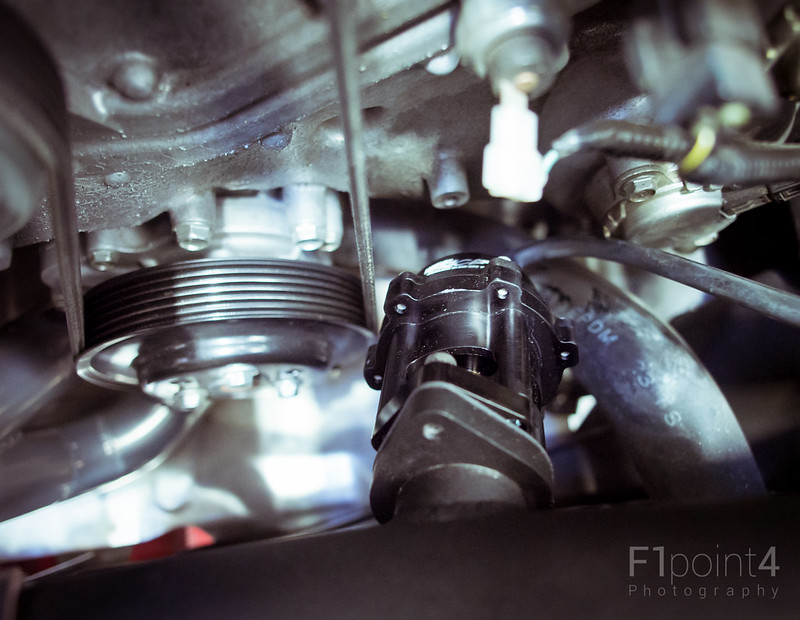
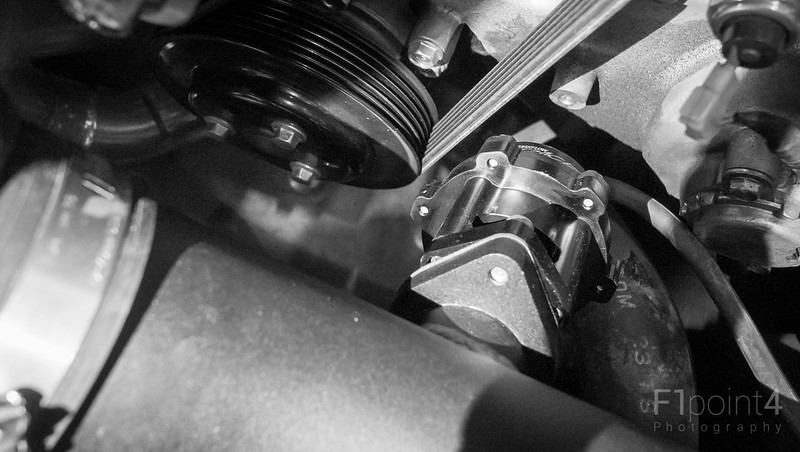
Welcome to the Vortech MaxFlow LOL Generator
From my journal thread Quote:
__________________
Last edited by F1point4; 10-04-2013 at 12:04 AM. |
|
|
|
|
| The Following 4 Users Say Thank You to F1point4 For This Useful Post: |
|
10-04-2013, 10:41 AM
|
#96 |
|
Member
Join Date: Aug 2013
Drives: Scion FR-S
Location: Channel Islands, CA
Posts: 55
Thanks: 51
Thanked 76 Times in 34 Posts
Mentioned: 15 Post(s)
Tagged: 0 Thread(s)
|
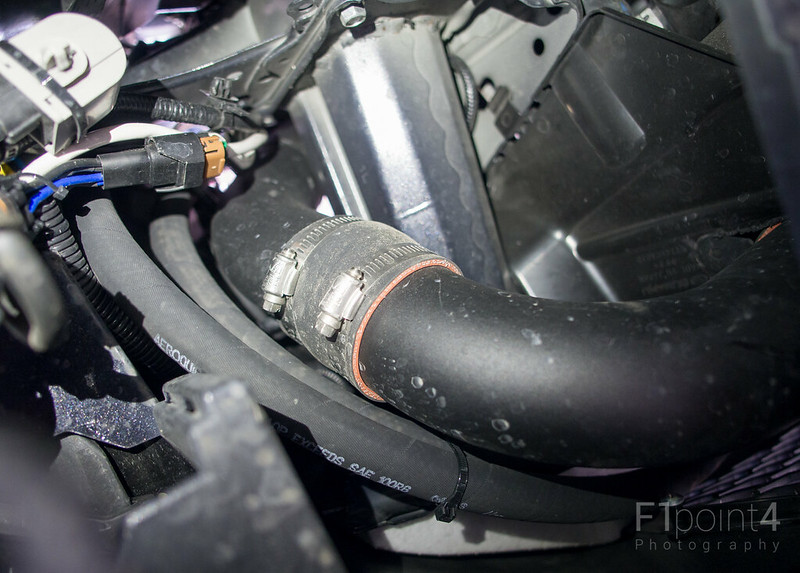
Excellent write-up!
 And yes, the valve sits close to the belt, but she ain't gonna touch. We have it on our blue FR-S with stock mounts & hasn't given us any trouble. Shoot...if your engine flexes THAT much, you have other issues! |
|
|
|
| The Following 2 Users Say Thank You to Rick@Vortech For This Useful Post: | Brian@Vortech (10-04-2013), F1point4 (10-04-2013) |
|
10-05-2013, 08:28 AM
|
#97 |
|
Member
Join Date: Jun 2012
Drives: Scion FR-S Firestorm Red (manual)
Location: united states
Posts: 38
Thanks: 313
Thanked 123 Times in 72 Posts
Mentioned: 30 Post(s)
Tagged: 1 Thread(s)
|
I watched the video, thought it was an optical illusion, but it looks like the crank pulley stops spinning while the car is still running. Check it out.
|
|
|
|
|
10-05-2013, 08:37 AM
|
#98 | |
|
Banned
Join Date: Oct 2012
Drives: GT86
Location: The Motherland
Posts: 1,398
Thanks: 140
Thanked 473 Times in 271 Posts
Mentioned: 22 Post(s)
Tagged: 0 Thread(s)
|
Quote:
|
|
|
|
|
|
|
|
|
 |
| Tags |
| vortech pissing bov, wastegate option? |
|
|
 Similar Threads
|
||||
| Thread | Thread Starter | Forum | Replies | Last Post |
| Questions and Discussion on Vortech Supercharging Systems | Brian@Vortech | Forced Induction | 1462 | 01-27-2017 02:05 PM |
| Vortech Supercharging System Update - More boost, more POWER! | Brian@Vortech | Forced Induction | 337 | 03-12-2016 03:42 PM |
| Tial Q Blow off valve | Gen | Engine, Exhaust, Bolt-Ons | 1 | 11-01-2013 08:34 PM |
| **Visconti Tuning Vortech ProCharger Spring Blow-Out Sale** | Rich@ViscontiTuning | Forced Induction | 133 | 05-10-2013 01:31 PM |
| New Vortech Supercharging System Information... | Brian@Vortech | Forced Induction | 306 | 11-08-2012 05:49 PM |


 ZX-6R
ZX-6R Hayaku
 2013 Subaru BRZ