


 06-01-2014, 12:29 PM
|
#295 |
|
Senior Member
Join Date: Oct 2012
Drives: Toyota 86 TRD Version AT
Location: Manila, Philippines
Posts: 883
Thanks: 548
Thanked 599 Times in 283 Posts
Mentioned: 20 Post(s)
Tagged: 1 Thread(s)
|
Whiteline KDT925 and Ultra Racing Rear Under Brace Install (6-1-14)
Whiteline KDT925 and Ultra Racing Rear Under Brace Install (6-1-14)   I realized that installing the UltraRacing front under brace made the front end of the car tighter and more responsive and made the rear of the car a bit more loose during the last track event I attended. To remedy this, I ordered the UltraRacing rear under brace to bring the rear end up to spec. I also ordered the Whiteline KDT925 diff inserts, following the great performance of the last subframe bushings I installed. Today's install was done at Autokozmetix. The rear under brace looks like this:  The rear under brace connects the rear crossmember to the rear point where the lower control arms and the subframe connects. This effectively makes the rear subframe more rigid.  Here's how it looks when both braces are installed:   Since the differential is connected to the rear subframe, installing this brace will limit the deflection or movement of the subframe under load. This leads to my next supporting mod, the Whiteline differential bushing inserts. Install was a breeze, take two screws out, place the brace between them and put the screws back. KDT925 Install  I did not install the large bushings on the rear subframe because I already have a differential brace. I opted to install the outrigger bushing inserts only, as they are the weak link now with the diff brace installed. With the inserts, movement will be further limited, making the transfer of energy more efficient.  The insert has grooves that mate up perfect to the stock bushings, and has an upper insert to further stiffen up the outrigger contact points. Together, they make the stock bushings stiffer, limiting deflection and making the system more efficient. Whiteline has done another great job with these, with all the things needed for the install included in the kit. The fit of the inserts are flawless, and the install was made easy with a very detailed instruction manual. Outrigger insert installed:  I will get to review these mods during the next track event in two weeks time, and will voice my opinion after the event.
__________________
Last edited by Tye300; 06-02-2014 at 09:42 AM. |

|

|
| The Following User Says Thank You to Tye300 For This Useful Post: | kavanagh (06-03-2014) |
|
06-06-2014, 05:50 AM
|
#296 |
|
Senior Member
Join Date: Oct 2012
Drives: Toyota 86 TRD Version AT
Location: Manila, Philippines
Posts: 883
Thanks: 548
Thanked 599 Times in 283 Posts
Mentioned: 20 Post(s)
Tagged: 1 Thread(s)
|
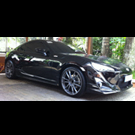
TRD Sharkfin Install and review (6-3-14)
TRD Sharkfin Install and review (6-3-14) I opted for another round of cosmetic upgrade for the 86. Being the TRD fanboy that I am, I ordered the TRD Sharkfin antenna. The actual part can be ordered pre painted in black, white, and red factory colors which accurately matches the cars paint. It's a plug and play affair.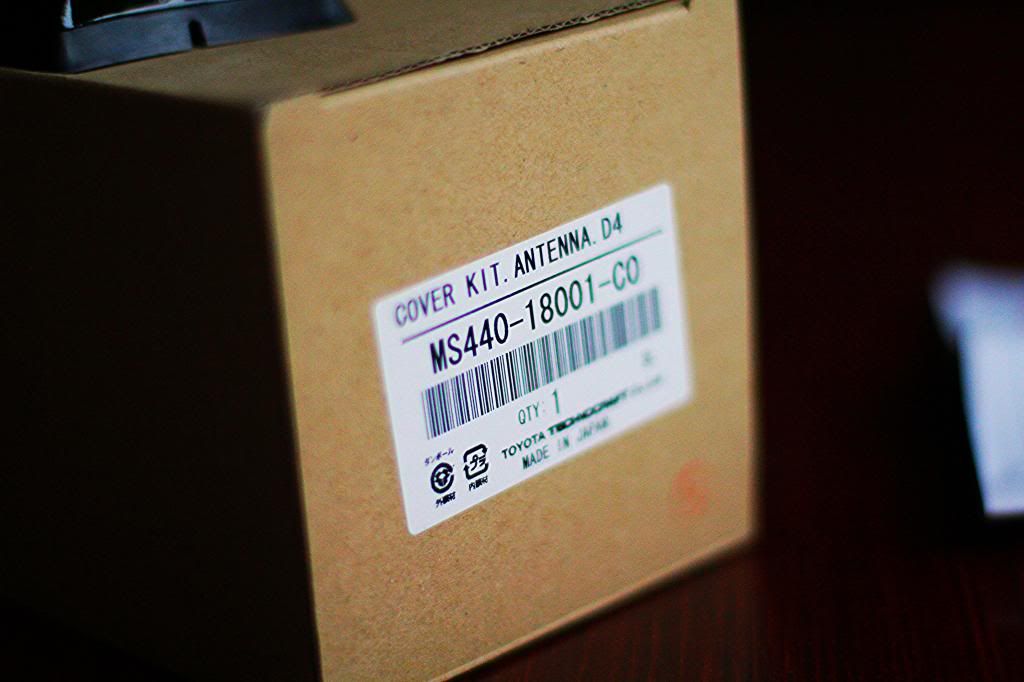 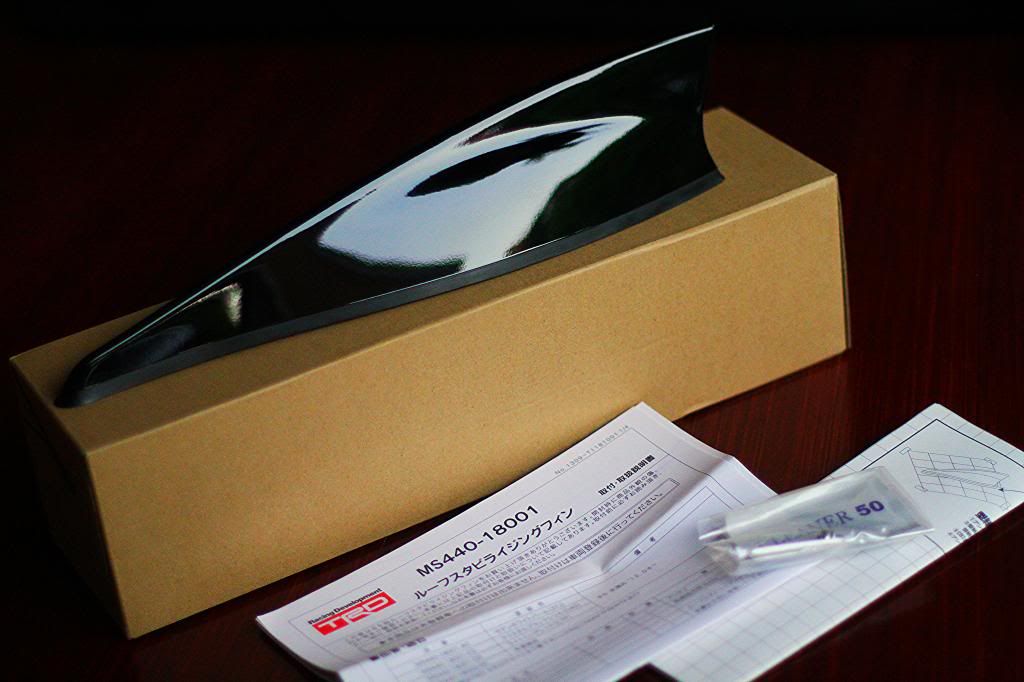 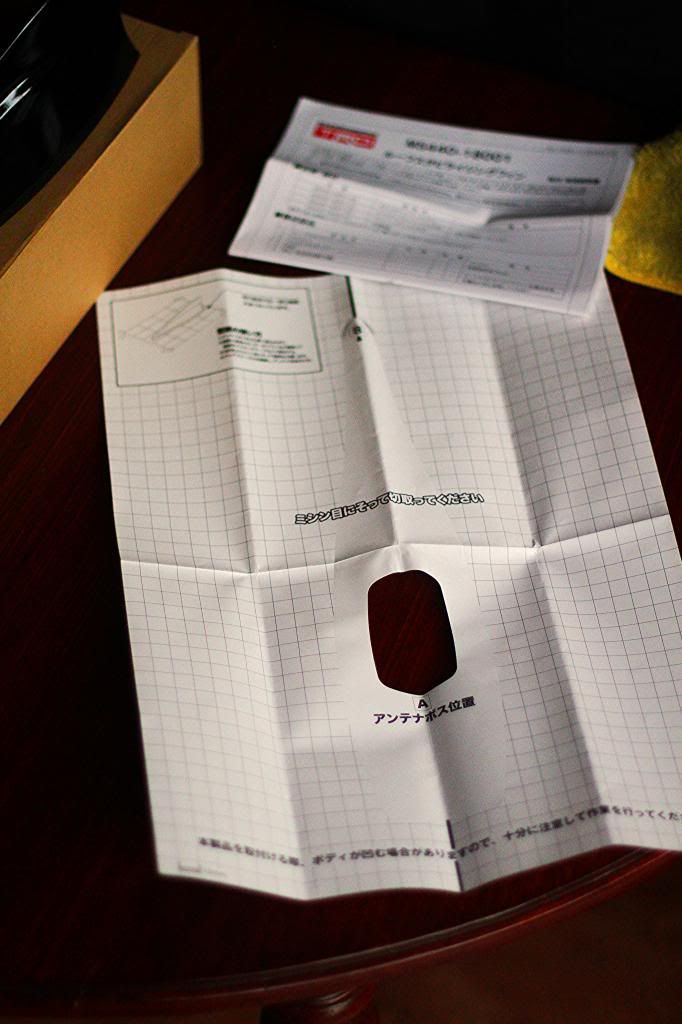 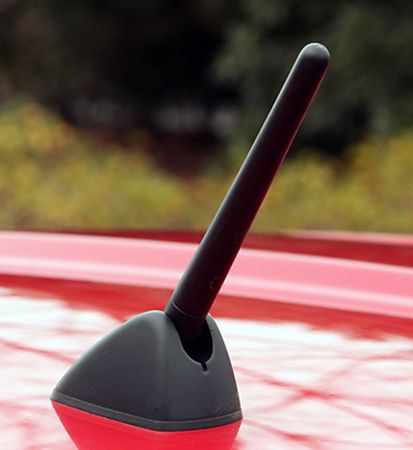 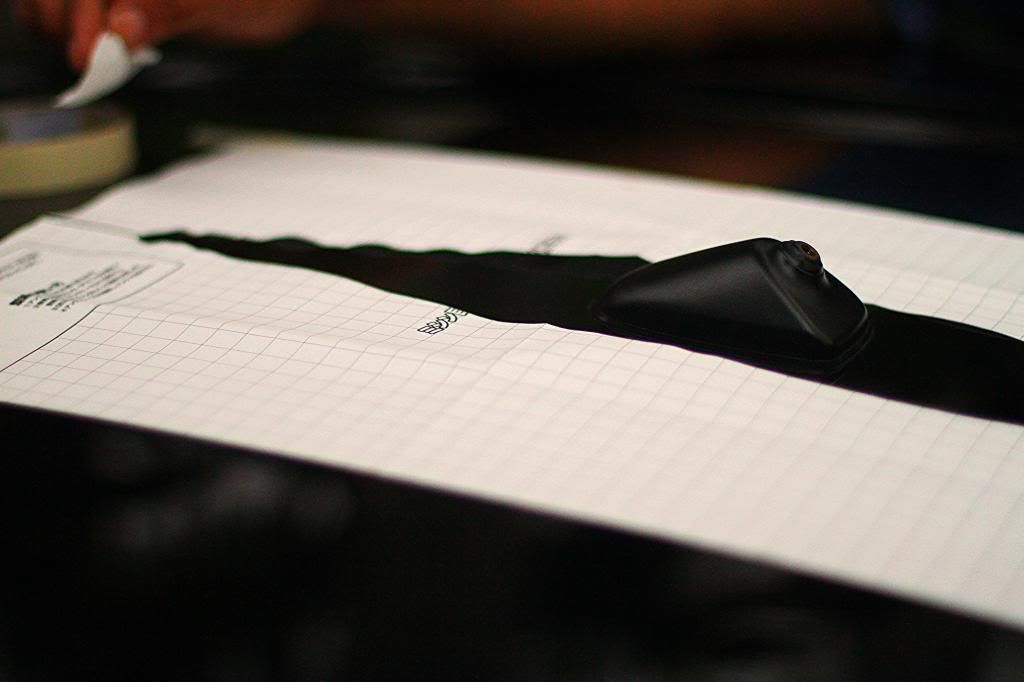 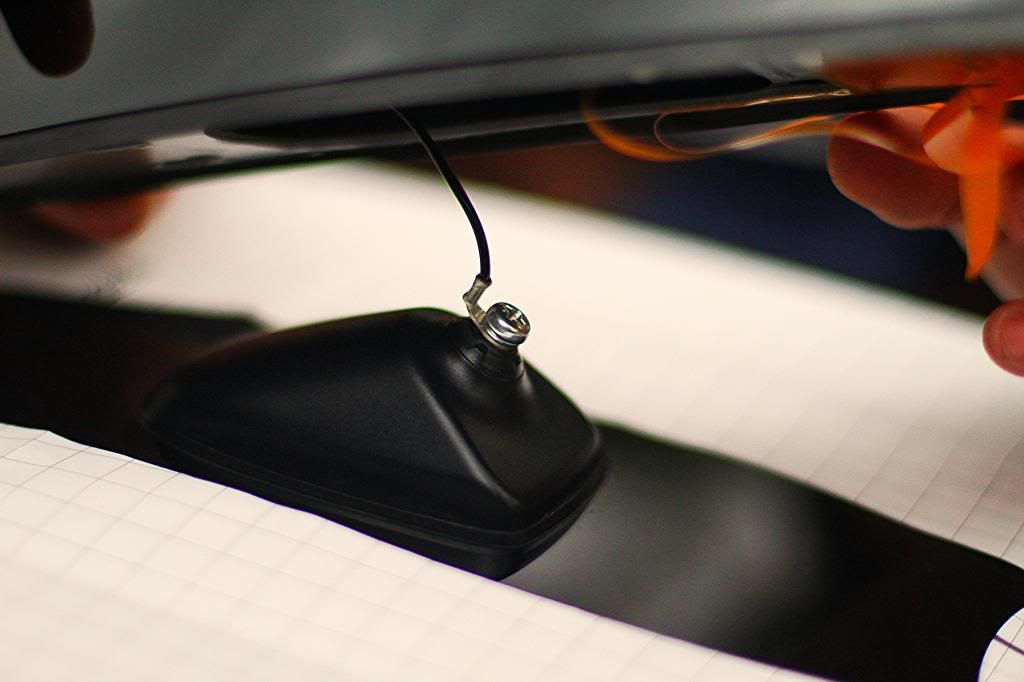 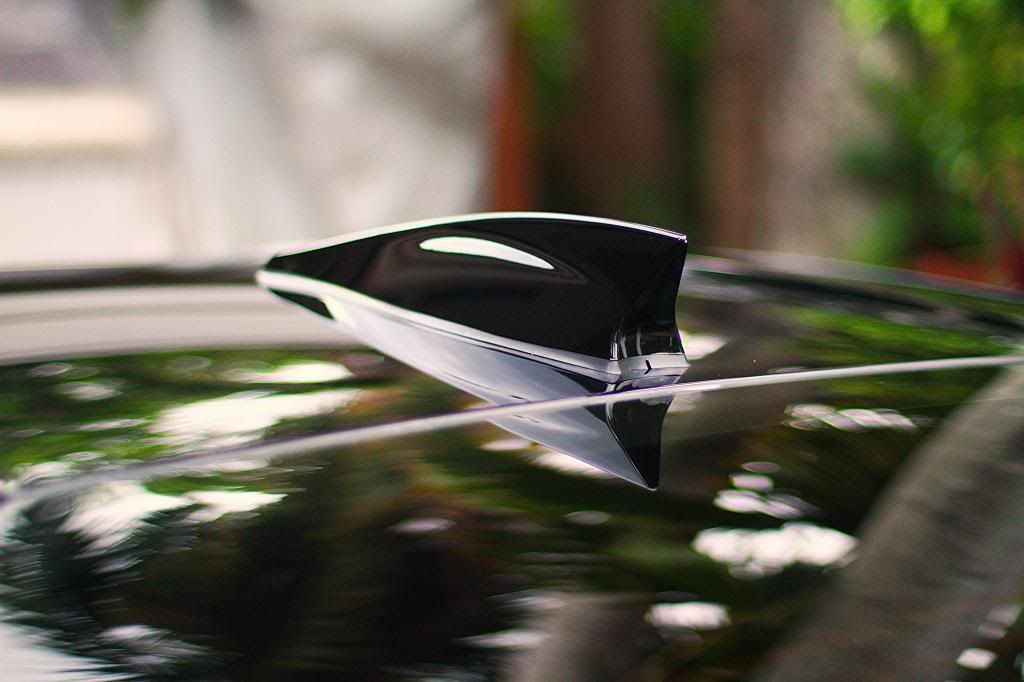 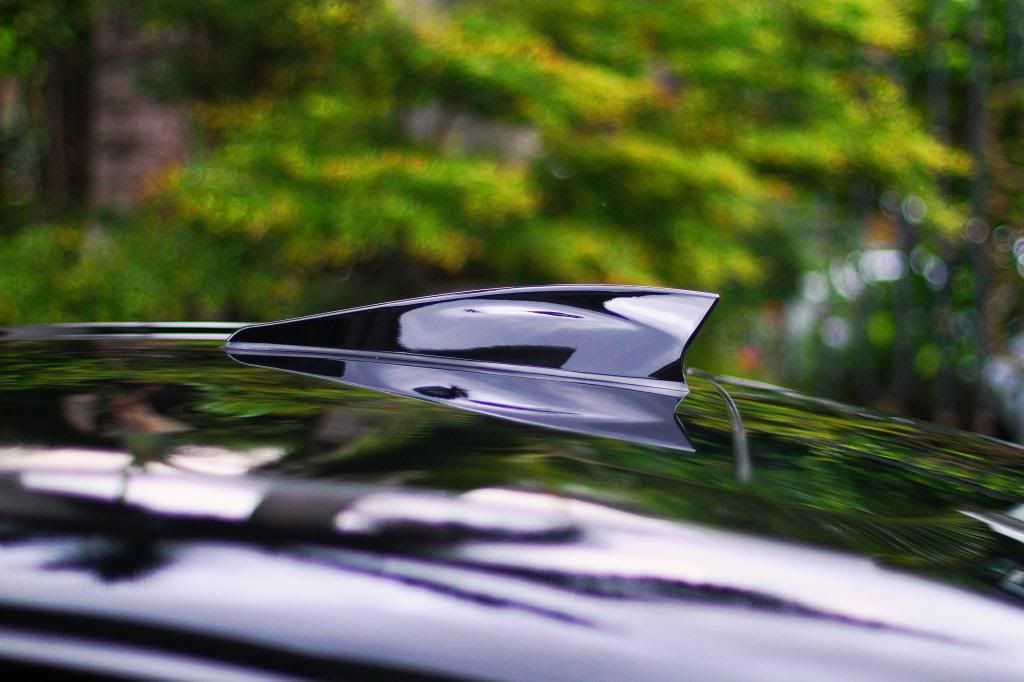 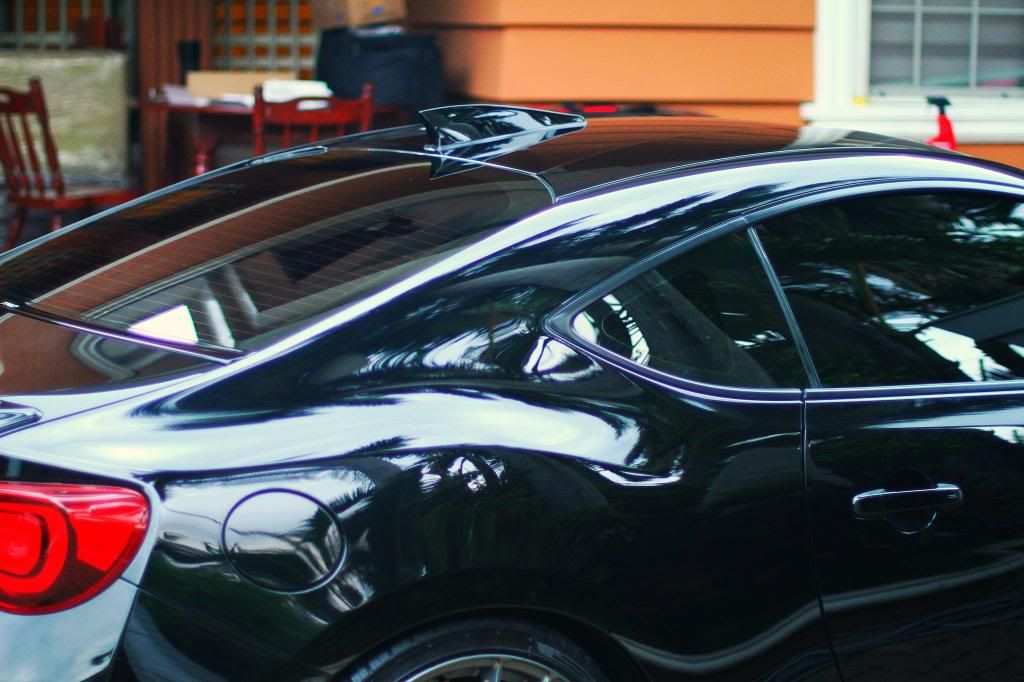 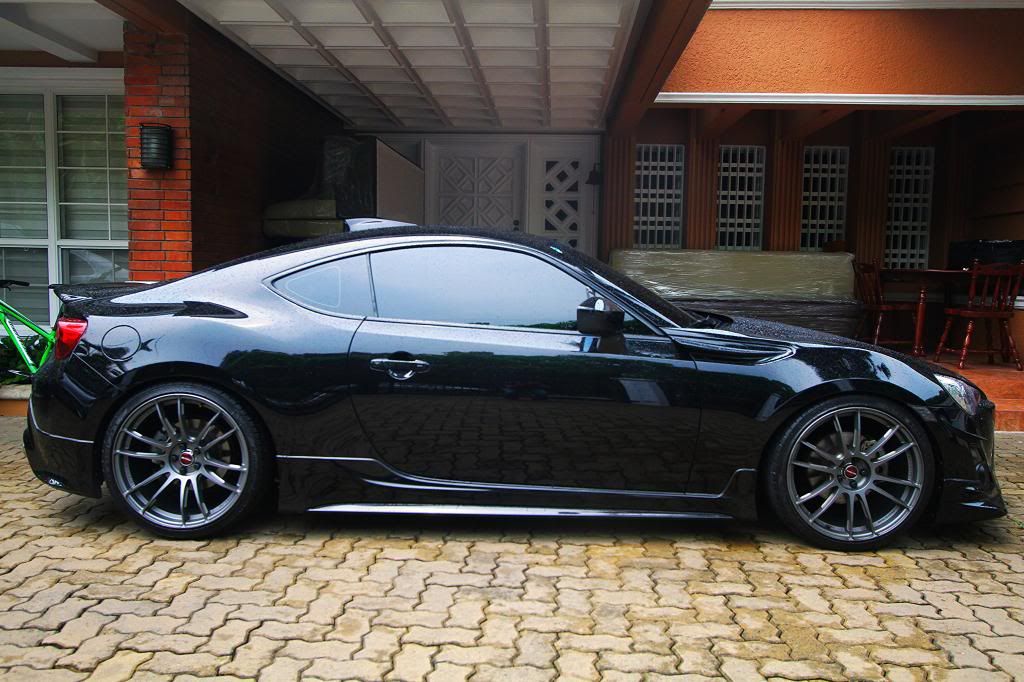 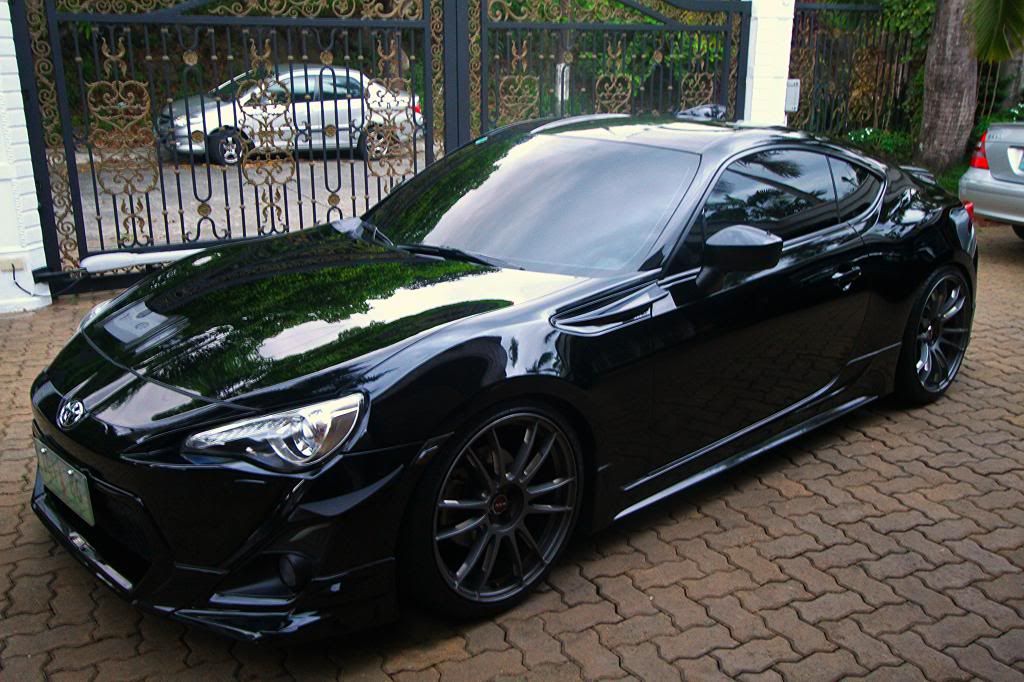
__________________
|
|
|
|
| The Following 3 Users Say Thank You to Tye300 For This Useful Post: |
|
06-06-2014, 11:59 AM
|
#297 |
|
Senior Member
Join Date: Oct 2012
Drives: Toyota 86 TRD Version AT
Location: Manila, Philippines
Posts: 883
Thanks: 548
Thanked 599 Times in 283 Posts
Mentioned: 20 Post(s)
Tagged: 1 Thread(s)
|
Innovate MTX-L AFR Gauge install and Review (5-28-14) In an effort to closely monitor things that go about in my engine, I purchased an Innovate MTX-L air fuel gauge. 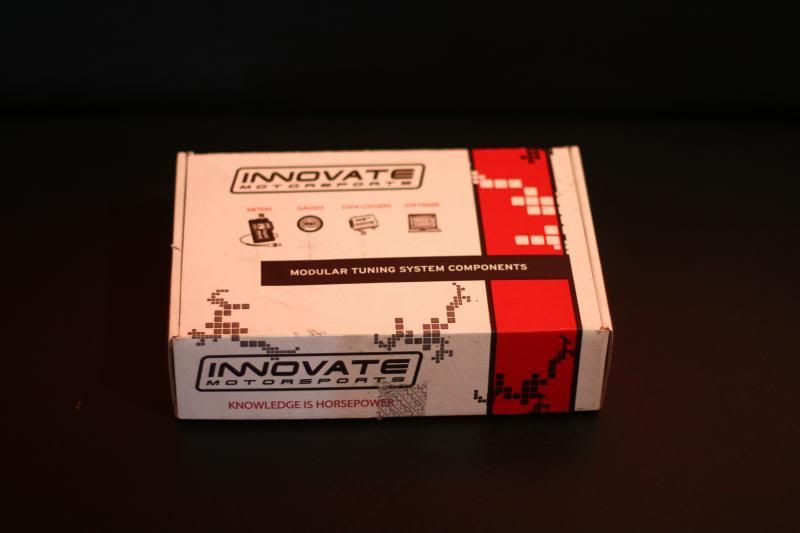 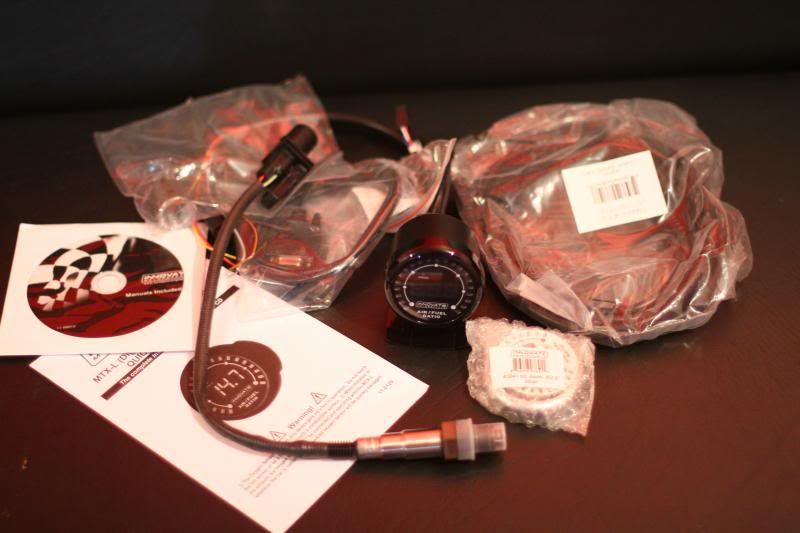 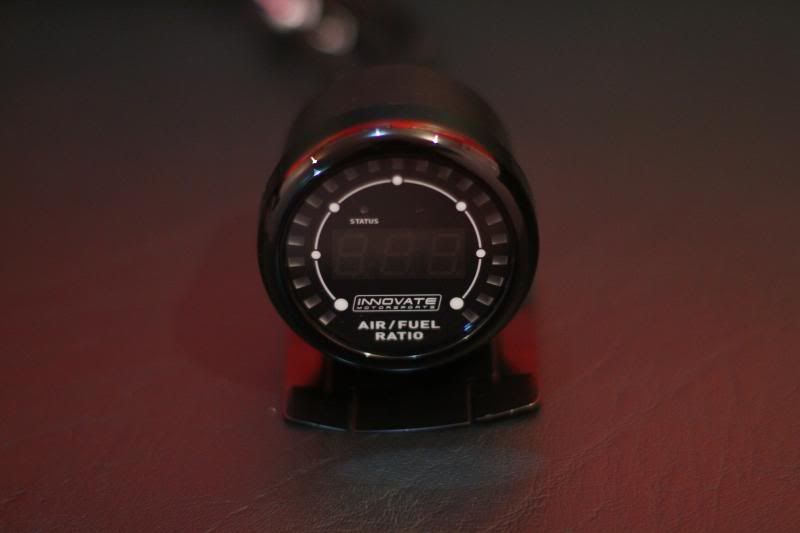 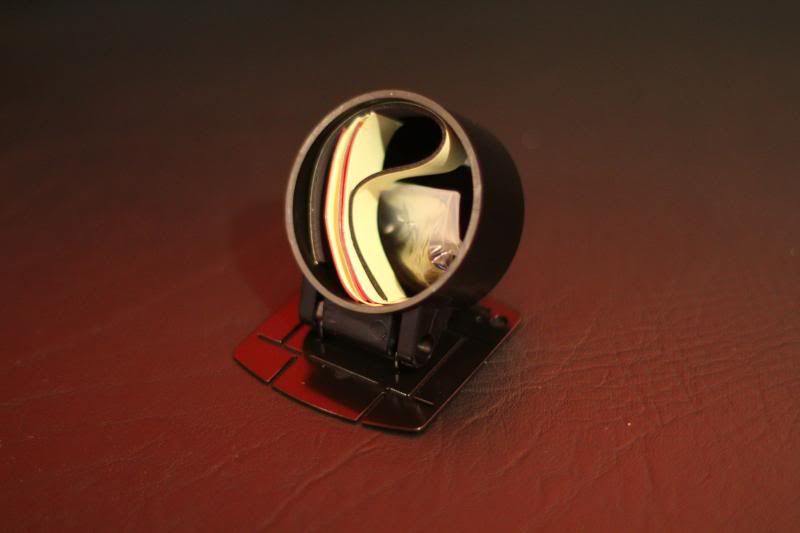 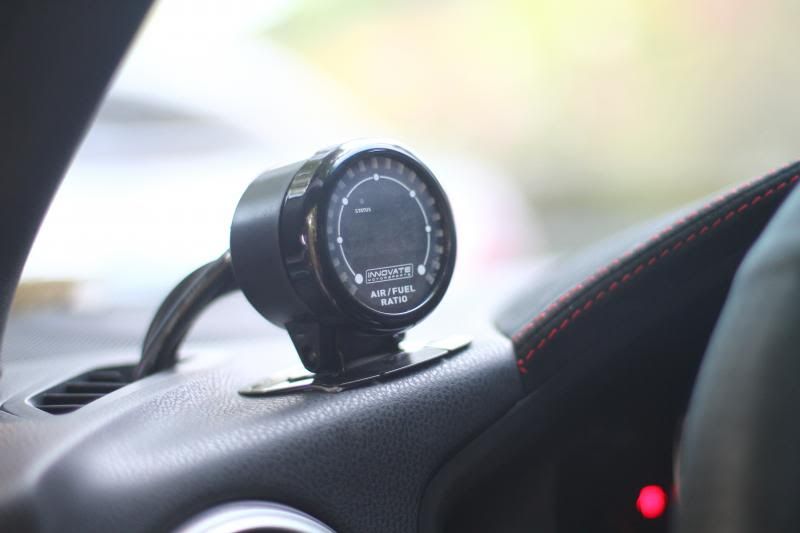 I mounted the gauge on the dashboard, left side near the a pillar, where my boost gauge previously was. [IMG]http://i86.photobucket.com/albums/k89/tyroneongpauco/IMG_9676_zps86c04***.jpg[/IMG] Once everything was plugged in and calibrated, the gauge worked flawlessly. It read the AFR well, with the refresh rate fairly quick.I opted to install the black face to keep my gauges fairly uniform. Except for the missing mount, I'm fairly happy with the innovate kit. 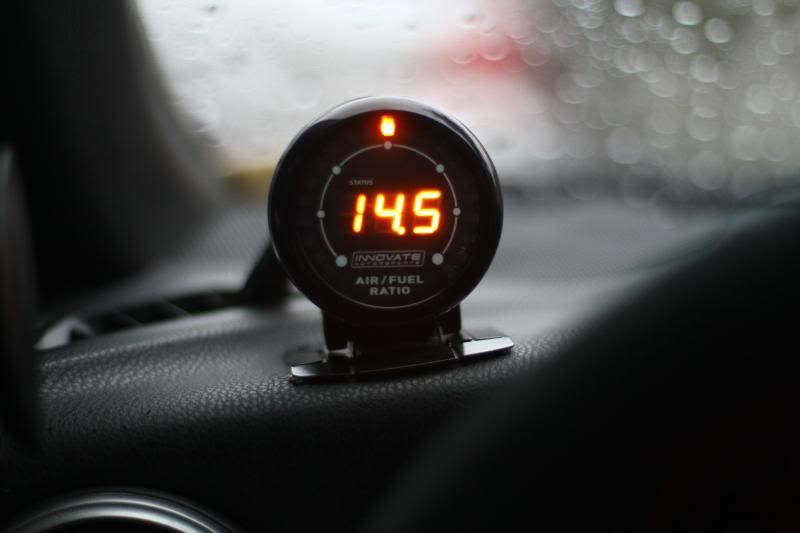
__________________
|
|
|
|
|
06-10-2014, 11:50 AM
|
#298 |
|
Senior Member
Join Date: Oct 2012
Drives: Toyota 86 TRD Version AT
Location: Manila, Philippines
Posts: 883
Thanks: 548
Thanked 599 Times in 283 Posts
Mentioned: 20 Post(s)
Tagged: 1 Thread(s)
|
Turbosmart Kompact Dual Port-25mm Install and Review (6-10-14)
Turbosmart Kompact Dual Port-25mm Install and Review (6-10-14) I gave into my inner ricer after I found a good deal on a slightly used Turbosmart blow off valve in the classifieds. I wanted to get more blow off sounds from the car, but nothing too outrageous. After conferring with the former owner and some members here, the Turbosmart unit seemed to fit the bill nicely. 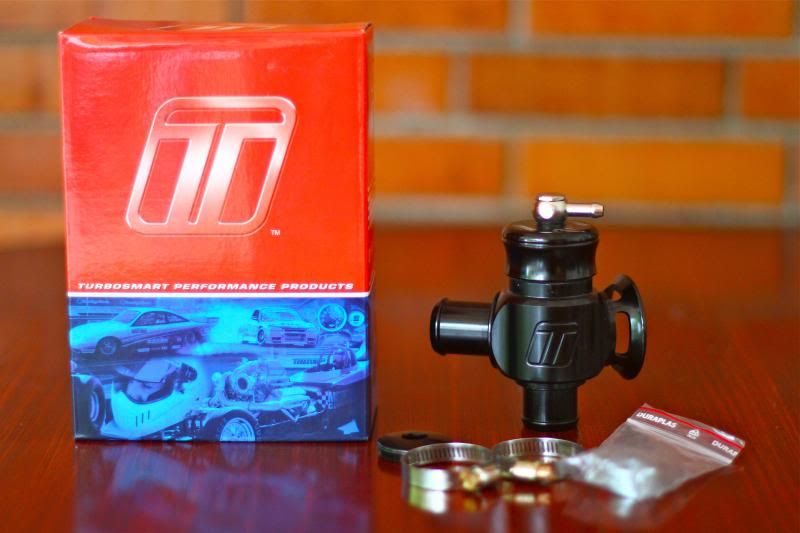 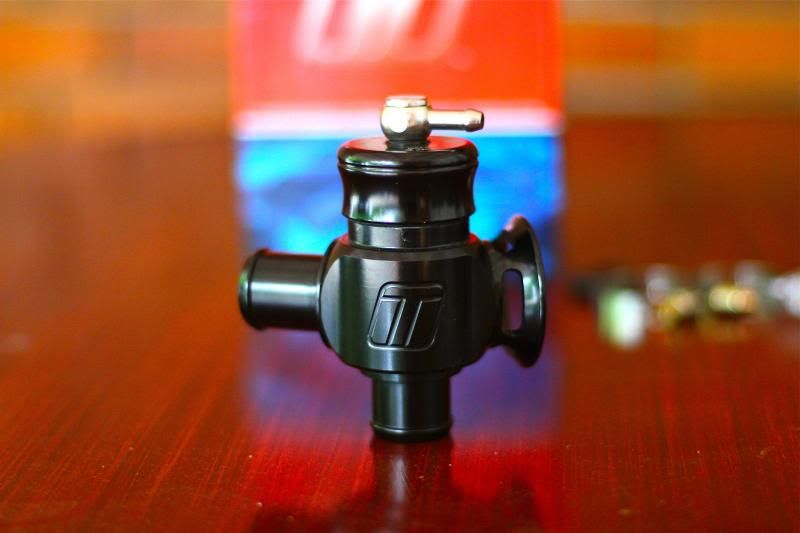 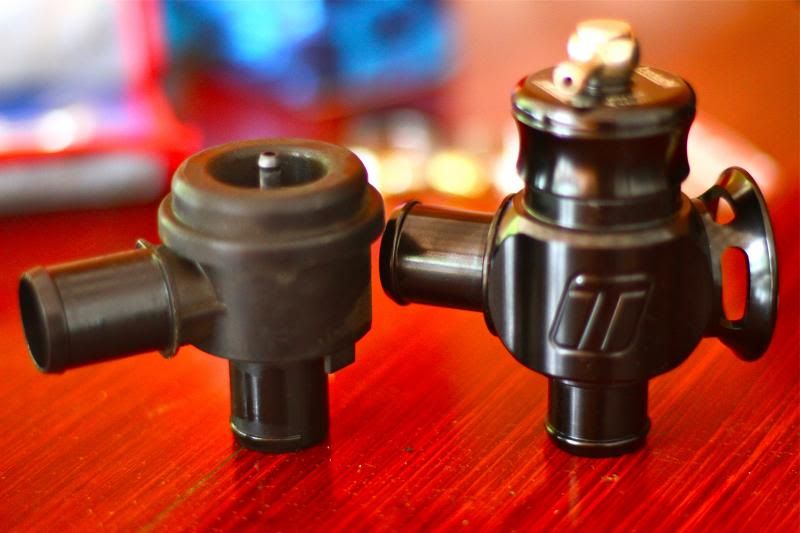 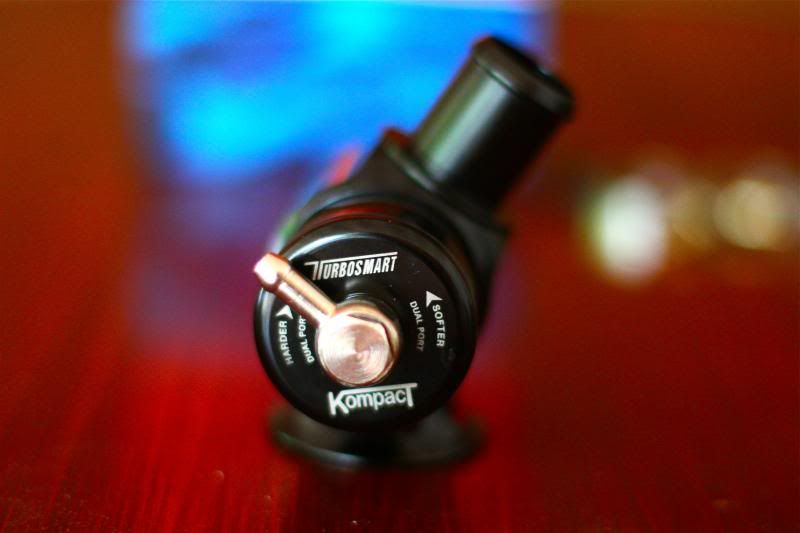 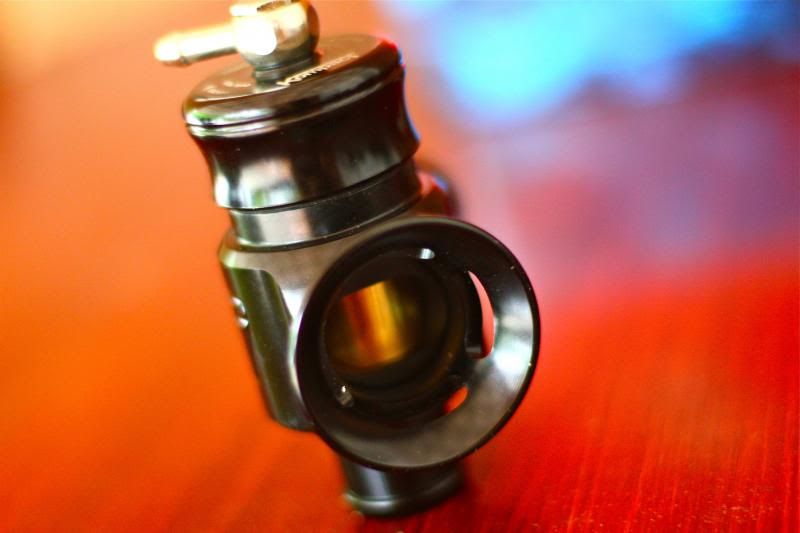 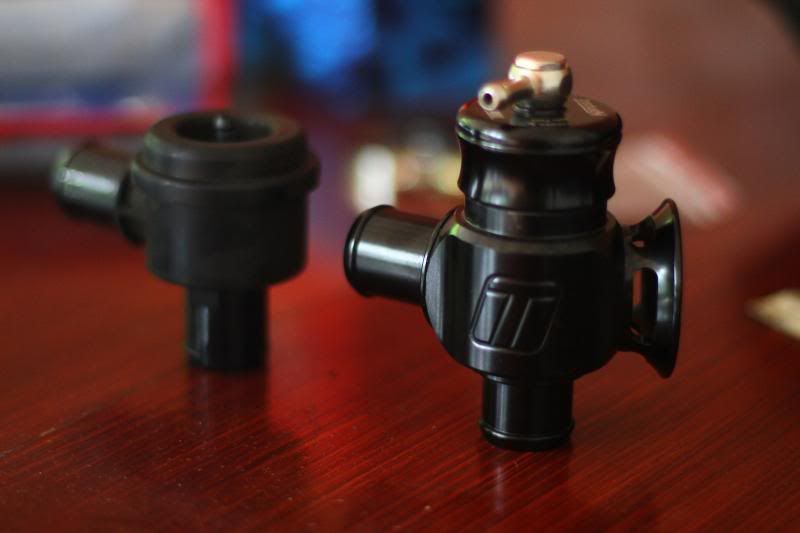 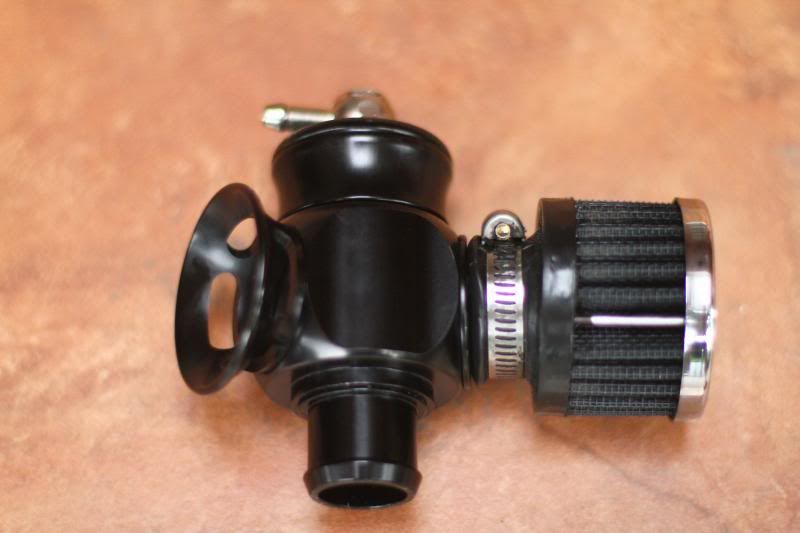 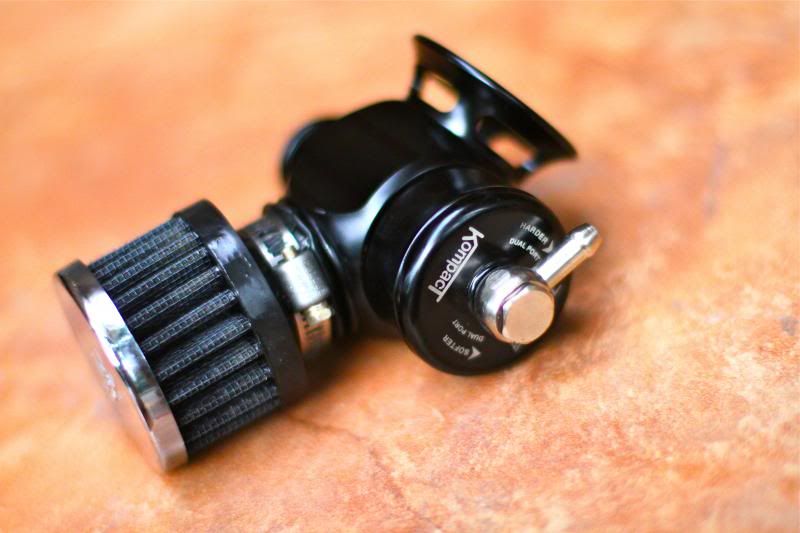 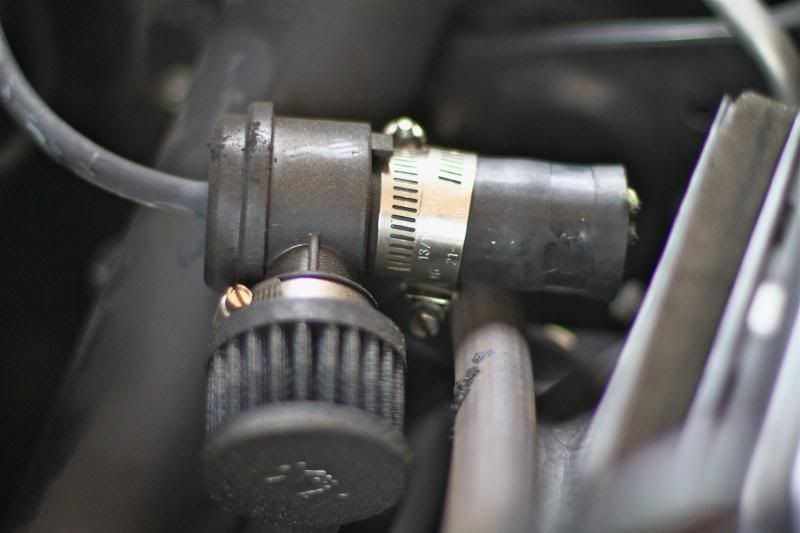 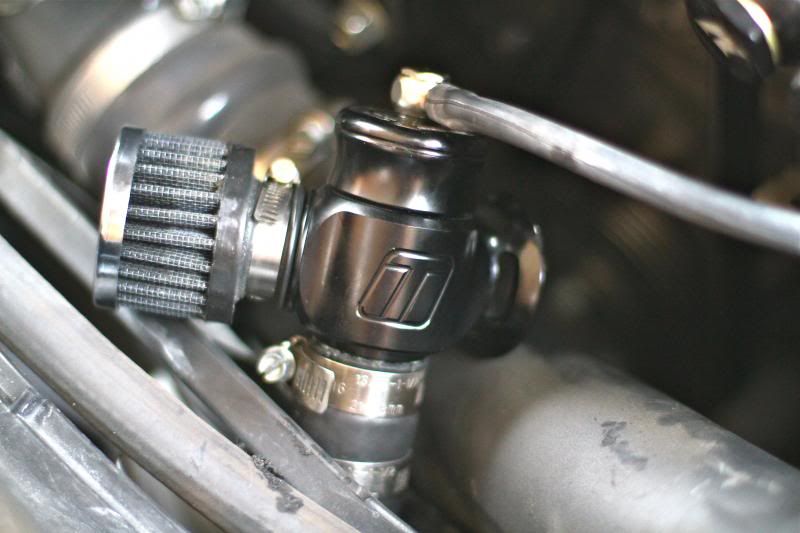 Vortech SC with stock BOV: Thanks to @Amalgamo for the great deal and to @HRTROB and @DJCarbine for the info!
[ame]http://youtu.be/S7djoZNnO-U[/ame] Vortech SC with Turbosmart BOV: [ame]http://youtu.be/Zh5ZbDtcKgk[/ame]
__________________
Last edited by Tye300; 06-26-2014 at 01:20 AM. |
|
|
|
| The Following User Says Thank You to Tye300 For This Useful Post: | Amalgamo (06-10-2014) |
|
06-17-2014, 04:11 PM
|
#299 | |
|
Senior Member
Join Date: Sep 2012
Drives: Toyota GT 86
Location: Moscow, Russia
Posts: 460
Thanks: 409
Thanked 225 Times in 135 Posts
Mentioned: 5 Post(s)
Tagged: 0 Thread(s)
|
Quote:
|
|
|
|
|
|
06-17-2014, 04:58 PM
|
#300 | |
|
Senior Member
Join Date: Oct 2012
Drives: Toyota 86 TRD Version AT
Location: Manila, Philippines
Posts: 883
Thanks: 548
Thanked 599 Times in 283 Posts
Mentioned: 20 Post(s)
Tagged: 1 Thread(s)
|
Quote:
It's easier to do the first one because you don't have to reach under the manifold to connect to the pcv valve. HTH!
__________________
|
|
|
|
|
|
06-18-2014, 08:34 AM
|
#301 | |
|
Senior Member
Join Date: Sep 2012
Drives: Toyota GT 86
Location: Moscow, Russia
Posts: 460
Thanks: 409
Thanked 225 Times in 135 Posts
Mentioned: 5 Post(s)
Tagged: 0 Thread(s)
|
Quote:
|
|
|
|
|
|
06-20-2014, 01:24 PM
|
#302 |
|
Senior Member
Join Date: Oct 2012
Drives: Toyota 86 TRD Version AT
Location: Manila, Philippines
Posts: 883
Thanks: 548
Thanked 599 Times in 283 Posts
Mentioned: 20 Post(s)
Tagged: 1 Thread(s)
|
Defi Oil Pressure Gauge and Cravenspeed Flexpod Gauge Mount Install and Review
Defi Oil Pressure Gauge and Cravenspeed Flexpod Gauge Mount Install and Review(6-13-14) 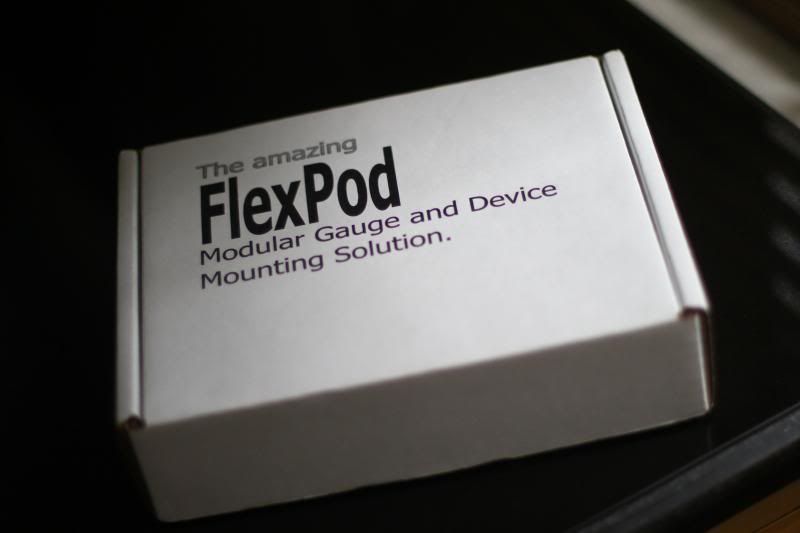  Since I installed the supercharger, I have added gauges to further monitor how the engine operates during track or just street situations. Monitoring these values with gauges gives me more information to know right away if there is something wrong with the car, and could give me enough time to react to save the engine. I had already installed oil/water temp, boost, and AFR gauges. I opted to install an oil pressure gauge after installing my oil cooler. During track or street drives, a lot of things could happen to the oil cooler and spring a leak. Without a gauge, you have no way to know if your oil pressure is dropping until the CEL comes on, which is too late. 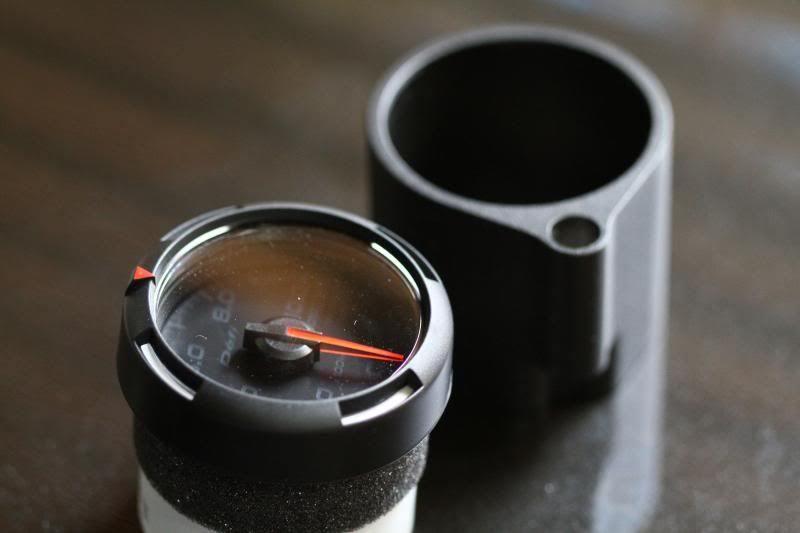 The Defi Oil Pressure gauge is a quality kit, and comes with everything you need. I ordered it from rallysportdirect, with the Subaru oil galley plug and gasket. Install was fairly easy, with just the hitch of how to tighten the Defi sensor on the oil galley plug. I had to use a short adjustable wrench to fully tighten the sensor. [IMG]http://i86.photobucket.com/albums/k89/tyroneongpauco/IMG_9676_zps86c04***.jpg[/IMG] Adding all the gauges has made considerable clutter in my interior. I wanted to display the gauges as cleanly as possible, without hacking up the dashboard. I saw the Cravenspeed Flexpod as a very good solution to my problems. 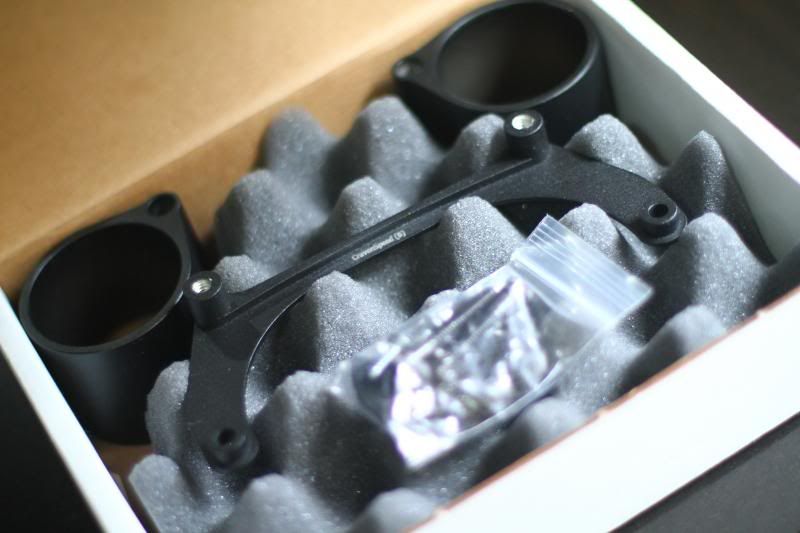 The Flexpod is made from billet aluminum, with a wrinkle black paint to blend in beautifully with any interior. Both bracket and cups are aluminum, making my Defi gauges seem more expensive when you put them in the cups. The bracket was super easy to install with just two screws behind the steering wheel. 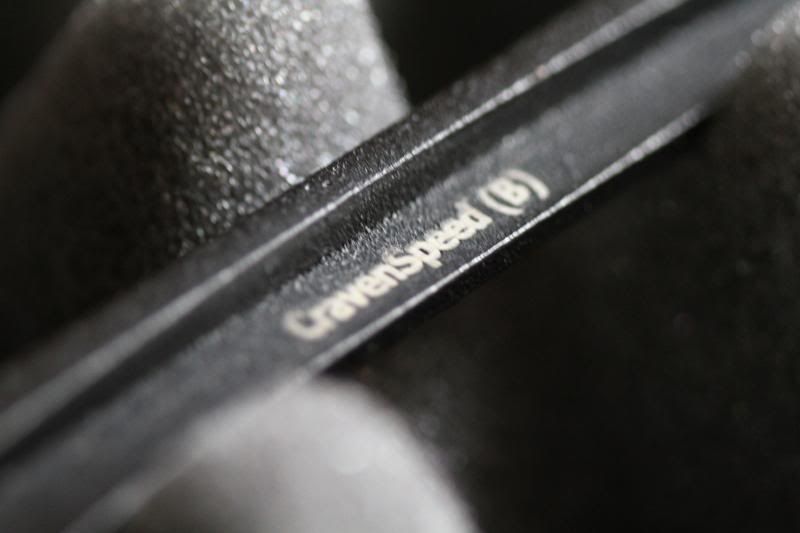 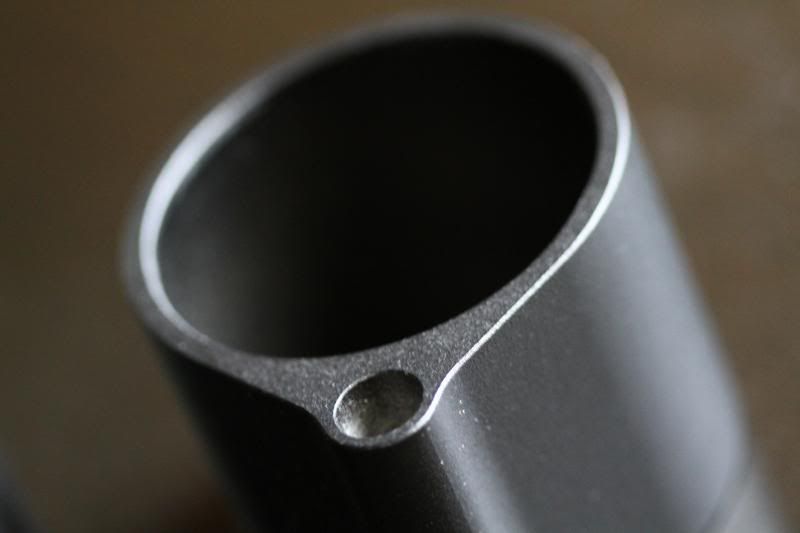 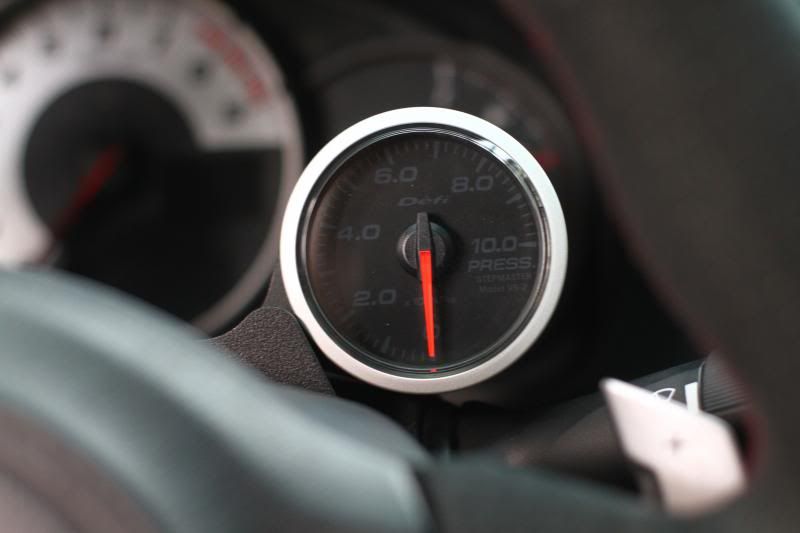 With the Flexpod, the aftermarket gauges seem like oem, with full visibility. The Flexpod may seem expensive, but the quality, ease and cleanliness of install certainly justifies the cost. 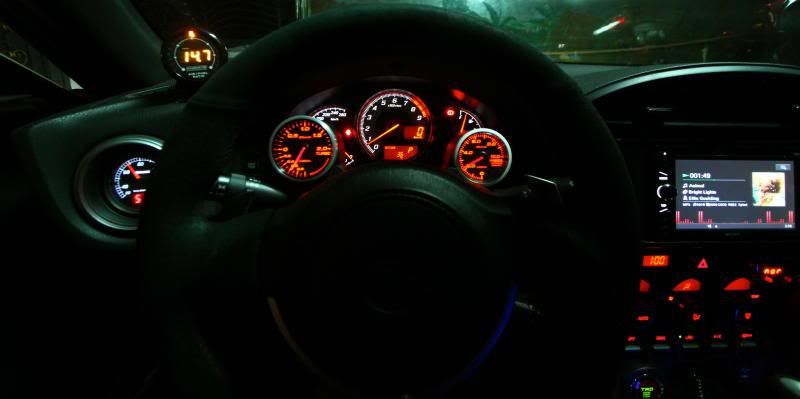 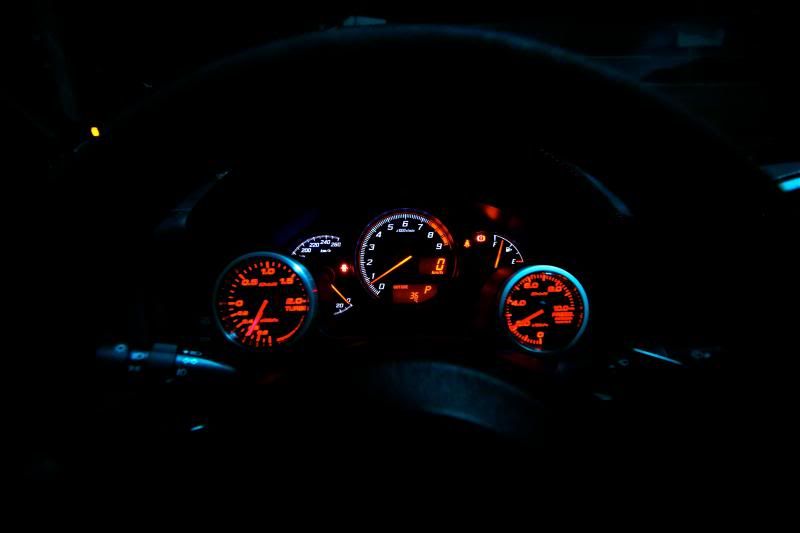 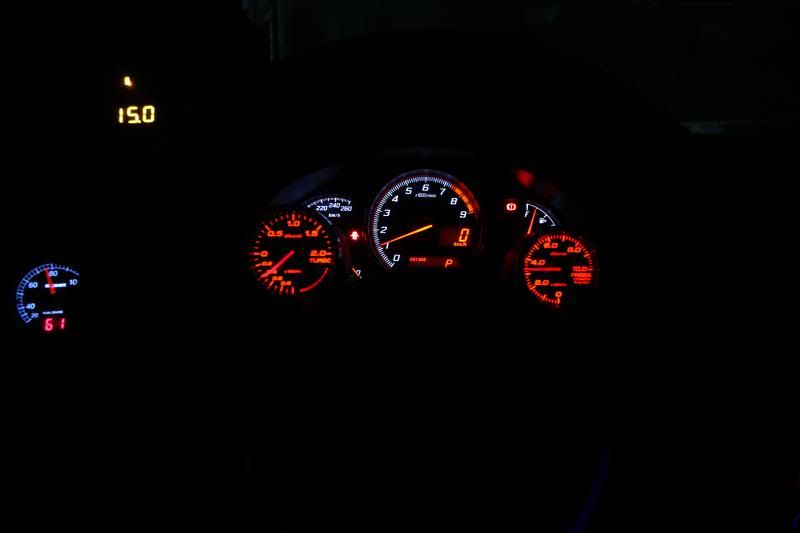 The negative part is, the left gauge partially blocks the analog speedo, and the high beam indicator warning light. No problem for the speedo as we have the digital readout in the tachometer, but for the high beam indicator, you have to get used to. The right gauge partially blocks the temp gauge. Not a biggie for me, since I have the water and oil temp gauge. It also slightly blocks the "sport" mode indicator, you can still see if it is on or not. So that's it! Defi and Cravenspeed combo, two thumbs up!
__________________
Last edited by Tye300; 06-26-2014 at 01:18 AM. |
|
|
|
|
06-21-2014, 03:08 AM
|
#303 |
|
Member
Join Date: Mar 2014
Drives: Raven
Location: UA
Posts: 29
Thanks: 4
Thanked 3 Times in 3 Posts
Mentioned: 0 Post(s)
Tagged: 0 Thread(s)
|
any improvements for your AT?
what do you think about SSP Perfomance? http://www.sspperformance.com/brz-fr...nsmission.html I am thinking about choosing this for my AT but I could not find anybody who did it just to get some review... |
|
|
|
|
06-21-2014, 04:03 AM
|
#304 | |
|
Senior Member
Join Date: Oct 2012
Drives: Toyota 86 TRD Version AT
Location: Manila, Philippines
Posts: 883
Thanks: 548
Thanked 599 Times in 283 Posts
Mentioned: 20 Post(s)
Tagged: 1 Thread(s)
|
Quote:
__________________
|
|
|
|
|
|
06-21-2014, 04:58 AM
|
#305 |
|
Member
Join Date: Mar 2014
Drives: Raven
Location: UA
Posts: 29
Thanks: 4
Thanked 3 Times in 3 Posts
Mentioned: 0 Post(s)
Tagged: 0 Thread(s)
|
cusco may be cheaper and their cooler works with AT and diff at the same time as I understand.... or may be mishimoto, but it comes without pump - it's not the best idea as I think... that is all I found... any more options???
|
|
|
|
|
06-21-2014, 05:19 AM
|
#306 |
|
Member
Join Date: Mar 2014
Drives: Raven
Location: UA
Posts: 29
Thanks: 4
Thanked 3 Times in 3 Posts
Mentioned: 0 Post(s)
Tagged: 0 Thread(s)
|
oopppssss... my mistake about cusco.... not at the same time... sorryyy..
|
|
|
|
|
06-21-2014, 07:08 AM
|
#307 | |
|
Senior Member
Join Date: Oct 2012
Drives: Toyota 86 TRD Version AT
Location: Manila, Philippines
Posts: 883
Thanks: 548
Thanked 599 Times in 283 Posts
Mentioned: 20 Post(s)
Tagged: 1 Thread(s)
|
Quote:
__________________
|
|
|
|
|
|
06-21-2014, 12:52 PM
|
#308 |
|
Senior Member

Join Date: May 2014
Drives: BRZ
Location: NV
Posts: 249
Thanks: 50
Thanked 29 Times in 26 Posts
Mentioned: 2 Post(s)
Tagged: 0 Thread(s)
|
Nice mods and photowork. Which camera are you using?
|
|
|
|
|
|
|
|
 |
|
|


 [URL=http://s86.photobucket.com/user/tyroneongpauco/media/IMG_9284_zpsa364ab46.jpg.html]