


|
||||||
| DIY (Do-It-Yourself) Guides For all DIYs. |
 |
|
|
Thread Tools | Search this Thread |
 11-06-2014, 04:28 PM
|
#1 |
|
Member
Join Date: May 2014
Drives: 2014 Subaru BRZ Limited
Location: Massachusetts
Posts: 13
Thanks: 0
Thanked 16 Times in 6 Posts
Mentioned: 0 Post(s)
Tagged: 0 Thread(s)
|
How-to Install JPM Coachworks Knee Pads
Originally posted on: http://mooncallercars.blogspot.com/2...-knee-pad.html
Cagalli Yula, my 2014 Subaru BRZ Limited, has one really annoying feature when you drive for long distances, especially if using cruise control. The knee pads where the dash and center console meet are hard plastic with very little give. If you're like me and you rest you knee against it, especially on long road trips while using cruise control, this is very uncomfortable. Enter JPM Coachworks. They produce knee pads for the Subaru BRZ / Scion FR-S / Toyota GT86 that are padded and come in optional leather or Alcantara with red stitching (which matches the seats). Also, apparently padded leather knee pads are either an option or standard in Japan. All that said, I decided to write this up as an install guide as JPM Coachwords has not provided one yet. I would also like to apologize, my image quality is not what it could be, I started working late, and lighting / steady hands became an issue for the camera as it got darker. Also, any screws then need to be removed have been highlighted in blue ovals / circles. I'll make not of them as I go along. Please read the whole guide first before working, as there are a few alternate suggestions along the way you might want to consider. First, tools: 1) Long Philips screwdriver 2) Short Philips screwdriver (with magnetic tip) 3) Tough plastic wedge (this will be important for some plastic removal) 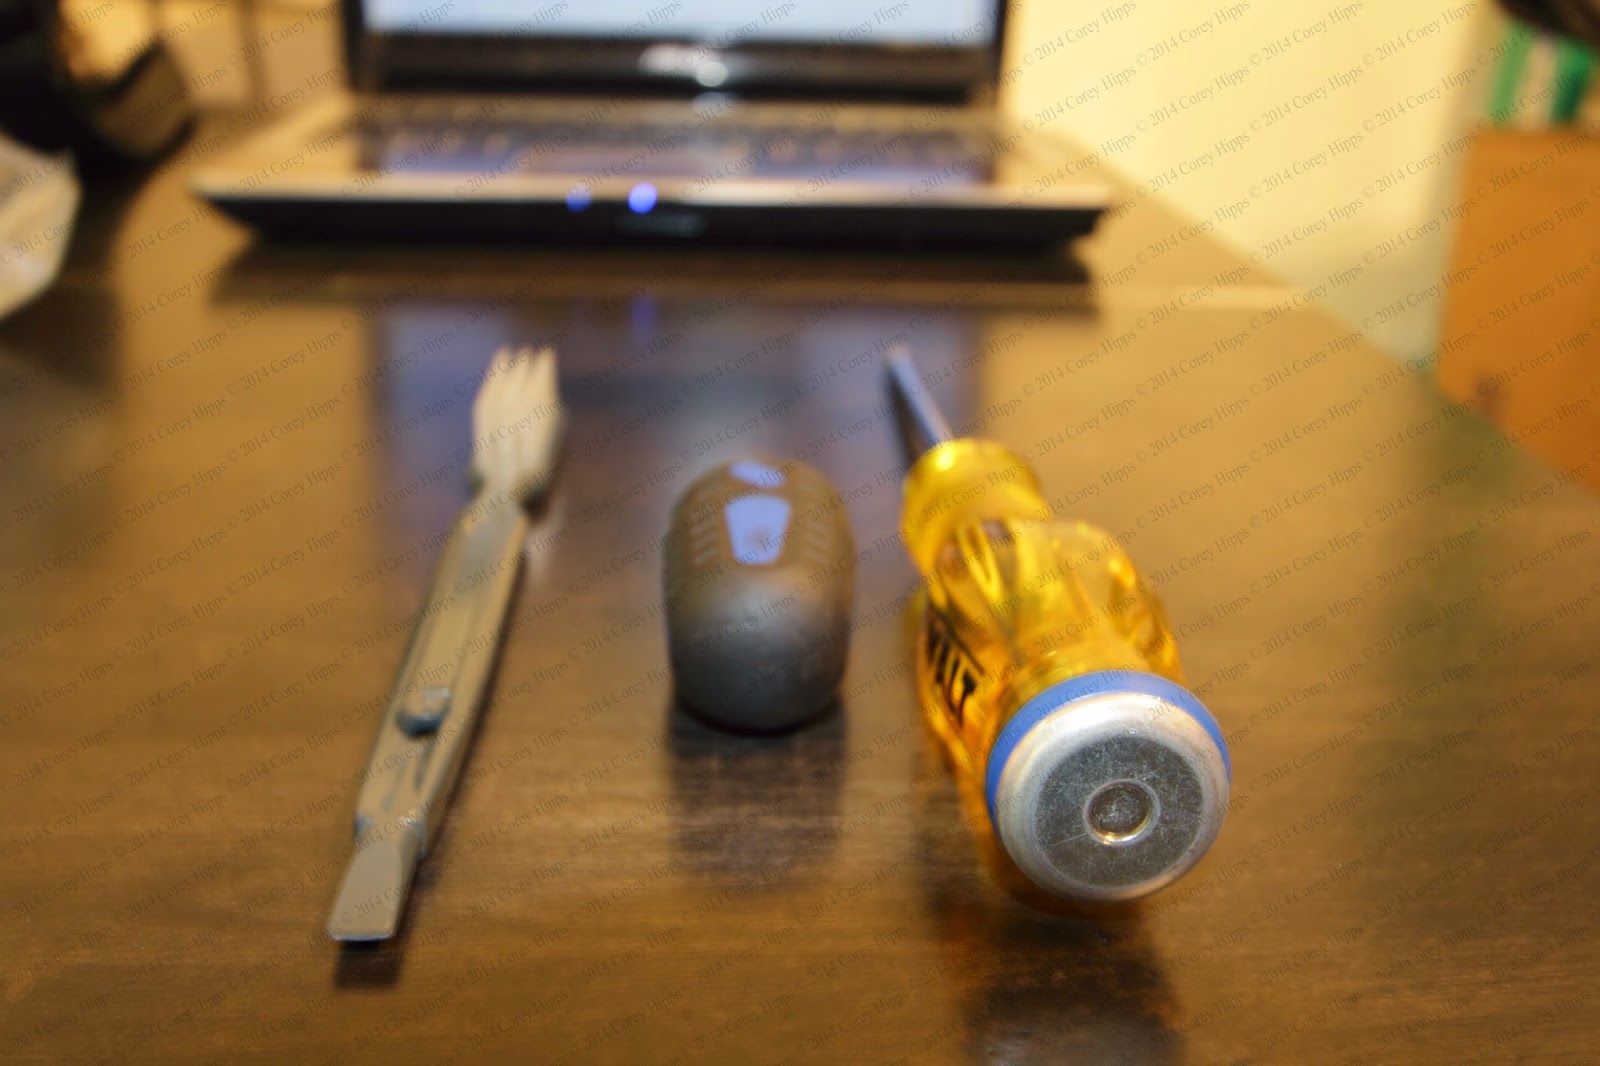  Here's what it looks like when you start. The first panel you remove is the plastic panel underneath the knee pad. Put your finger beneath the panel and gently pull, the plastic clips should pop right out. 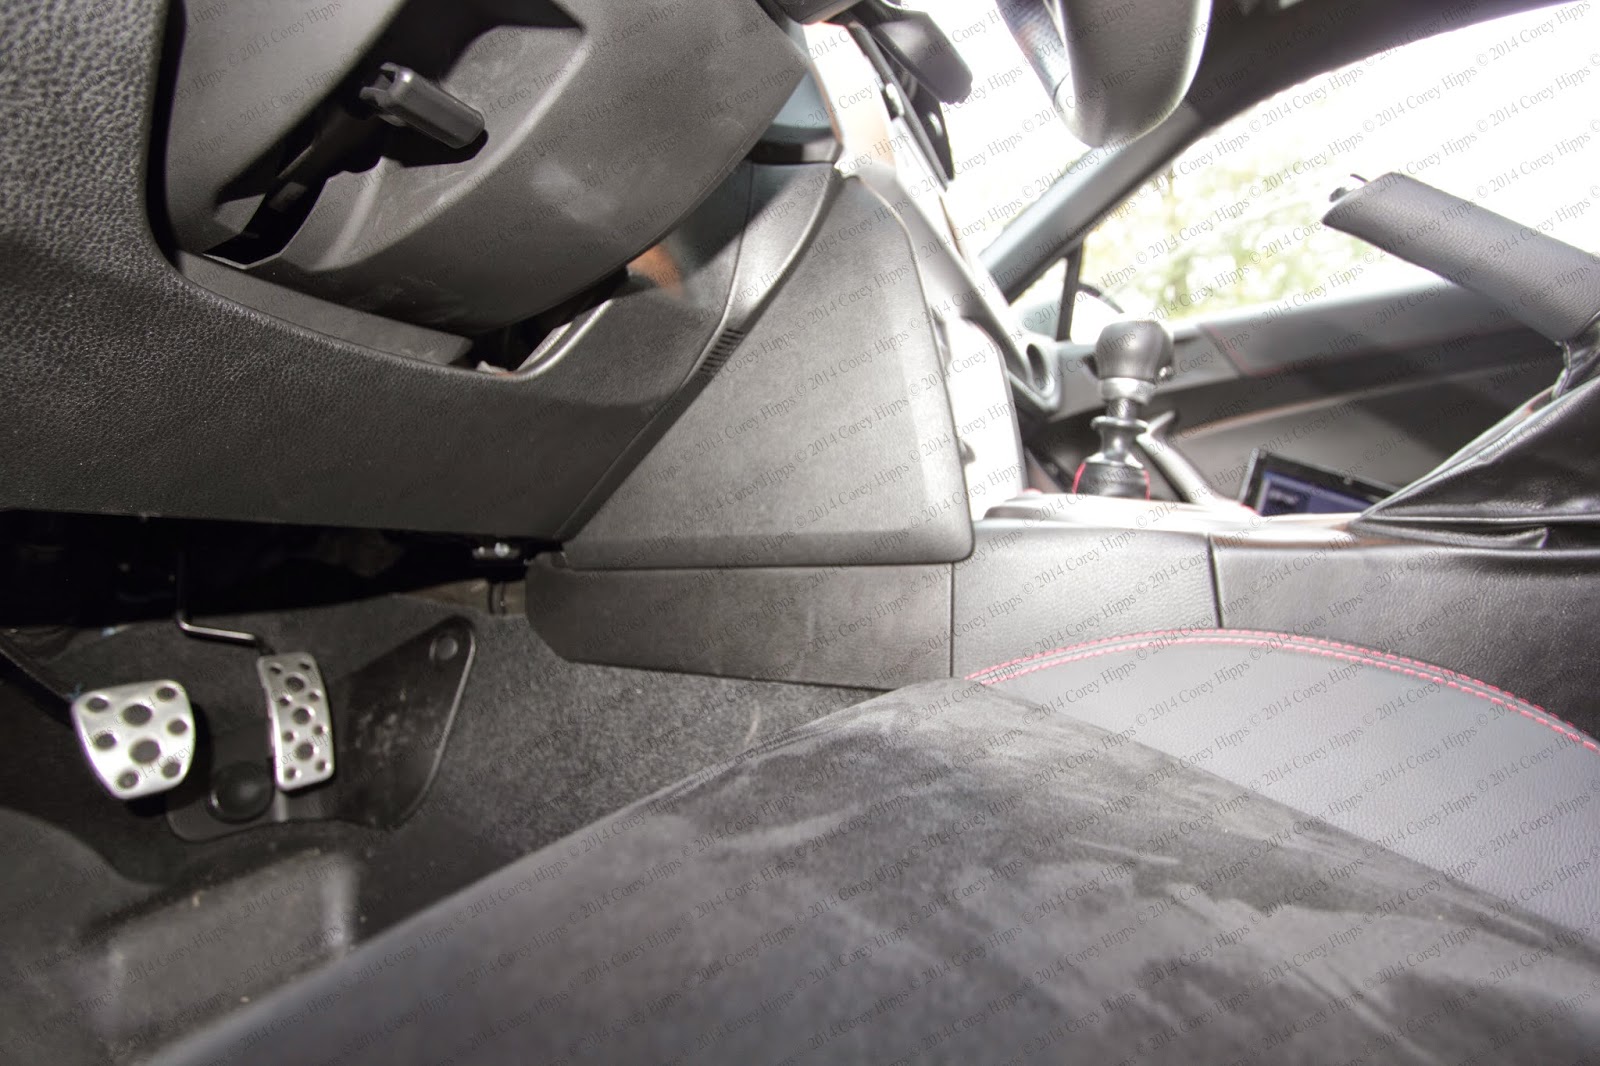 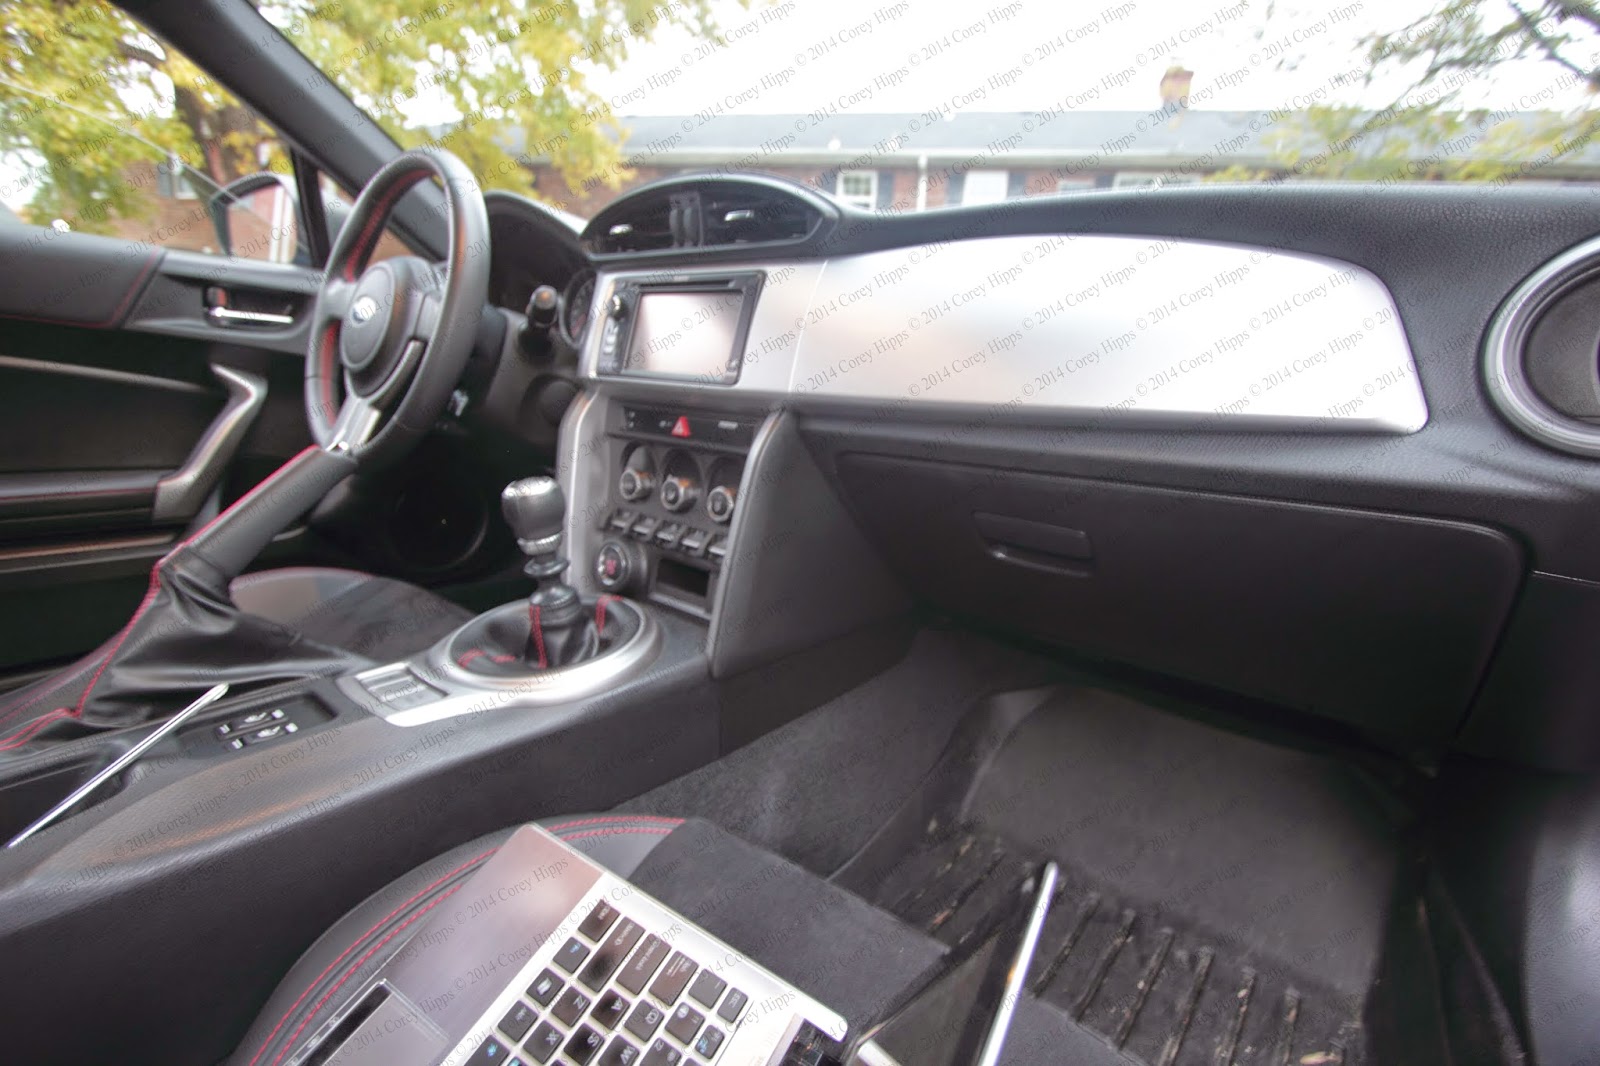 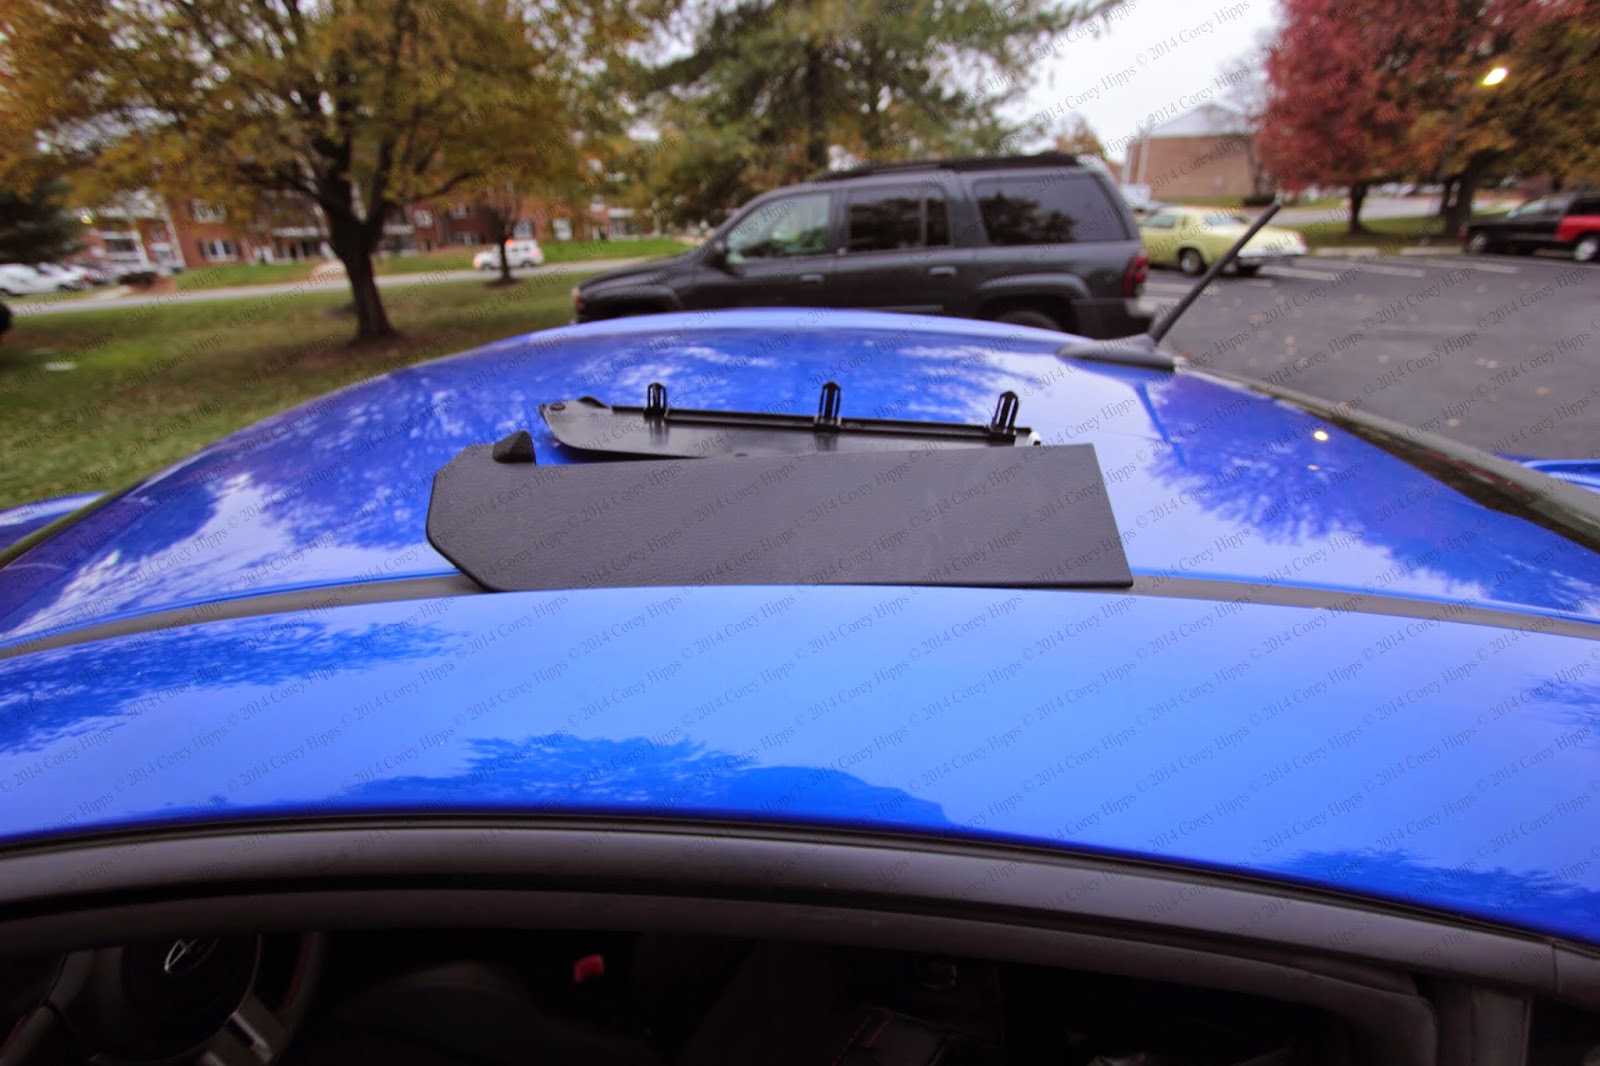 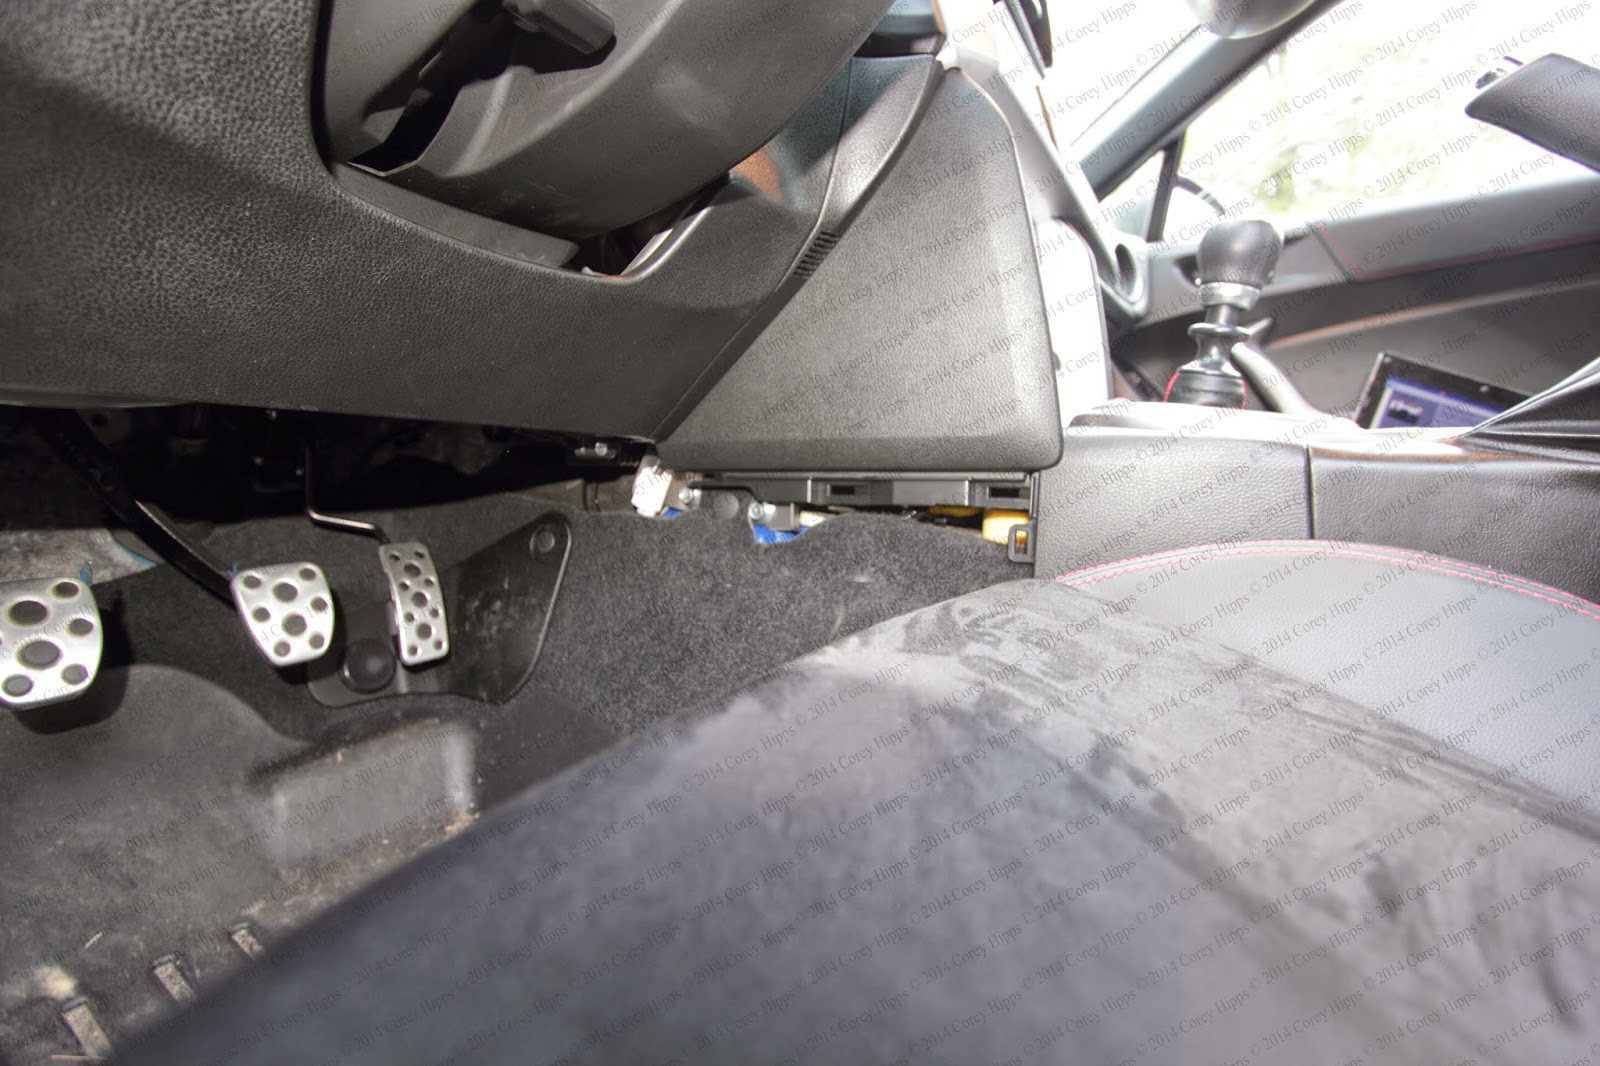 Next you need to remove the bottom panel (below the HVAC controls). To do so I found it easiest to reach in from the passenger side where the plastic panel used to be and to push the USB / AUX connector out, then disconnect the electrical connector. I then used my long screwdriver through the hole to pry the right side clips undone. Once I had it partially unclipped I just worked my way right to left by hand. It took some force, not too much, and no clips damaged. 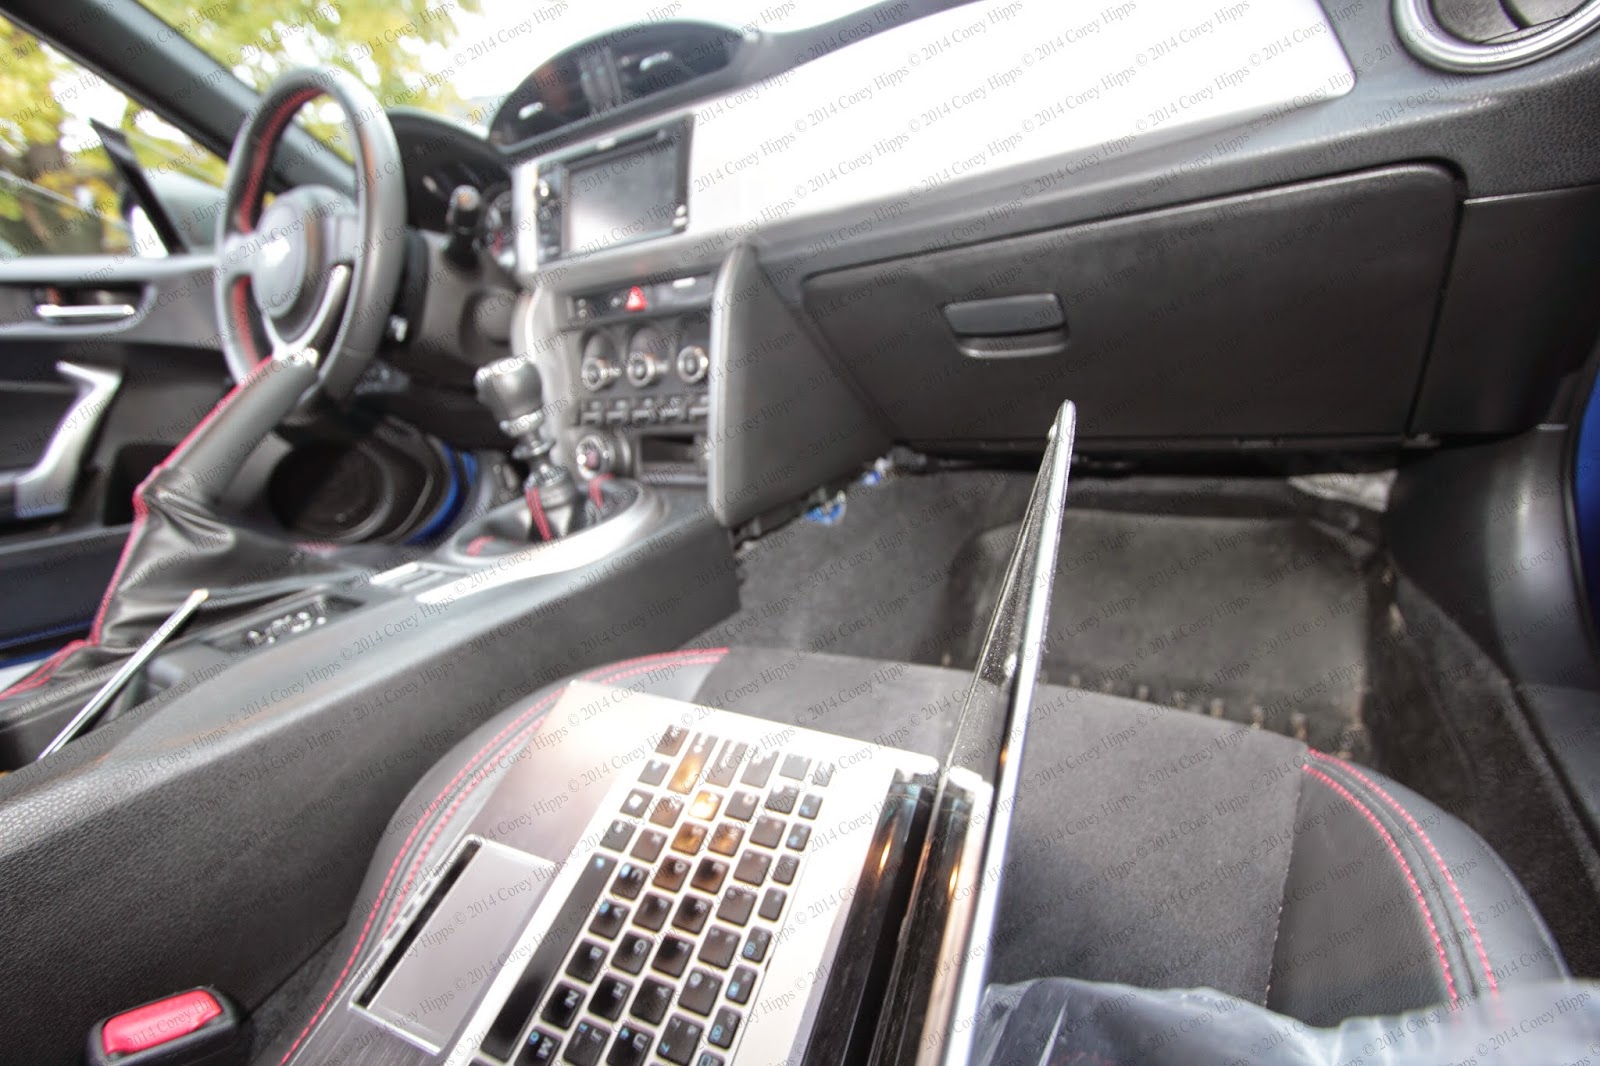 The antenna is mounted on the back of the pocket. You can skip this step if you don't have keyless entry / push button start.  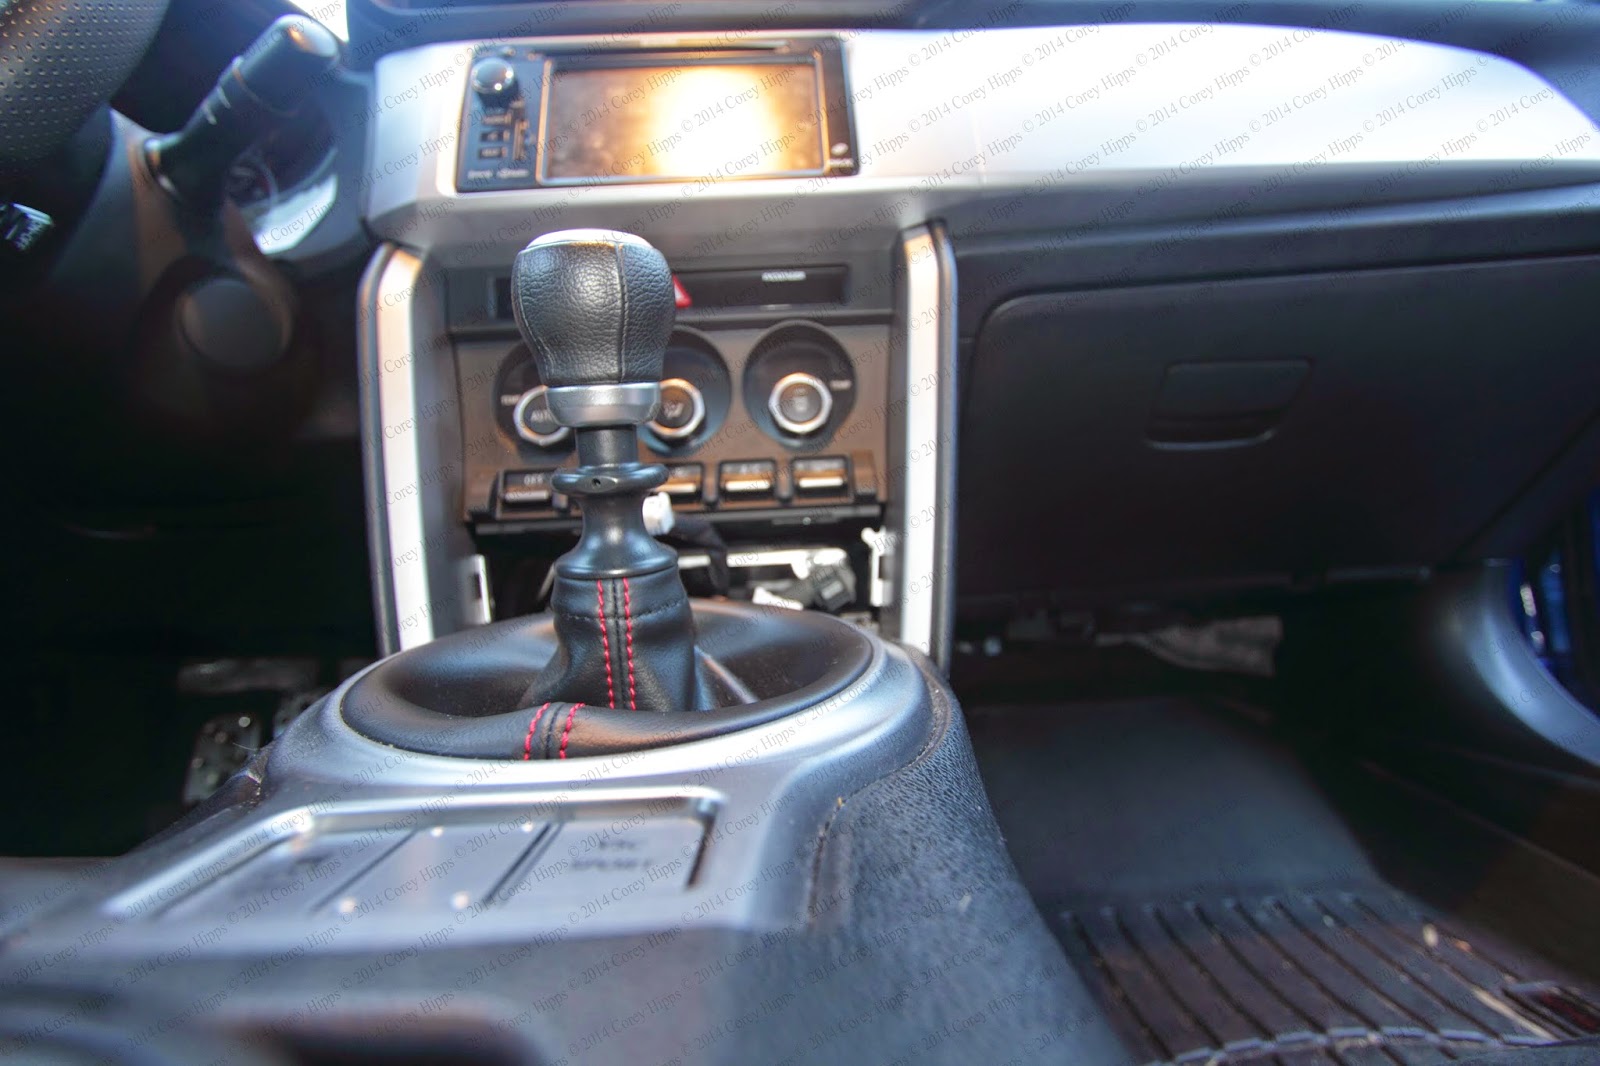 One on each side. The screw is highlighted in blue below. I also suggest using the cup holder tray as a screw sorter while you work. 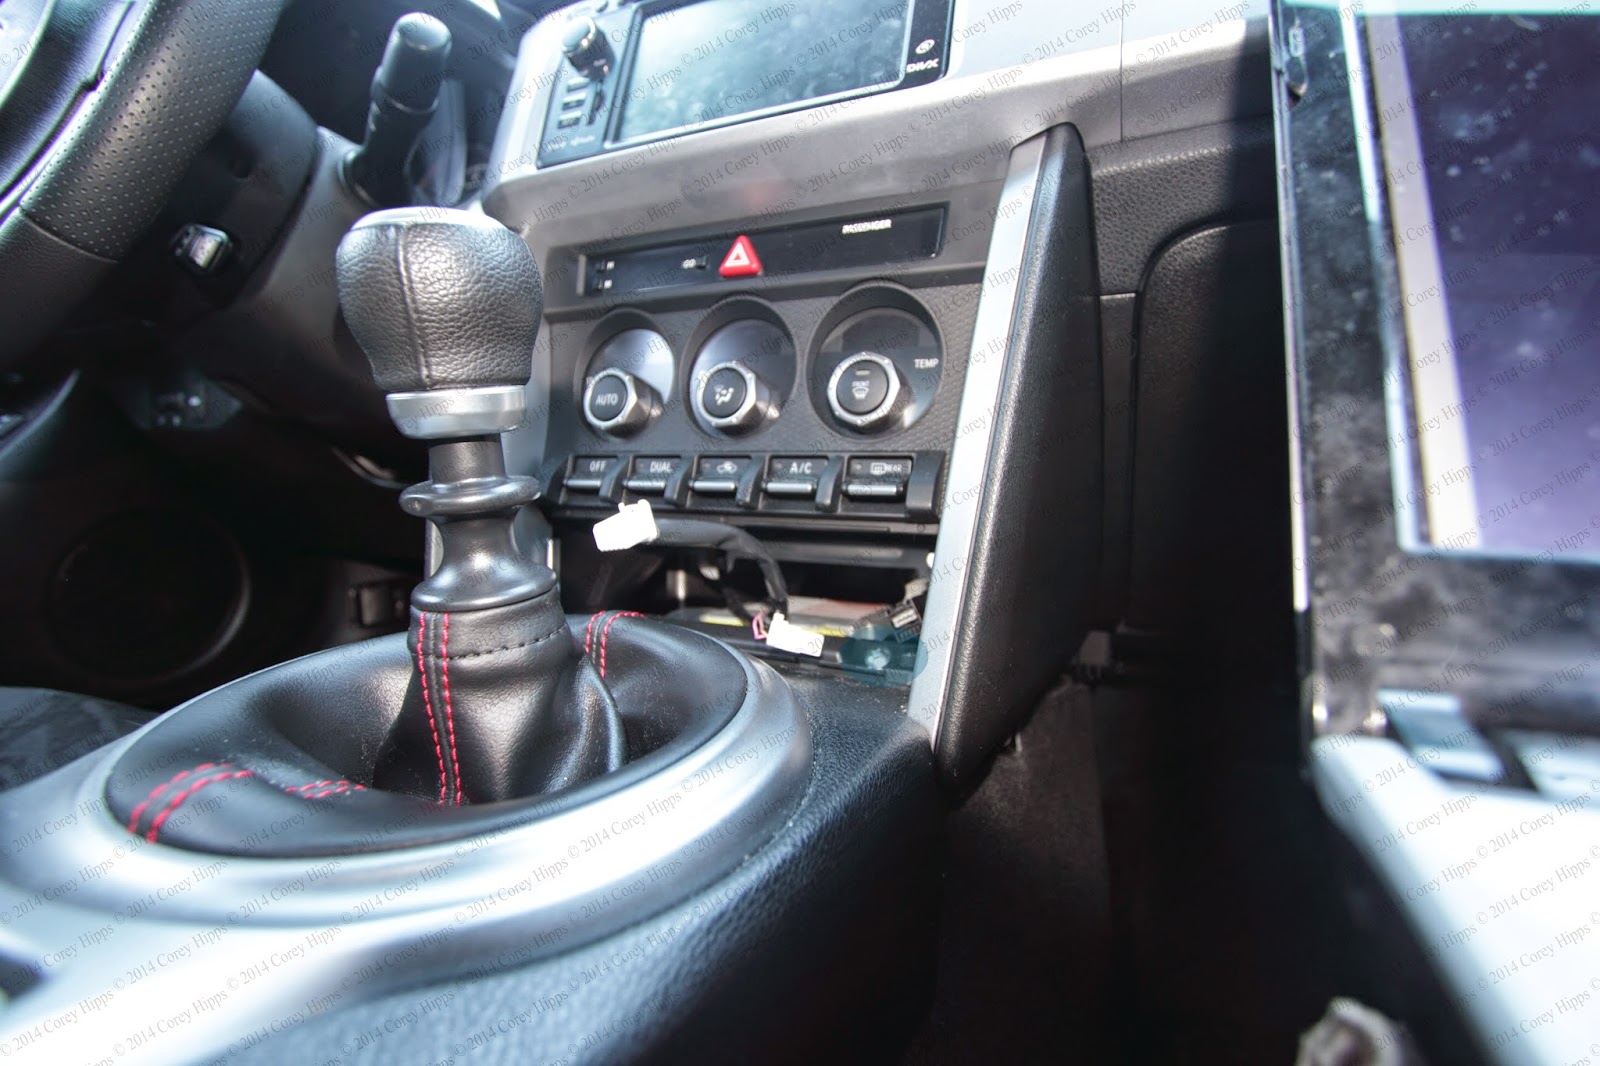 Again, screw to remove highlighted in blue, also there is a corresponding one on the driver side. You do need to at least lift up the shift boot and its plastic molding. Two do so I suggest hooking your thumb under the plastic molding closest to the dash and then pulling up to undo the front clip. Then work your way around. Keep in mind that the rear of the trim (behind the buttons) has a tongue on it and needs to be slid forwards. 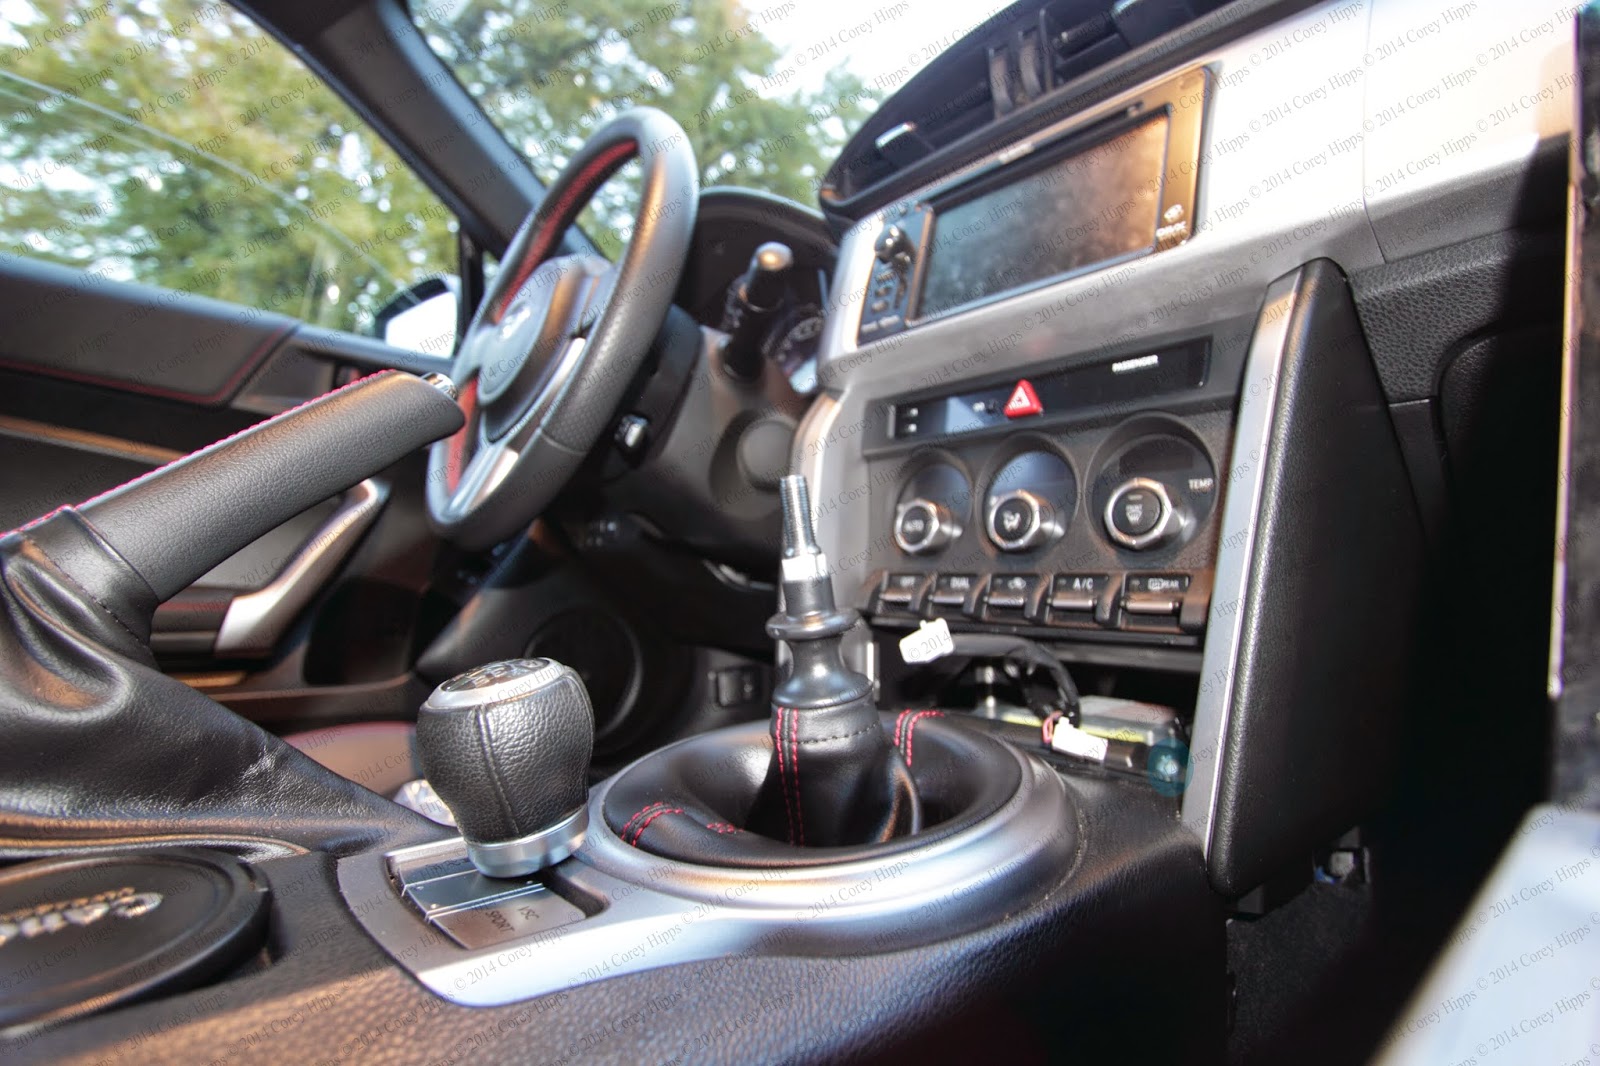 Also while some articles I read suggested unscrewing the shift boot retainer from the trim I think this was unnecessary, though it is convenient in getting the plastic our of the way. More importantly I would unscrew the VSC Sport and Traction Control Off buttons from the trim which will allow you to lift the whole thing up and invert the shift boot. 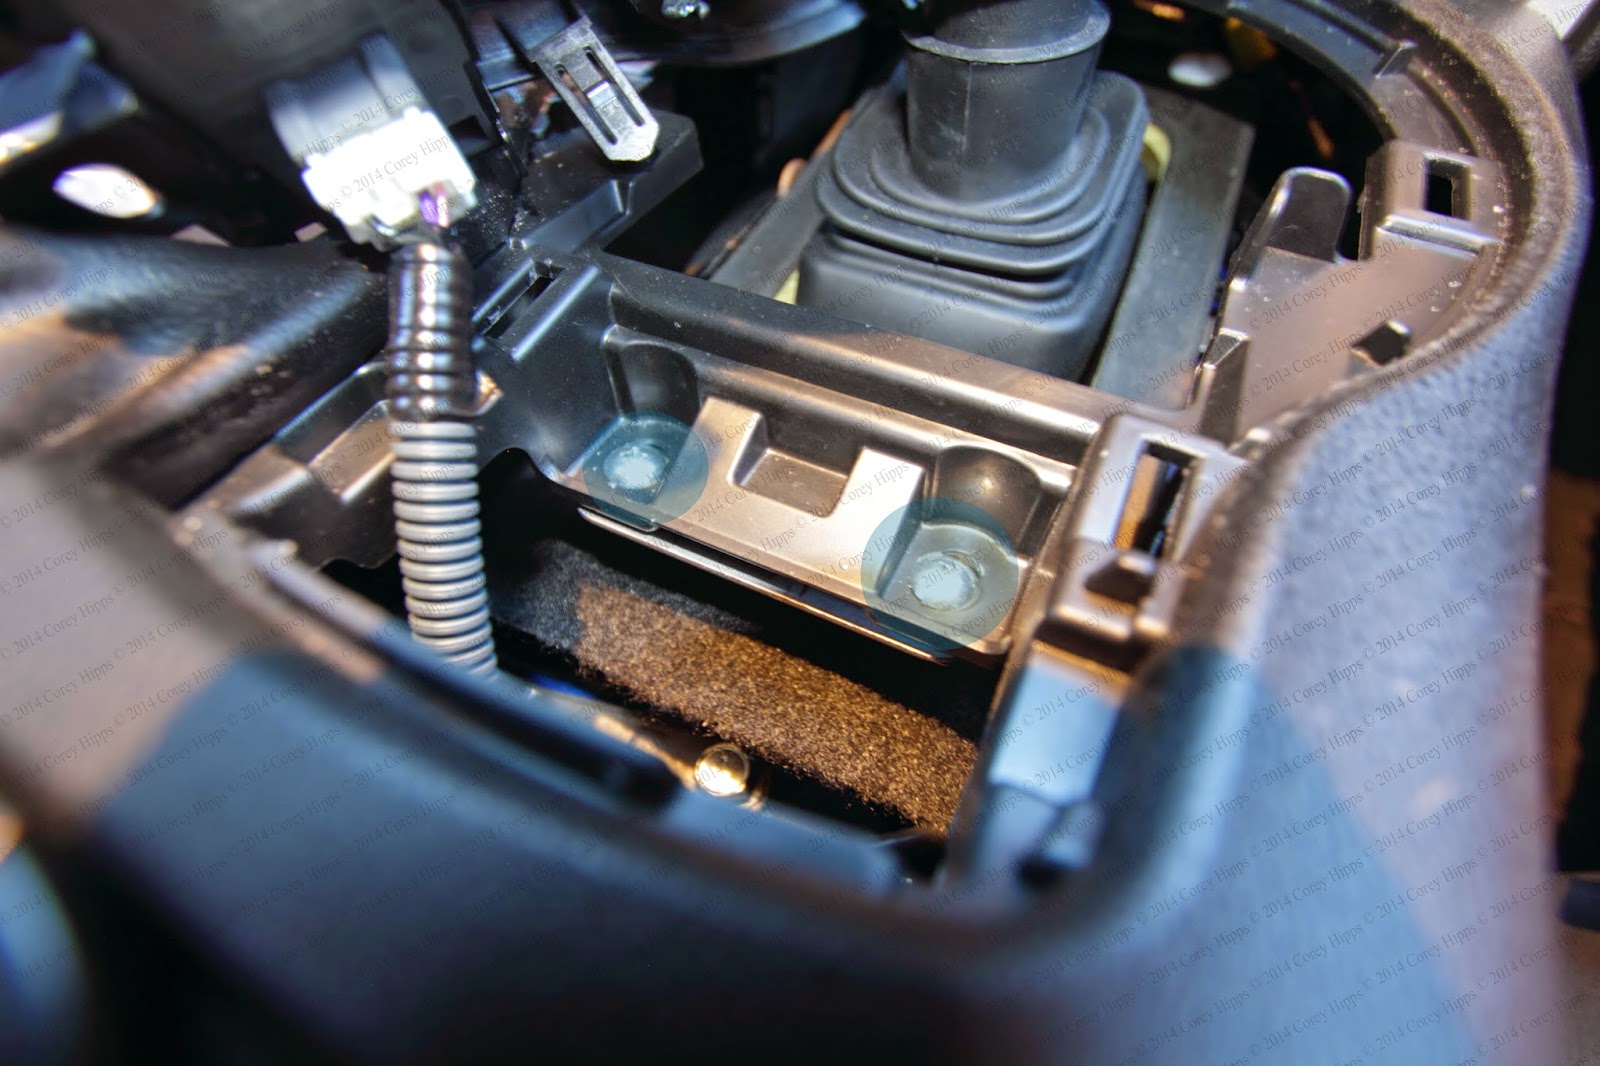 Once all six screws are undone (two by the dash, two by the shifter, and two by the cup holder section of the center console) you can now lift and push the center console back. 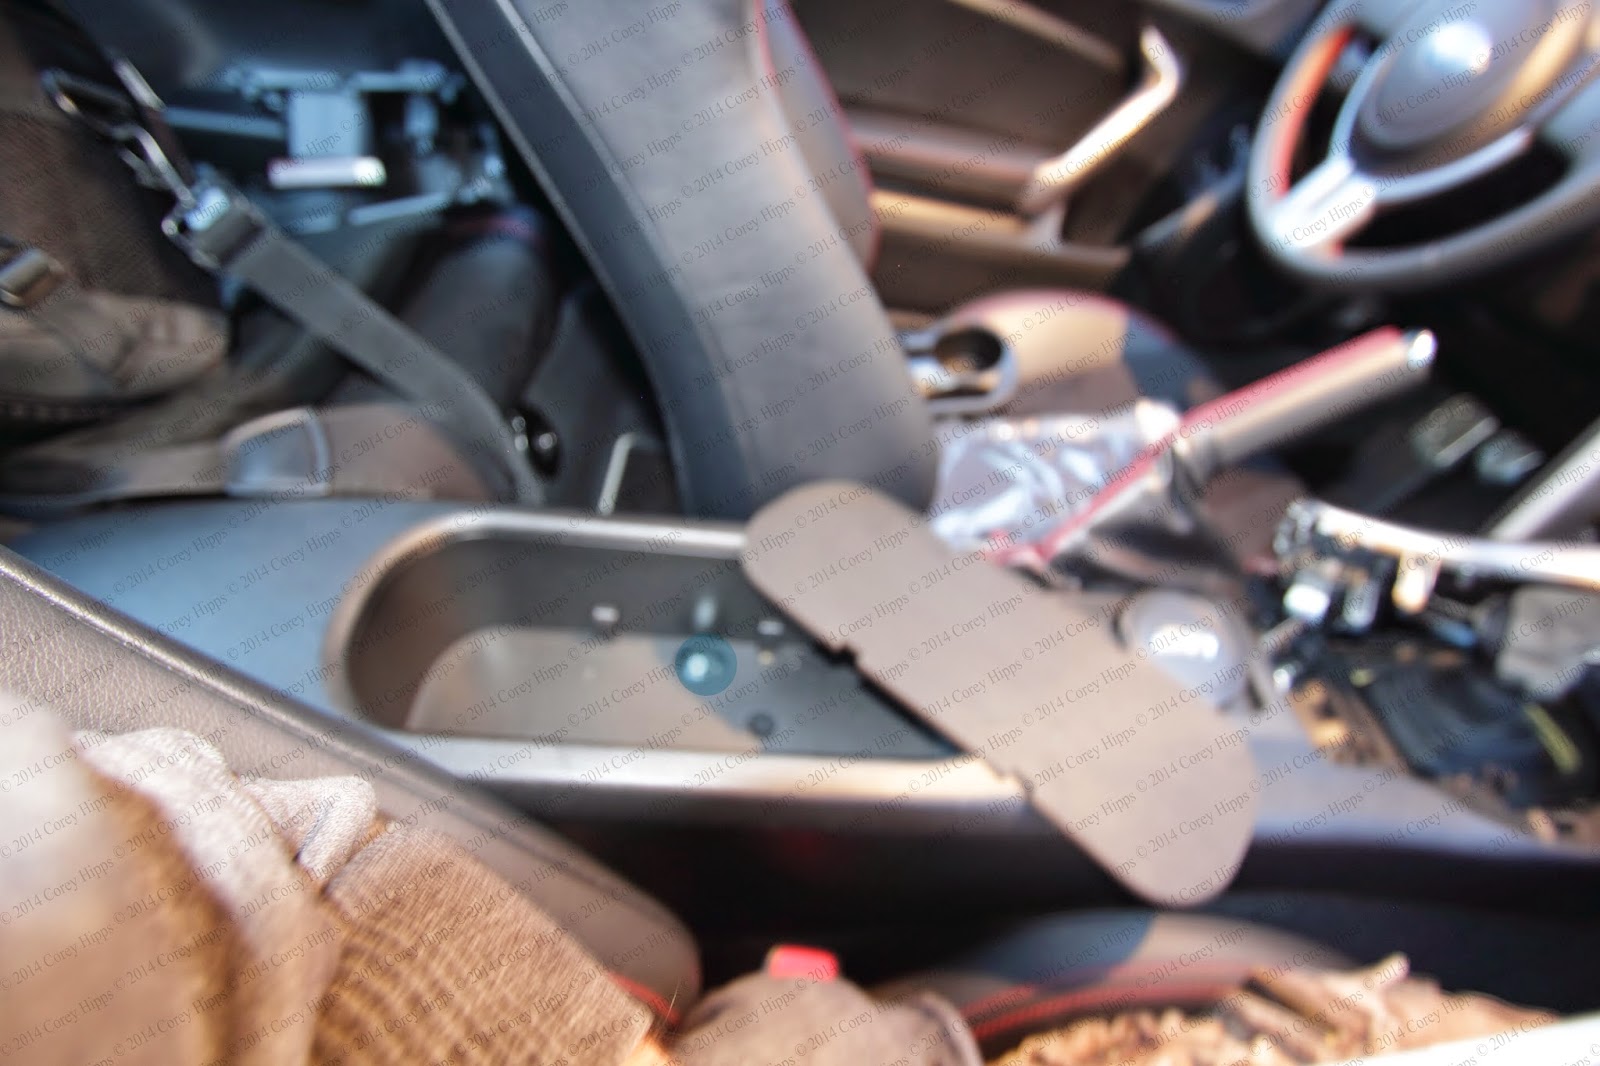 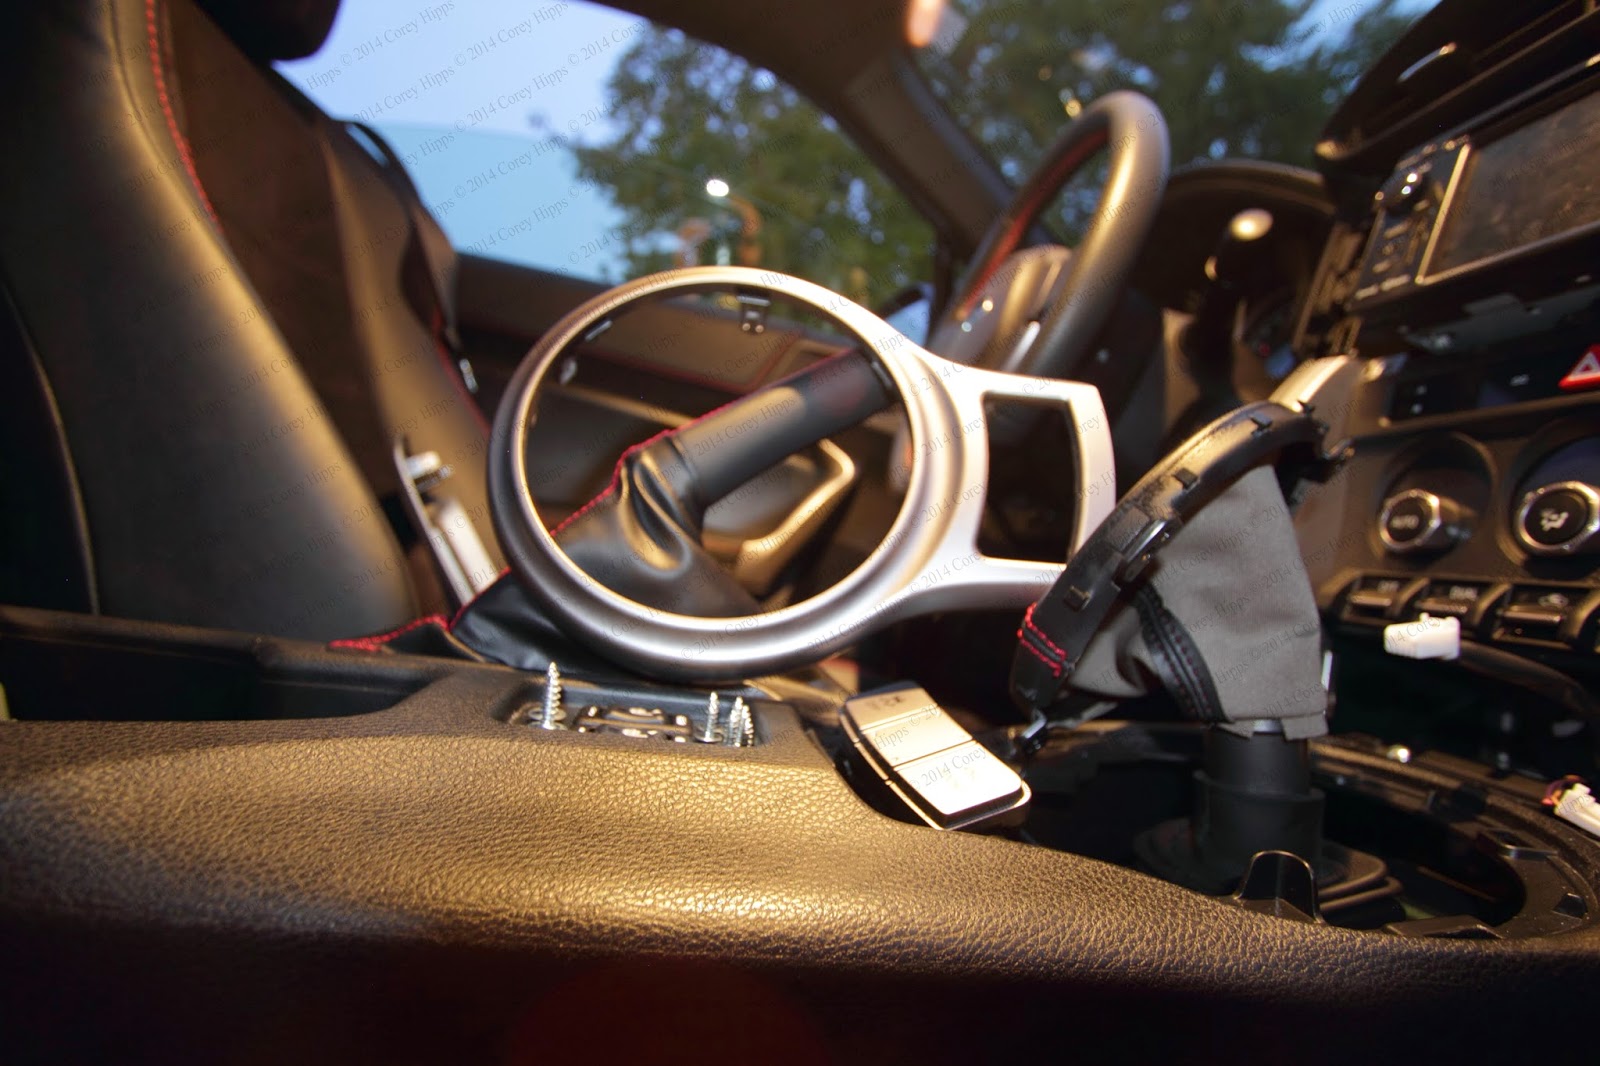 Next you need to remove the bezel around your infotainment system. I suggest inserting your tough plastic wedge on the passenger side where the two panels and the knee pad meet. Pop the first clip then go around the bezel gently pulling the other the clips out. This reveals the final two screw (highlighted in blue) that you need to remove.   Undo the screw at the top of the knee pad. I suggest pulling with one hand at about the center of the knee pad grey / silver piece and using a hand at the bottom to pull and disengage the clips. Remember to keep the center console slid back so that the overhangs on the knee pads do not catch on the center console. 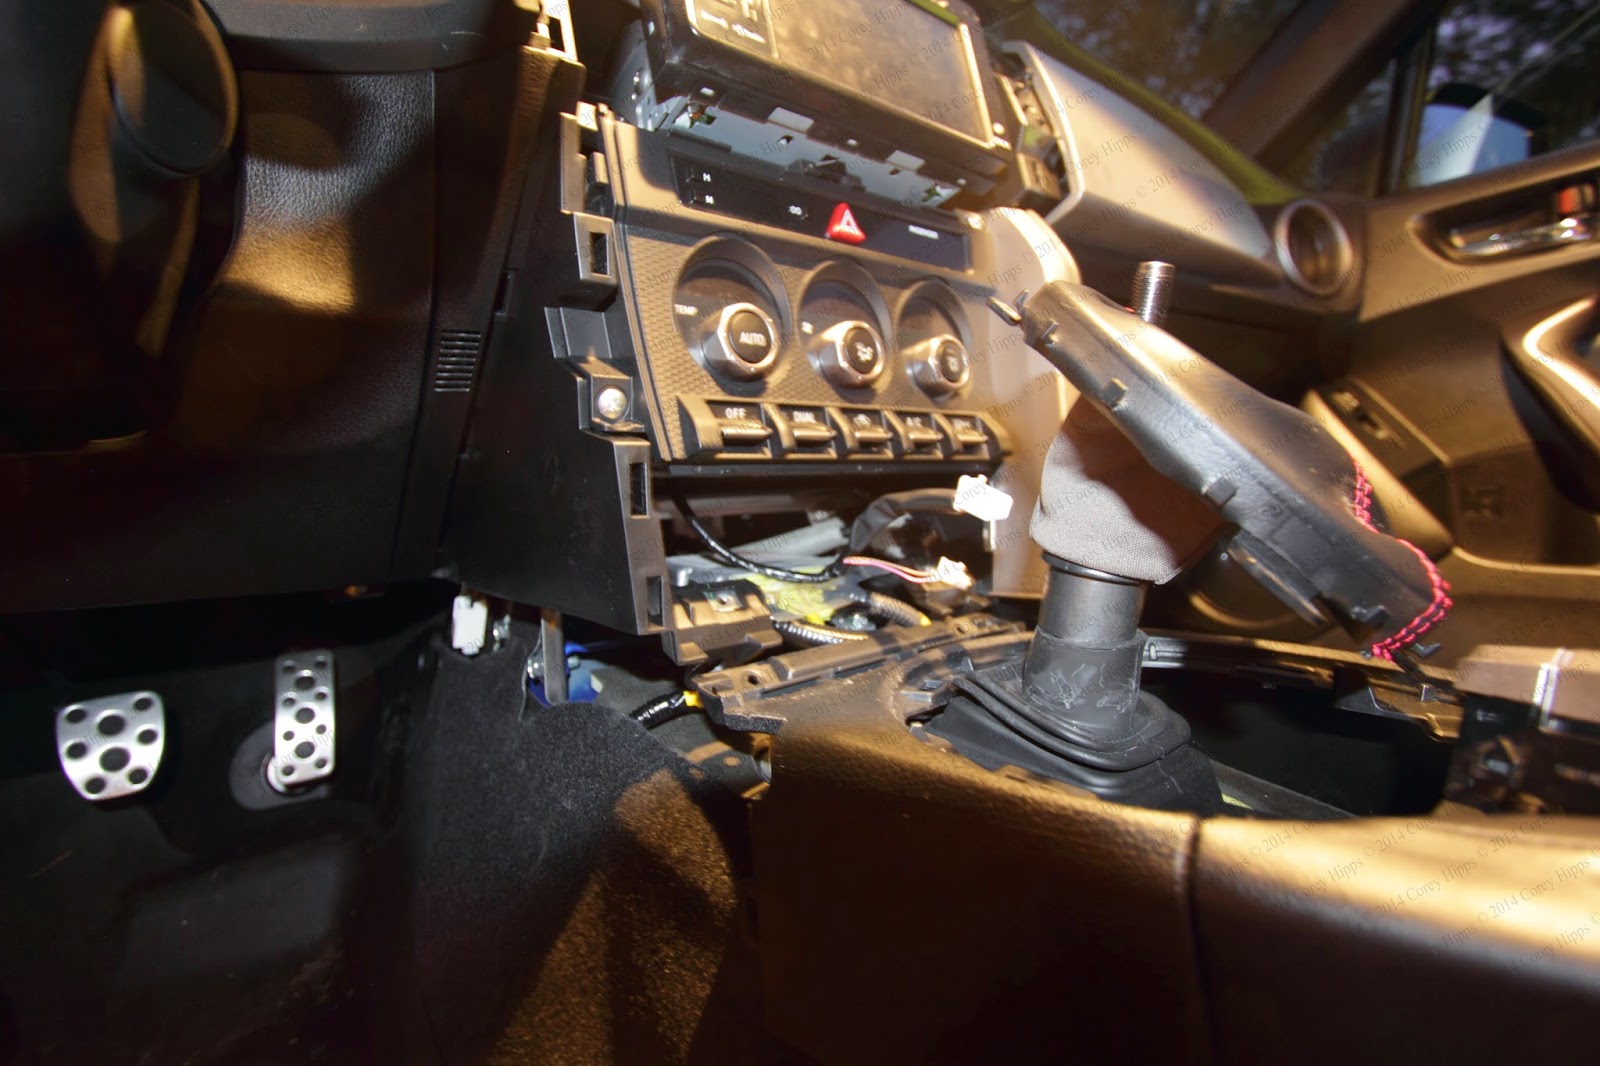 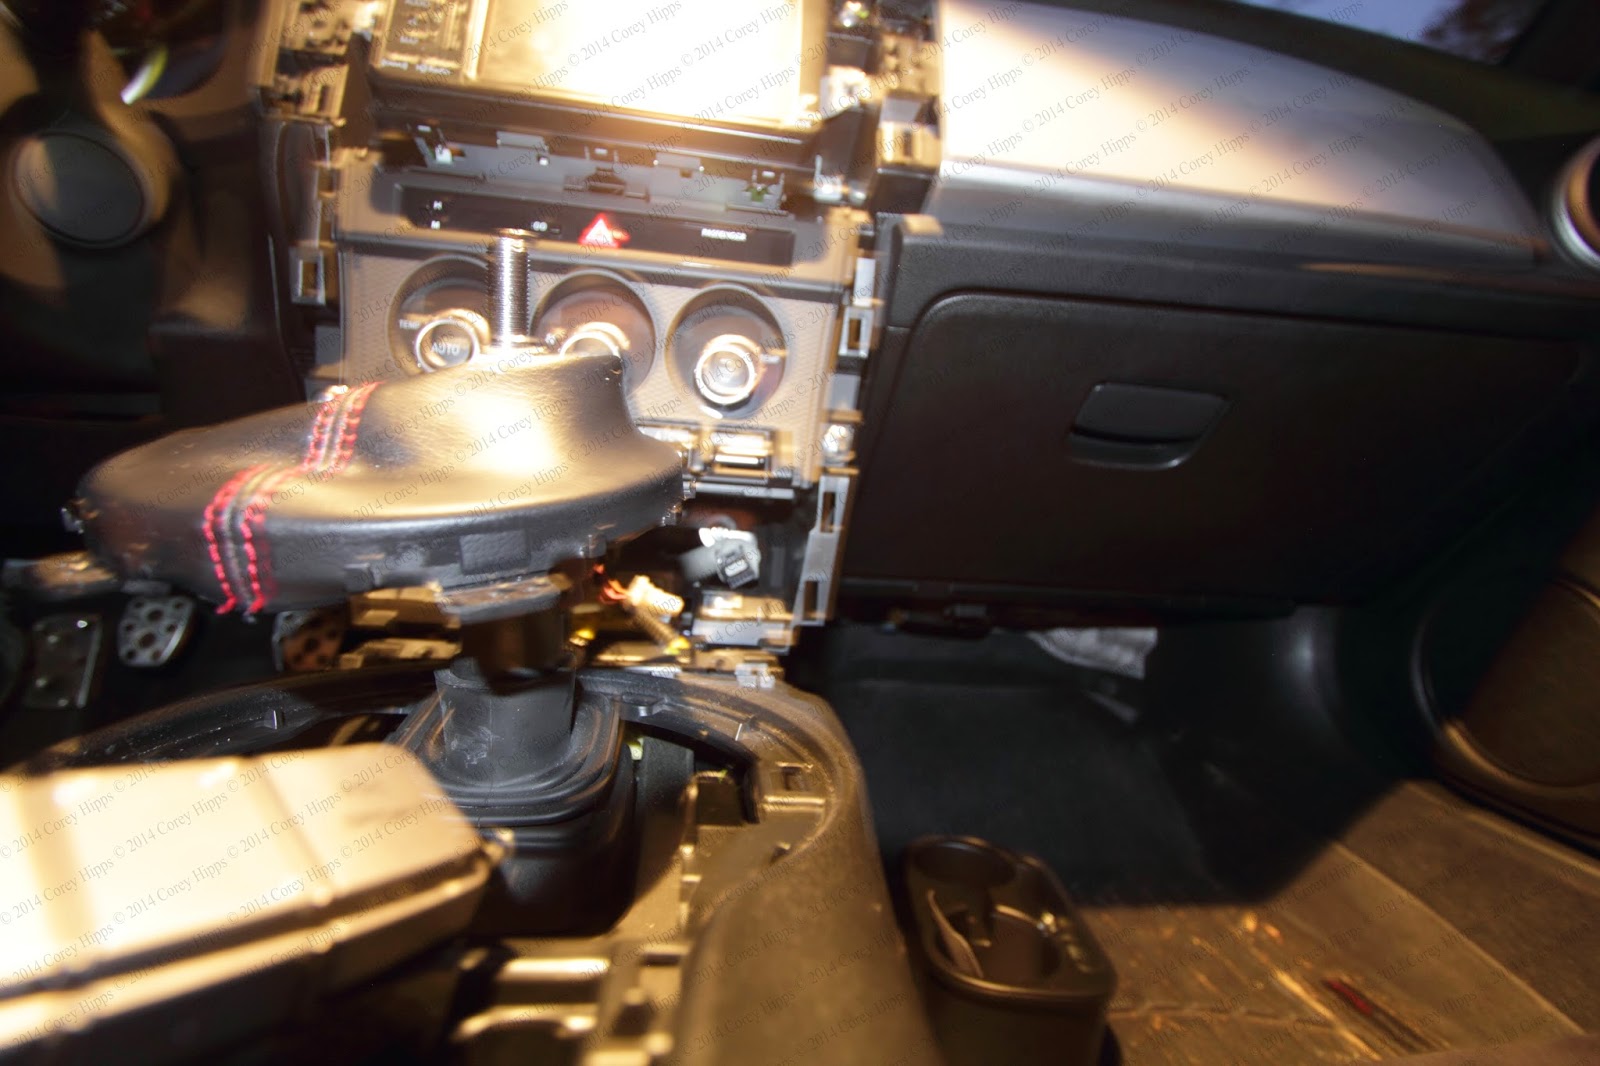 Then unclip the three clips holding the grey / silver piece and the knee pad together. 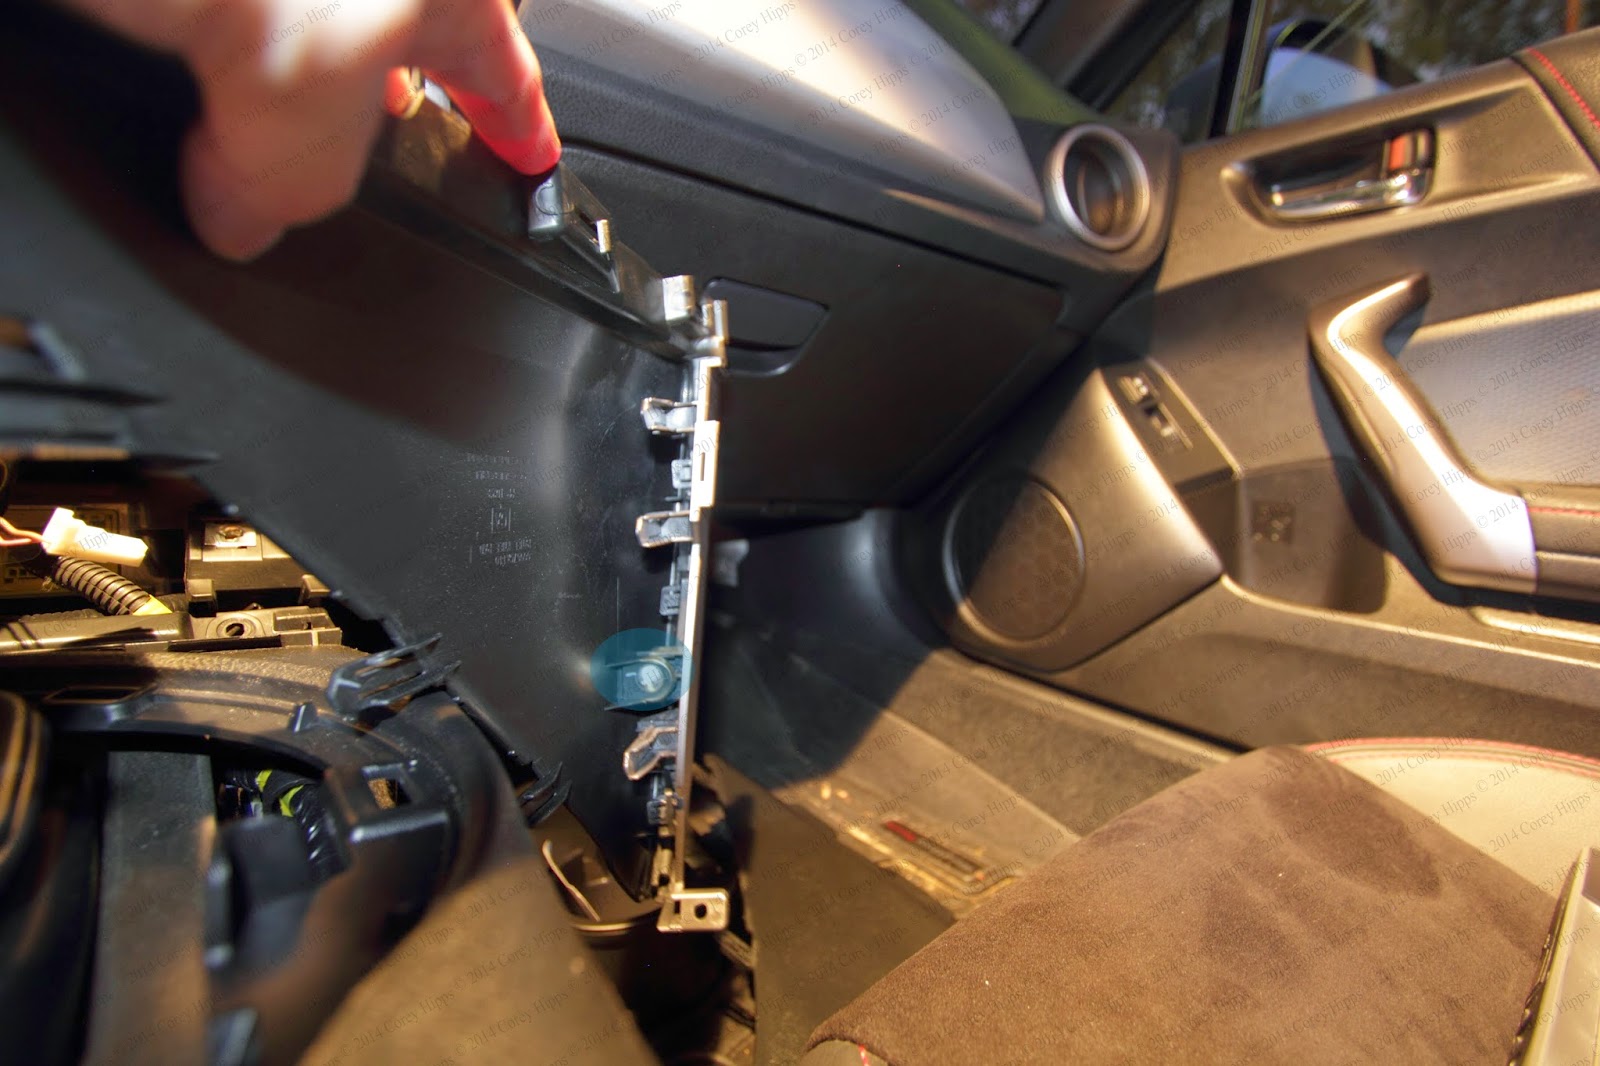  Screw the screw back in. 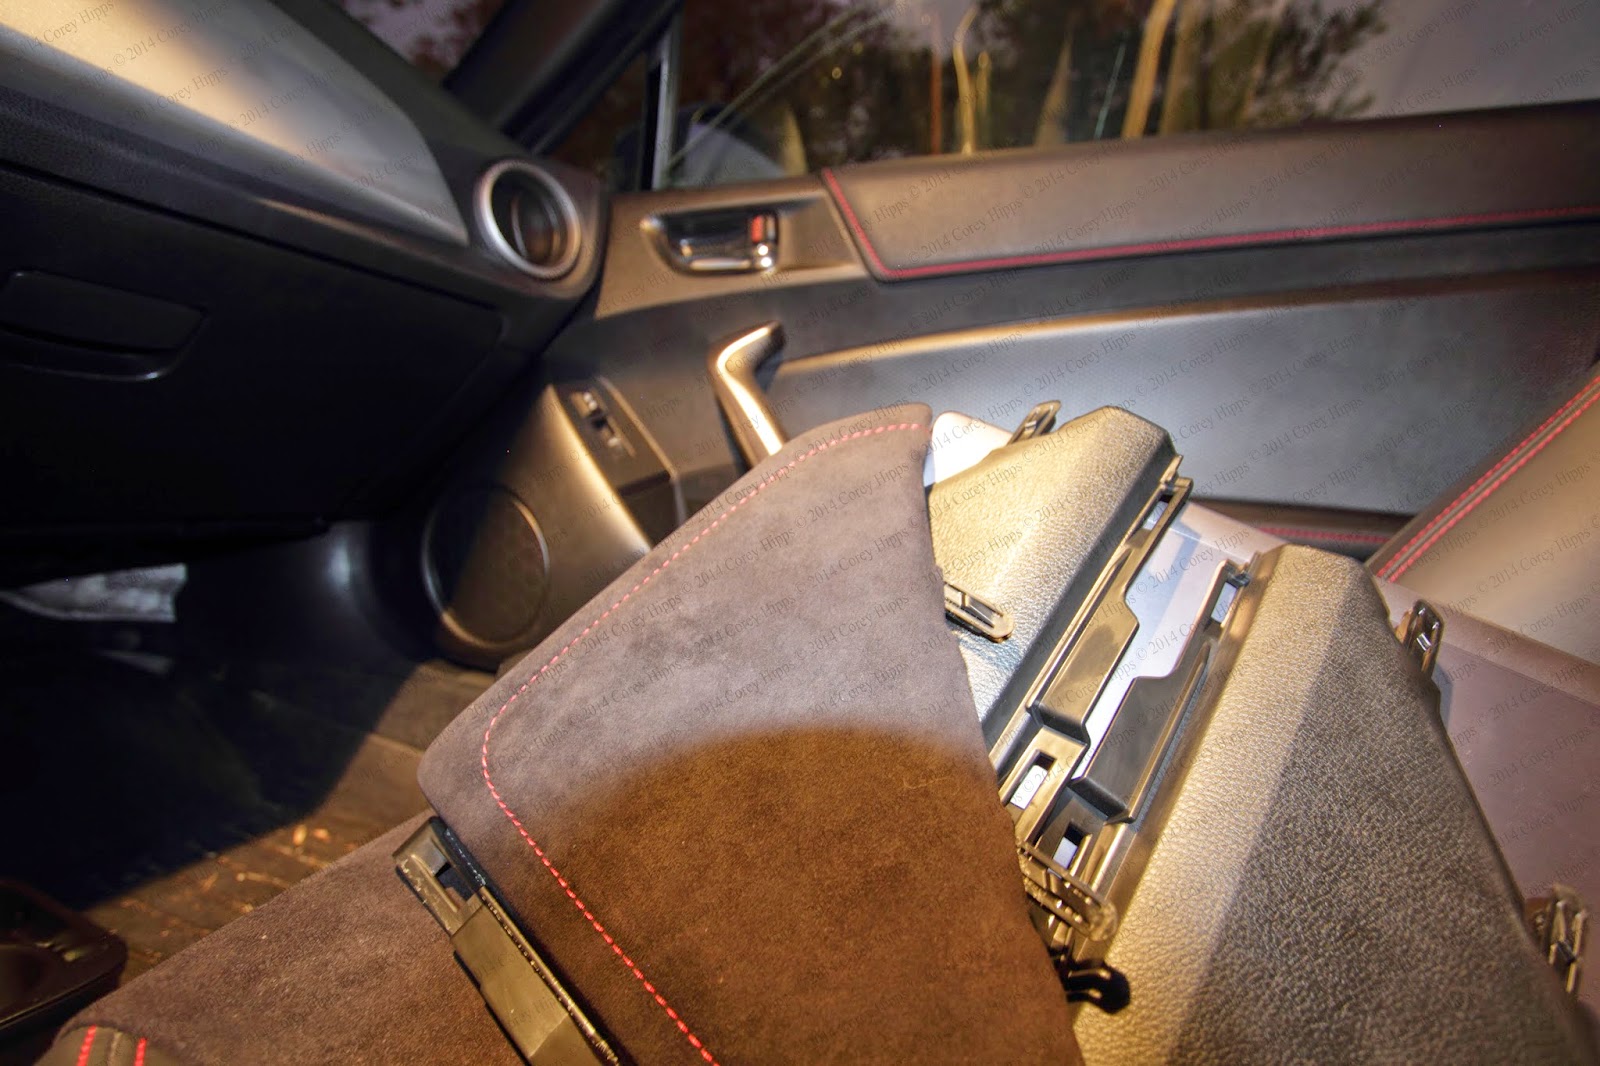 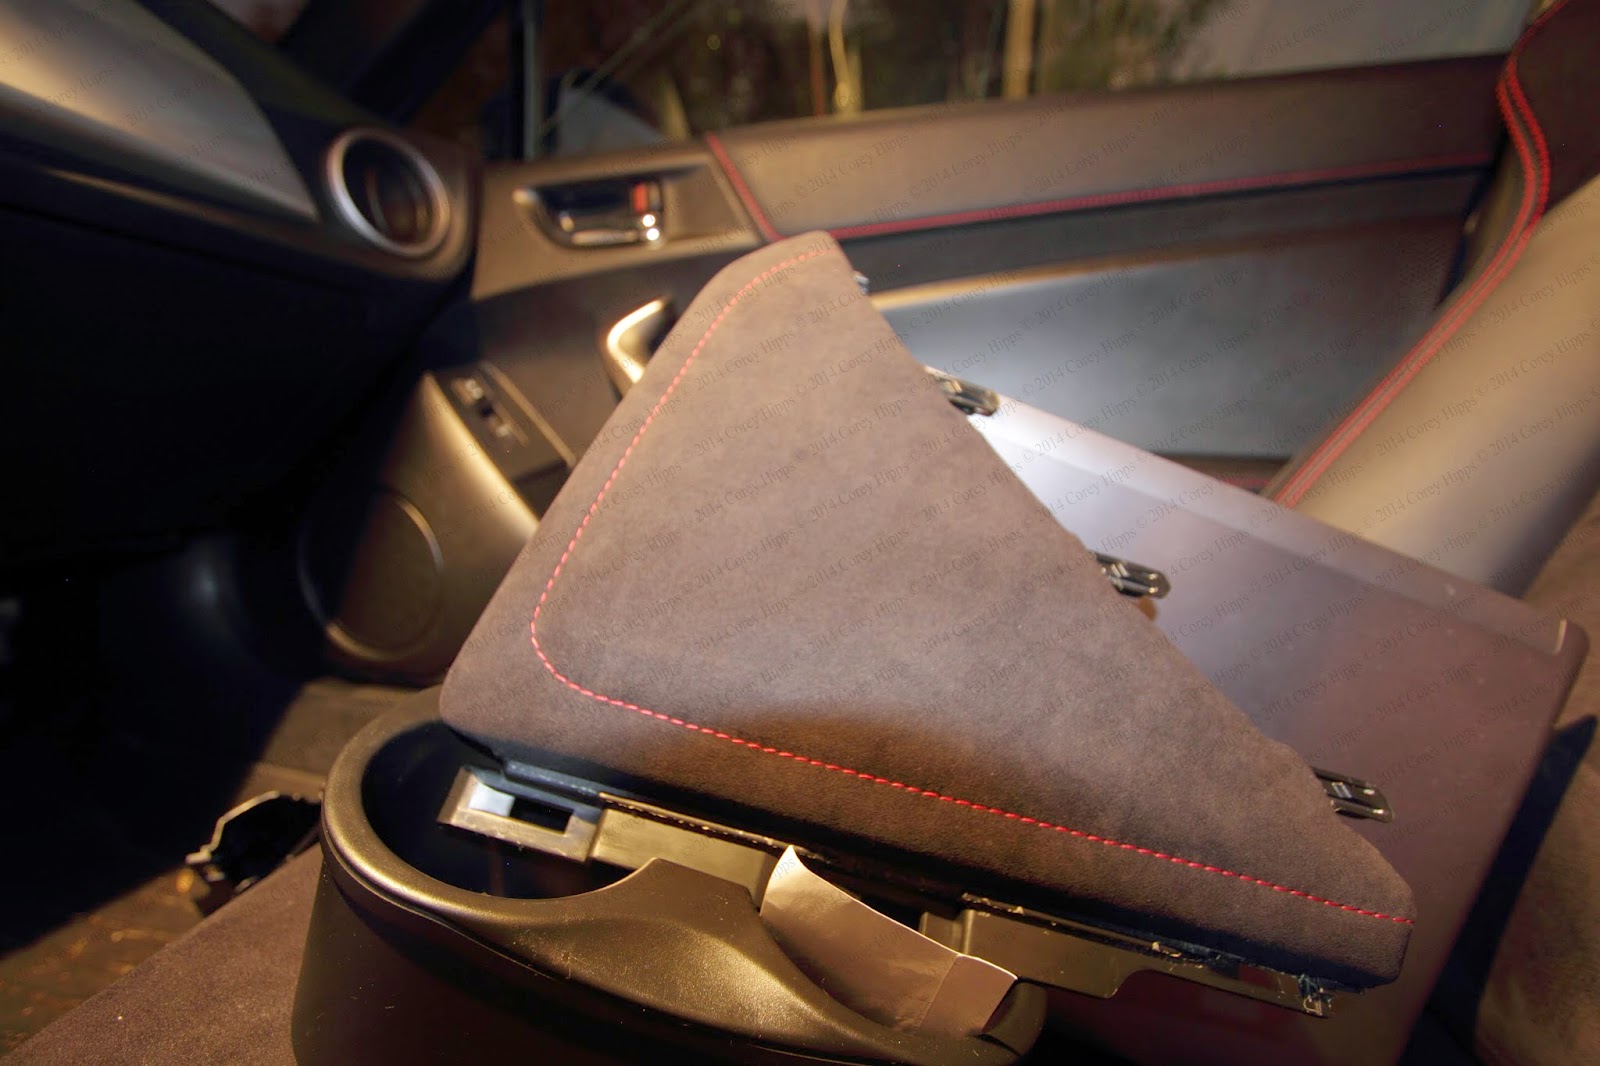  The reinstall is a bit awkward because you need to push it toward the center in order to get the clips on the grey / silver part pushed in. Also you NEED to keep the center console pushed back while you do this or the bottom of the knee pad and the center console will push against other making your life difficult. Another option is, before you unscrew the center console to pull the parking brake boot off from the center console which may allow more movement of the center console, or its complete removal with a few additional electrical disconnects (for the heated seat controls). 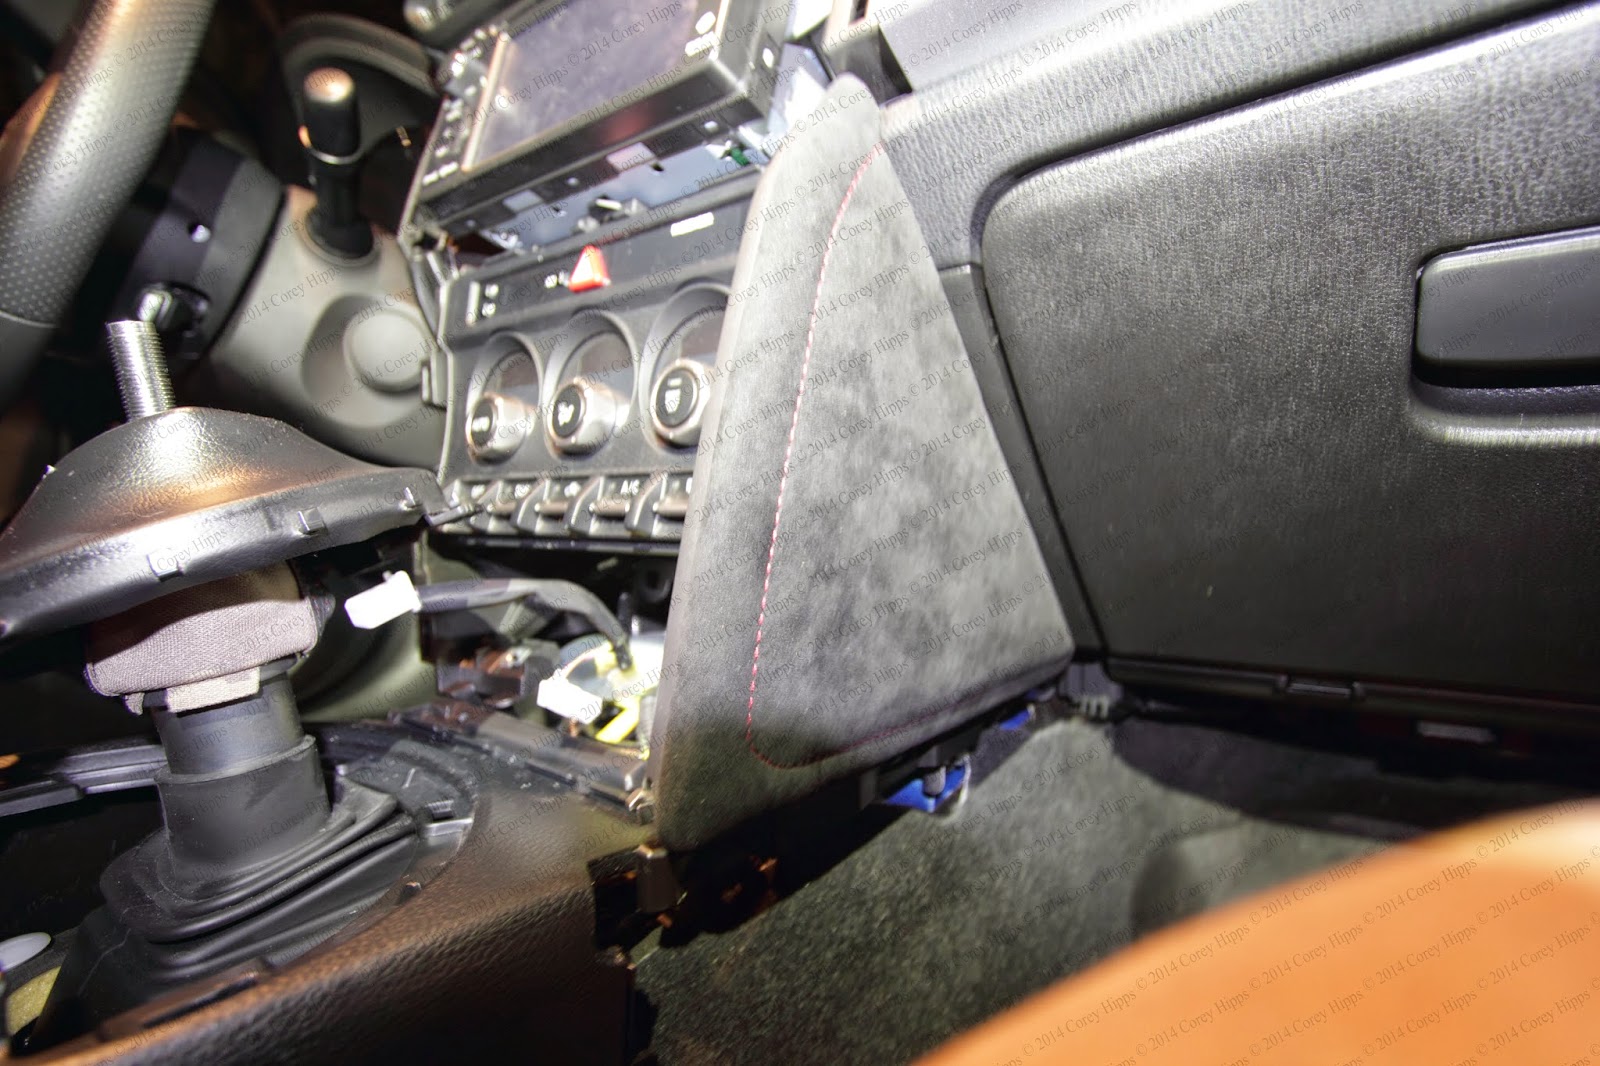 1) Slide center console back forward (reconnect heated seat controls if disconnected) 2) Start the six center console screws but do not tighten until all six are started and fit (two by the dash, two by the shifter, and two by the cup holder section of the center console) 3) Insert rubber pad and cup holders, rubber pad is directional 4) Screw shift boot retainer ring back into shift boot bezel, there are alignment pegs (skip if bezel and boot not separated) 5) Screw VSC Sport and Traction Control Off buttons back into the shift boot bezel 6) Reinstall shift boot bezel start with the back tongue and then push in the clips around the bezel 7) Plug back in the start button, the antenna (if you have them), the USB / AUX connector 8) Push the bottom section back into the dash making sure to get all clips to click 9) Reinstall the plastic panels beneath the knee pads 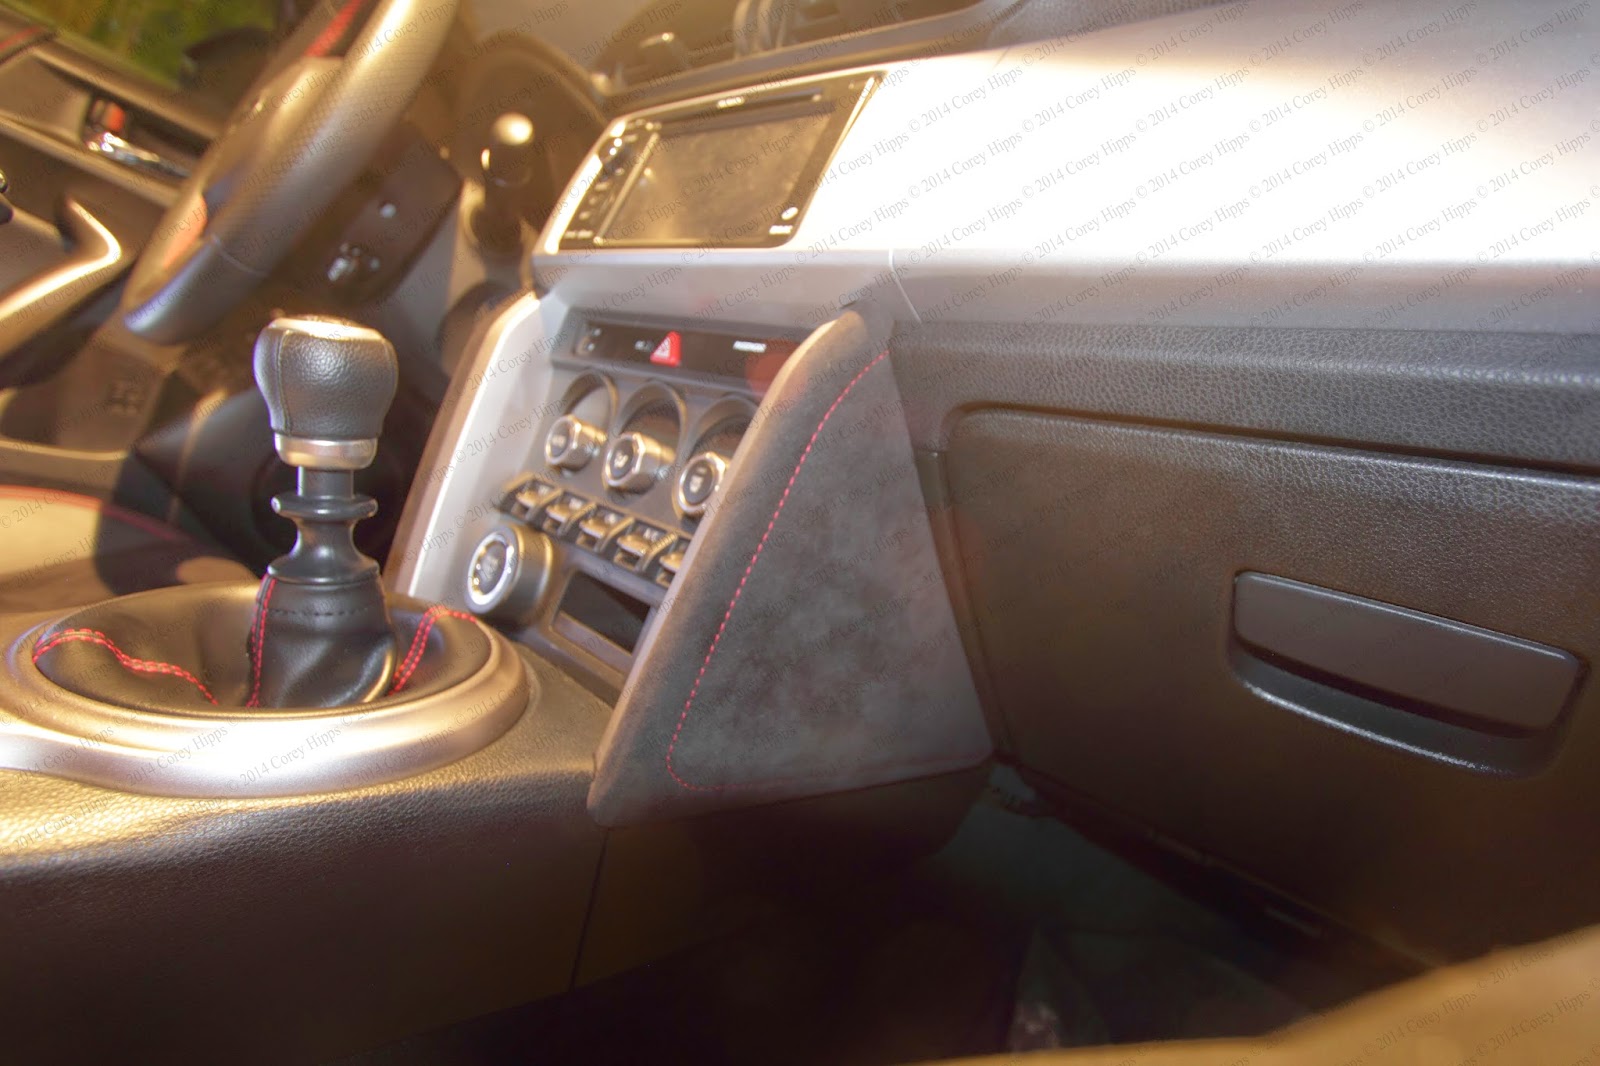 No review on how well these fix the ergonomic issues but we're taking a decent road trip this weekend and so I shall review the knee pads after that. |

|

|
| The Following 5 Users Say Thank You to Mooncaller For This Useful Post: | Bowflex (07-03-2020), Mikko (11-06-2014), normancw (11-07-2014), Prodigalson (04-18-2019), Yamaha_R6 (02-10-2015) |
|
11-12-2014, 01:54 AM
|
#2 |
|
Member
Join Date: May 2014
Drives: 2014 Subaru BRZ Limited
Location: Massachusetts
Posts: 13
Thanks: 0
Thanked 16 Times in 6 Posts
Mentioned: 0 Post(s)
Tagged: 0 Thread(s)
|
Having now used the knee pads from JPM Coachworks during a road trip it is a marked improvement over the stock plastic pieces.
Both Holly and I found them much more comfortable over our 900 mile road trip. Definitely worth the money and certainly worth the time. It really would have been better had the car come with this to start with. (Prior photo of the installed knee pads.)  |
|
|
|
| The Following 3 Users Say Thank You to Mooncaller For This Useful Post: |
|
08-06-2017, 01:46 PM
|
#3 |
|
junior mafia
Join Date: Dec 2014
Drives: 20 sti limited
Location: music city, tn
Posts: 243
Thanks: 94
Thanked 221 Times in 91 Posts
Mentioned: 1 Post(s)
Tagged: 0 Thread(s)
|
i just installed a set of the jdm 86 pads in my brz this way and it took me all of 45 minutes meticulously and slowly following the directions.
bravo!
__________________
20 sti limited | 17 bmw m240i | 16 scion im |15 brz limited {prokit, 17x8 +35 rpf1, bfg comp 2 a/s, stg 2, jdl uel, voodoo knob} | 05 honda civic | 06 scion tc | 95 mustang gt | 89 chevy s-10 cameo
|
|
|
|
|
|
|
|
|
|
|
 Similar Threads
|
||||
| Thread | Thread Starter | Forum | Replies | Last Post |
| FS: ** SOLD ** JPM Coachworks Stitched Knee Pads (NIB) | RyanITV | Interior Parts (Incl. Lighting) | 1 | 10-15-2014 09:51 AM |
| JPM Coachworks Knee Pads (New) | Swinfard | Canada Classifieds | 4 | 09-08-2014 08:42 AM |
| FS: A Pillar Gauge Pod; ATI Vent Pod; JPM Coachworks Knee Pads | pleong | Interior Parts (Incl. Lighting) | 10 | 05-14-2014 02:09 AM |
| JPM Coachworks OEM knee pads replacement!! | 86design | Interior Parts (Incl. Lighting) | 6 | 04-30-2014 10:10 PM |
| Padded knee pads | zoomzoomers | BRZ First-Gen (2012+) -- General Topics | 30 | 10-21-2013 11:13 AM |


