


 04-17-2018, 11:23 AM
|
#995 |
|
Senior Member
Join Date: Oct 2016
Drives: 2017 WR BLUE BRZ
Location: San Jose
Posts: 641
Thanks: 608
Thanked 502 Times in 249 Posts
Mentioned: 15 Post(s)
Tagged: 0 Thread(s)
|
Do it!
|

|

|
|
04-17-2018, 12:55 PM
|
#996 |
|
Senior Member
Join Date: Apr 2014
Drives: 2013 Ultramarine FR-S
Location: Springfield, MO
Posts: 1,948
Thanks: 2,538
Thanked 1,410 Times in 803 Posts
Mentioned: 31 Post(s)
Tagged: 3 Thread(s)
|
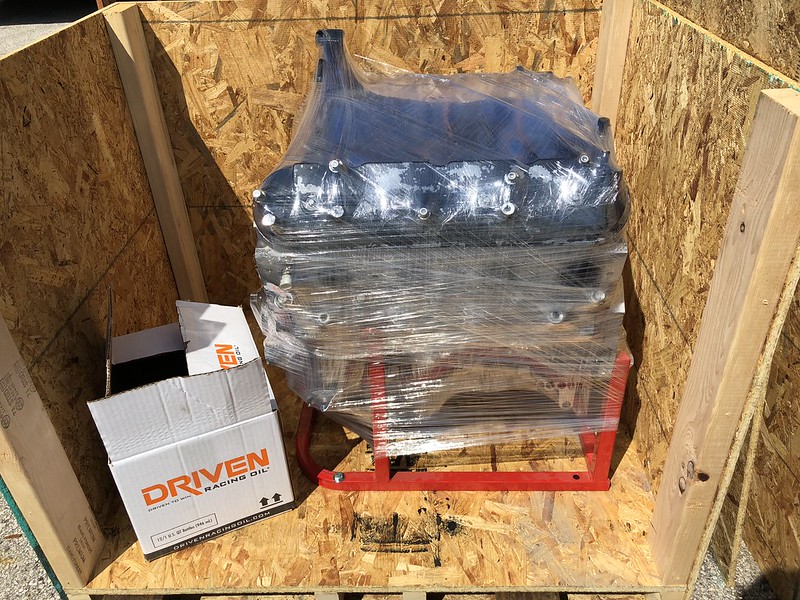 They even included break in oil! 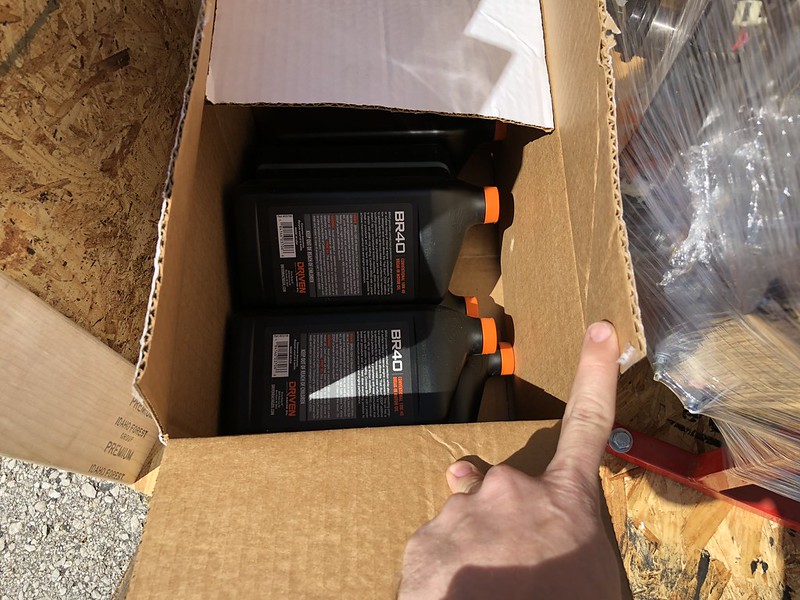
__________________
 |
|
|
|
| The Following 2 Users Say Thank You to DustinS For This Useful Post: | ILLSMOQ (04-17-2018), Sportsguy83 (04-18-2018) |
|
04-18-2018, 09:43 AM
|
#997 |
|
Senior Member
Join Date: Apr 2014
Drives: 2013 Ultramarine FR-S
Location: Springfield, MO
Posts: 1,948
Thanks: 2,538
Thanked 1,410 Times in 803 Posts
Mentioned: 31 Post(s)
Tagged: 3 Thread(s)
|
Took the oil pan off as I needed (or so I thought) to remove and cap the oil bypass valve used for the DOD cars, and I was going to cut the pan for sway bar and have it welded shut. I didn't get pictures of the cutting, but I only ended up cutting the pan a bit, but not enough that I needed to get it welded up. I decided to leave that for a future project.
Texas Speed was kind enough to cap it for me:  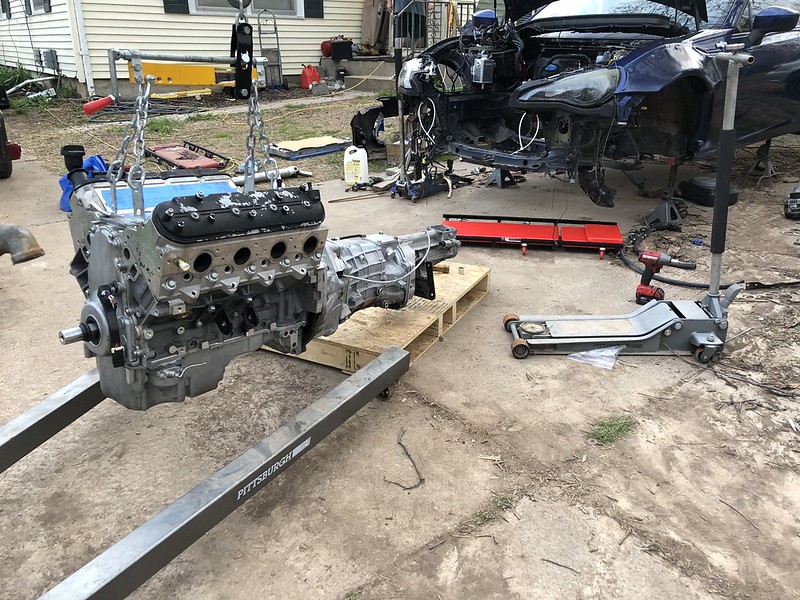 After a bit of fiddling and a trip to the autoparts store for some new hardware for the engine mounts. We were able to get it in. Though I can't get one of the transmission mount bolts in. I still need to mess with that. 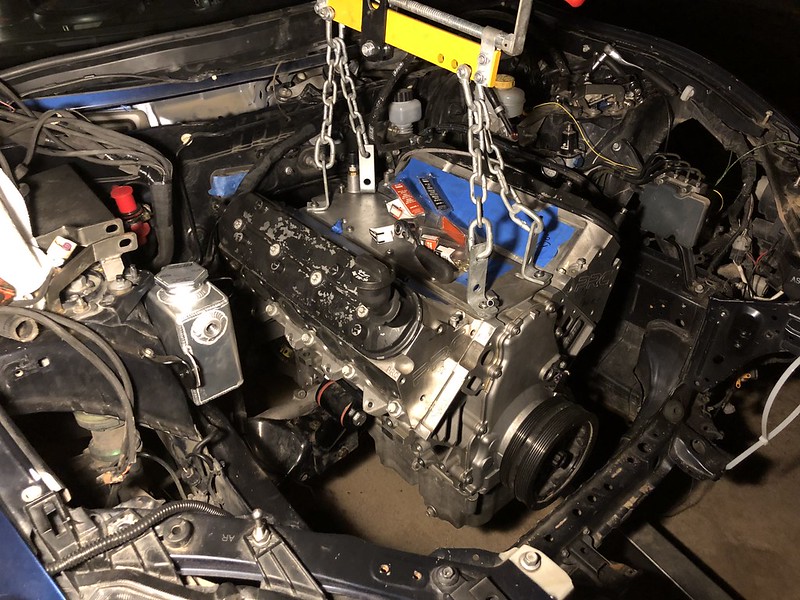 Forgot how much room there is for everything. Expansion tank may be moved upwards a tad. 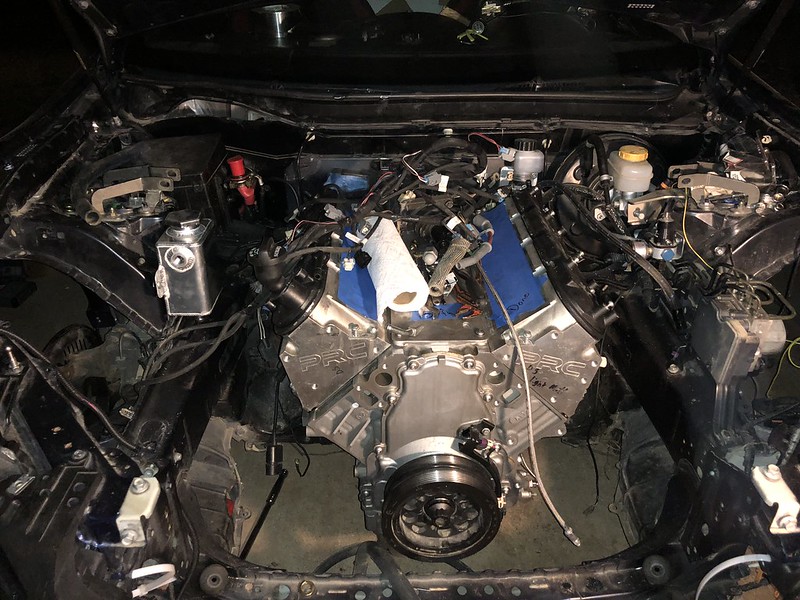 I am trying to decide if I want to try and mount the wiring harness in the gap in the trans tunnel. Will clean up the firewall, but may cause issues with heat, and rubbing. I have plenty of time to figure that out though. 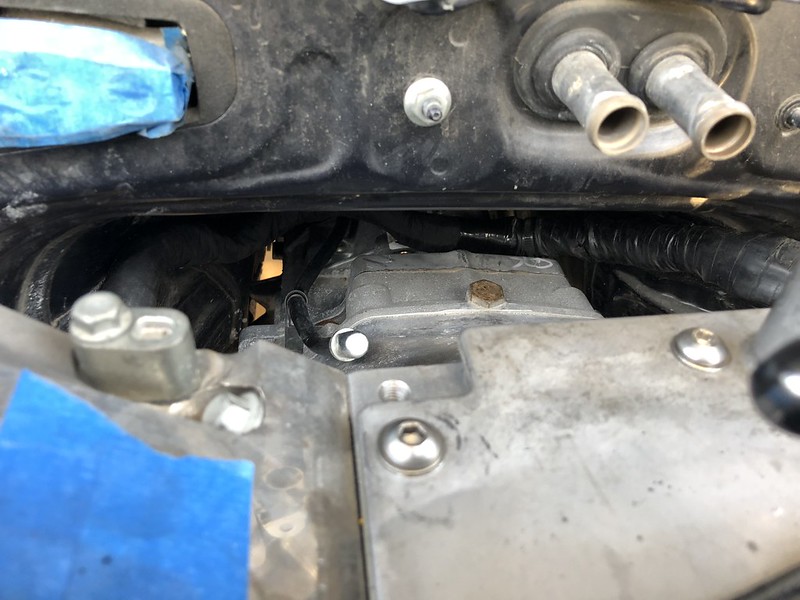 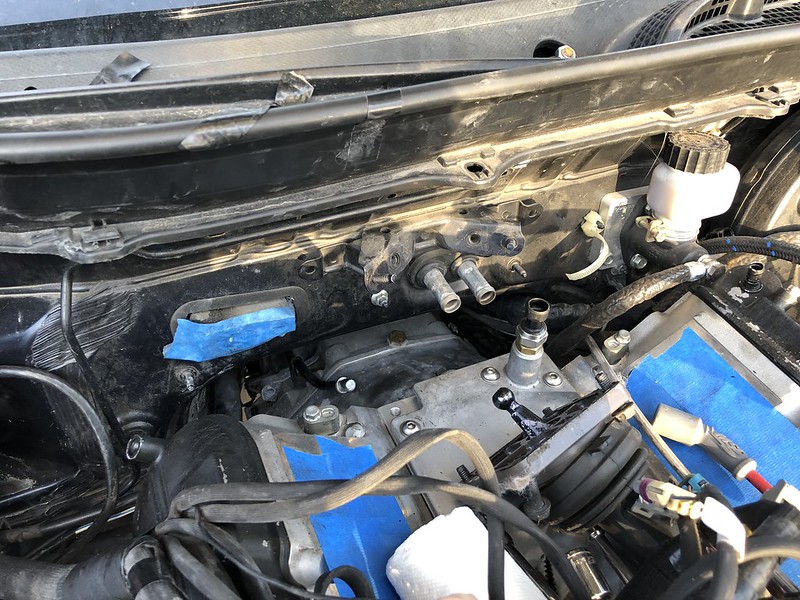
__________________
|
|
|
|
| The Following 4 Users Say Thank You to DustinS For This Useful Post: |
|
04-18-2018, 10:24 AM
|
#998 |
|
Senior Member
Join Date: Jul 2014
Drives: 14 BSP Edelbrock BRZ
Location: Lon Gisland
Posts: 806
Thanks: 113
Thanked 450 Times in 256 Posts
Mentioned: 12 Post(s)
Tagged: 0 Thread(s)
|
Did Texas Speed say what they found wrong with the engine when you sent it back?
|
|
|
|
|
04-18-2018, 10:27 AM
|
#999 | |
|
Senior Member
Join Date: Apr 2014
Drives: 2013 Ultramarine FR-S
Location: Springfield, MO
Posts: 1,948
Thanks: 2,538
Thanked 1,410 Times in 803 Posts
Mentioned: 31 Post(s)
Tagged: 3 Thread(s)
|
Quote:
__________________
|
|
|
|
|
| The Following User Says Thank You to DustinS For This Useful Post: | Sportsguy83 (04-18-2018) |
|
04-18-2018, 01:28 PM
|
#1000 |
|
Senior Member
Join Date: Apr 2014
Drives: 2013 Ultramarine FR-S
Location: Springfield, MO
Posts: 1,948
Thanks: 2,538
Thanked 1,410 Times in 803 Posts
Mentioned: 31 Post(s)
Tagged: 3 Thread(s)
|
Nice little package today. Still waiting on the -4 hose and -4 90 degree fitting.
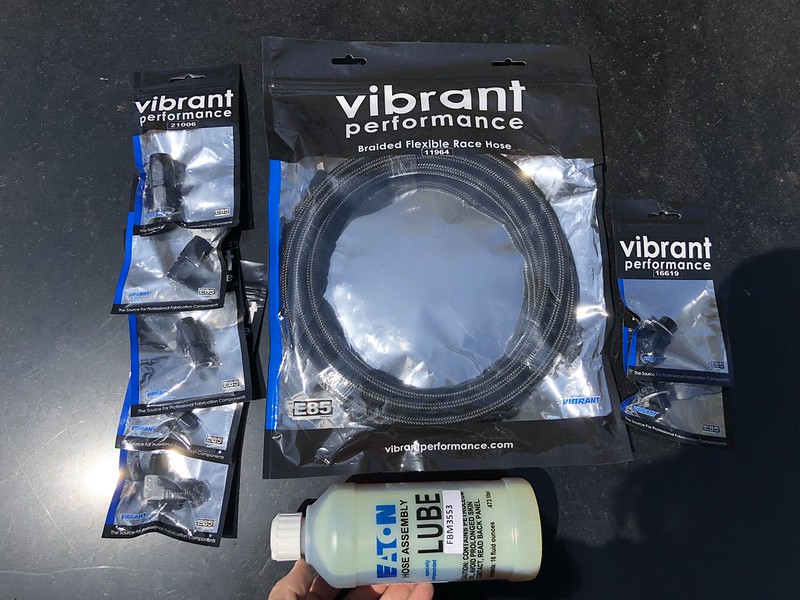 Hose and fittings on right are for the catch can. Running -6an for that. Most likely mount it where the fuse box went. Got the -4an fittings mocked up for coolant overflow and steam port. I REALLY hate pipe threads. The fact you can see the threads drives me nuts. 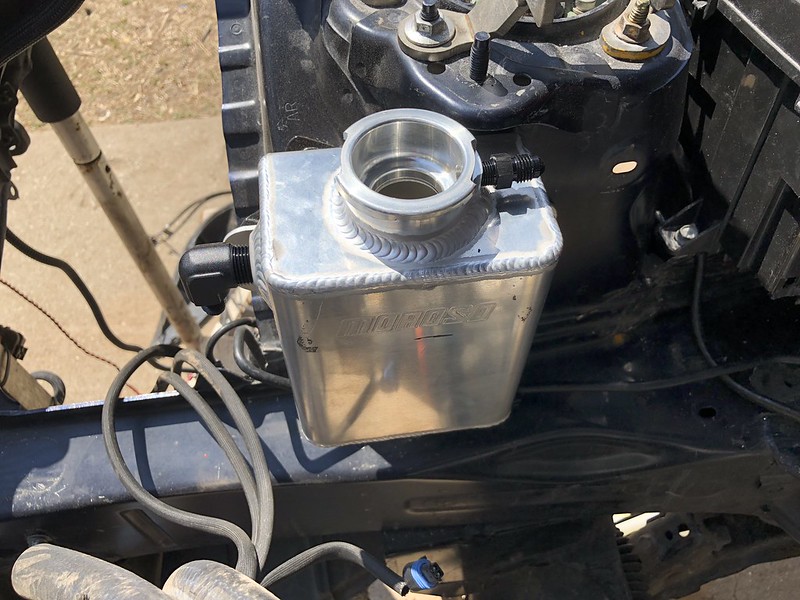
__________________
|
|
|
|
|
04-19-2018, 11:39 AM
|
#1001 |
|
Senior Member
Join Date: Apr 2014
Drives: 2013 Ultramarine FR-S
Location: Springfield, MO
Posts: 1,948
Thanks: 2,538
Thanked 1,410 Times in 803 Posts
Mentioned: 31 Post(s)
Tagged: 3 Thread(s)
|
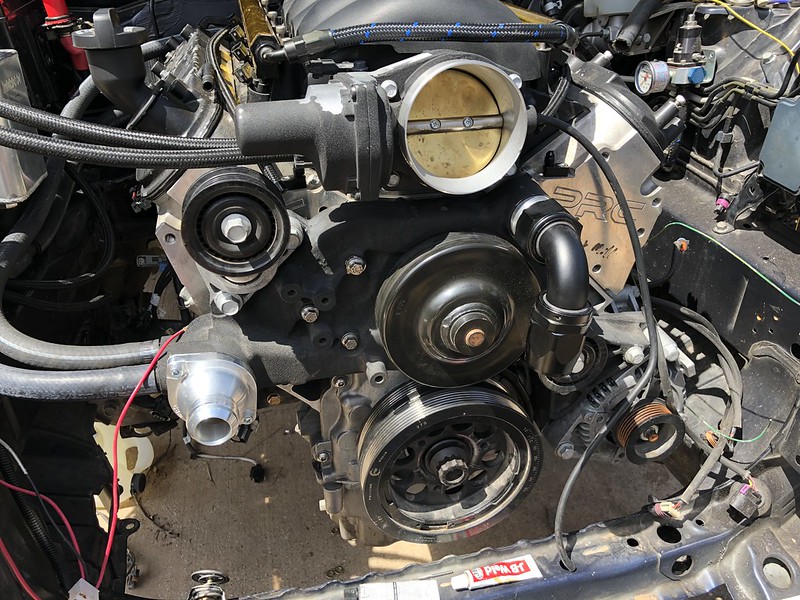
Got some work done despite the crazy winds and being kind of chilly. Starter, Alternator, and Water Pump are installed. Some last minute wiring. Heater Hoses routed. Fittings on Expansion tank finished up and sealed.
This wire tie didn't turn out as well as I had hoped. Will be changing it. 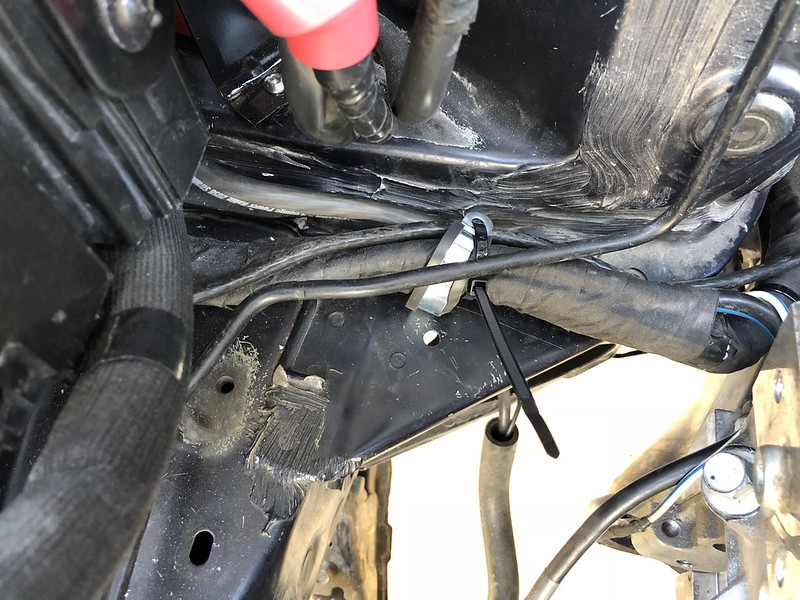 Goes around back and is ziptied and wrapped to help keep it safe. 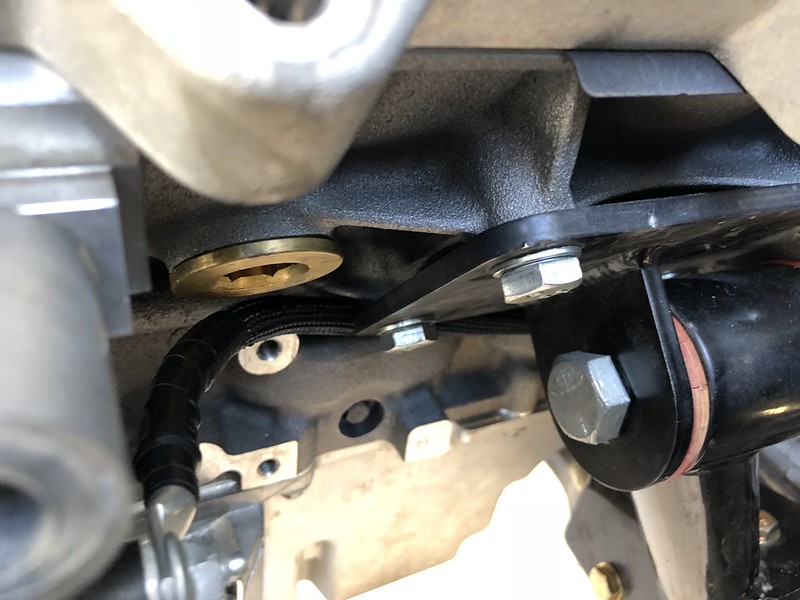 Everything needs a good cleaning. Bought a Billet Aluminum Alternator Pulley to replace the broken one. Still need to pick up hose clamps. I can't wait to switch to AN lines. 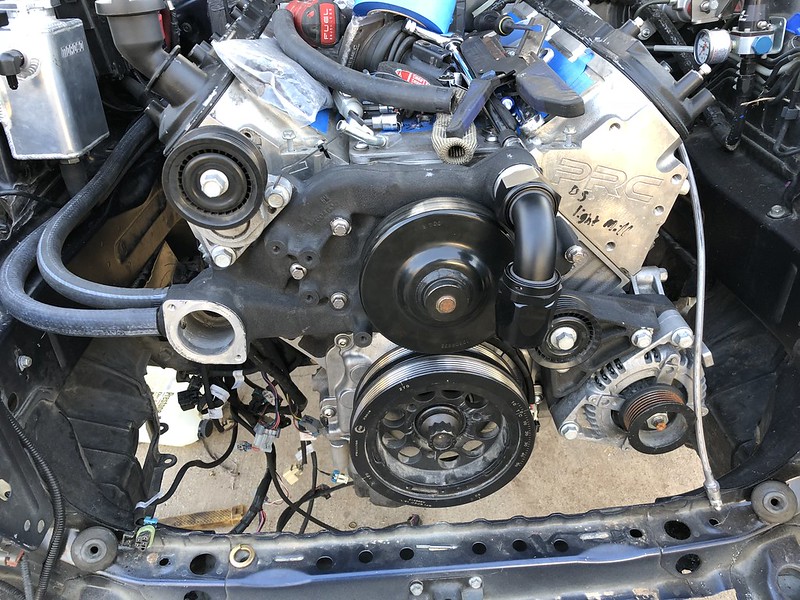 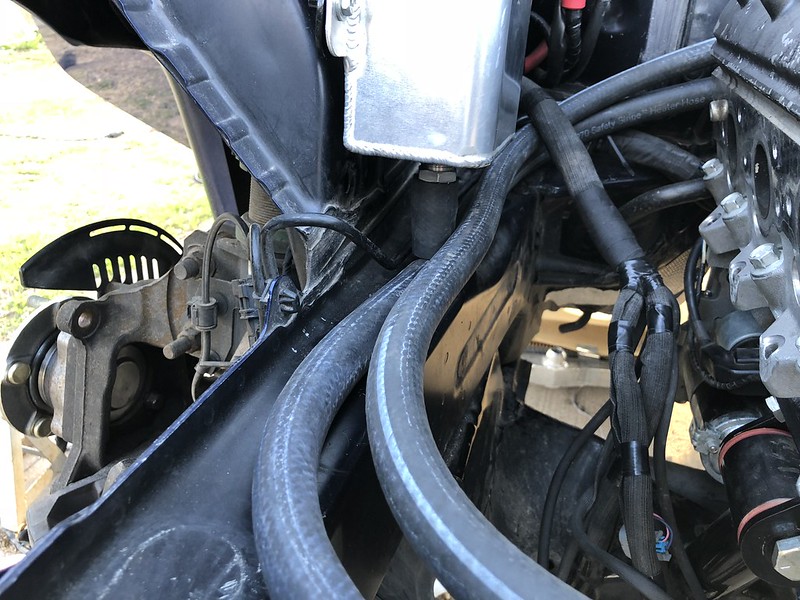 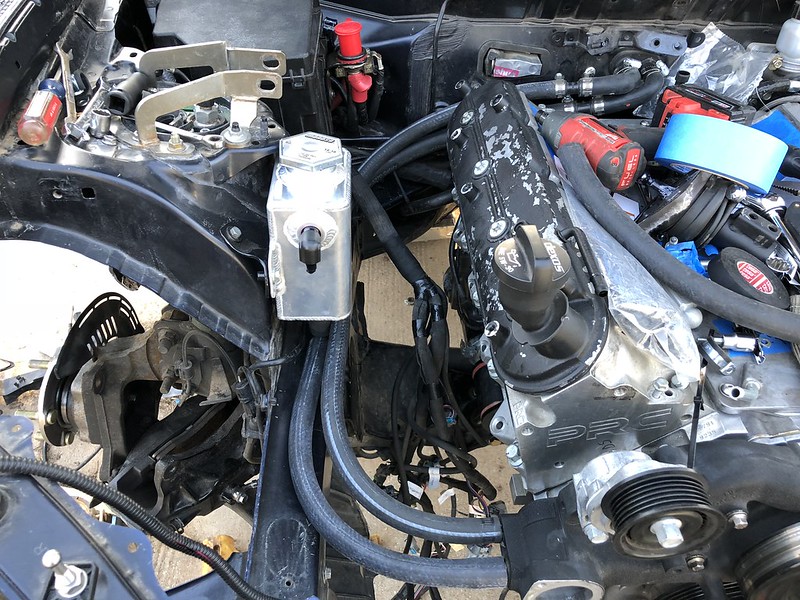 I also switched out the Nipple fittings for some -6an AN fittings and mounted the Catch Can. 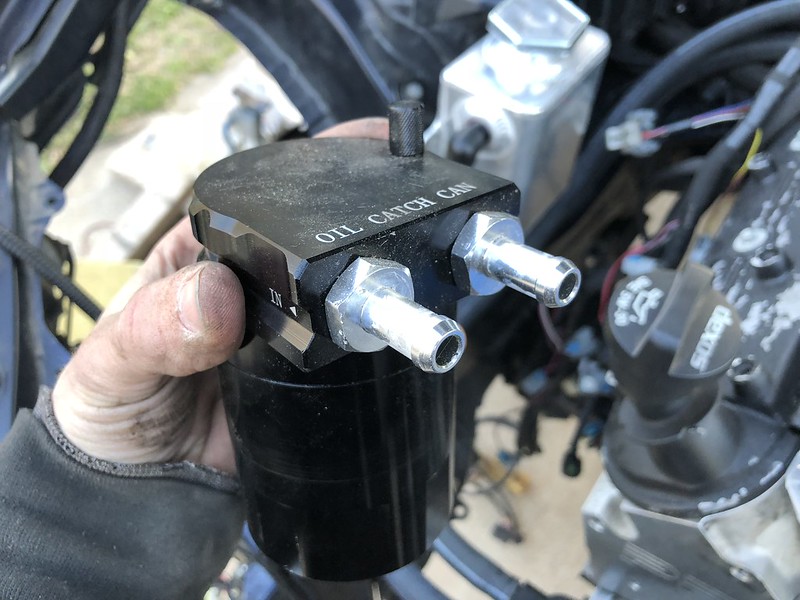 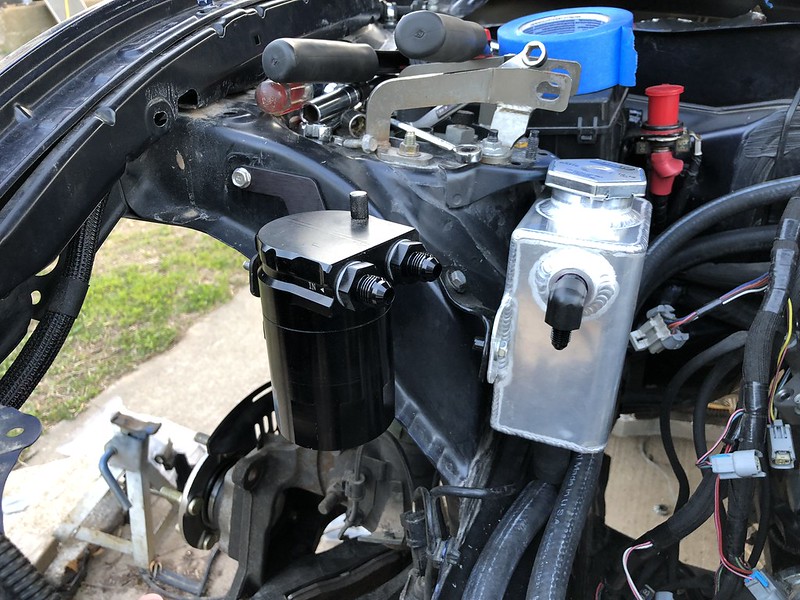 I was going to start messing with the Steam port stuff, but couldn't find the box. Figured it was in the box of parts in the wifes trunk. So I waited until she got home... Couldn't find it. Fell out of the first box and was hiding behind other parts -_- . Could have installed those... Project for today I guess.
__________________
|
|
|
|
| The Following 4 Users Say Thank You to DustinS For This Useful Post: |
|
04-19-2018, 07:45 PM
|
#1002 |
|
Member
Join Date: May 2014
Drives: '14 fr-s \\ 6mt \\ white
Location: New England
Posts: 15
Thanks: 29
Thanked 14 Times in 10 Posts
Mentioned: 0 Post(s)
Tagged: 0 Thread(s)
|
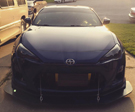
After all the setbacks and bulls#it, it's great to see this beast coming together anew. Very much looking forward to seeing that fire get lit once again.
|
|
|
|
| The Following User Says Thank You to Grawlix For This Useful Post: | DustinS (04-20-2018) |
|
04-20-2018, 10:42 AM
|
#1003 | |
|
Senior Member
Join Date: Apr 2014
Drives: 2013 Ultramarine FR-S
Location: Springfield, MO
Posts: 1,948
Thanks: 2,538
Thanked 1,410 Times in 803 Posts
Mentioned: 31 Post(s)
Tagged: 3 Thread(s)
|
Quote:
Spent 4 Hours Getting 6 AN lines made. Seems like so little done for so much time. Most of the time was spent trying to 1: Figure out Steam Port Line configuration and 2: Getting the stupid -6an hose on the engine/intake side hose barb fittings for the catch can. Worth job ever. On to pictures! Not impressed with the trickflow fittings. To start the bolts were too long and needed cut down: 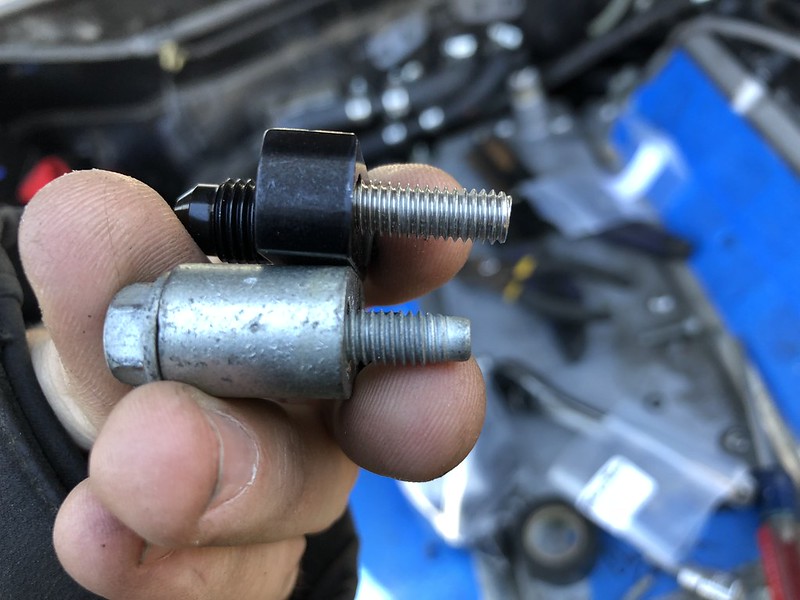 The fittings were also very rough and didn't like to turn very well. I should have just pieced the kit together. I also found that the kit doesn't work too great with factory manifold. General Overview: 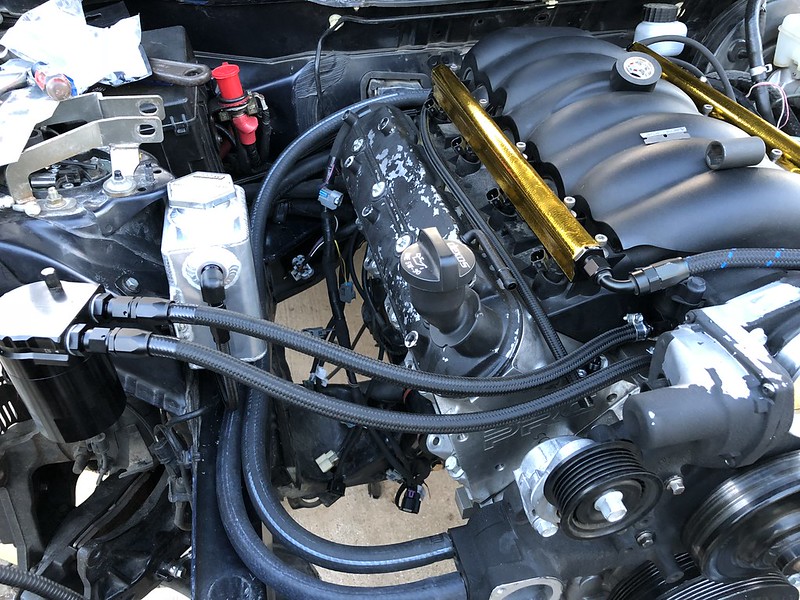 The Catch can Lines match better than it looks in the photo. Steam port inlet. 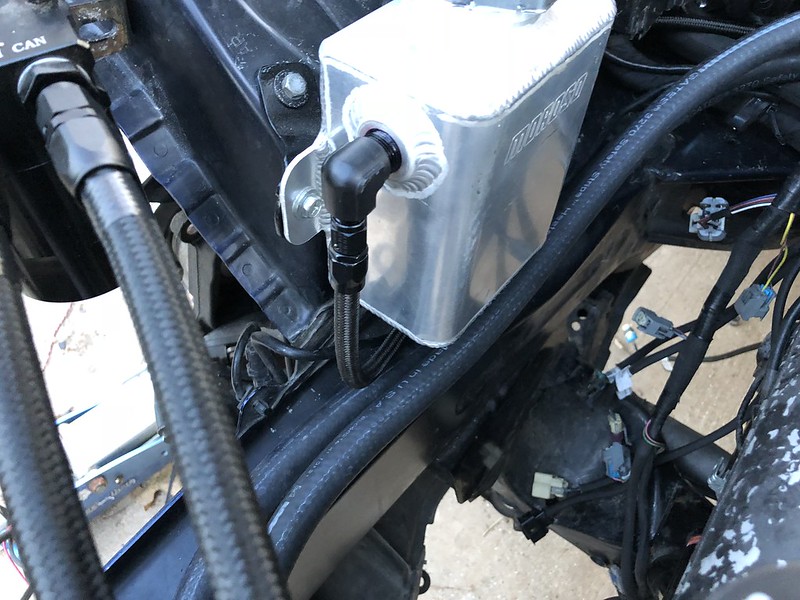 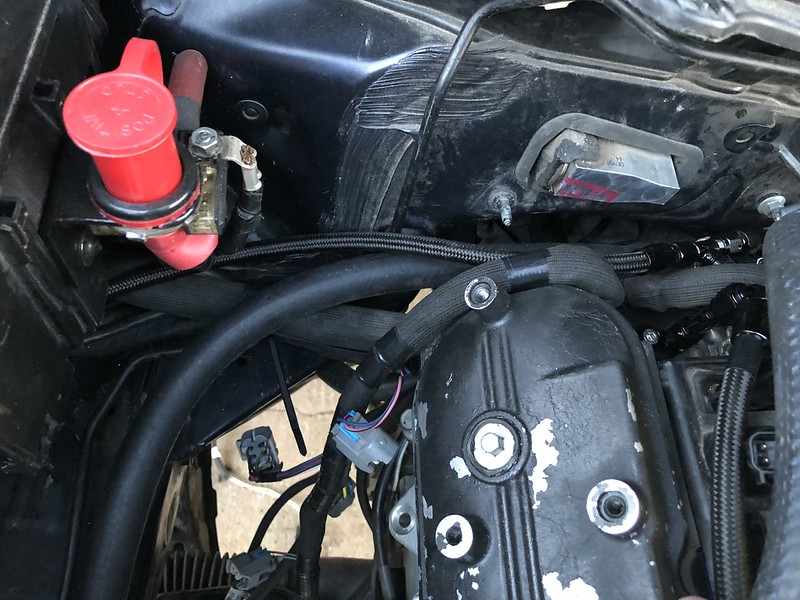 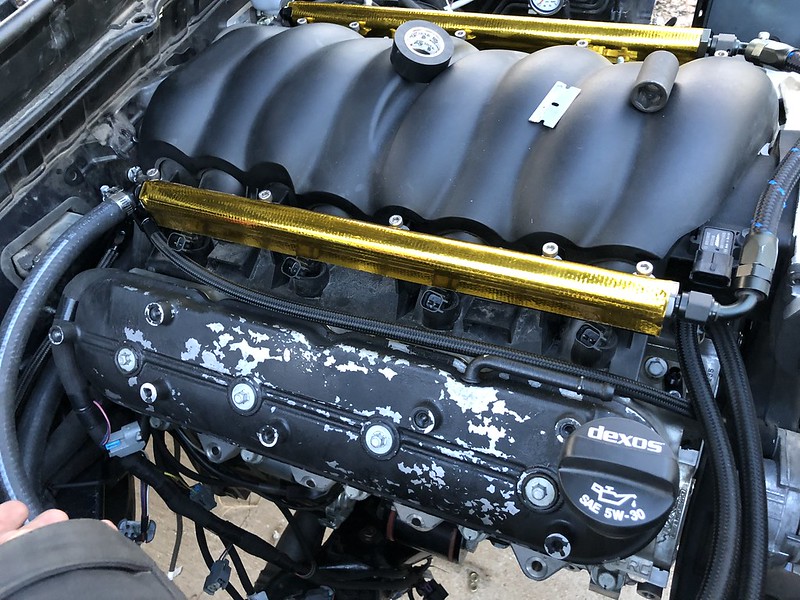 Had to buy some 45 Degree fittings to clear the Catch Can line. Running one on the other side just to look even. Also contemplating putting the overflow tank here: 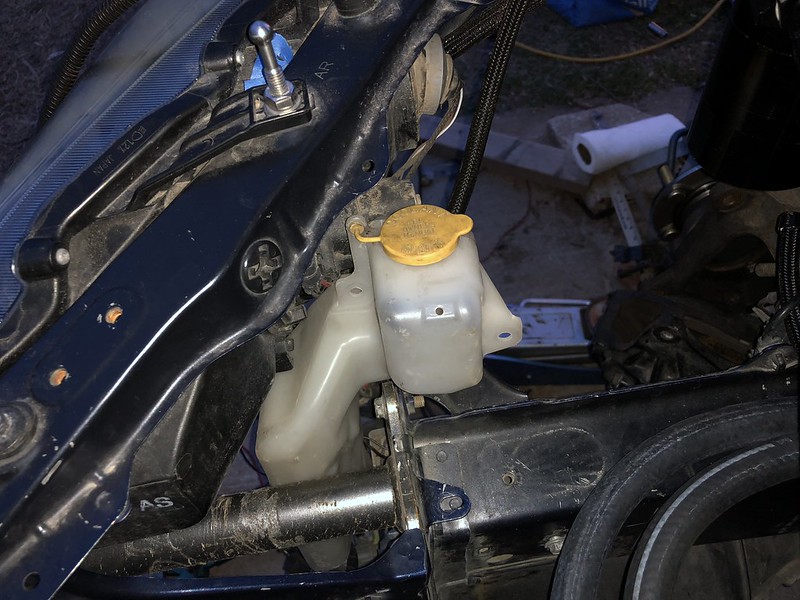 Run the overflow line through fender and into tank. 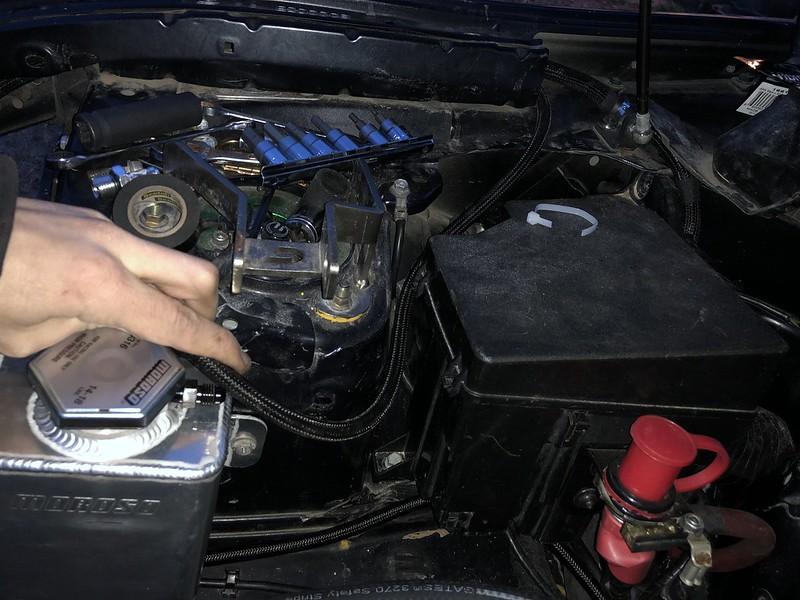 At this point. Not much to do other than finishing touches and stuff that require welding. So I may get the welder out and get the radiator mount done so I can make the radiator hoses. I also need to figure out how to mount the fans. I was planning on running a set of aftermarket fans, but at this point I will save that for a later date. Picking up some satin black paint for the Expansion tank, throttle body, Valve Covers, Tensioner, and possibly alternator. Need to get an LS3 Thermostat as well.
__________________
|
|
|
|
|
|
04-20-2018, 02:57 PM
|
#1004 |
|
Senior Member
Join Date: Apr 2014
Drives: 2013 Ultramarine FR-S
Location: Springfield, MO
Posts: 1,948
Thanks: 2,538
Thanked 1,410 Times in 803 Posts
Mentioned: 31 Post(s)
Tagged: 3 Thread(s)
|
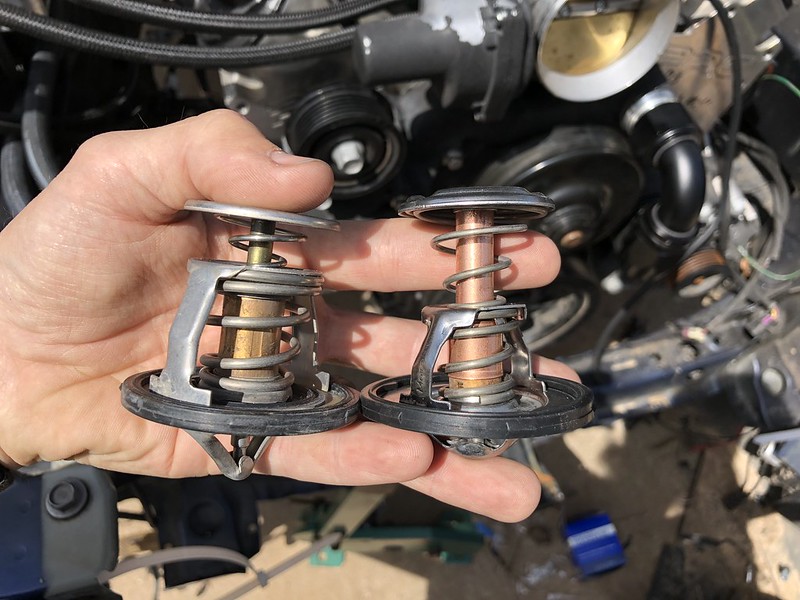
Got the thermostat and it seems to be longer. I don't remember my original being this different, but oh well. Thermostat housing on, so I can get the radiator mounted and begin making lines.
__________________
|
|
|
|
| The Following User Says Thank You to DustinS For This Useful Post: | Zer0 (04-20-2018) |
|
04-23-2018, 10:58 AM
|
#1005 |
|
Senior Member
Join Date: Apr 2014
Drives: 2013 Ultramarine FR-S
Location: Springfield, MO
Posts: 1,948
Thanks: 2,538
Thanked 1,410 Times in 803 Posts
Mentioned: 31 Post(s)
Tagged: 3 Thread(s)
|
Got quite a bit done. Unfortunately still a lot to go.
Manifolds are going to be a difficult project. One I may just take to a friends shop to have done. 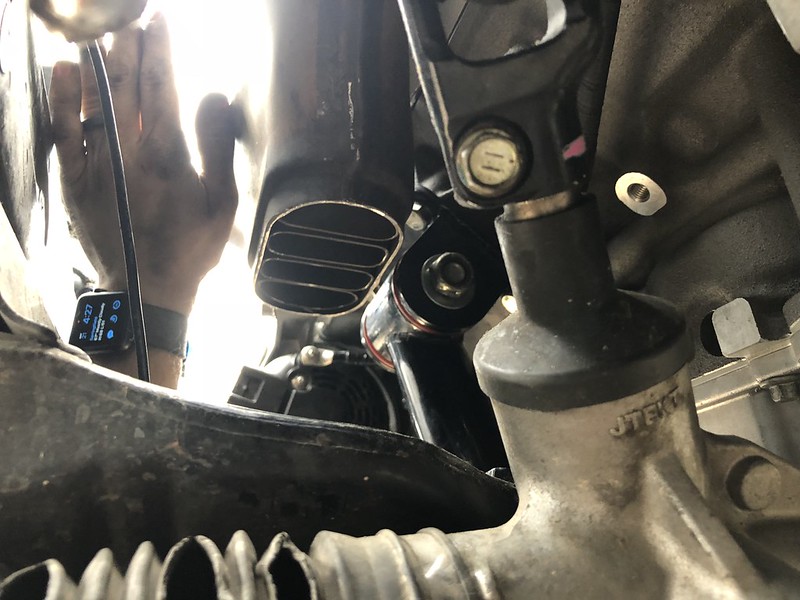 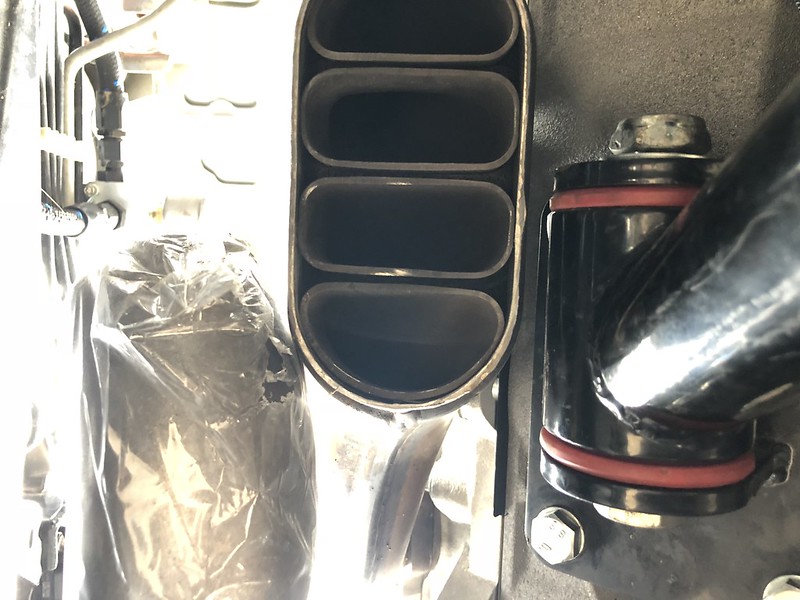 Got the radiator mounted, and radiator hoses made. What a pain. I will need to do it again when I make a new passenger side hose down the road. I only order 90 degree fittings as that is what I needed, but I had the fittings changed on the radiator side and that changed the fittings needed. 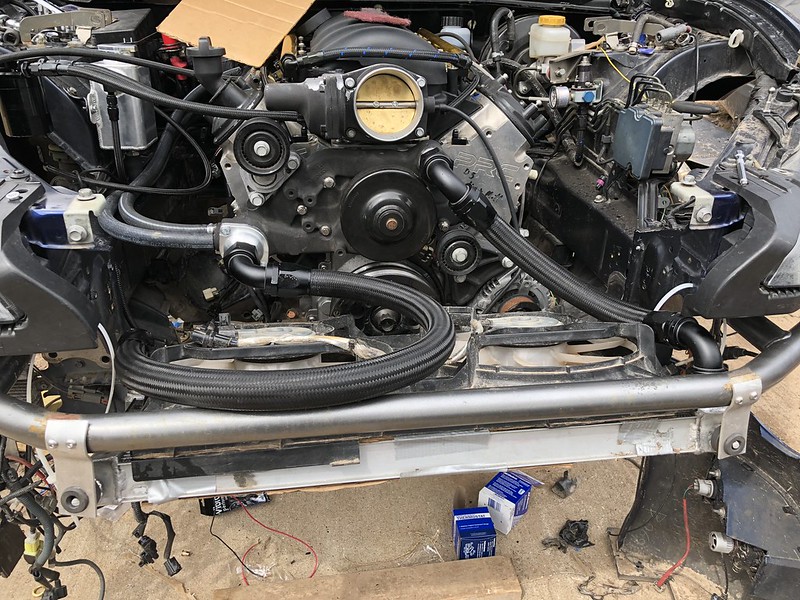 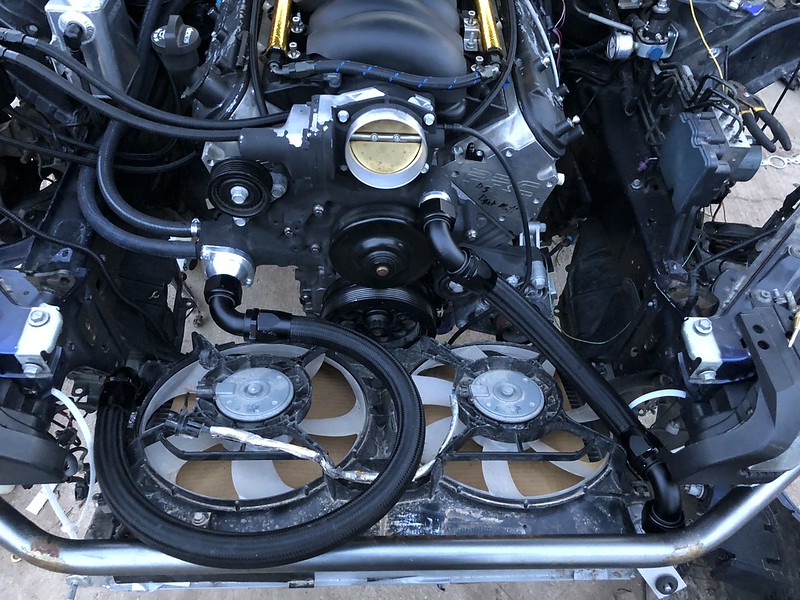 The issues that caused the weird routing: 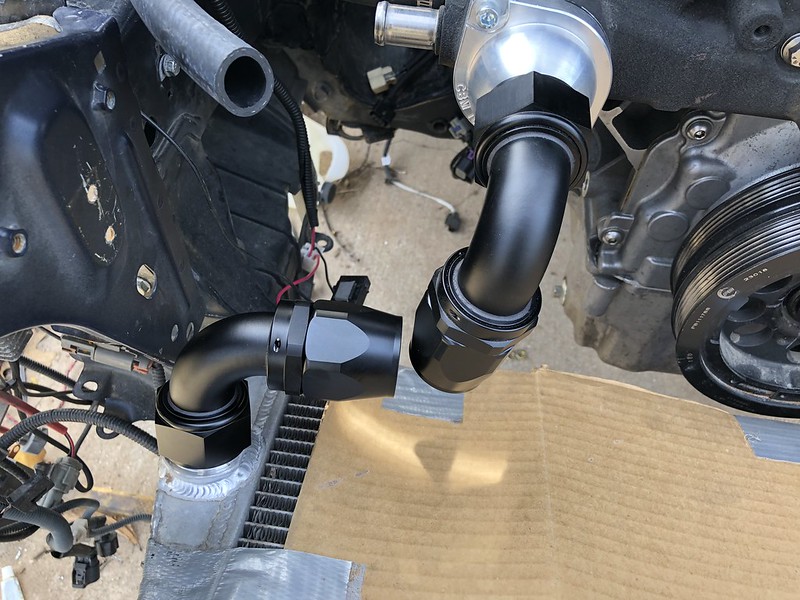 Lines finished up and tank painted. 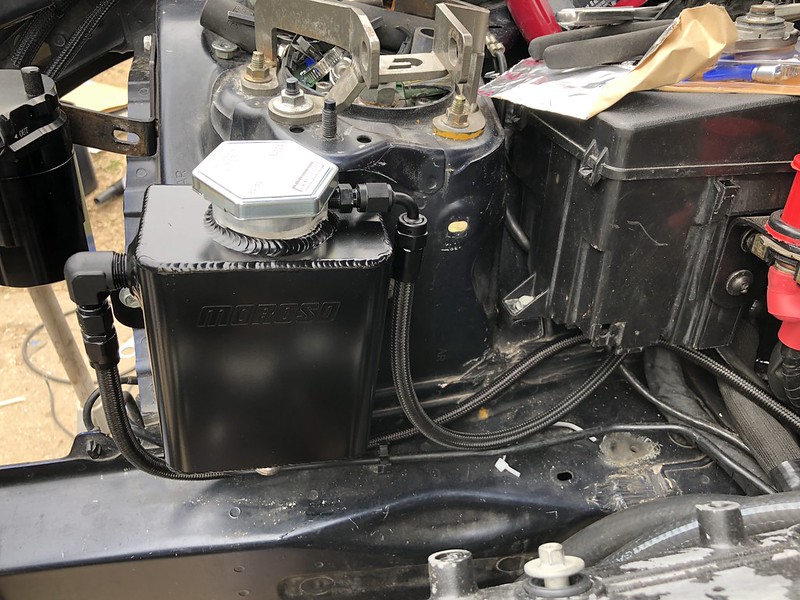 Wiring/overflow line through fender is finished up. Overflow line may be too long, but I can deal with that later. With as much hose as I have, it will be easy to change. 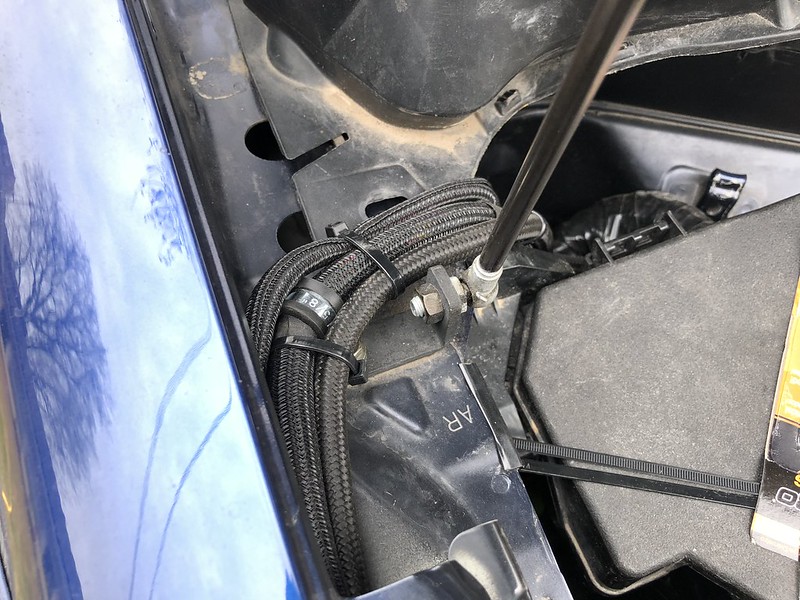 Overflow tank w/ mount. Very simple and easy to get too. Thinking about painting this the satin black as well. 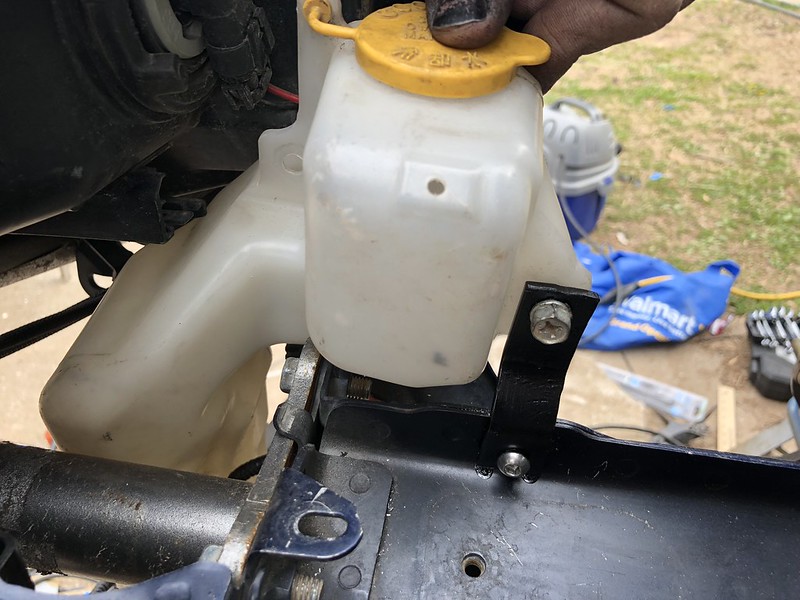 This is what the manifold looks like. Want to get it ceramic coated black. 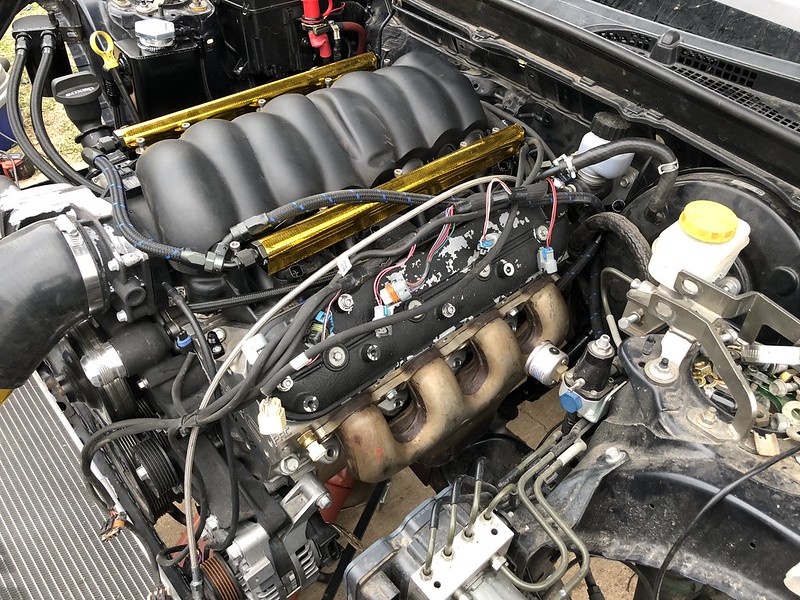  More Paint: 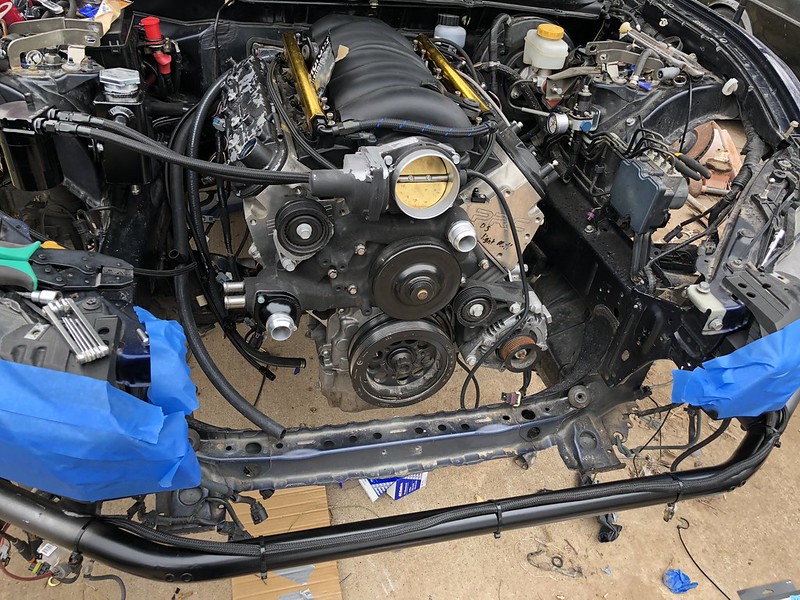 Lower Radiator mounting tabs. Didn't want to have to take it to get welded. Will see how the JB weld Does. 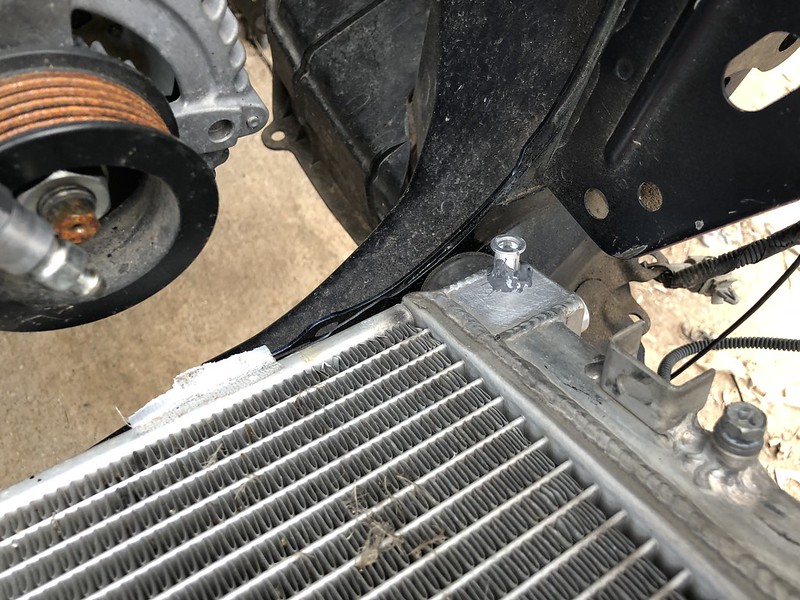 Getting so close: 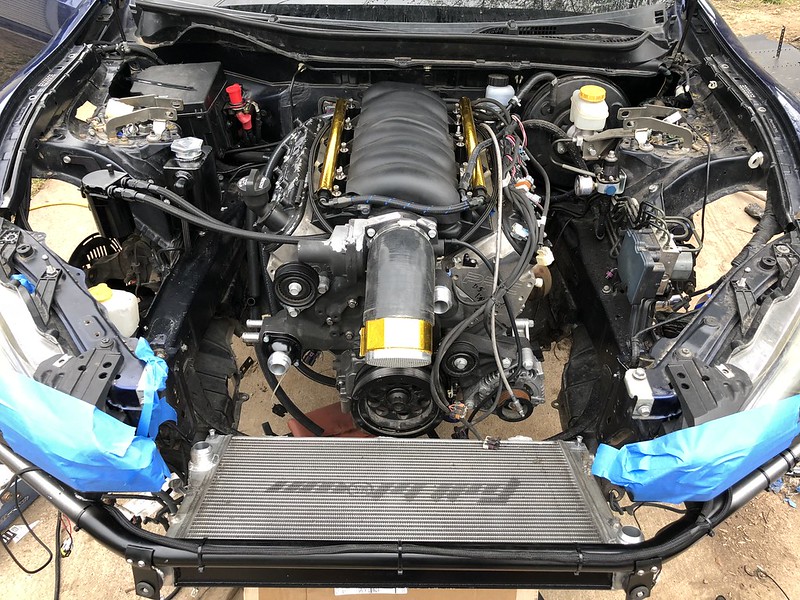
__________________
|
|
|
|
| The Following 5 Users Say Thank You to DustinS For This Useful Post: | 4Running Daily (04-23-2018), BRX (04-23-2018), gtpvette (04-23-2018), Sportsguy83 (04-23-2018), zeal86 (04-23-2018) |
|
04-23-2018, 04:07 PM
|
#1006 |
|
Member
Join Date: Aug 2016
Drives: 2015 Brz Limited
Location: New York
Posts: 34
Thanks: 7
Thanked 4 Times in 4 Posts
Mentioned: 0 Post(s)
Tagged: 0 Thread(s)
|
Great progress! I got a couple questions if you don't mind.
How much of the factory electronics have you been able to retain? Have you been working with MRS to get more functions? As far as handling is concerned, what do you recommend for the front sway bar? And finally, do you think that there is ANY way getting that LS lower to the ground? Thanks and keep up the great work! 
|
|
|
|
| The Following User Says Thank You to HawaiianMike For This Useful Post: | DustinS (04-23-2018) |
|
04-23-2018, 04:17 PM
|
#1007 | |
|
Senior Member
Join Date: Apr 2014
Drives: 2013 Ultramarine FR-S
Location: Springfield, MO
Posts: 1,948
Thanks: 2,538
Thanked 1,410 Times in 803 Posts
Mentioned: 31 Post(s)
Tagged: 3 Thread(s)
|
Quote:
Front sway bar can be kept with either trimming the GTO front sump pan, or running an aftermarket front sump pan. I plan on trimming my current one down the road. There is a sway bar mount relocation bracket that was made by a shop to help with this as well. I believe you need to contact them though. They don't list it. That being said. I didn't really have too much issue last year with no front sway bar. Though I would like to see what it's like with one installed. I am not sure if you could. I have scraped the oil pan, and there is almost no clearance between the bottom of the oil pan and the steering rack. So would require a custom oil pan at minimum along with new engine mounts. This would also change transmission angle which would need to checked.
__________________
|
|
|
|
|
|
04-23-2018, 09:29 PM
|
#1008 |
|
Member
Join Date: Feb 2017
Drives: None
Location: Rochester
Posts: 29
Thanks: 0
Thanked 8 Times in 6 Posts
Mentioned: 0 Post(s)
Tagged: 0 Thread(s)
|
Just a quick look at your radiator hoses. A 45* on both fittings might work perfectly and not have the weird routing.
|
|
|
|
| The Following User Says Thank You to Chris1083 For This Useful Post: | DustinS (04-24-2018) |
|
|
|
|
 |
| Thread Tools | Search this Thread |
|
|
 Similar Threads
|
||||
| Thread | Thread Starter | Forum | Replies | Last Post |
| Pentosin Trans Fluid Swap | Motul 300 Diff Swap | Impressions | Dezoris | Mechanical Maintenance (Oil, Fluids, Break-In, Servicing) | 15 | 06-06-2017 10:54 PM |
| Ls or 2jz swap? | sgoldberg01 | BRZ First-Gen (2012+) -- General Topics | 13 | 03-22-2016 03:07 PM |
| Rod Swap | protpibe | Engine, Exhaust, Transmission | 6 | 10-21-2015 11:38 PM |
| AT-->MT swap | AlwaysSideways | Want-To-Buy Requests | 3 | 12-15-2014 11:14 AM |
| Should I swap? | michaelahess | BRZ First-Gen (2012+) -- General Topics | 8 | 06-12-2012 07:32 PM |


