


|
||||||
| DIY (Do-It-Yourself) Guides For all DIYs. |
 |
|
|
Thread Tools | Search this Thread |
 04-21-2013, 08:07 PM
|
#1 |
|
Senior Member
Join Date: Nov 2012
Drives: Whiteout FRS
Location: Florida
Posts: 325
Thanks: 150
Thanked 272 Times in 120 Posts
Mentioned: 8 Post(s)
Tagged: 1 Thread(s)
|
DIY - Sun Visor with illuminated vanity install (For FRS or BRZ Premium)
Ok, so I upgraded my passenger side sun visor vanity to the BRZ limited version which has illumination because my wife kept turning the dome light on when doing her makeup in the car which was distracting.
So, this is just to show you what I did, I am not responsible for anything you do to your car. Part number: 92011CA200VH Right hand side 92011CA210VH Left hand side I got mine from the subaru section of parts.com http://www.parts.com/parts/2013/SUBA...agramCallOut=3 This is what it looks like, has a connector for the power to the light.  I looked, and the corresponding male harness for the connector is not in the FRS, so I spliced power from elswhere. There are probably a lot of ways you could get power to it, this is how I did it. First, if you pull on the connector, the wires actually have a little slack. The yellow is positive, and the black is the ground.  I pulled the wires out gently as far as they would go, then clipped the connector off and attached crimp connectors.  Then I attached some 16 gauge wires to the other end of those connectors. First, it is always a good idea to disconnect the negative terminal of the battery prior to doing any electrical work. Next, remove the existing vanity by removing these two screws (save the screws)  It is important to run the wires through the hole in the frame above. 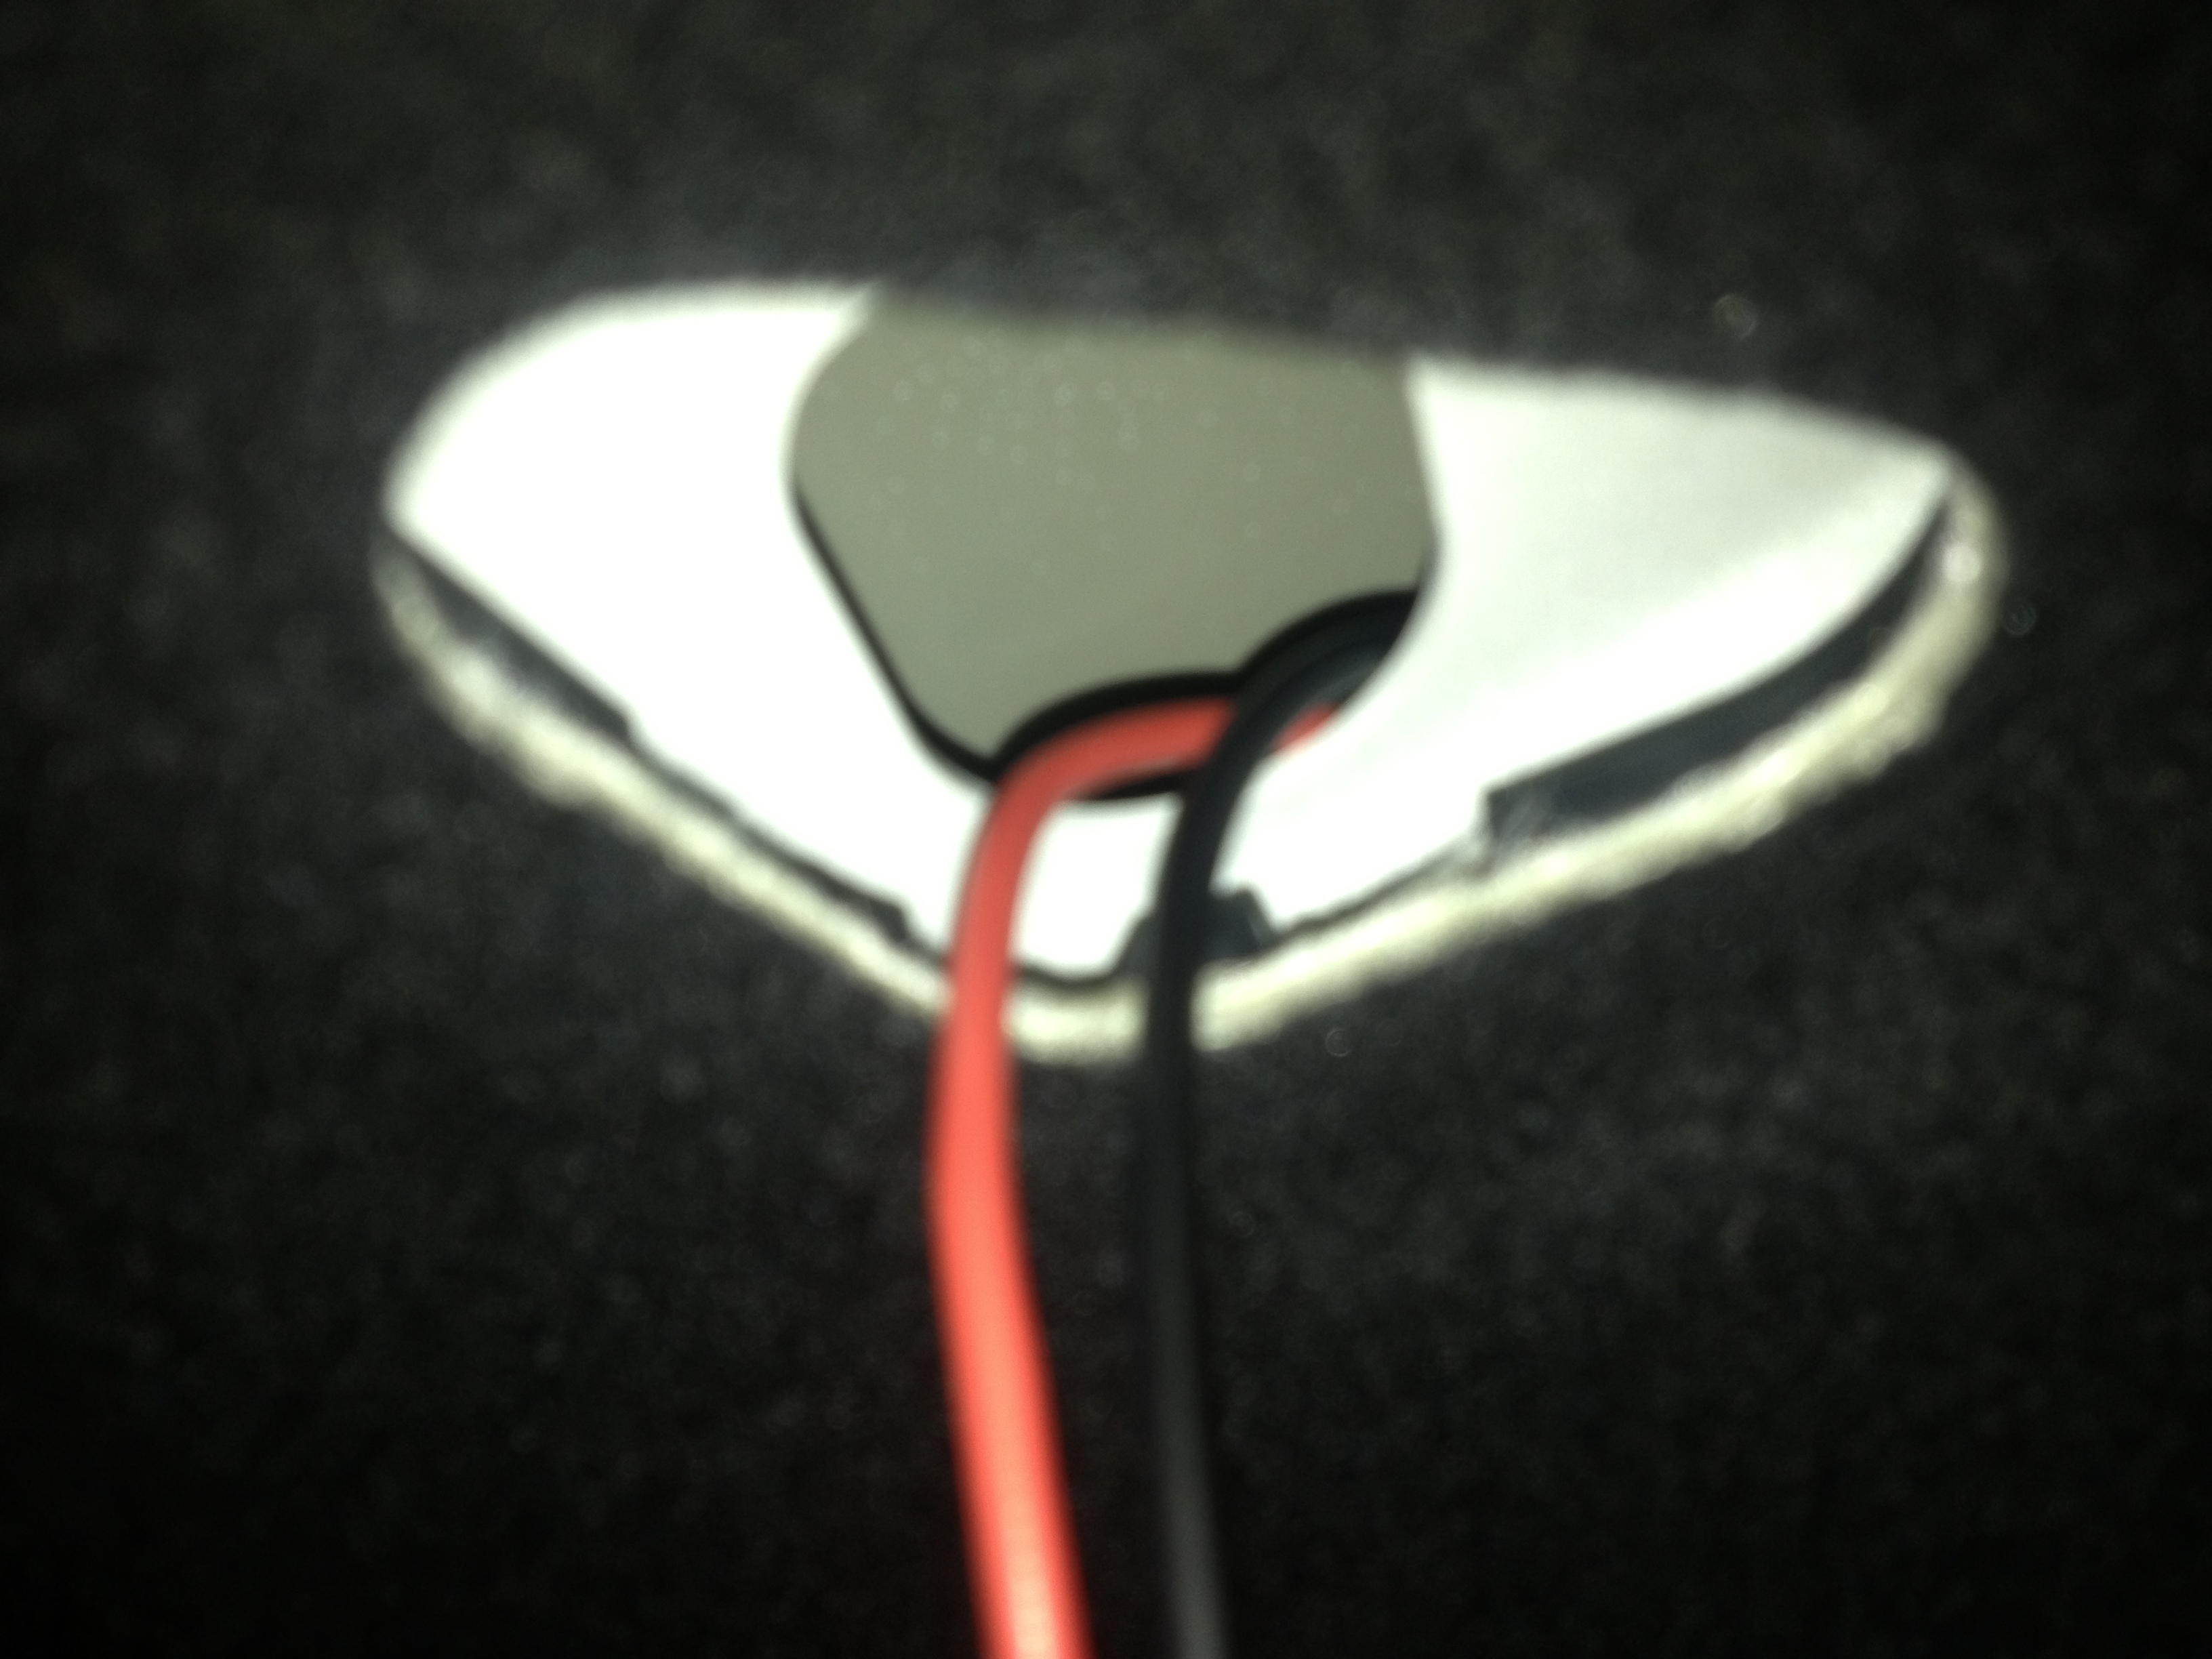 Then run the wires out of the hole adjacent to that one, so that you can connect these to the power supply and the ground. That's an airbag there, so be careful. 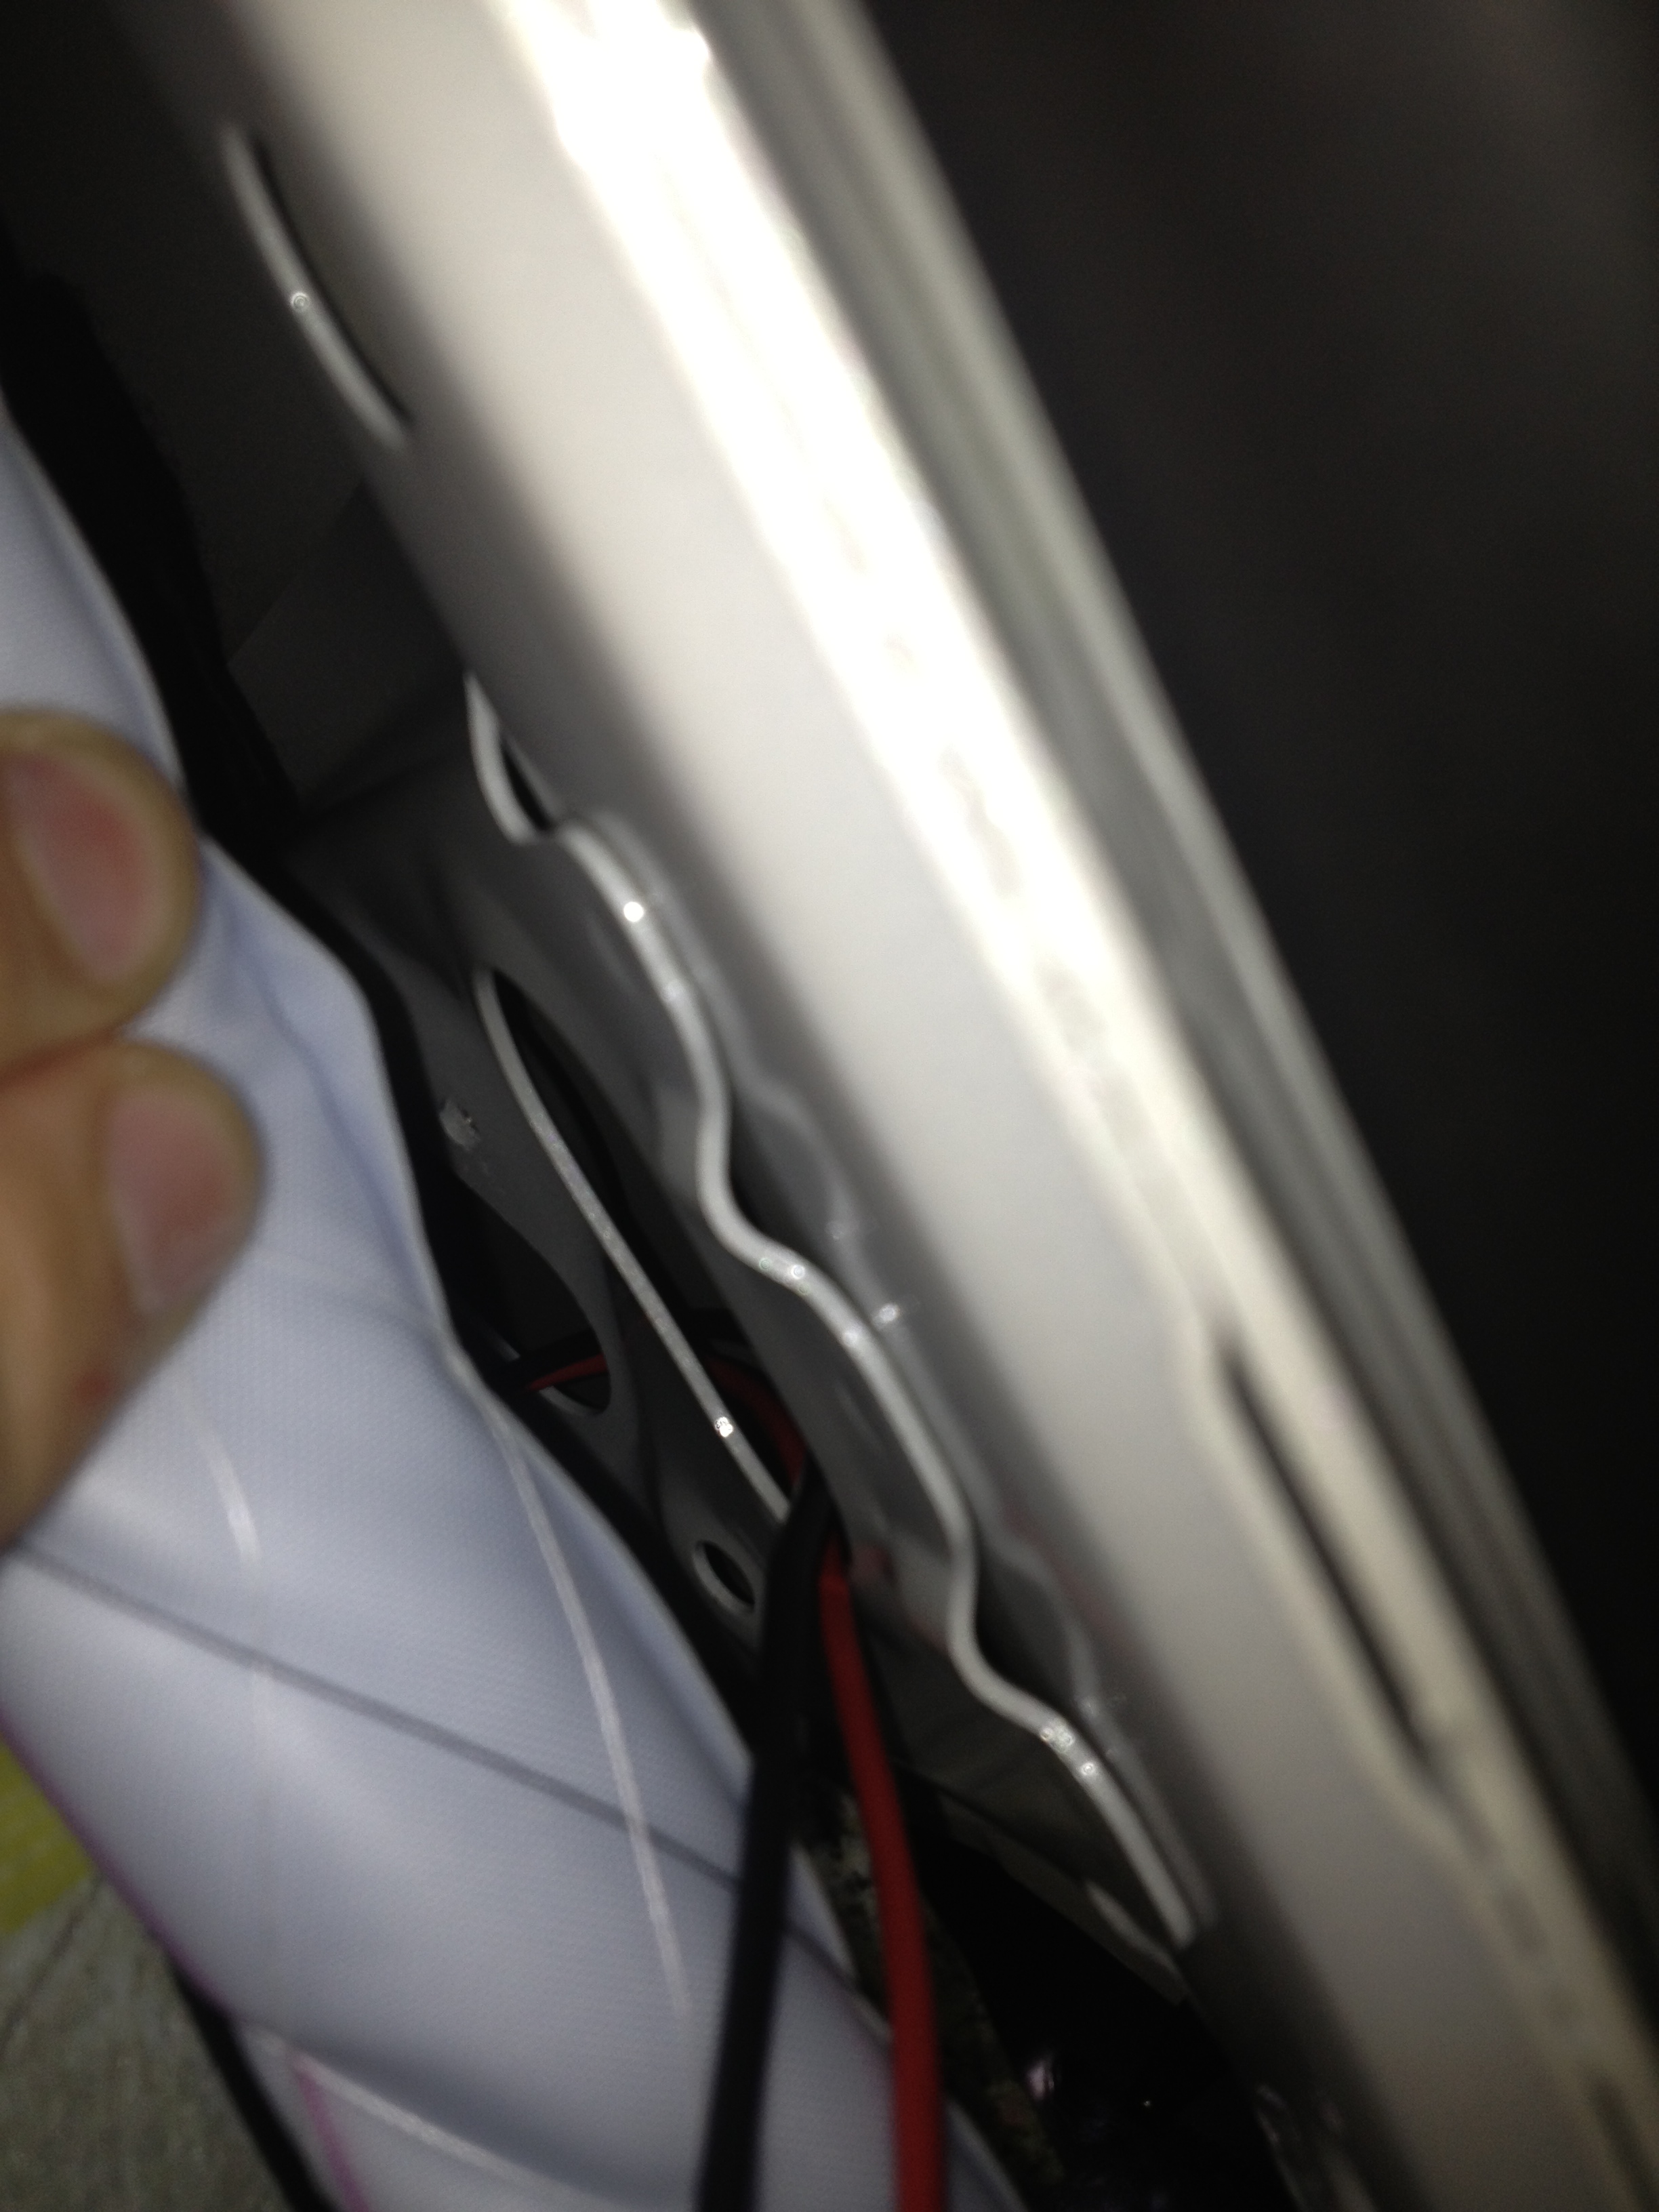 I chose to bring the power in from the light green wire which runs a positive current to the dome light. You can pretty much tap it anywhere, I tapped it at the right side pillar. Carefully remove the pillar cover, and the electrical tape wrapping around the wires here. 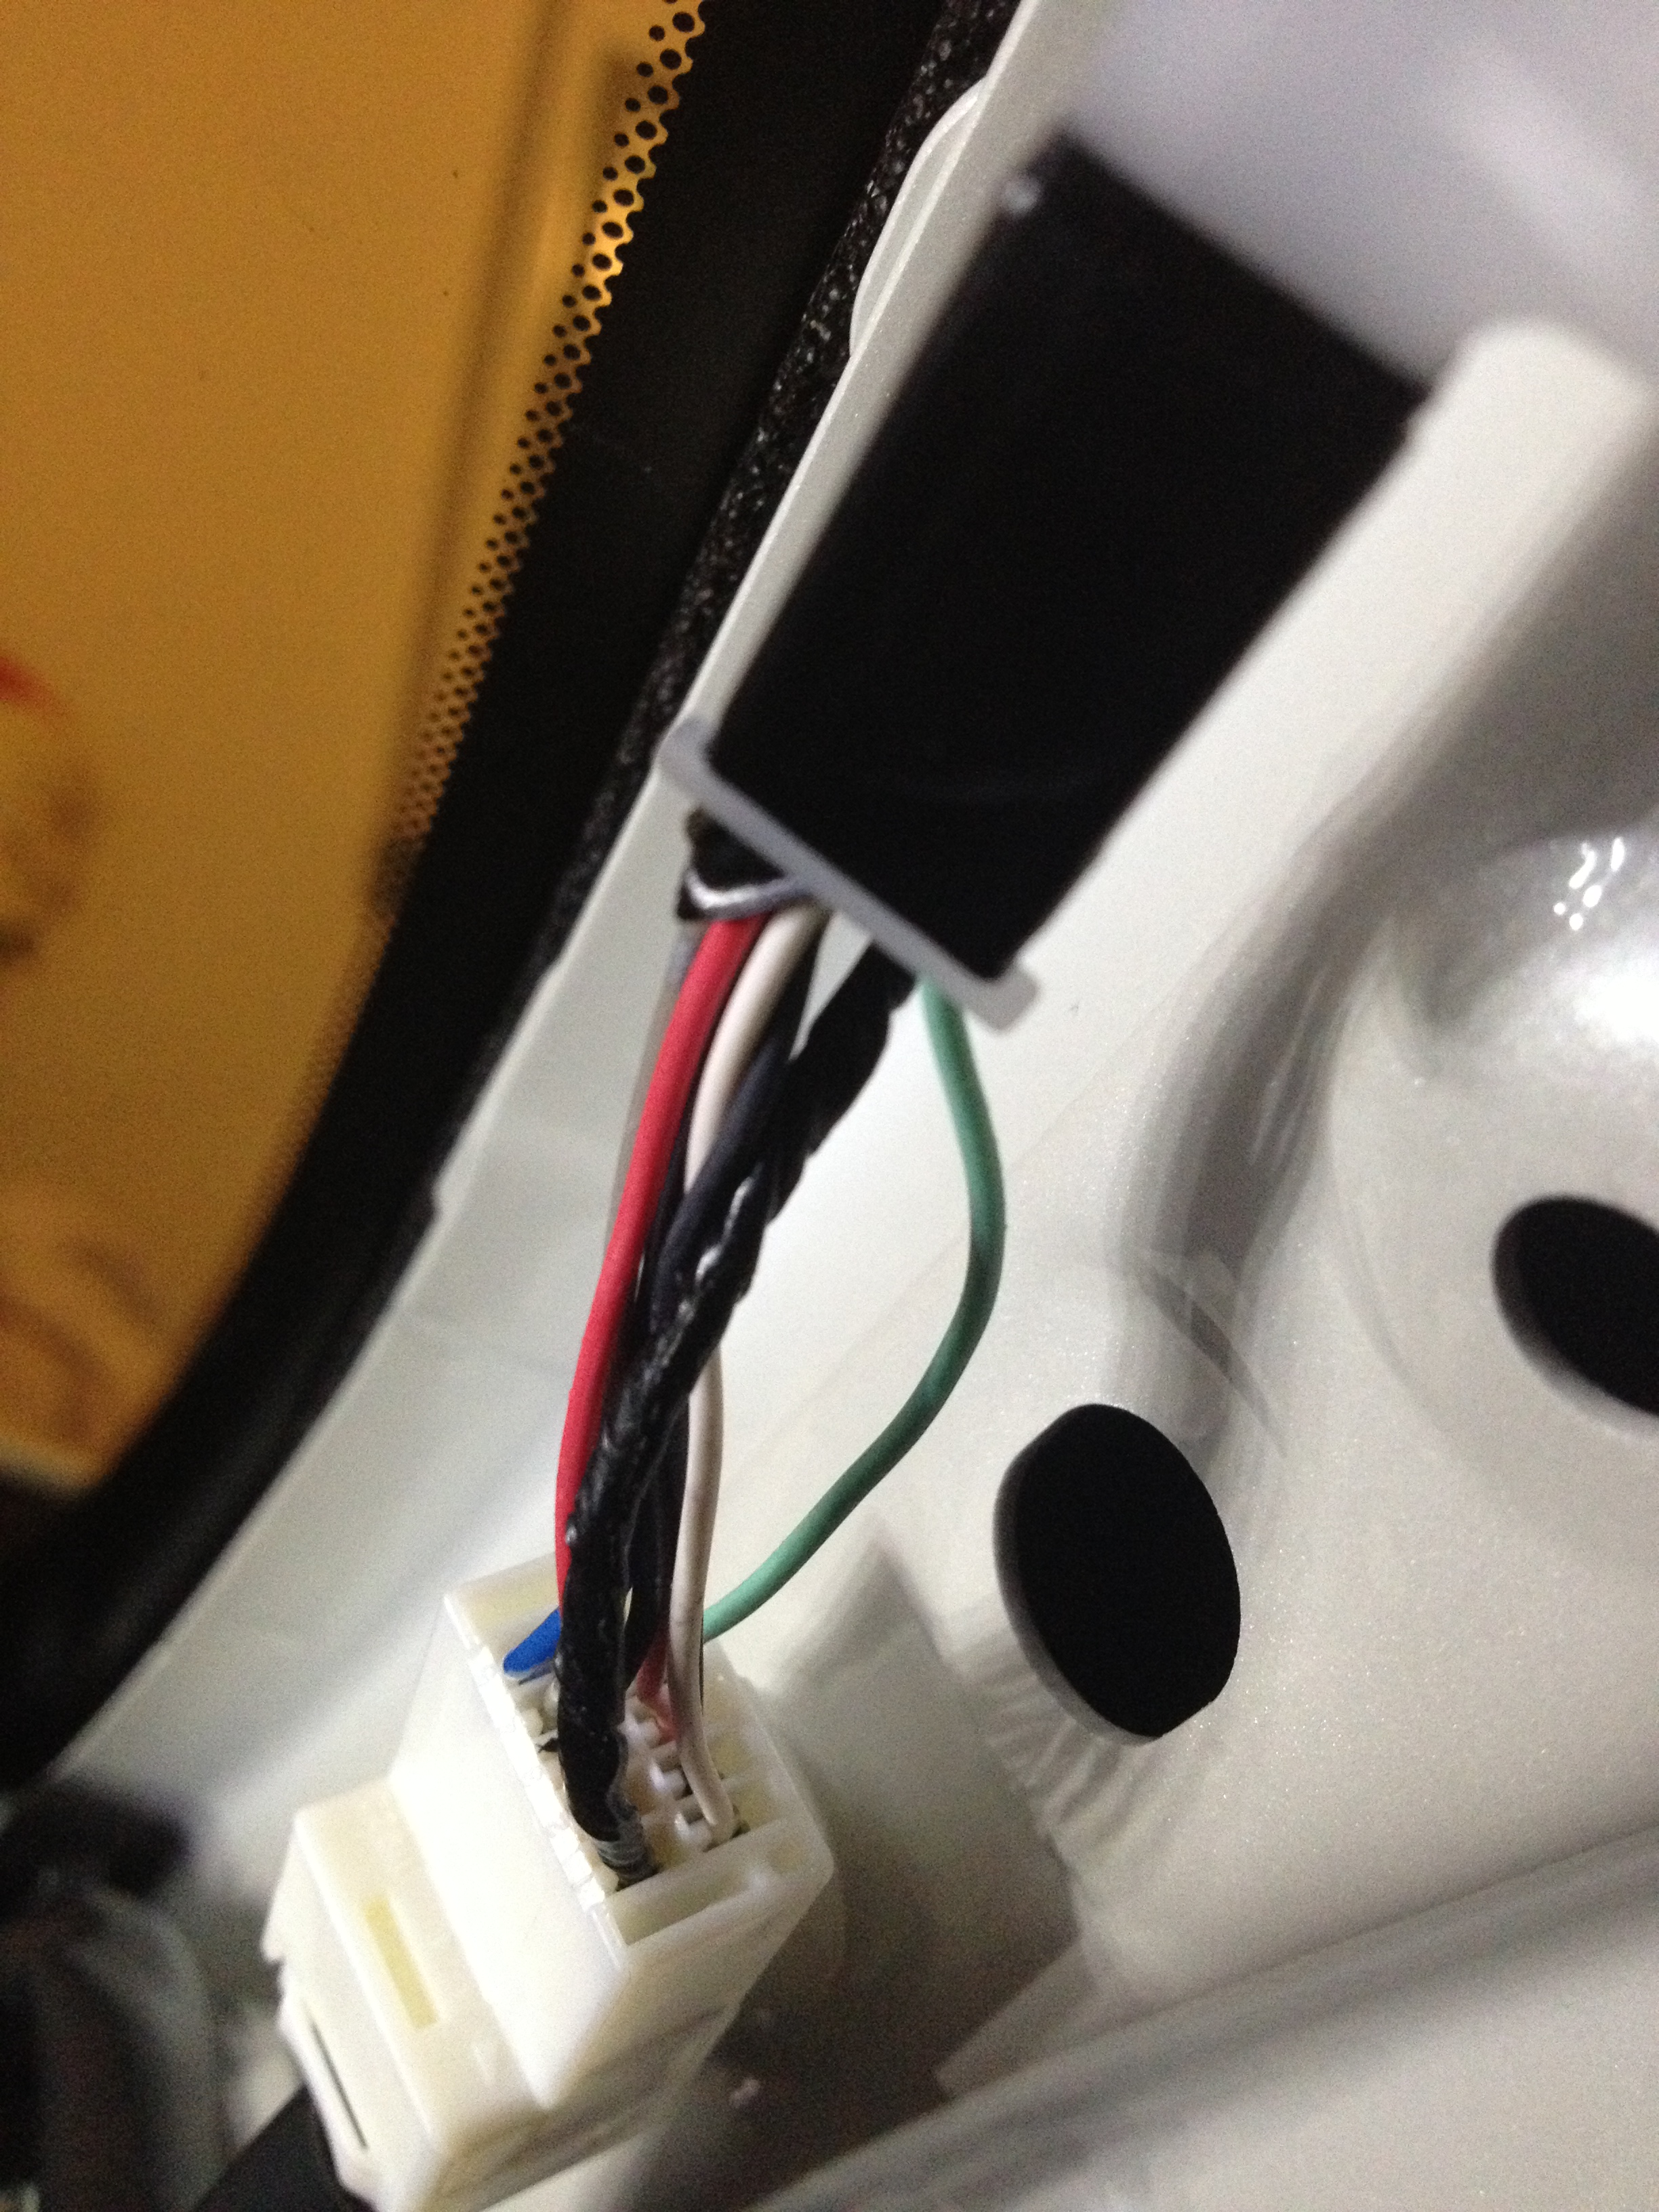 You can pretty much attach the ground to anywhere to any bolt on the chassis, or you can tap the black ground wire which runs to the dome light. Hook it up, hide the wires, put everything back in place, and install the new vanity with the same screws you removed. And there ya go, illuminated vanity mirror. 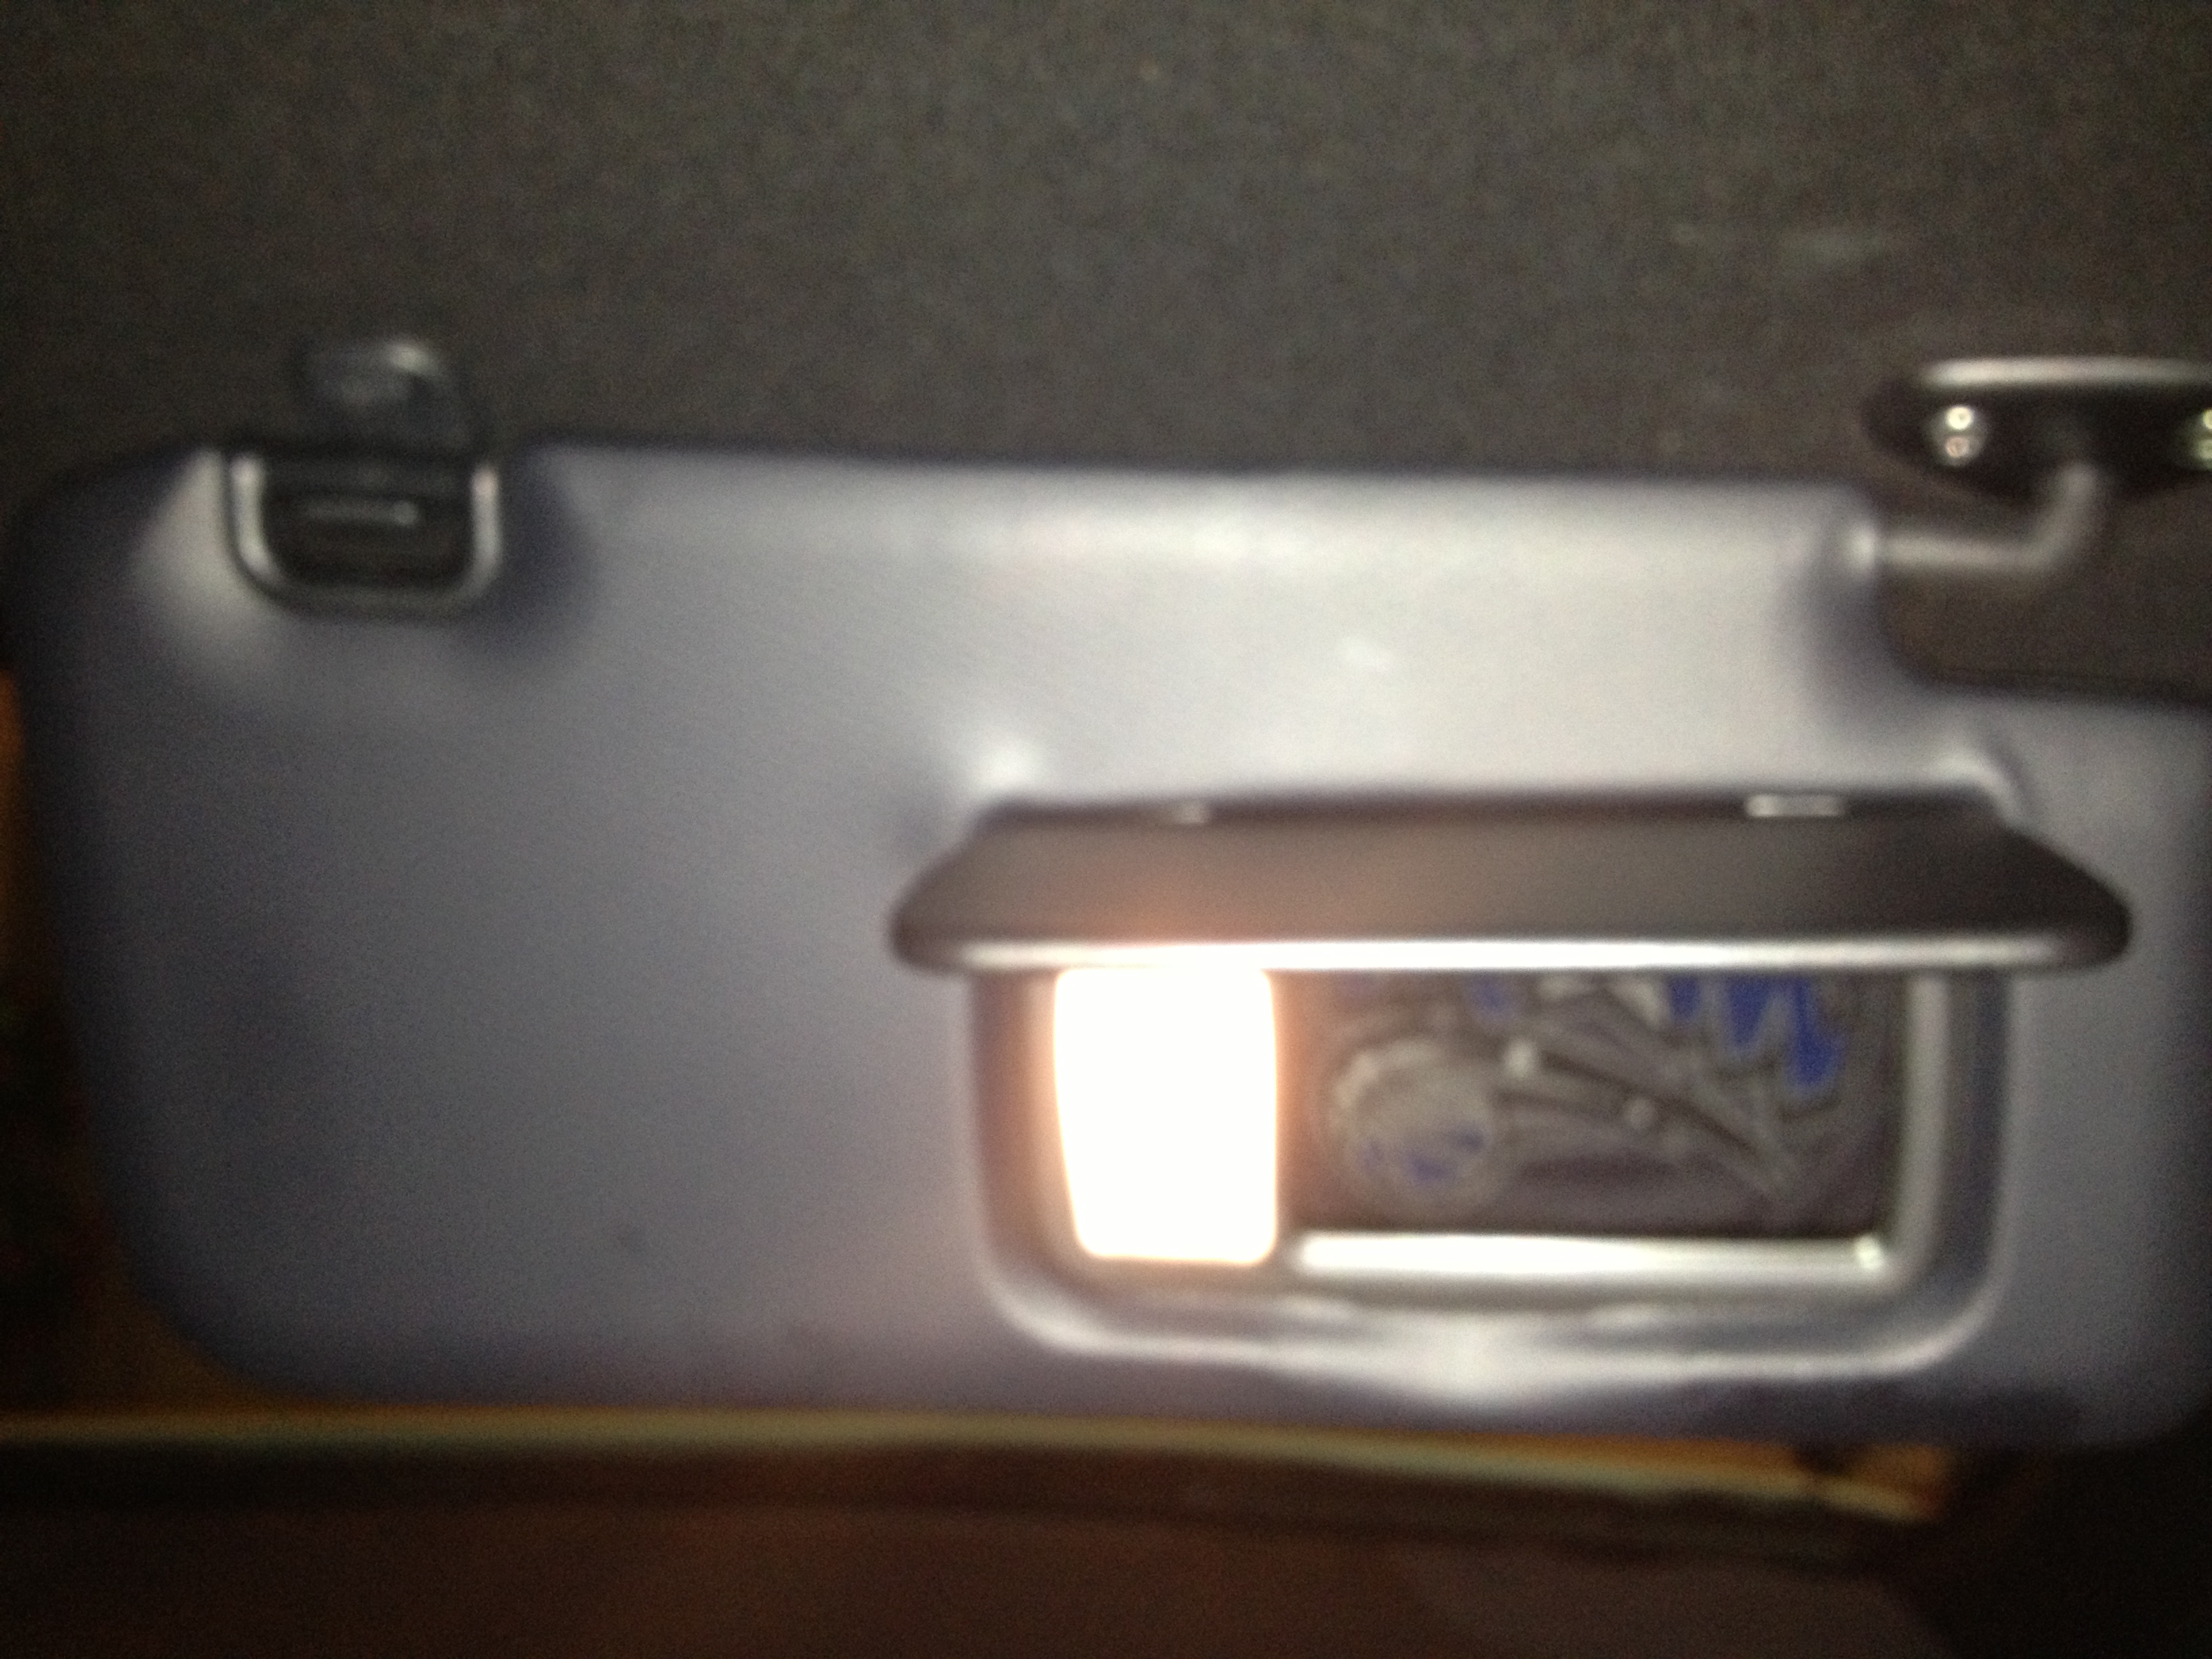 ] ]
Last edited by Chaetagnath; 07-09-2017 at 01:32 PM. |

|

|
| The Following 10 Users Say Thank You to Chaetagnath For This Useful Post: | Chad86 (01-01-2015), finch1750 (04-27-2013), Guff (02-21-2014), Koa (03-20-2015), MaXimus (03-16-2016), MmmDieselFumes (04-22-2013), motrsprt9150 (02-02-2015), Ornelas66 (03-28-2015), texasbound972 (07-17-2014), wbradley (03-26-2015) |
|
07-22-2013, 05:17 PM
|
#2 |
|
Tom's Racing ADDICT
Join Date: Jul 2013
Drives: 2013 Toyota 86, 1999 Toyota Corolla
Location: Westchester, NY
Posts: 490
Thanks: 91
Thanked 93 Times in 59 Posts
Mentioned: 2 Post(s)
Tagged: 1 Thread(s)
|
Didn't think there was a DIY on this yet. I just did mine yesterday. Nicely done!
__________________
Check out my car journal!
"Straights are for fast cars. Corners are for fast drivers." Instagram: @simply_the_best |
|
|
|
|
03-20-2015, 02:15 PM
|
#3 |
|
Member
Join Date: Sep 2014
Drives: 2015
Location: NY
Posts: 68
Thanks: 0
Thanked 29 Times in 20 Posts
Mentioned: 0 Post(s)
Tagged: 0 Thread(s)
|
Thanks for the write up!
|
|
|
|
|
03-26-2015, 12:20 AM
|
#4 |
|
Sarcastic SOB
Join Date: May 2012
Drives: '13 FR-S M6, '23 Volvo V60 CC
Location: Thornhill Ontario
Posts: 4,614
Thanks: 1,344
Thanked 2,844 Times in 1,635 Posts
Mentioned: 32 Post(s)
Tagged: 3 Thread(s)
|
Just did mine tonight. Tapped from the connector into the dome light.
Thanks for the writeup/ inspiration!
__________________
5:AD kit, HKS V1+ S/C, ECUtek dyno'd, Ohlins MP20, Magnaflow cb, Revworks UEL, Topspeed overpipe, Pinnacle Ceramic tint, VG shark fin, HID's, yellow DRL's, full LEDs, red floor lights, Homelink mirror, trunk lid liner, Perrin LWCP, Valenti smoked, Flossy Grip Tape Shorty, GT86 plaque, lighted vanity mirror, Michelin PSS, Project mU +800, DOT4 fluid, 720 Form GTF1 17x8&9, stitched leather bits, EZ valve.
|
|
|
|
|
03-28-2015, 06:34 PM
|
#5 | |
|
DrivinginDreams...Cloud86

Join Date: Sep 2013
Drives: Toyota GT86
Location: British Columbia, Canada
Posts: 1,173
Thanks: 1,481
Thanked 266 Times in 178 Posts
Mentioned: 14 Post(s)
Tagged: 0 Thread(s)
|
Can the power not be tapped directly at the dome light as shown by @zahrtman2006
If this is not possible, do you end up hooking both lighted mirrors to the power on the right a pillar or from both sides of the car for each mirror? http://www.ft86club.com/forums/showthread.php?t=22915 Quote:
|
|
|
|
|
|
03-29-2015, 12:25 AM
|
#6 | |
|
Senior Member
Join Date: Nov 2012
Drives: Whiteout FRS
Location: Florida
Posts: 325
Thanks: 150
Thanked 272 Times in 120 Posts
Mentioned: 8 Post(s)
Tagged: 1 Thread(s)
|
Quote:
You can tap the green wire anywhere, right at the dome light, at the pillar, doesn't matter. I only wired the right side, so right pillar was easiest. However, if you are looking to do both sides, probably tapping at the dome light and splitting it to both mirrors is the way to go. |
|
|
|
|
| The Following User Says Thank You to Chaetagnath For This Useful Post: | Chad86 (03-29-2015) |
|
|
|
|
|
|
|
 Similar Threads
|
||||
| Thread | Thread Starter | Forum | Replies | Last Post |
| DIY: FR-S/BRZ Illuminated Door Speakers | Vanga | DIY (Do-It-Yourself) Guides | 20 | 05-29-2021 03:33 AM |
| are all control buttons illuminated? | ron wright | BRZ First-Gen (2012+) -- General Topics | 14 | 10-27-2015 08:44 PM |
| illuminated vanity mirrors? | damaster32 | Cosmetic Modification (Interior/Exterior/Lighting) | 6 | 11-17-2012 05:07 AM |
| Are all dashboard controls illuminated? | ron wright | Issues | Warranty | Recalls / TSB | 2 | 10-17-2012 04:38 PM |
| Vanity plates for your BRZ | WRXGuy1 | BRZ First-Gen (2012+) -- General Topics | 8 | 05-18-2012 11:56 PM |


 2013 Scion FR-S

