


 12-13-2018, 05:54 PM
|
#1 |
|
Senior Member

Join Date: Nov 2012
Drives: 2015 BRZ Limited
Location: Bay Area, CA
Posts: 487
Thanks: 613
Thanked 269 Times in 181 Posts
Mentioned: 13 Post(s)
Tagged: 0 Thread(s)
|
STI Fender Garnish Swap
STI Fender Garnish Swap
I've always wanted the STI fender garnish, but was upset it didn't come in the K1X color. I really don't like the new tS version that came out, so I looked into other options. After doing some research on this forum, it turns out that you can totally disassemble the fender garnishes! A member on here did the same with with WRB vents and it came out great, so I figured I would do the same. There was no write-up available, so I took lots of pics during the progress to create one for anyone else who wants to do this mod. I couldn't justify spending 300+ on a part I would need to modify, so I waited until someone had a used set for sale. Tools needed: Heat gun Fishing Line Screwdriver Drill + Drill Bits 3M Tape Here's the STI Garnish. The color code is the Satin White, and not the Crystal White that I have. Too bad! These were in much better shape than my mine are. 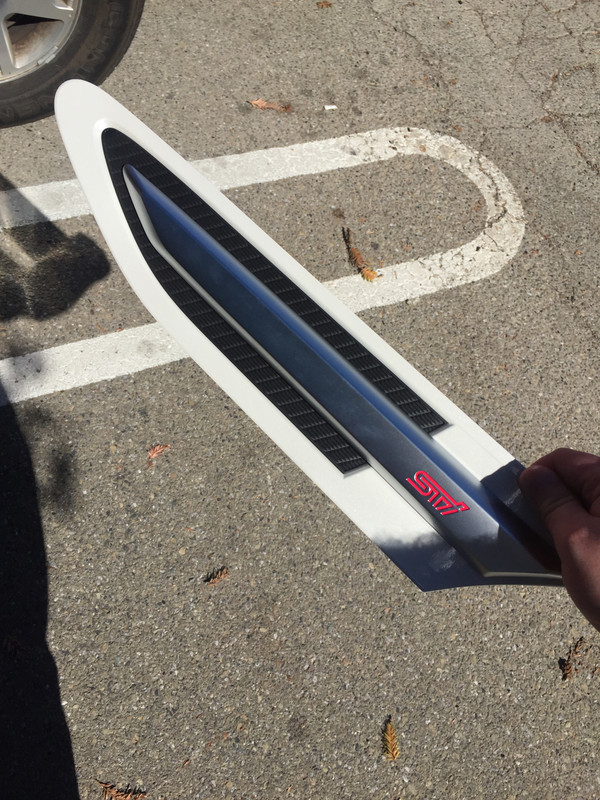 First step is to remove your stock garnish. They are attached with 3M tape right near the door, and then clips for the rest. I did not document this step, as I just followed a youtube video. Use the fishing line to brake the tape, then full off the panel. Be careful not to lose or damage the clips! [ame="https://www.youtube.com/watch?v=yMkT1a_qY34"]youtube[/ame] Side by side comparisons: 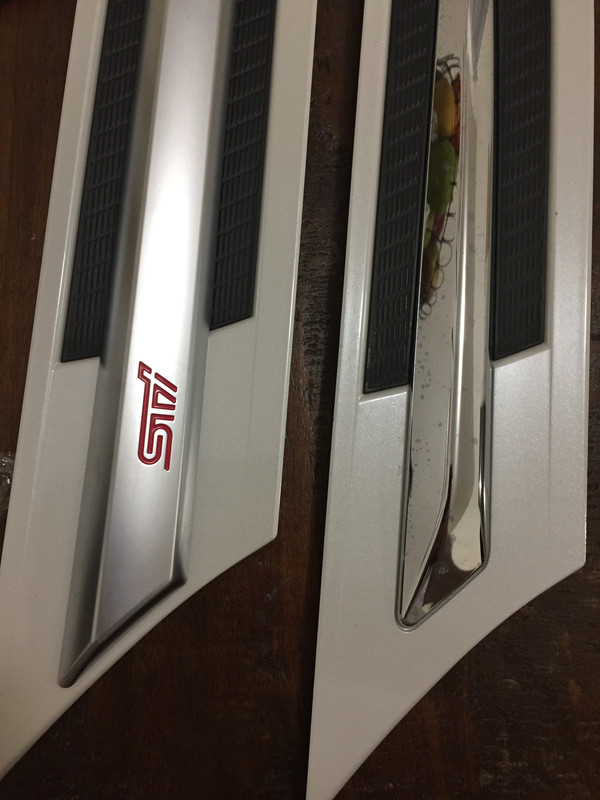 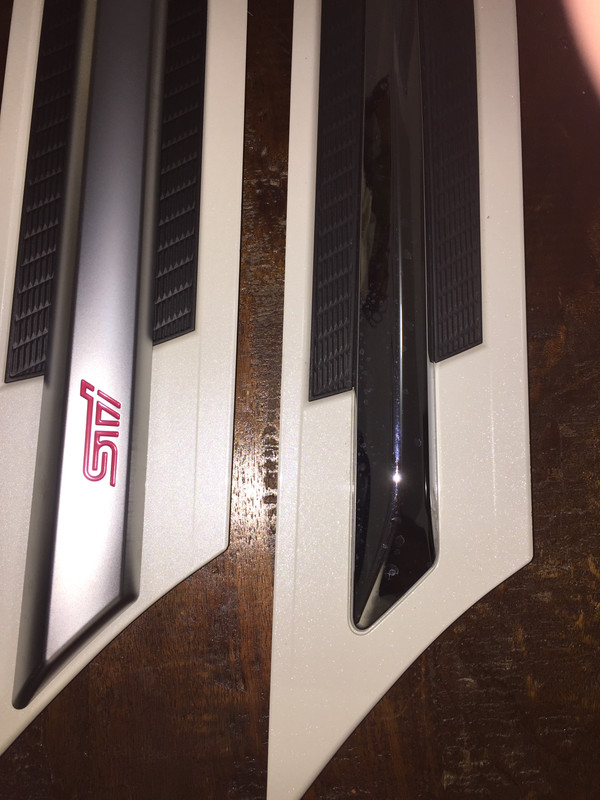 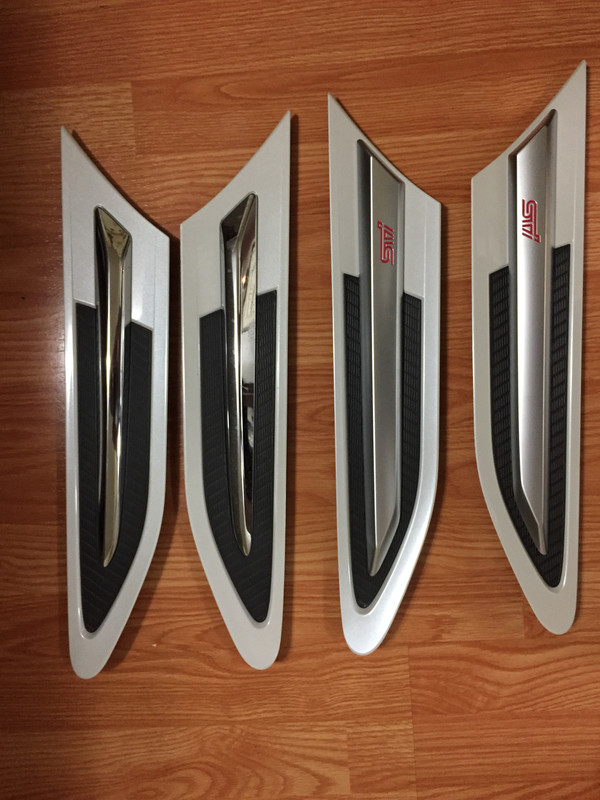 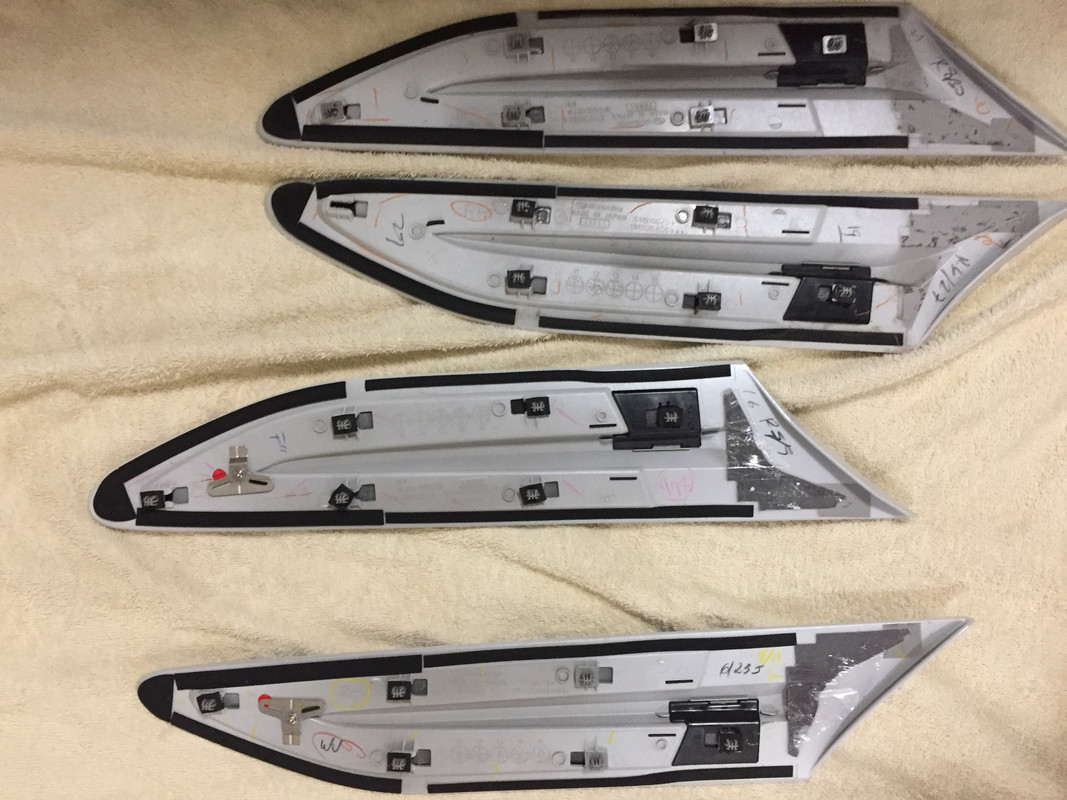  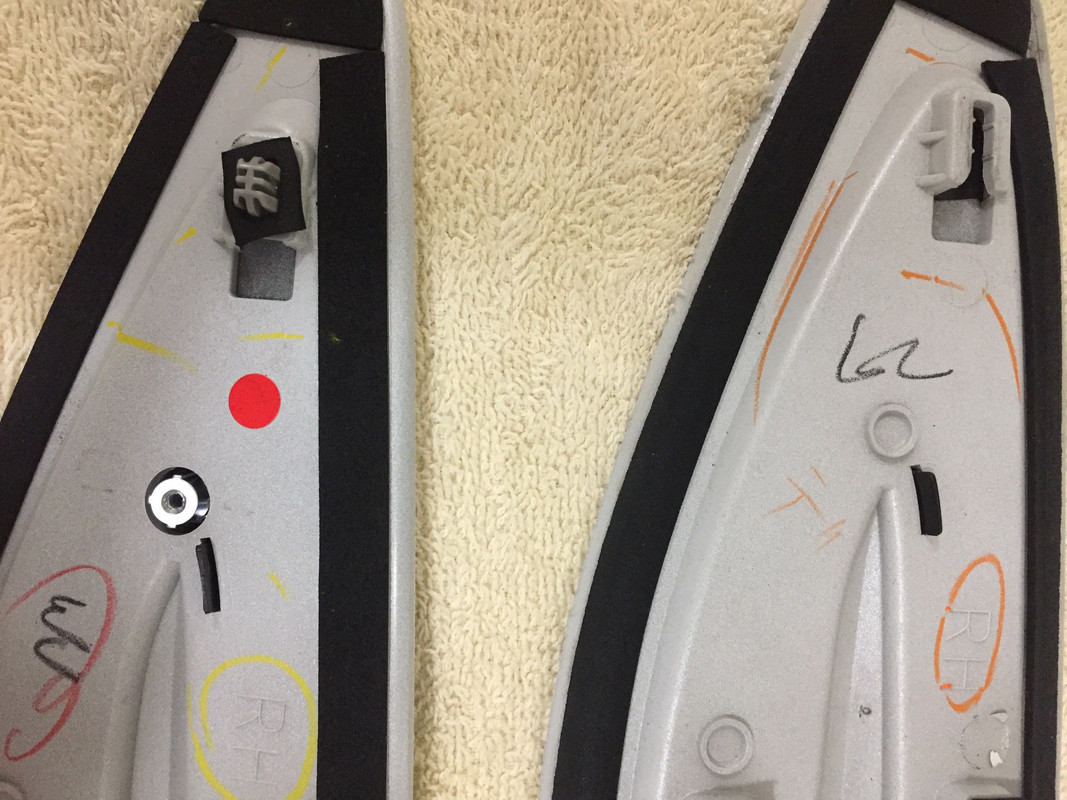 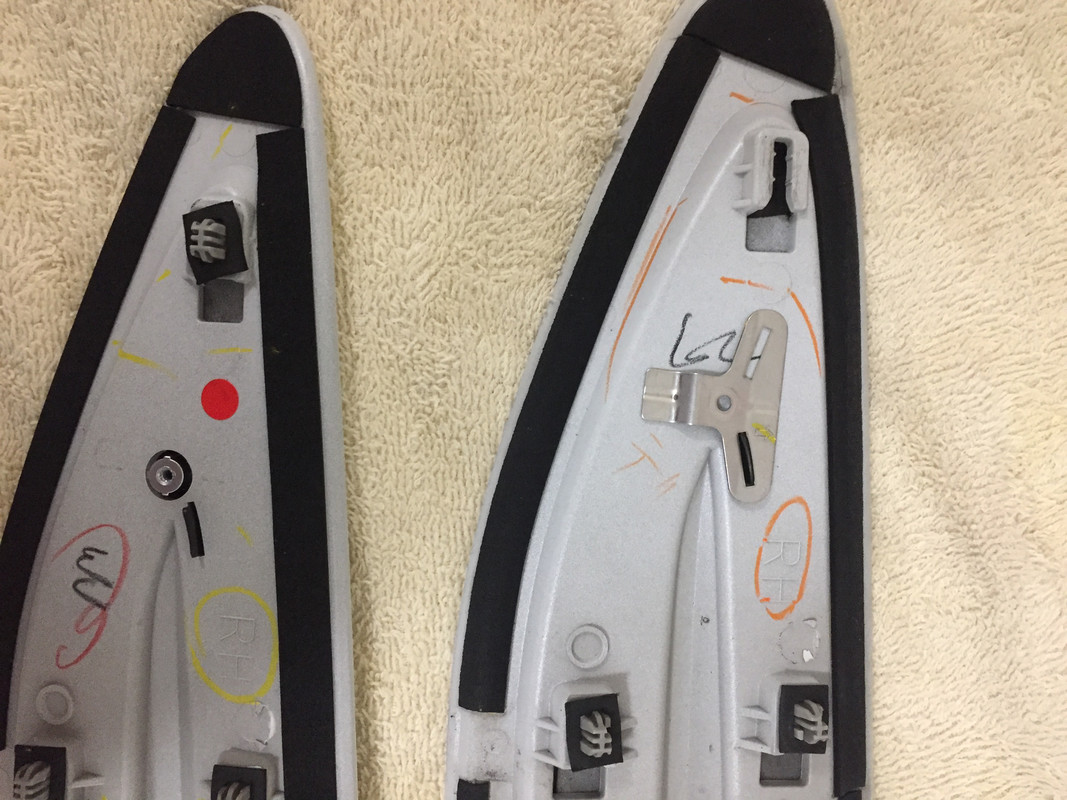 As you can see they are identical! even the part numbers are the same. The STI garnish is attached with a screw near the front, and 3M tape. The Chrome on the stock garnish is attached with just 3M tape. Now to disassemble. On the STI Garnish, remove the screw. Use a heat gun on the back side of the garnish in the weird valley thing. Heat it up nice and good and then use the fishing line to help separate the silver STI piece from the garnish. You will need to do this on all 4 garnishes. Go slow and take your time, that tape is on there good! 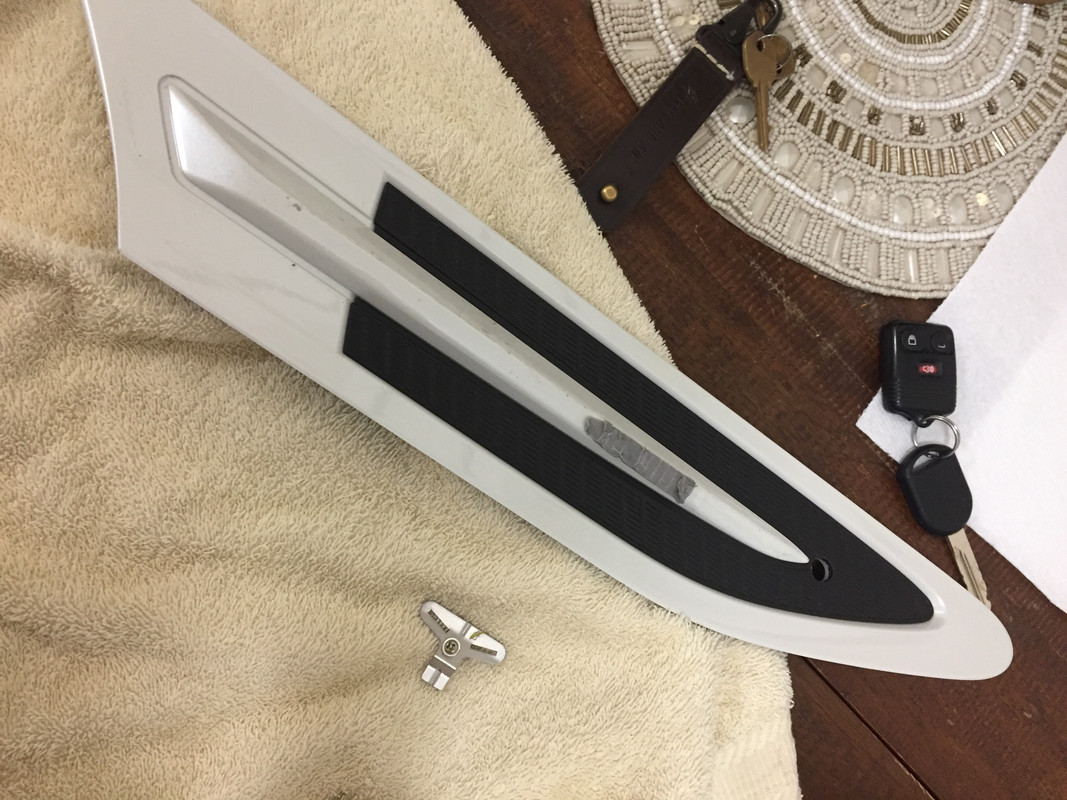 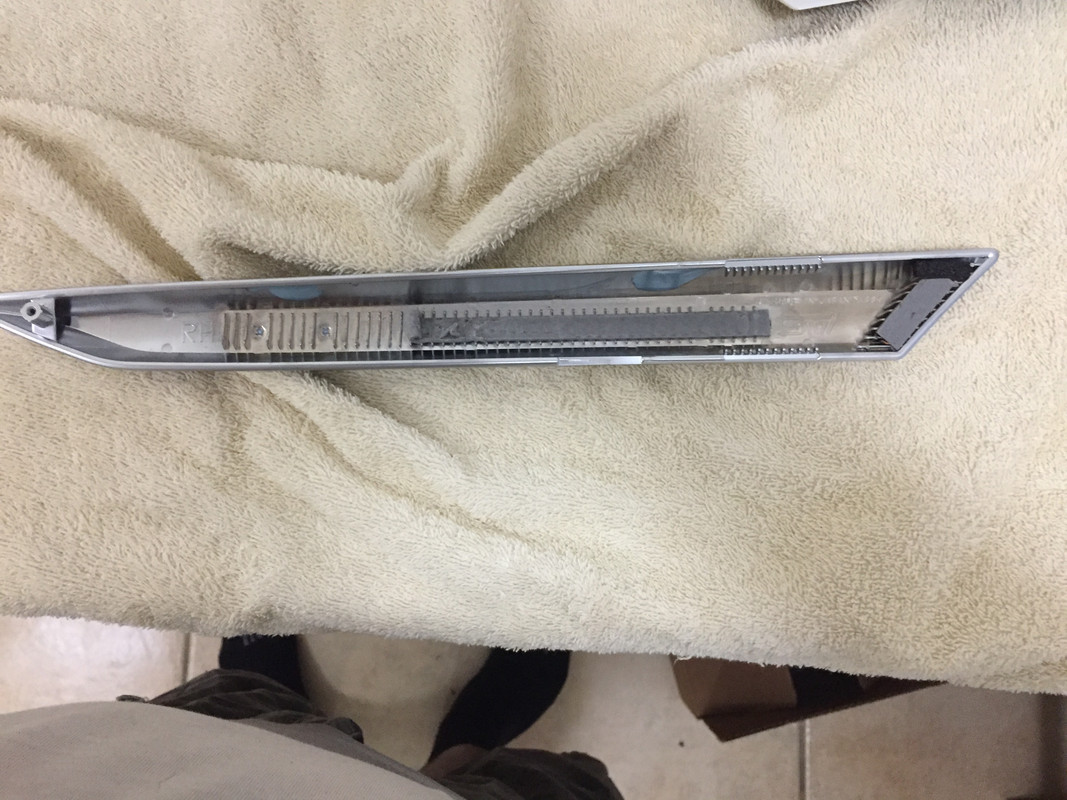 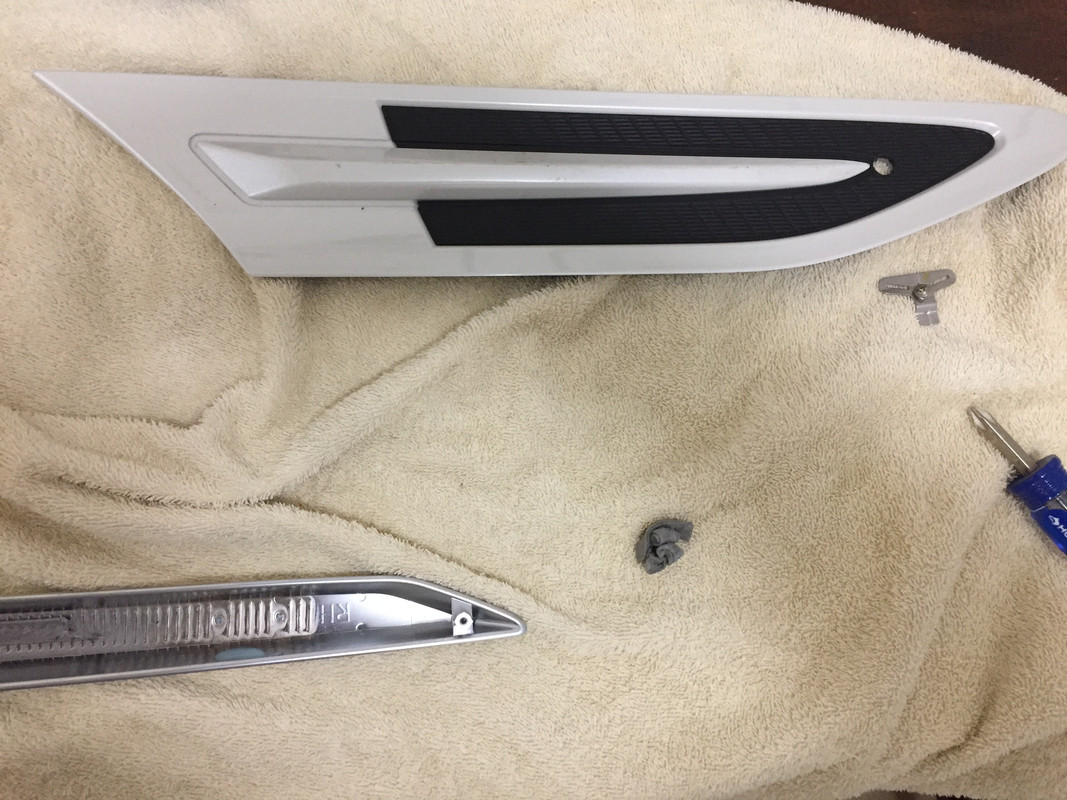  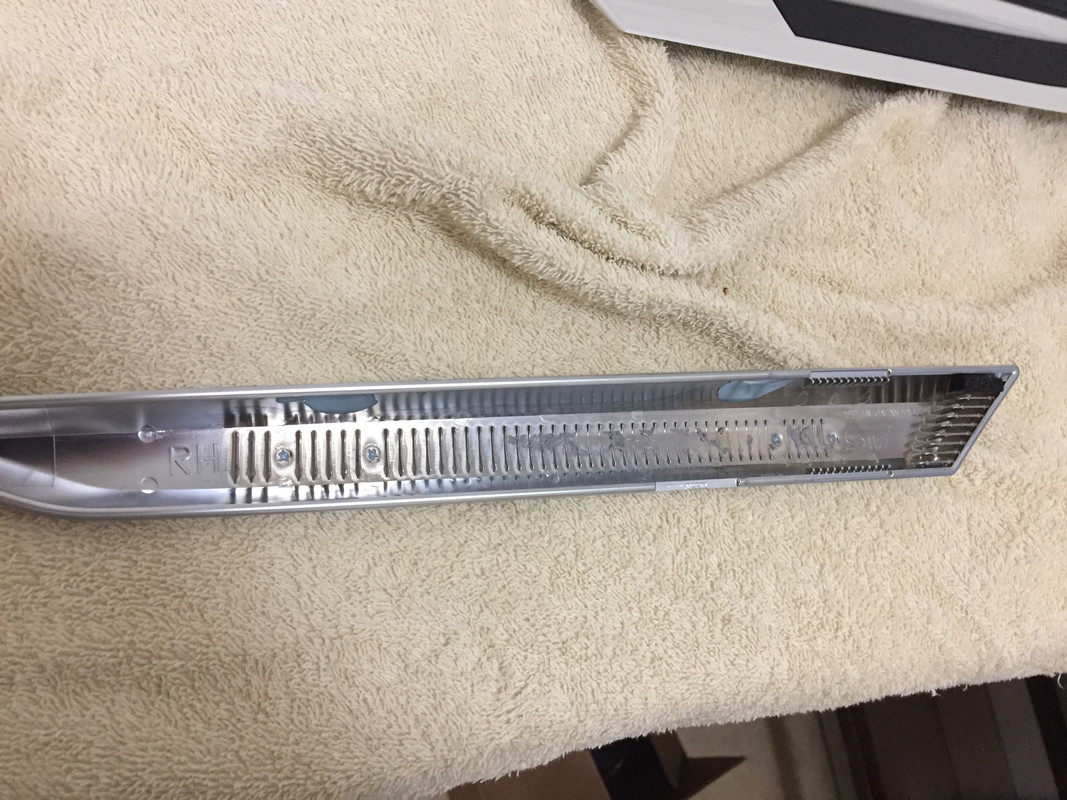 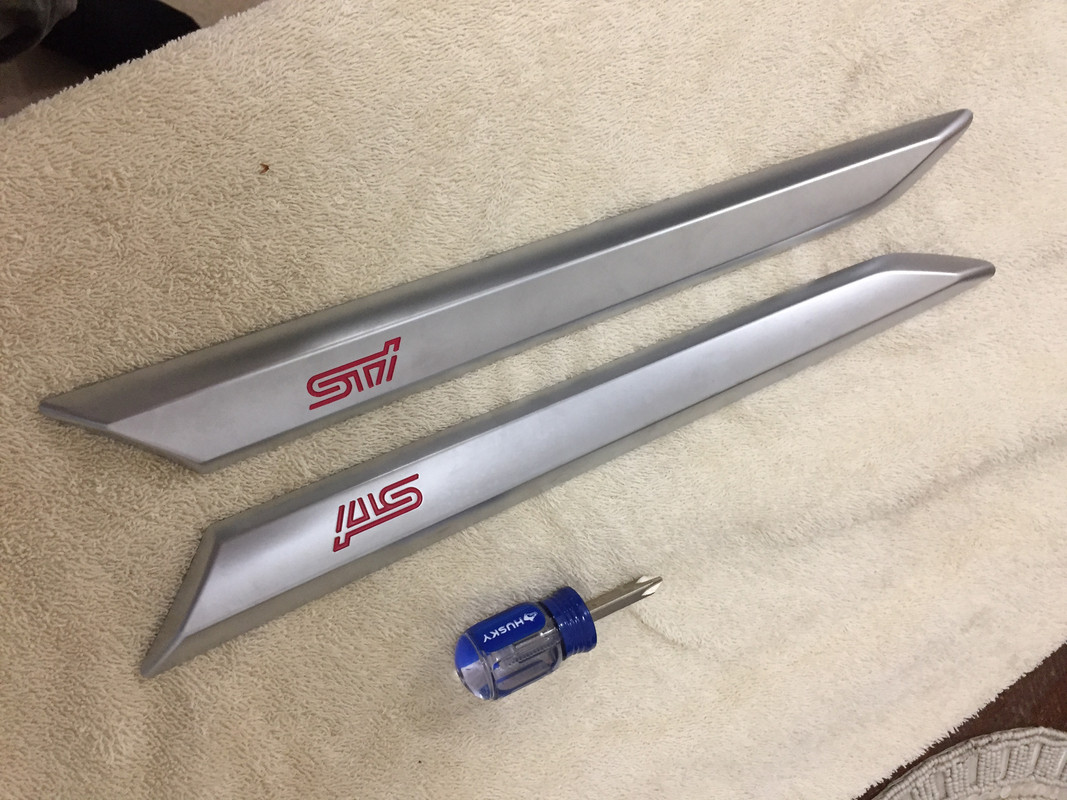 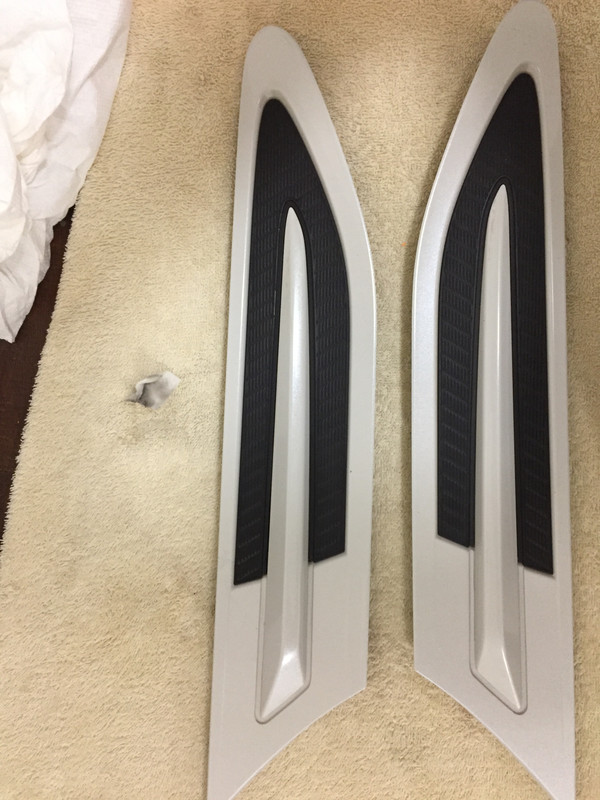 Use alcohol or goo gone or whatever else you need to clean off the residue from the garnishes. You will need to apply 3M tape to these surfaces so make sure they are nice and clean! You will also need to drill a hole in your original garnishes, but luckily it's already marked from the factory! and the weird Y shaped washer does a great job of centering your drill bit. I didn't bother to record the size of the hole. I have a drill bit set so just found whatever bit fit the STI garnish hole, and then started with a smaller one to pilot it. It's really easy since the hole is "marked". Reapply the 3M tape to the backside of the STI garnish in the same place. I had to cut my 3M tape into strips to match how it was from the factory. 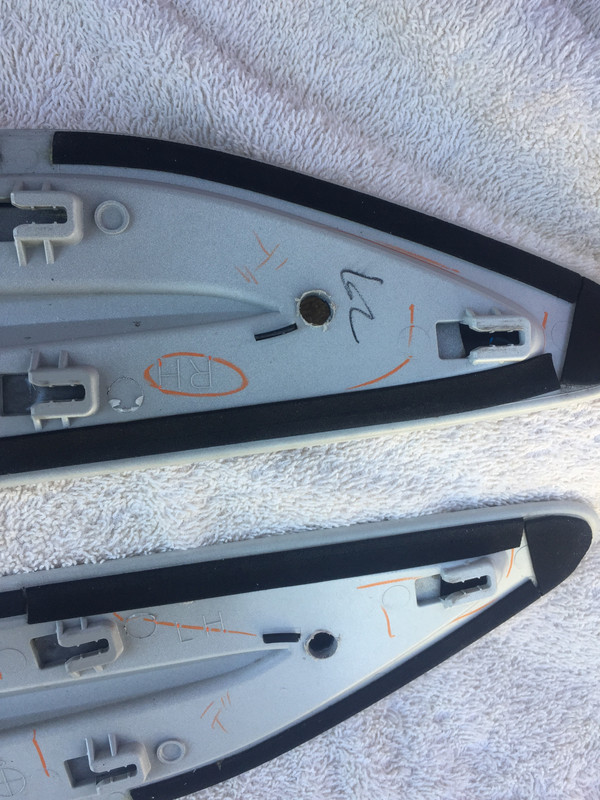 Use the newly drilled hole as a guide when laying the STI Garnish down. Make sure you put it on straight! Put ample pressure on the garnish for a few minutes, then reattach the screw. 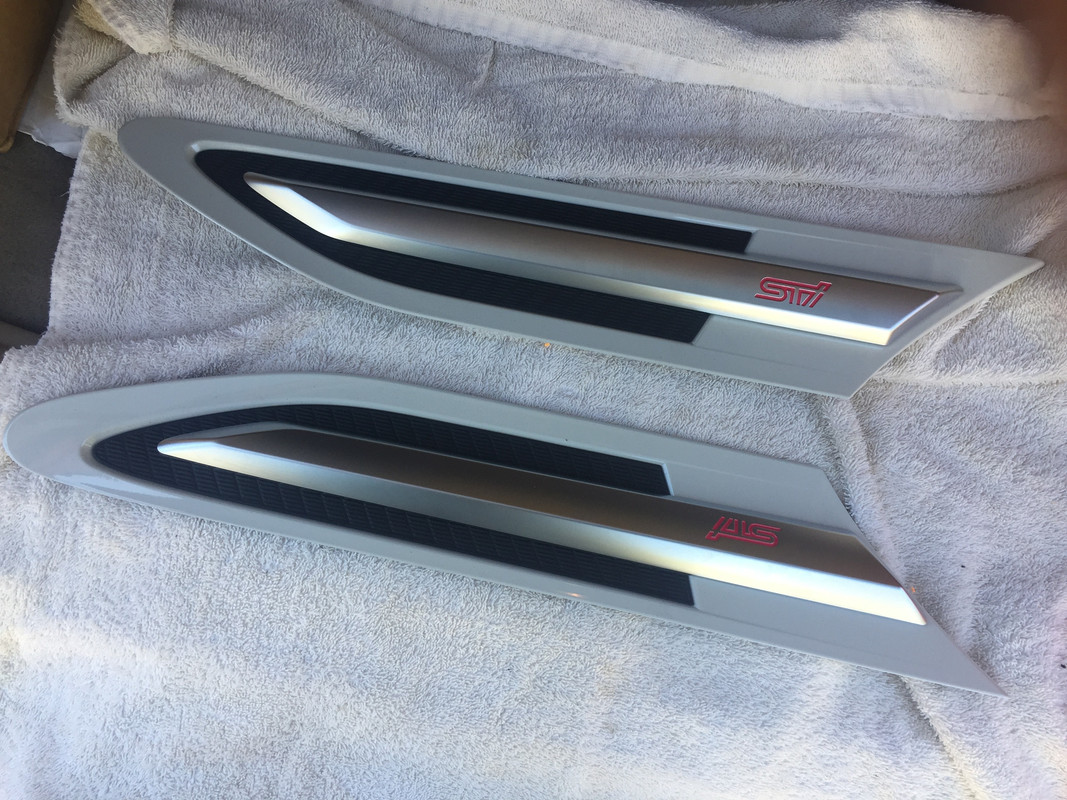 And there you have it! You're newly built color matched STI garnishes. Make sure to re-attach these to your car afterwards! Cut up some more 3M tape to match the weird triangle piece that the factory used. If you wanted to be extra, you can buy these 3M pieces from the dealer, but the price was like 9 bucks each. Not worth it!
__________________
|

|

|
| The Following 3 Users Say Thank You to JeremyR For This Useful Post: |
|
12-15-2018, 12:34 AM
|
#2 |
|
Member
Join Date: May 2015
Drives: it's grey
Location: Cave Creek, AZ
Posts: 99
Thanks: 15
Thanked 39 Times in 23 Posts
Mentioned: 0 Post(s)
Tagged: 0 Thread(s)
|
I was looking to do these on my dgm car and didn’t want to deal with paint. Thank you!
__________________
hot dogs are sentient beings
|
|
|
|
| The Following User Says Thank You to .Kyle For This Useful Post: | JeremyR (12-18-2018) |
|
05-06-2021, 11:21 AM
|
#3 |
|
Senior Member

Join Date: Jun 2013
Drives: Vortech Supercharged FR-S
Location: Central Jersey
Posts: 1,515
Thanks: 597
Thanked 933 Times in 428 Posts
Mentioned: 17 Post(s)
Tagged: 1 Thread(s)
|
It's a business opportunity!
I believe it would cost less than $20 each if we order over 500 silver STI pieces from a manufacturer. .
__________________
I'd rather lose by a mile because I built my own car,
than win by an inch because someone else built it for me. Your car is your story, so don't let someone else write the book. ( White Tiger ) - FiGo's 車誌.  |
|
|
|
|
05-06-2021, 11:21 AM
|
#4 |
|
Senior Member
Join Date: Jun 2013
Drives: Vortech Supercharged FR-S
Location: Central Jersey
Posts: 1,515
Thanks: 597
Thanked 933 Times in 428 Posts
Mentioned: 17 Post(s)
Tagged: 1 Thread(s)
|
It's a business opportunity!
I believe it would cost less than $20 each if we order over 500 silver STI pieces from a manufacturer. .
__________________
I'd rather lose by a mile because I built my own car,
than win by an inch because someone else built it for me. Your car is your story, so don't let someone else write the book. ( White Tiger ) - FiGo's 車誌. |
|
|
|
|
|
|
|
 |
|
|
 Similar Threads
|
||||
| Thread | Thread Starter | Forum | Replies | Last Post |
| TRD Style Fender Garnish Aero Fins and Fender Blades | Taco Man in HD | Exterior Parts (Aero, Lighting, Etc.) | 2 | 10-14-2018 06:25 PM |
| WTB: Carbon Fibre Fender Garnish, Trunk Garnish, APR Mirrors ASAP | Nick15Green | Canada Classifieds | 0 | 07-11-2018 07:32 PM |
| Fender Garnish | 147kW | Cosmetic Modification (Interior/Exterior/Lighting) | 1 | 04-06-2015 09:17 AM |
| WTT my 86 fender garnish for brz garnish (red) | VacantSky | Exterior Parts (Aero, Lighting, Etc.) | 0 | 02-08-2014 04:04 PM |


