Hello Again everyone!
I needed to replace the Side curtain Airbags and did a quick search here for a Headliner removal guide.
I found a typed one asking for pics so i decided to make one. (I used this guide to begin with, its a good guide, thank you!!)
http://www.ft86club.com/forums/showt...ight=headliner
Tools:
Screw drivers - Both Flat head and Phillips.
I would grab a med size Phillips and a Med-small flat head.
To start i removed both Seats headrests to give myself extra room.
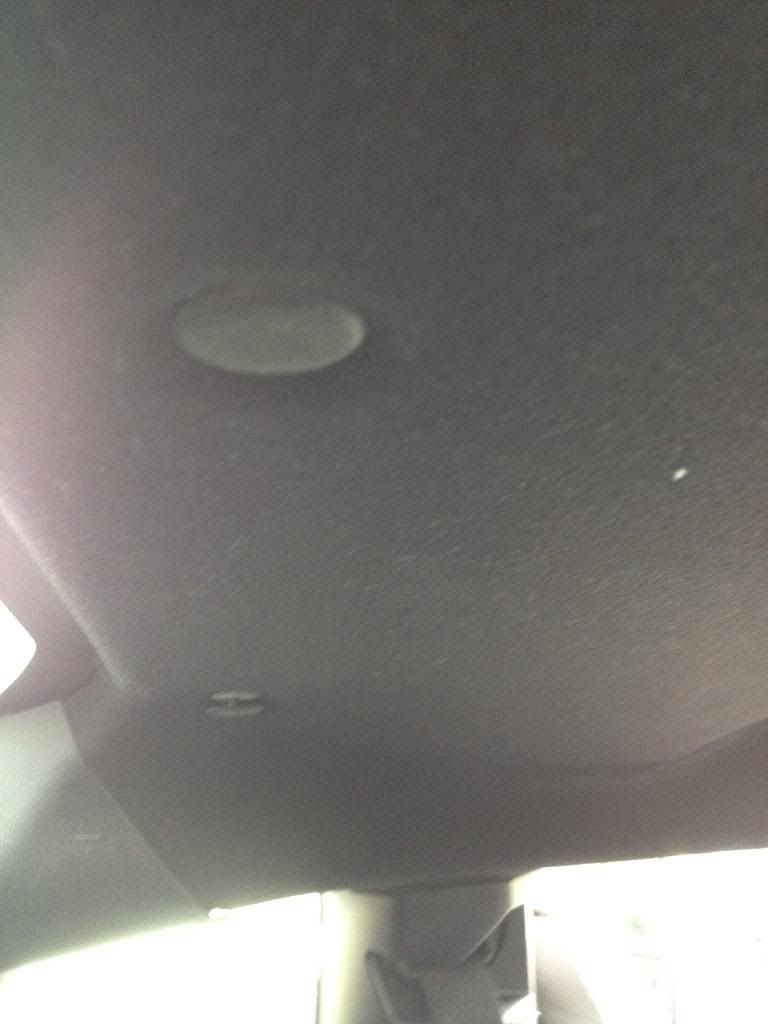
Remove Both Sun visors by removing the 2 Phillips screws each (if you have power to them, there will be a plug as well)

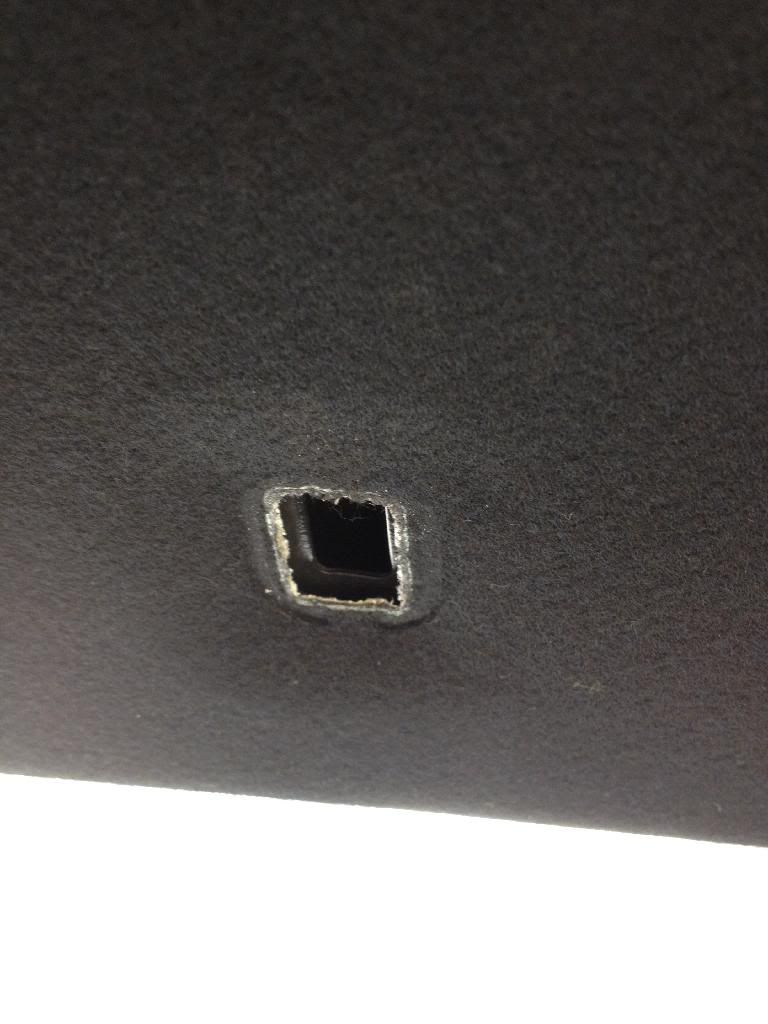
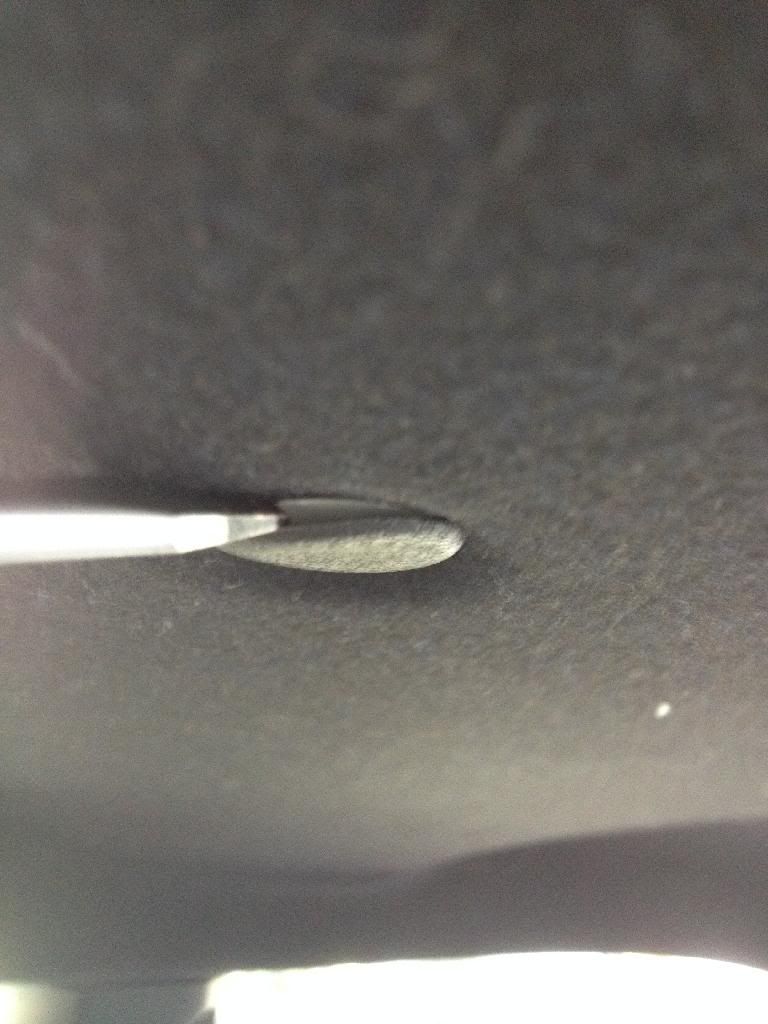
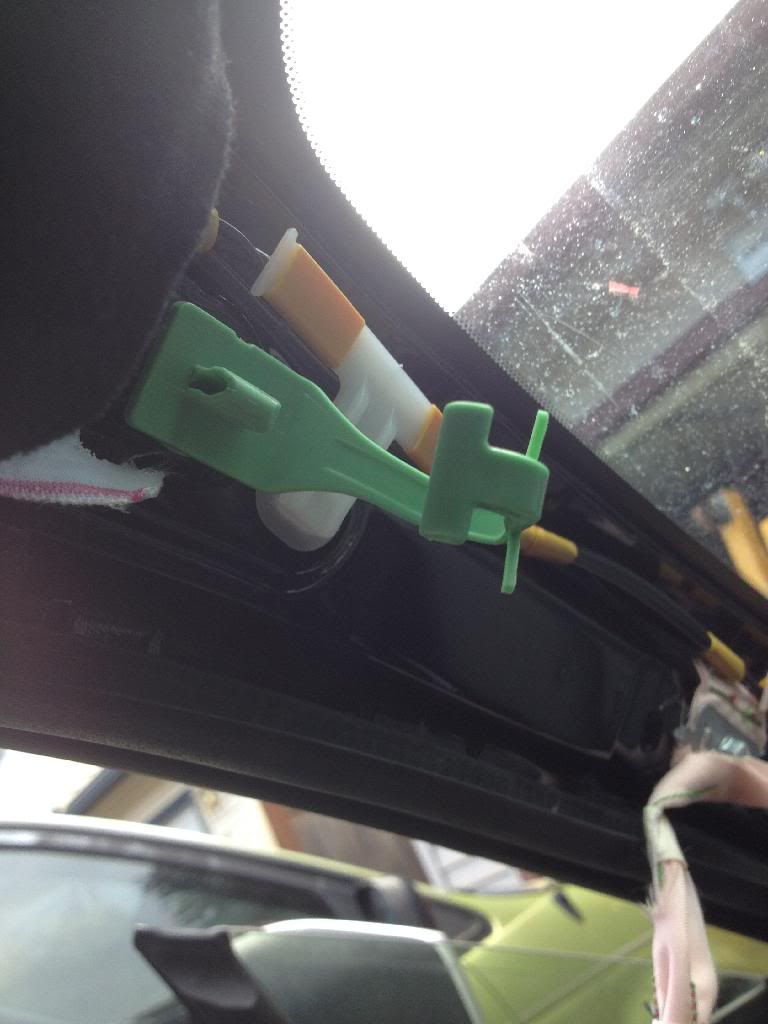
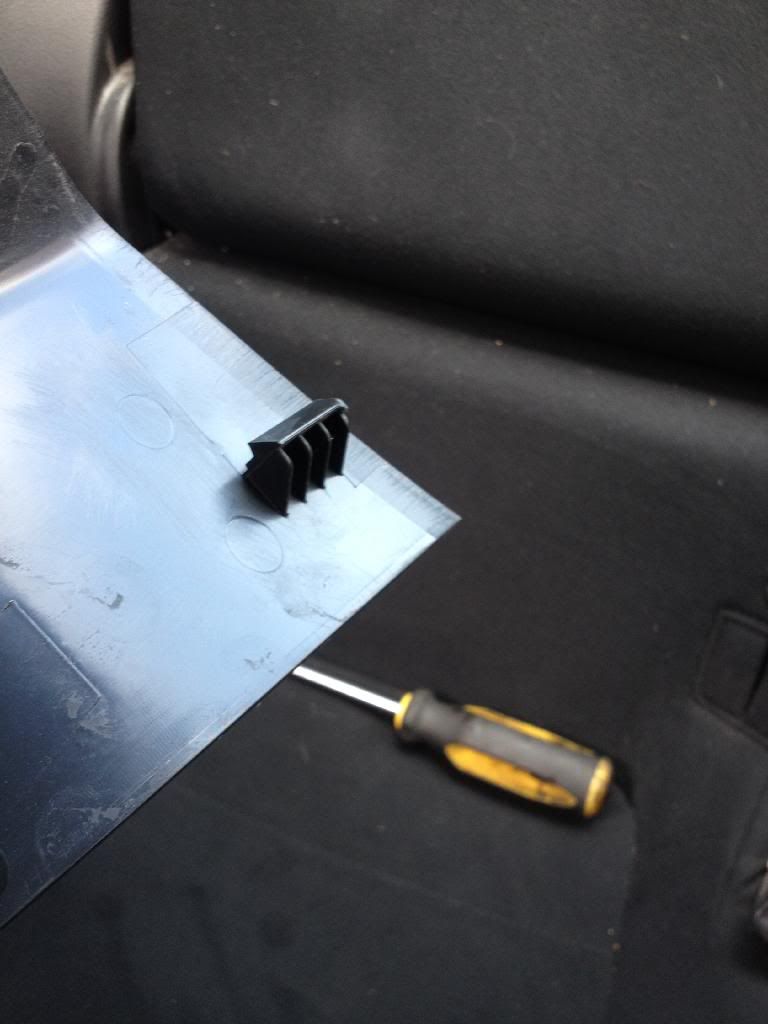
Next remove the 2 visor clips. This is kinda tricky and i almost messed it up.
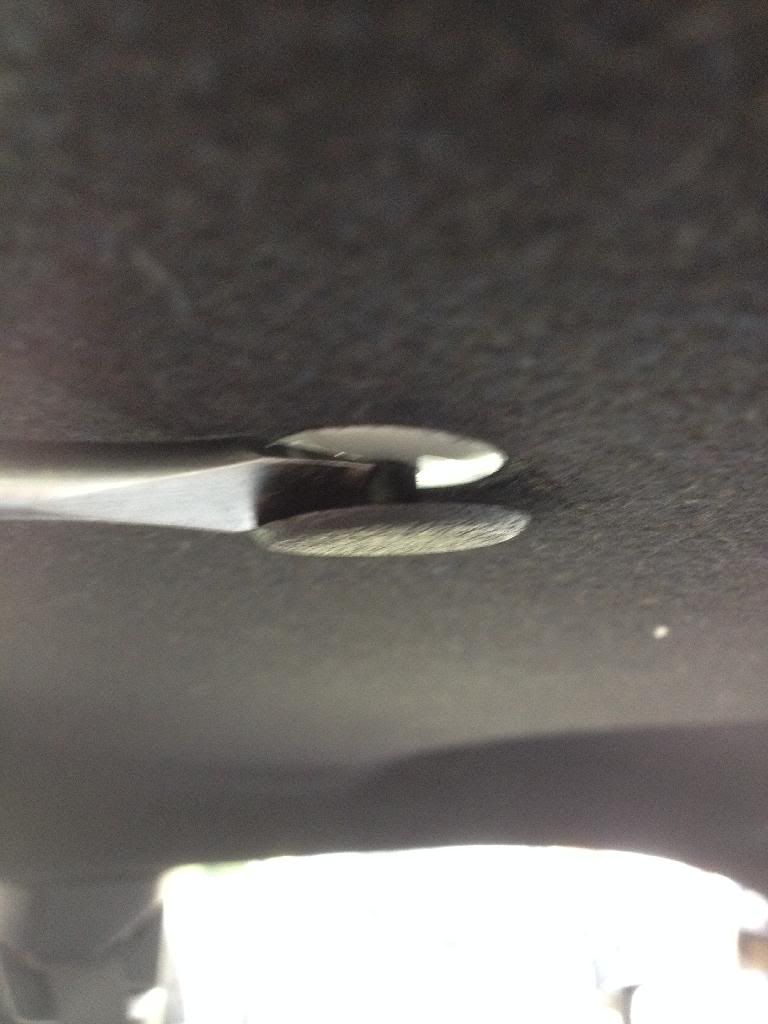
Insert the flat head into the slot and push. Using your other hand pull down on the visor clip. this should release the rear of the clip, move the screw driver to the front (near the windshield) and do the same. I would release some pressure on the clip to allow the screw driver to not catch on the headliner.
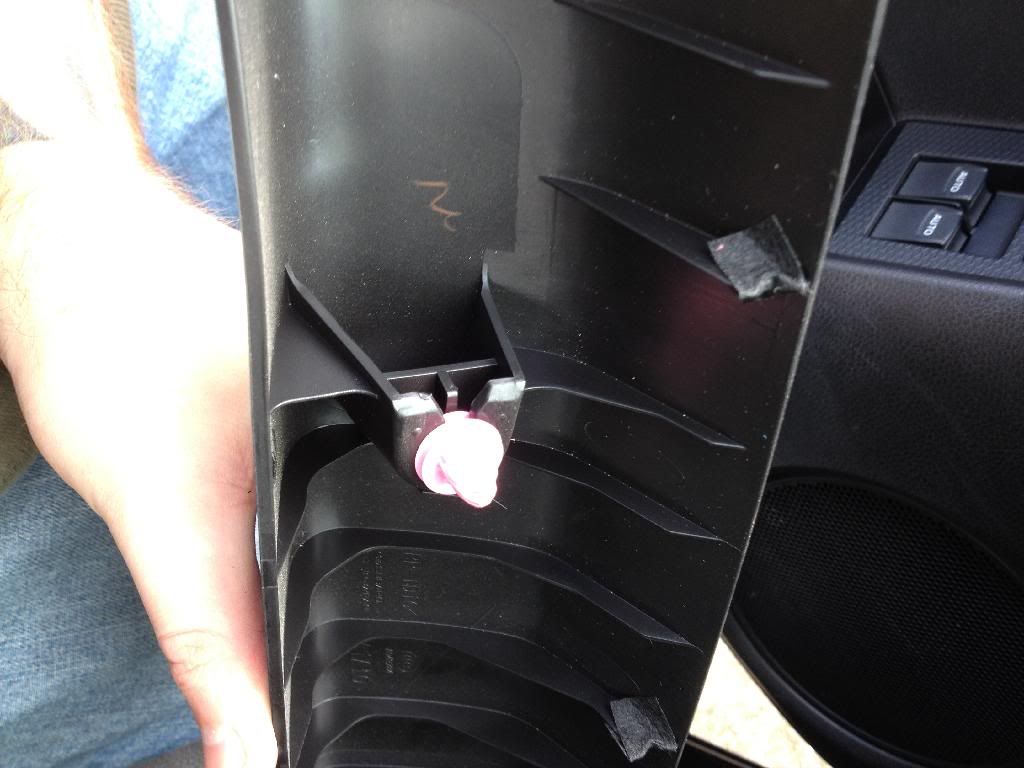
The visor clip is a push-in on both sides and releases.
I had a better pic but i cannot find it sorry
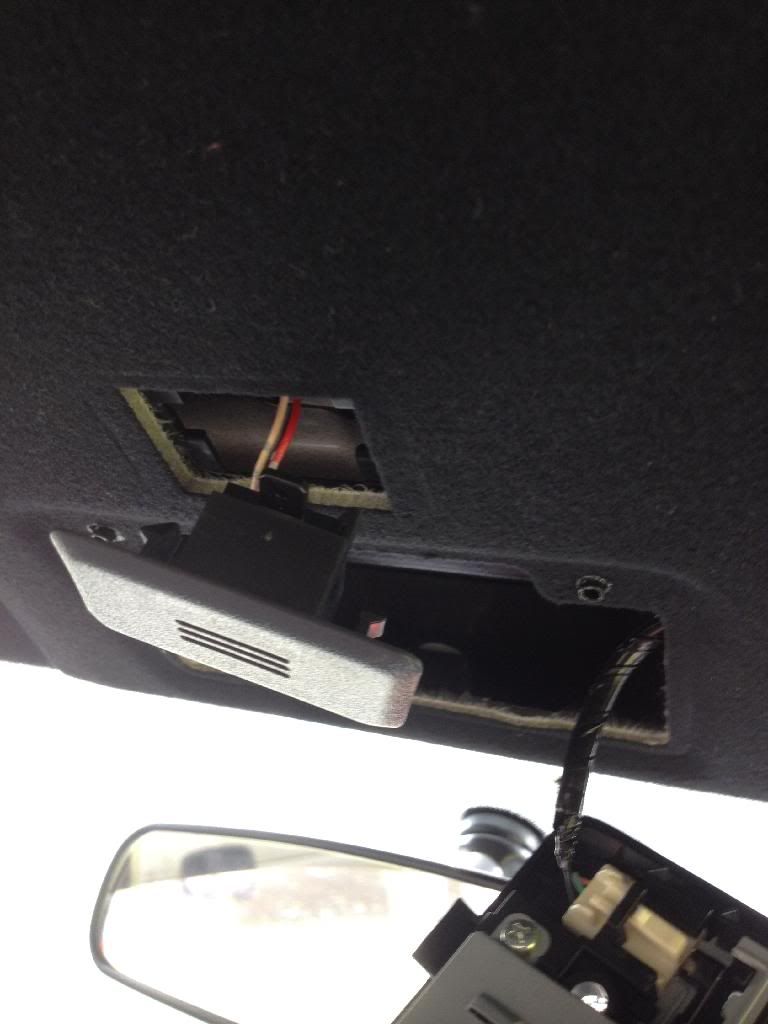
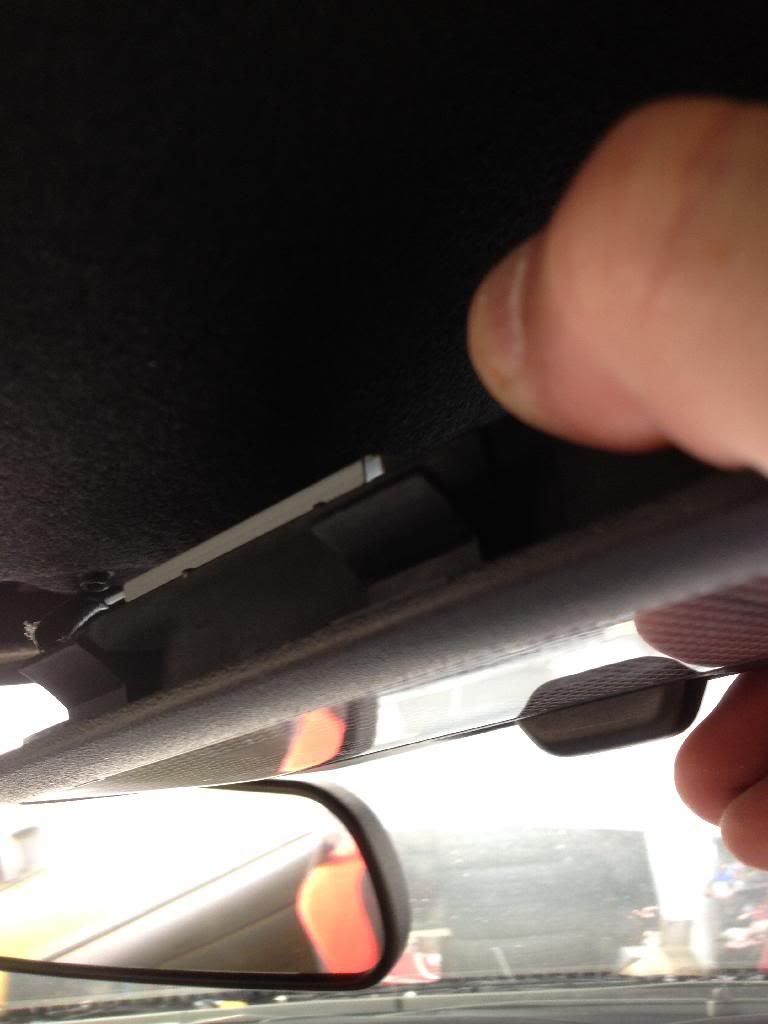
next move the center, using the screw driver pull gently on the Bluetooth mic to pop from the headliner.
After the microphone, the center light should be pried using more force than the mic. Start at the front at both left and right sides as the metal clips are there.
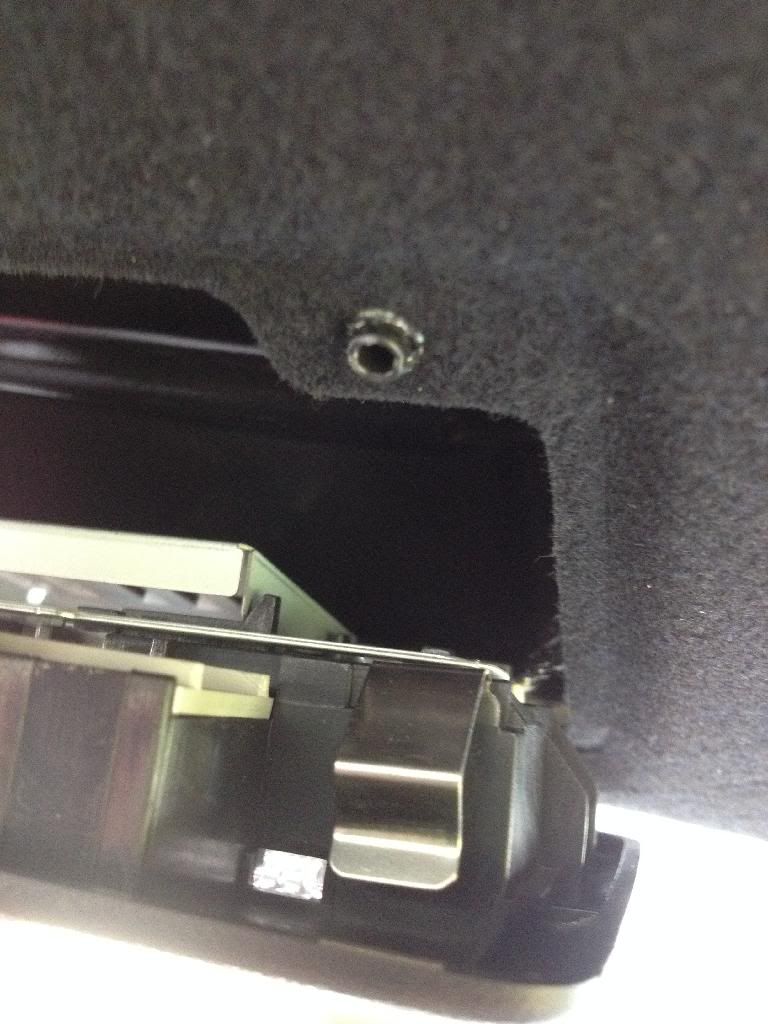
After that, pull it back and it should be out!
Next i went to the back for the 3 clips. Here i had to be extra careful because these clips are fragile. Using the screwdriver, gently pry on the outer edge only till you see the inner white plastic.
Next the Pillars!!! These were tricky.
Front pillars:
using the flathead again, pry at the upper edge.
this will pop it open, now pull the pillar back and out.
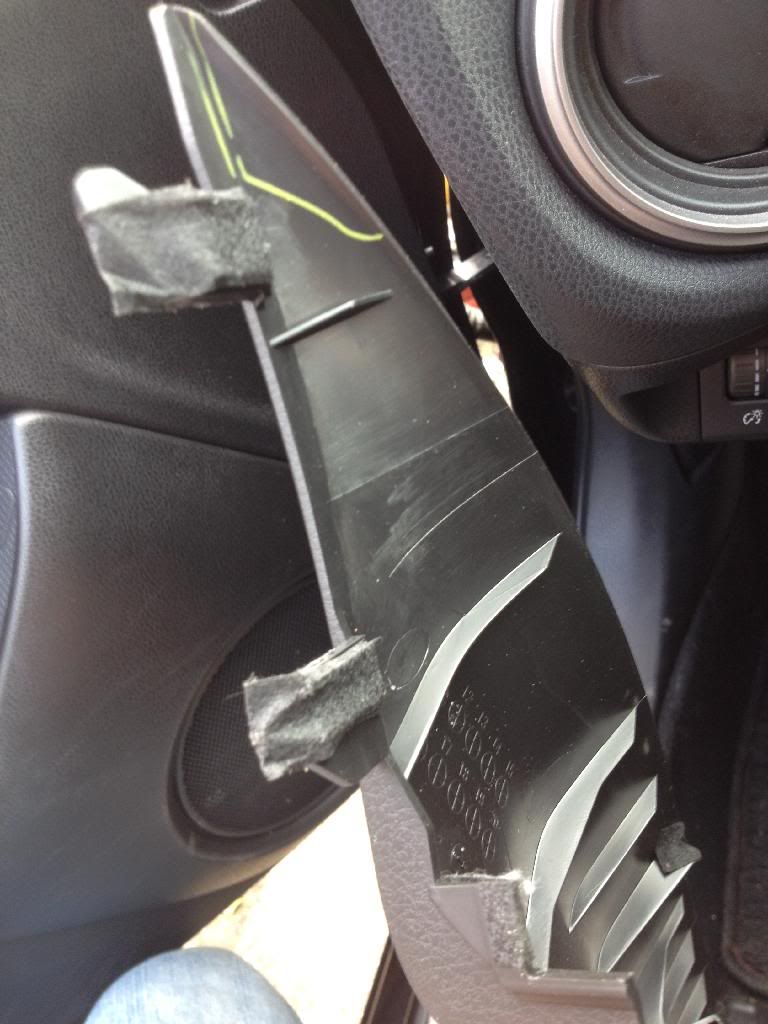
I released the tether from the plastic on the fronts because it was easier.
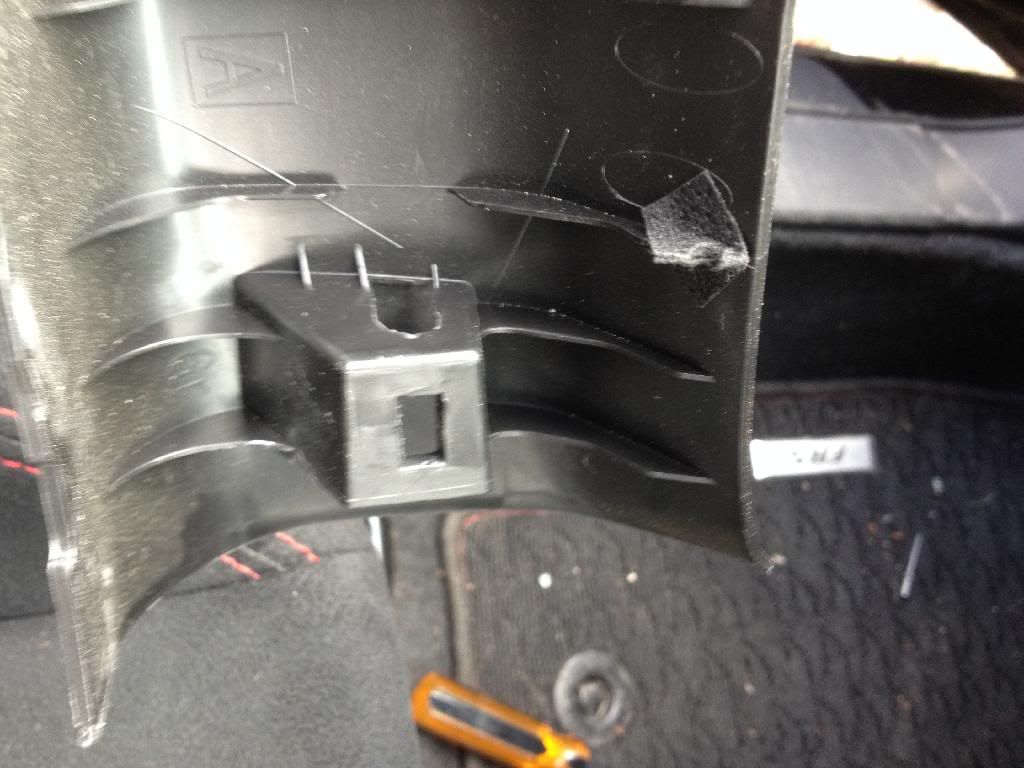
Use the Same sequence for the Rear pillars.
Pry the rear, pull back and out.
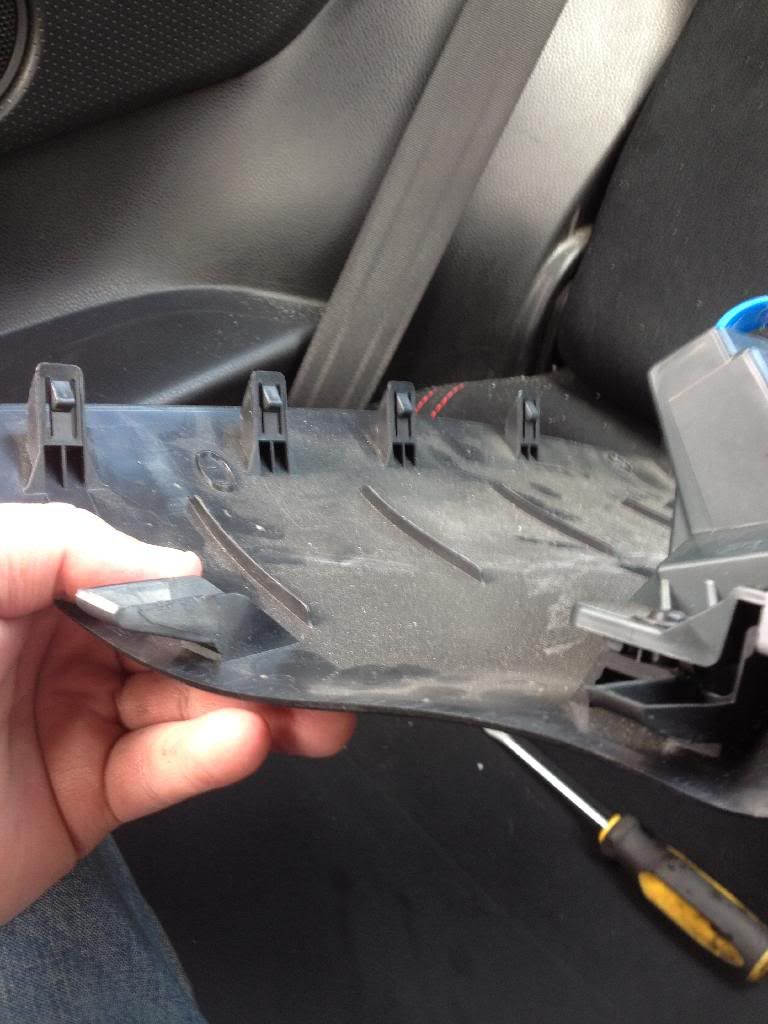
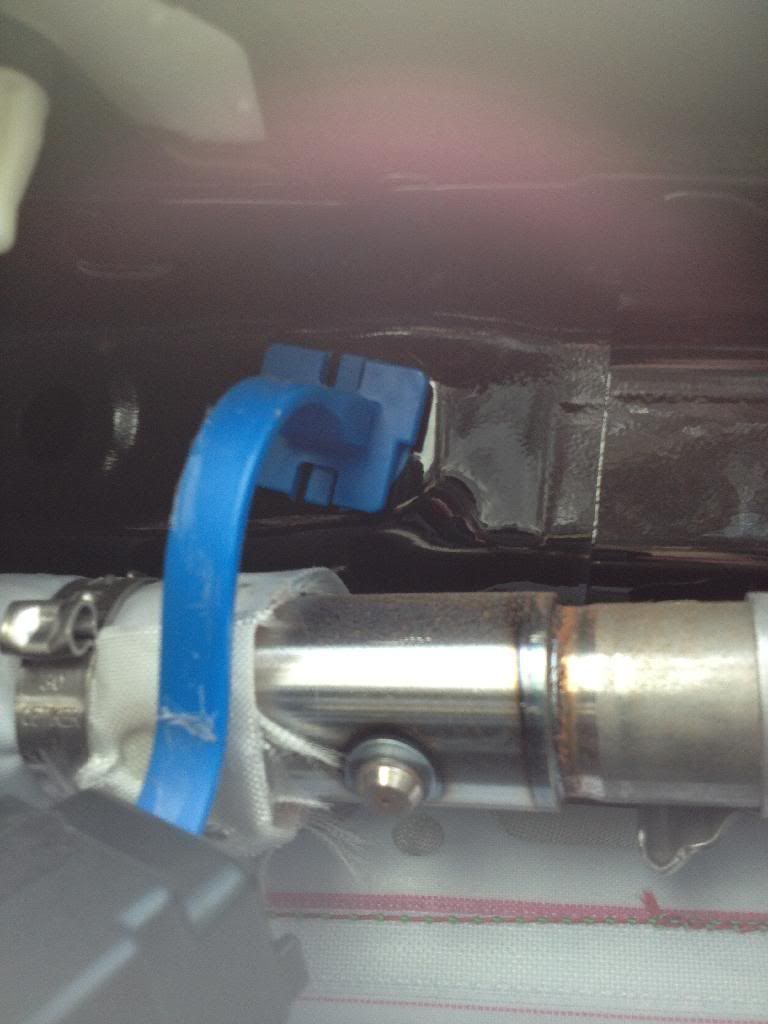
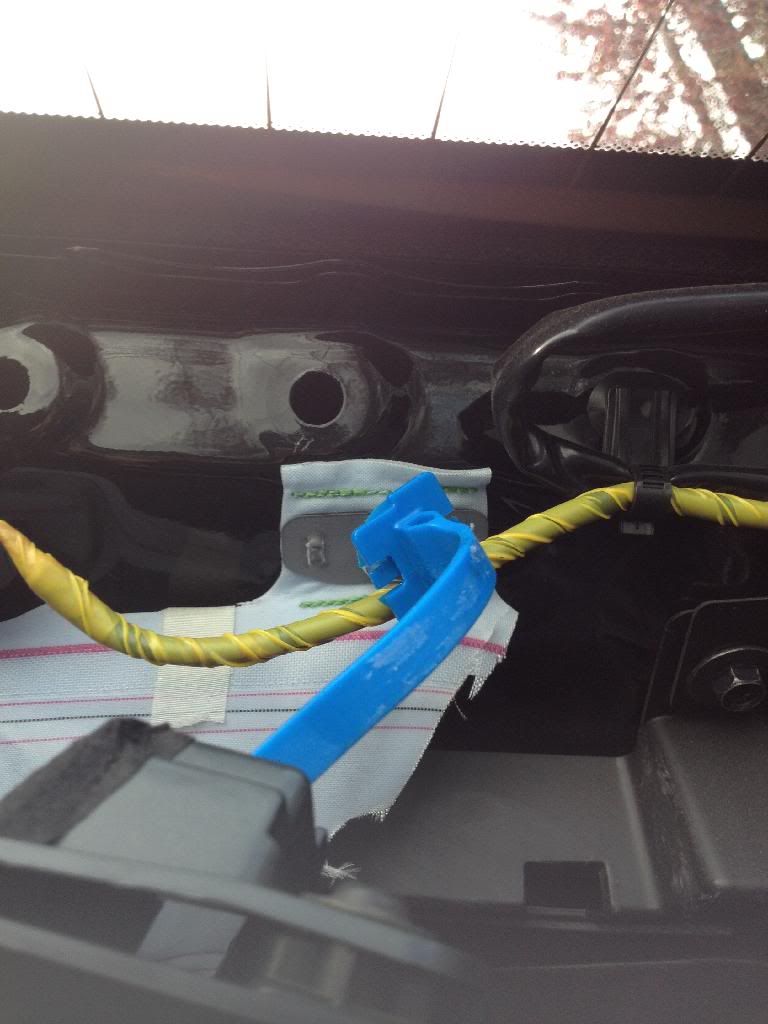
On the rears, i removed the tethers from the body as it was easier. Use a flat head and push in the 2 smaller tabs in the center. I pushed in the top, pulled, then pushed in the bottom and it released.
At this point the Headliner was free and was held in place by only the B pillars where the seatbelts attach. I didnt want to remove these as the headliner i am working with is already creased because of the airbags.
I would recommend removing them if you dont want to crease your headliner though.
Hope you guys Enjoy and let me know if you want more pics!
