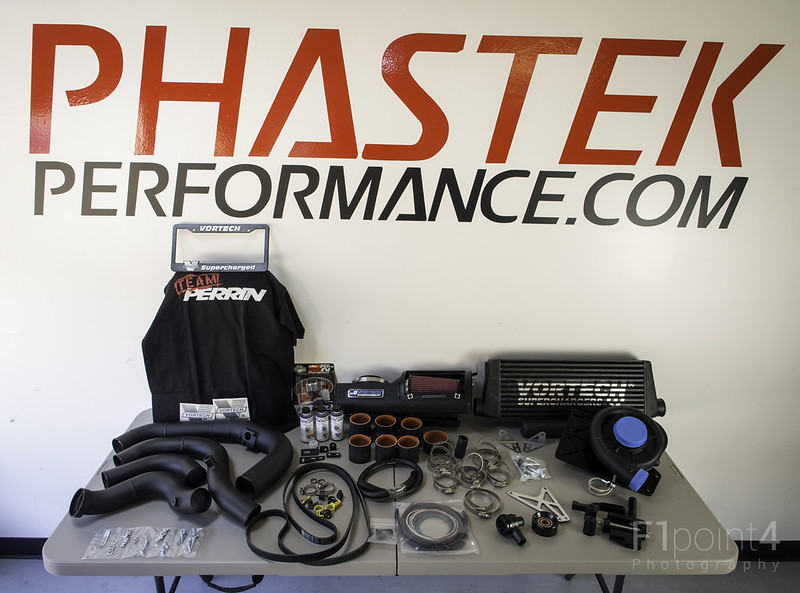
The Kit
 20130228-VortechProductSpread-076
 by
VictorN07, on Flickr
 20130228-VortechProductSpread-090
 by
VictorN07, on Flickr
 20130228-VortechProductSpread-127
 by
VictorN07, on Flickr
Finally got a chance to visit the backlog of photos! Never too late to share a photo or two. @
Chris@Phastek and I hope to show everyone what is included in the kit, so everybody knows what they are getting. @
Brian@Vortech has already announced an upgrade to the kit, but it only affects the blower unit itself. Some feedback will be given on the difficulty of install on the part. Let's get to it.
Many Thanks to @
Brian@Vortech, @
PERRIN_Jeff for developing the kit. Also kudos to @
PERRIN_Chris and Molly for excellent customer support. Been a treat working with all of them.
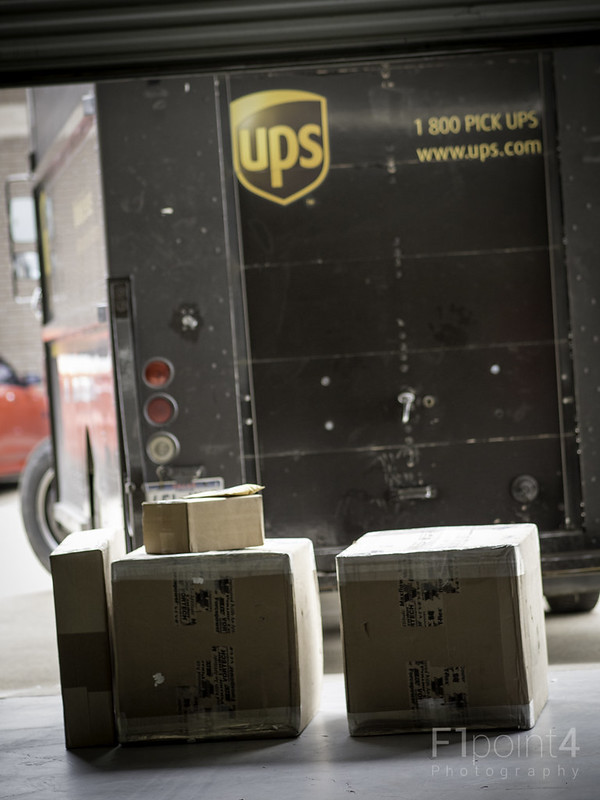
When the UPS Truck came, we knew it was time. Each large box was one kit. It does not include the 2.5K Bar MAP Sensor. That was a separate package
 20130228-VortechProductSpread-011
 by
VictorN07, on Flickr
The Spread
 20130228-VortechProductSpread-038
 by
VictorN07, on Flickr
 20130228-VortechProductSpread-061
 by
VictorN07, on Flickr
 20130228-VortechProductSpread-109
 by
VictorN07, on Flickr
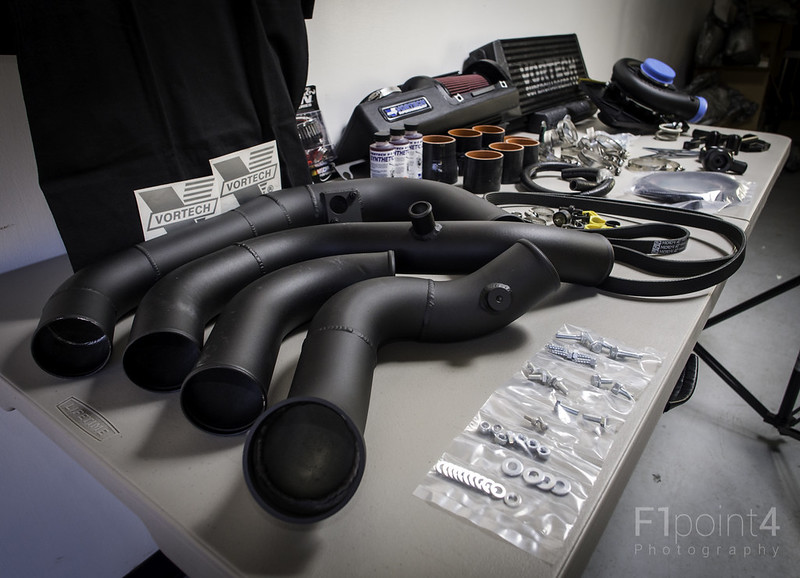
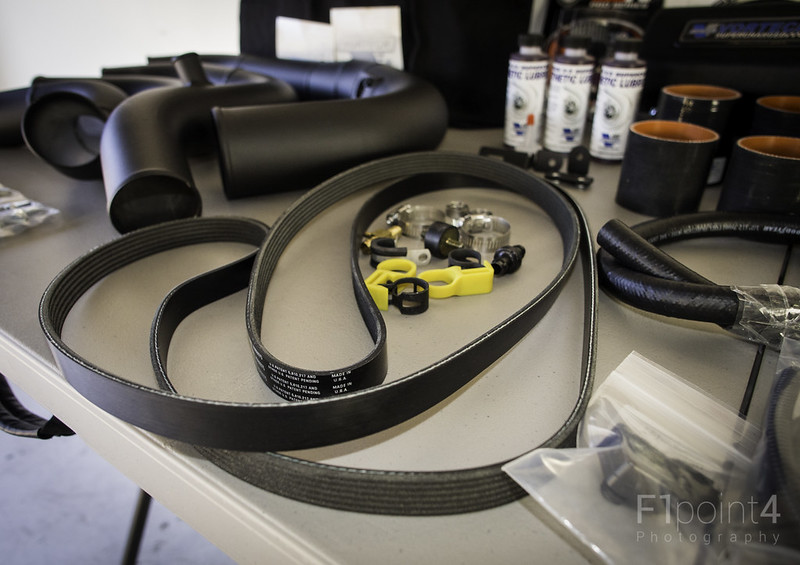
Air pipes. The middle two pipes for the driver side. The two outside pipes fro the passenger side. There is a bag of hardware. It is very nicely organized. None of the parts/hardware on the table were labeled, so it was hard to do inventory based on the list included in the manual. It wasn't too much trouble, but labels would have made things much easier
 20130228-VortechProductSpread-055
 by
VictorN07, on Flickr
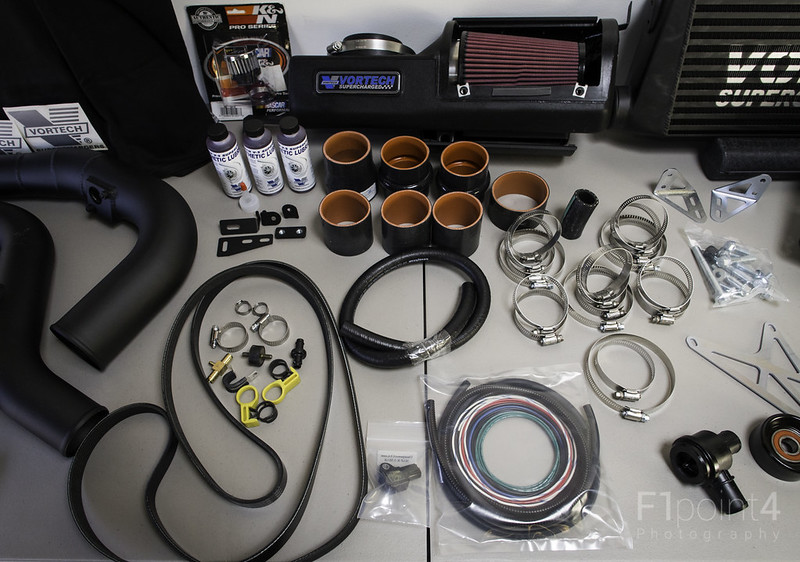
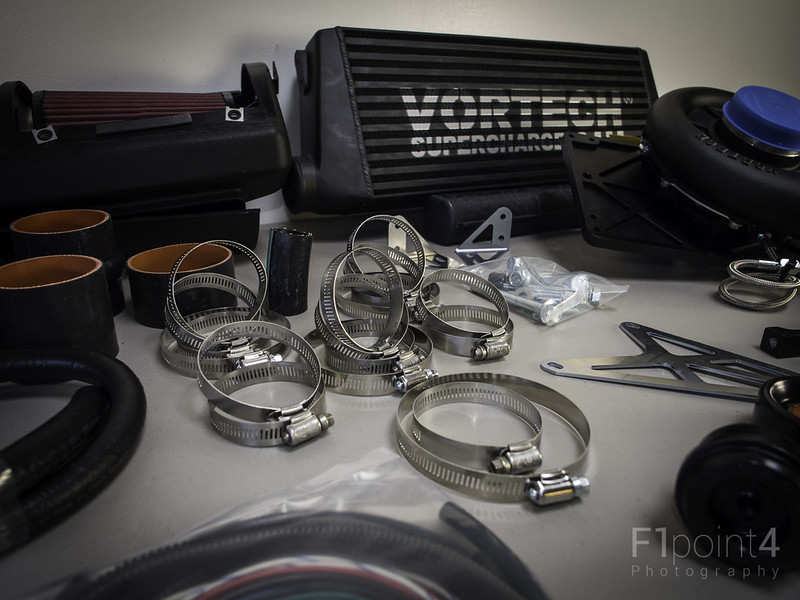
Lots of clamps. Vortech sends extra which was really nice.
 20130228-VortechProductSpread-064
 by
VictorN07, on Flickr
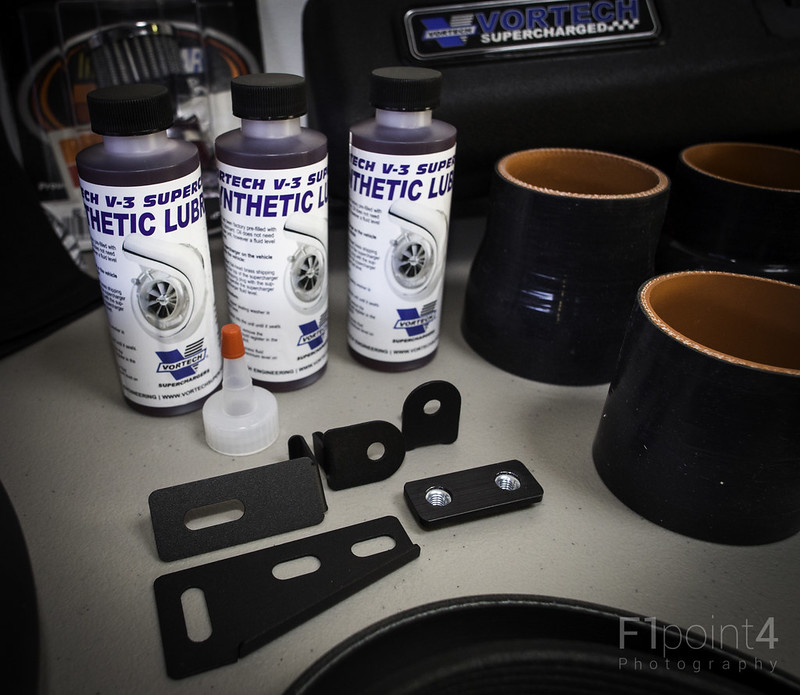
We get three bottles of lubricant. Each bottle is good for one change. The normal change interval is 7500 miles. There is a spout to make refilling the blower easy. What I like about this unit is that the fluid to lubricate the blower is self contained. No need to tap into the engine block for oil. Next to the fluid is silicone couplers used to connect the air tubes together. Last the airbox is behind.
 20130228-VortechProductSpread-065
 by
VictorN07, on Flickr
 20130228-VortechProductSpread-095
 by
VictorN07, on Flickr
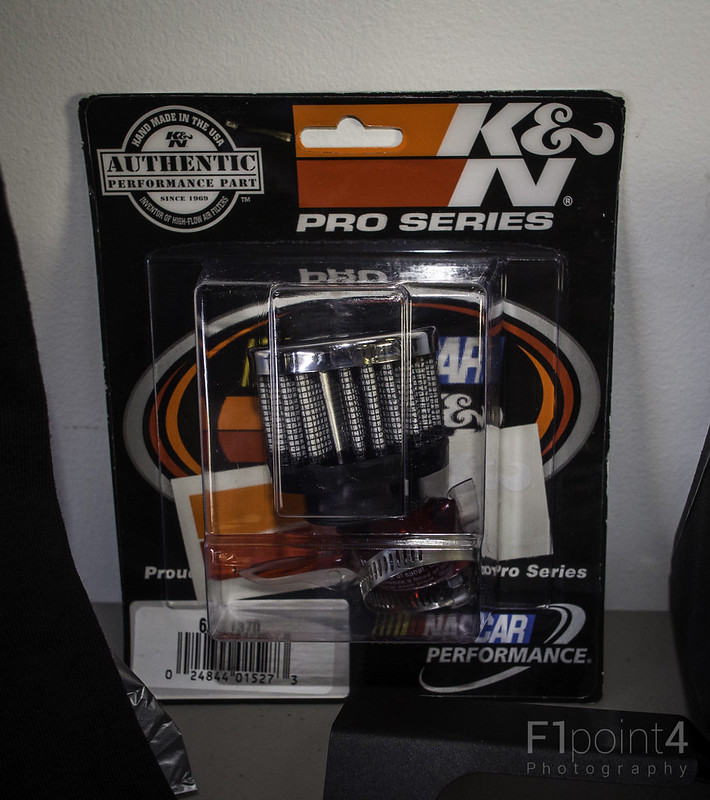
This is the air filter provided for the blow off valve
 20130228-VortechProductSpread-066
 by
VictorN07, on Flickr
Intercooler and mounting brackets

 20130228-VortechProductSpread-074
 by
VictorN07, on Flickr
The airbox. A pre-oiled(?) K&N filter is provided
 20130228-VortechProductSpread-075
 by
VictorN07, on Flickr
Blowoff valve, **EDIT** One Idler Pulley, and brackets
 20130228-VortechProductSpread-077
 by
VictorN07, on Flickr
One of the things we had to do was extend the MAF Sensor wire. The stock MAF Sensor is at the exit of the stock air intake box. The MAF Sensor in the vortech kit now sits behind the passenger side turn signal. It comes with all the wire and loom so you can solder and protect everything. Your own electrical tape is required to make it look "OEM". To the left of this is the 2.5K Bar Manifold Air Pressure sensor. It plugs into the intake manifold under the Boxer cover. This MAP sensor is not included in the normal kit.
 20130228-VortechProductSpread-081
 by
VictorN07, on Flickr
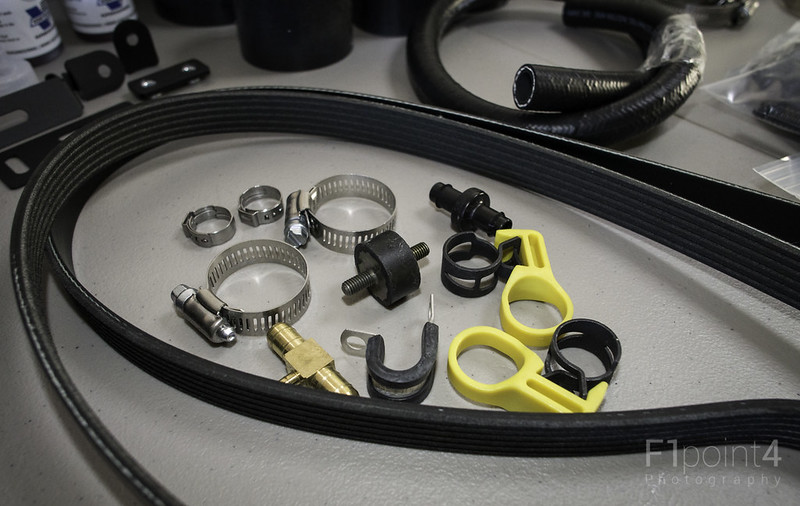
These are assorted clamps and bits to hook up the blowoff valve, poipes, etc. They also included a one way check valve for the PCV system so the charged air doesn't get pushed into the crankcase by accident! Around this is the extended belt. With the blower mounted in place, there is about 2" between the motor and the blower to slip on the belt. Difficult but not impossible.
 20130228-VortechProductSpread-082
 by
VictorN07, on Flickr
 20130228-VortechProductSpread-108
 by
VictorN07, on Flickr
At the top you can see the stainless steel drain hose for the blower. It reaches down past the metal skid pan. Should be cake to drain the fluid.
Below these are brackets to mount the blower and spacers for the new pulley. The blower holds on the two new idler pulleys. The lower right bracket is to raise the alternator. As mentioned already this is the old bracket which causes fitment issues. A new bracket has been issued already. Talked to Brian and Mike at Vortech and they have been nothing but good to me.
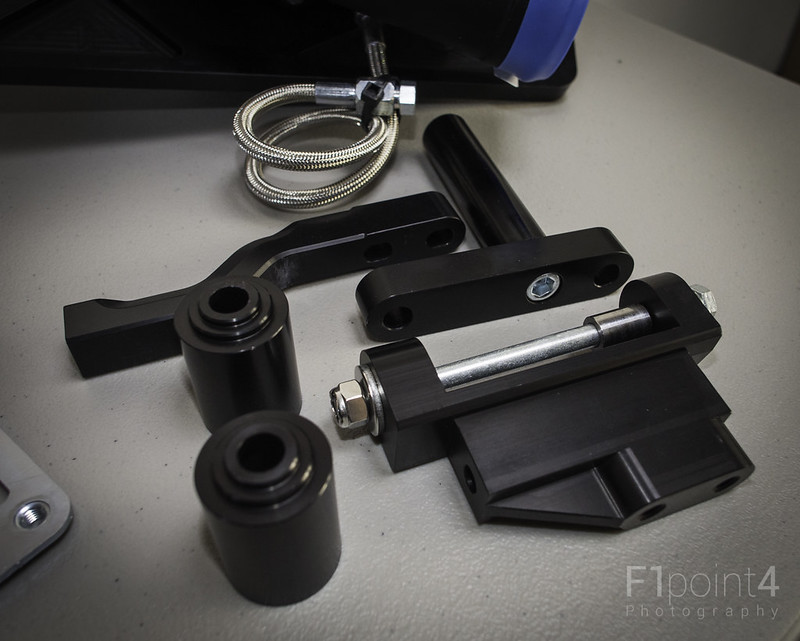 20130228-VortechProductSpread-083
 by
VictorN07, on Flickr
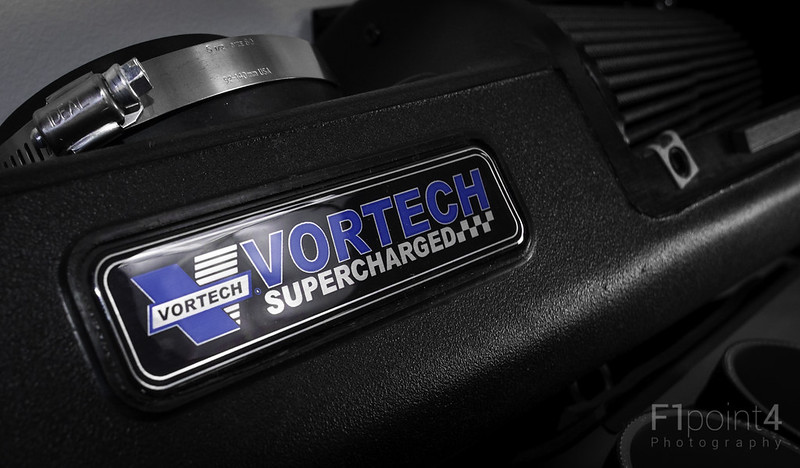
The blower
@
Brian@Vortech has already announced an upgrade to the kit. All customers should be getting their units upgraded soon. From my discussions with Brian a new higher flow impeller will be installed as well as a slightly smaller pulley. Reports that it will make 9 lbs of boost (up from 7) and is good for close to 300 flywheel HP on 91 pump gas. We'll be sure to test it out once the units come back.
 20130228-VortechProductSpread-085
 by
VictorN07, on Flickr
This is the stock pulley (under the grey cap). The cap is there for warranty purposes
 20130228-VortechProductSpread-087
 by
VictorN07, on Flickr
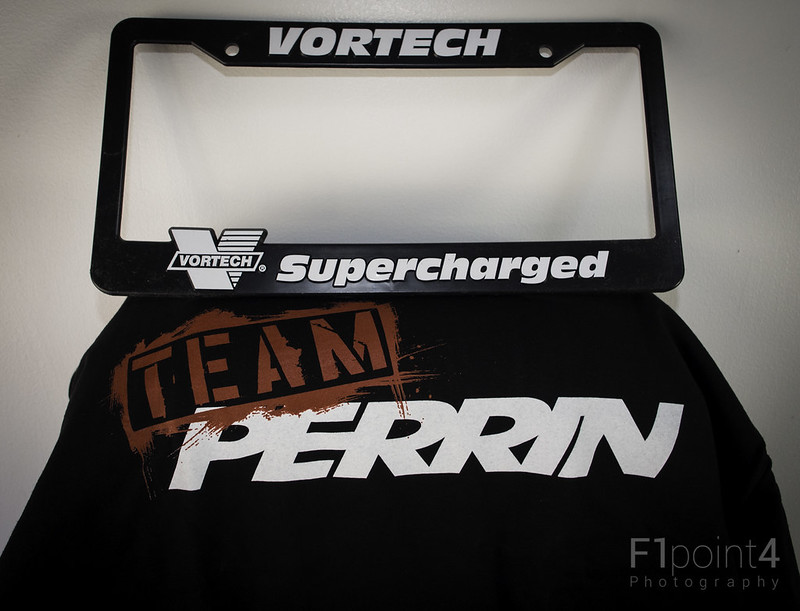
Team PerTech
 20130228-VortechProductSpread-097
 by
VictorN07, on Flickr
I believe the kit is mass produced. This is an example of the welds on the pipe. Not the greatest quality IMO, but since its for air it will be okay.
 20130228-VortechProductSpread-149
 by
VictorN07, on Flickr
Fun stuff
 20130228-VortechProductSpread-120
 by
VictorN07, on Flickr
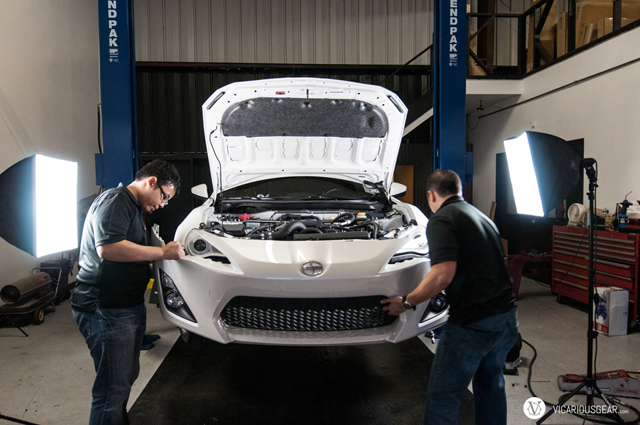
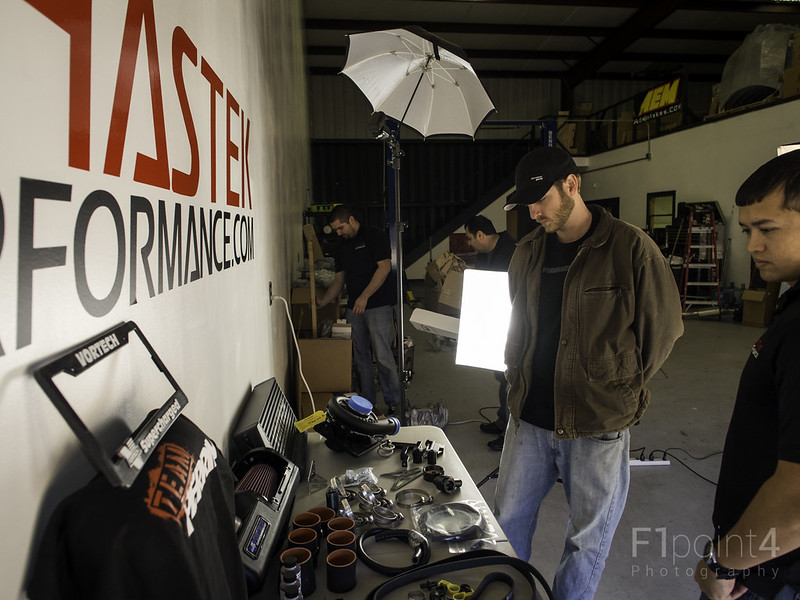
The Phastek Performance Crew checking out the goods
 20130228-VortechProductSpread-126
 by
VictorN07, on Flickr
Other Feedback
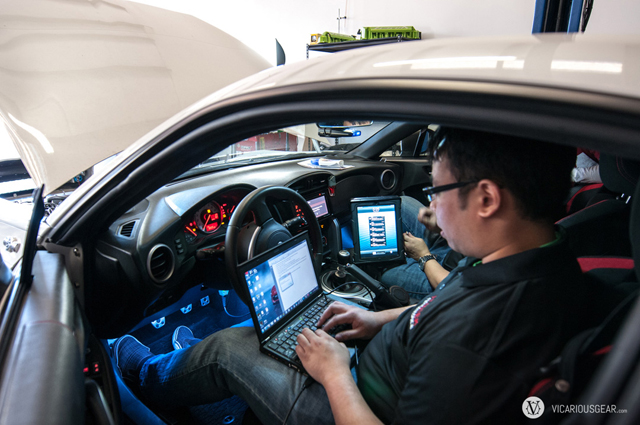
Avid car enthusiast Princeton Wong covered our install on his blog
VicariousGear! Check out his thoughts on the link after the break!
http://vicariousgear.com/2013/03/15/...-for-the-fr-s/
Quote:
|
....My short trip back to Houston just happened to coincide with the arrival of the first couple Vortech Supercharger kits for the ZN6/ZC6 platforms. Being an early adopter, my cousin Victor invited me out to Phastek Performance to check out the pieces and help with the wrenching. Being a grease monkey at heart combined with my love of new tech, I couldn’t resist. It is always great to see how different garages are set up as well. I arrived at Phastek in the middle of the first install which was moving slowly but surely. Things were being double and triple checked since these were some of the initial test kits. A few pieces appeared to have overly tight tolerances to moving belts but everything worked out in the end.....
|
Resized pictures to not break the tables
Me doing my best Jeff Perrin Impression
Chris and I reinstalling the bumper